Each Odoo instance in EasyInstance comes with its own repository, so you can build custom Odoo features by simply adding them to the repository. This is the complete process of creating your custom module from the creation of an instance where the module will live through to the activation of the module in Odoo.
Step 1: Create a New Instance
Log in to your EasyInstance account. From your dashboard, click New Project and fill in a short setup form:
- Instance Name: A unique name for your instance, such as your organization's name (this becomes part of your web address, e.g. yourname.easyinstance.com). Letters, numbers, and hyphens only.
- Odoo Version: The version of Odoo you'd like installed.
- Admin Credentials: The login email and password you'll use to access your Odoo instance.
- GitHub Connection: Link an existing repository and branch, or create a brand-new one. This is where you'll manage and add your own custom modules later. You can also skip this for now; it's fine to connect it afterward from the instance's Git tab.
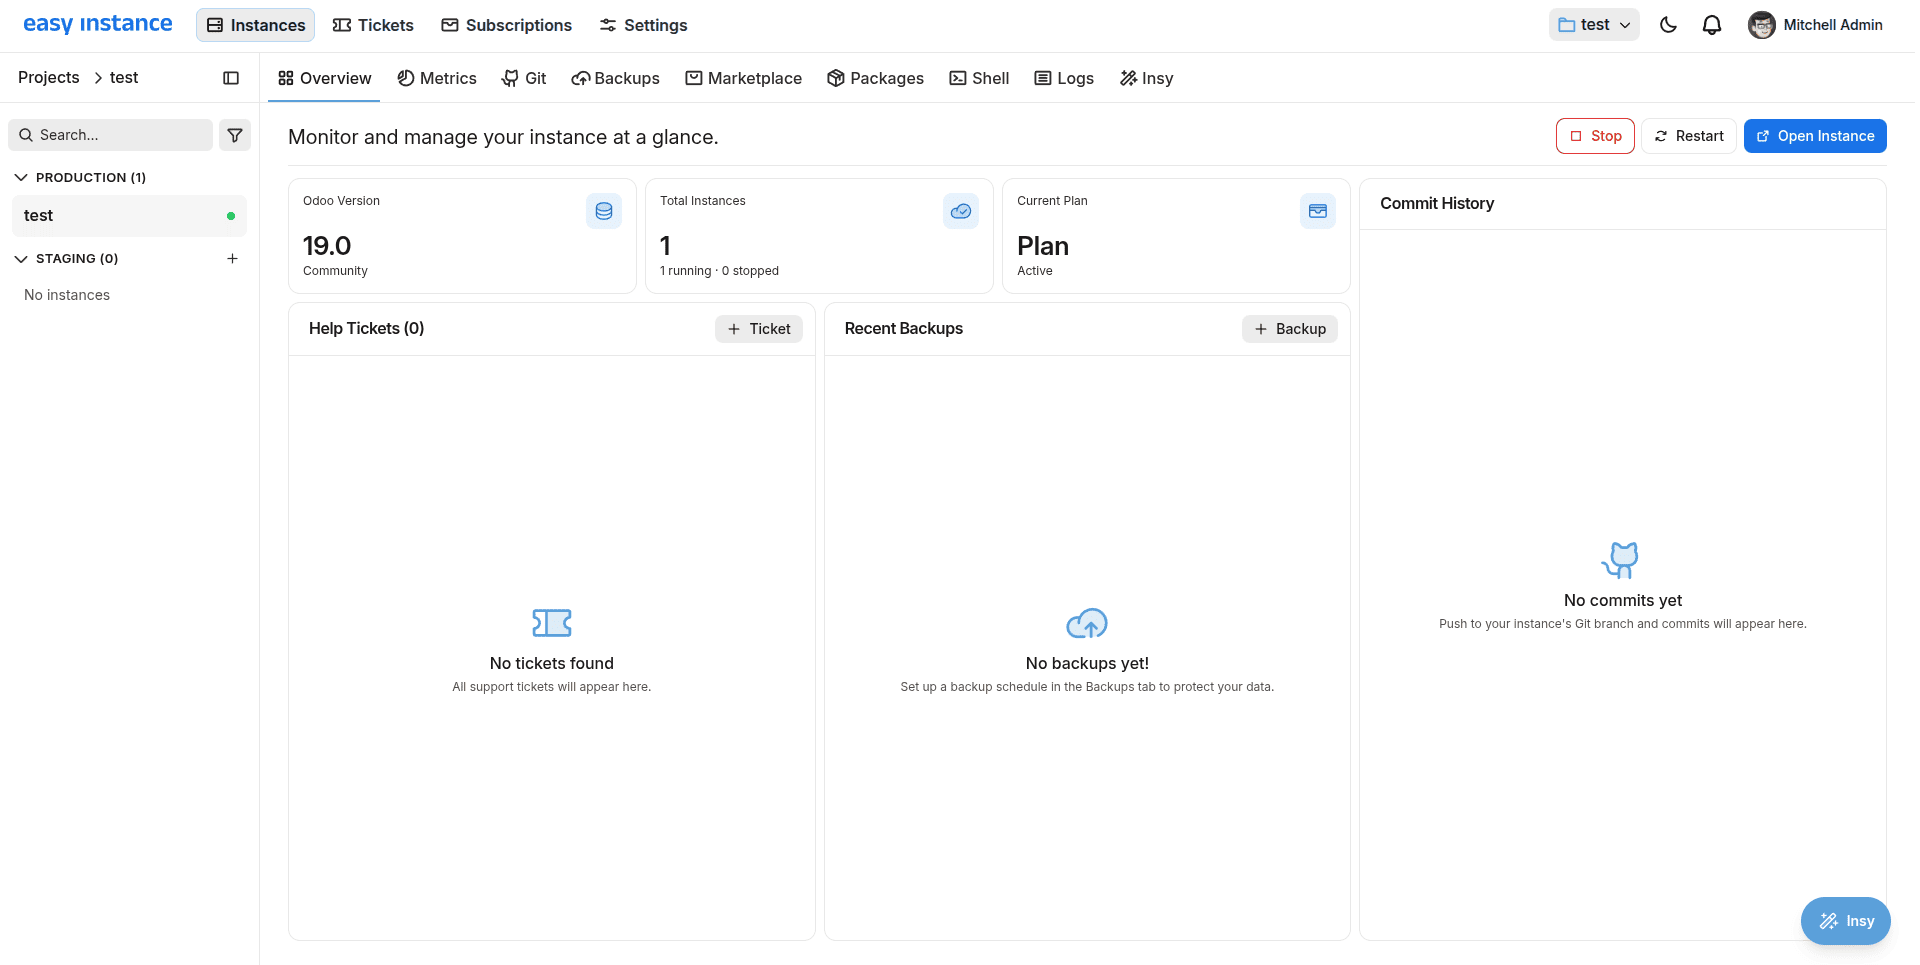
Review your selections and click Deploy Instance. Deployment takes about 2-3 minutes. Once it finishes, you'll see two buttons: Open Instance and Go to Projects.
Go to Projects takes you back to your list of instances. Select your project by clicking the ‘Open Instance’ button, which takes you straight to your Odoo login page, where you sign in with the admin credentials you set above.
Step 2: Confirm Git Connection
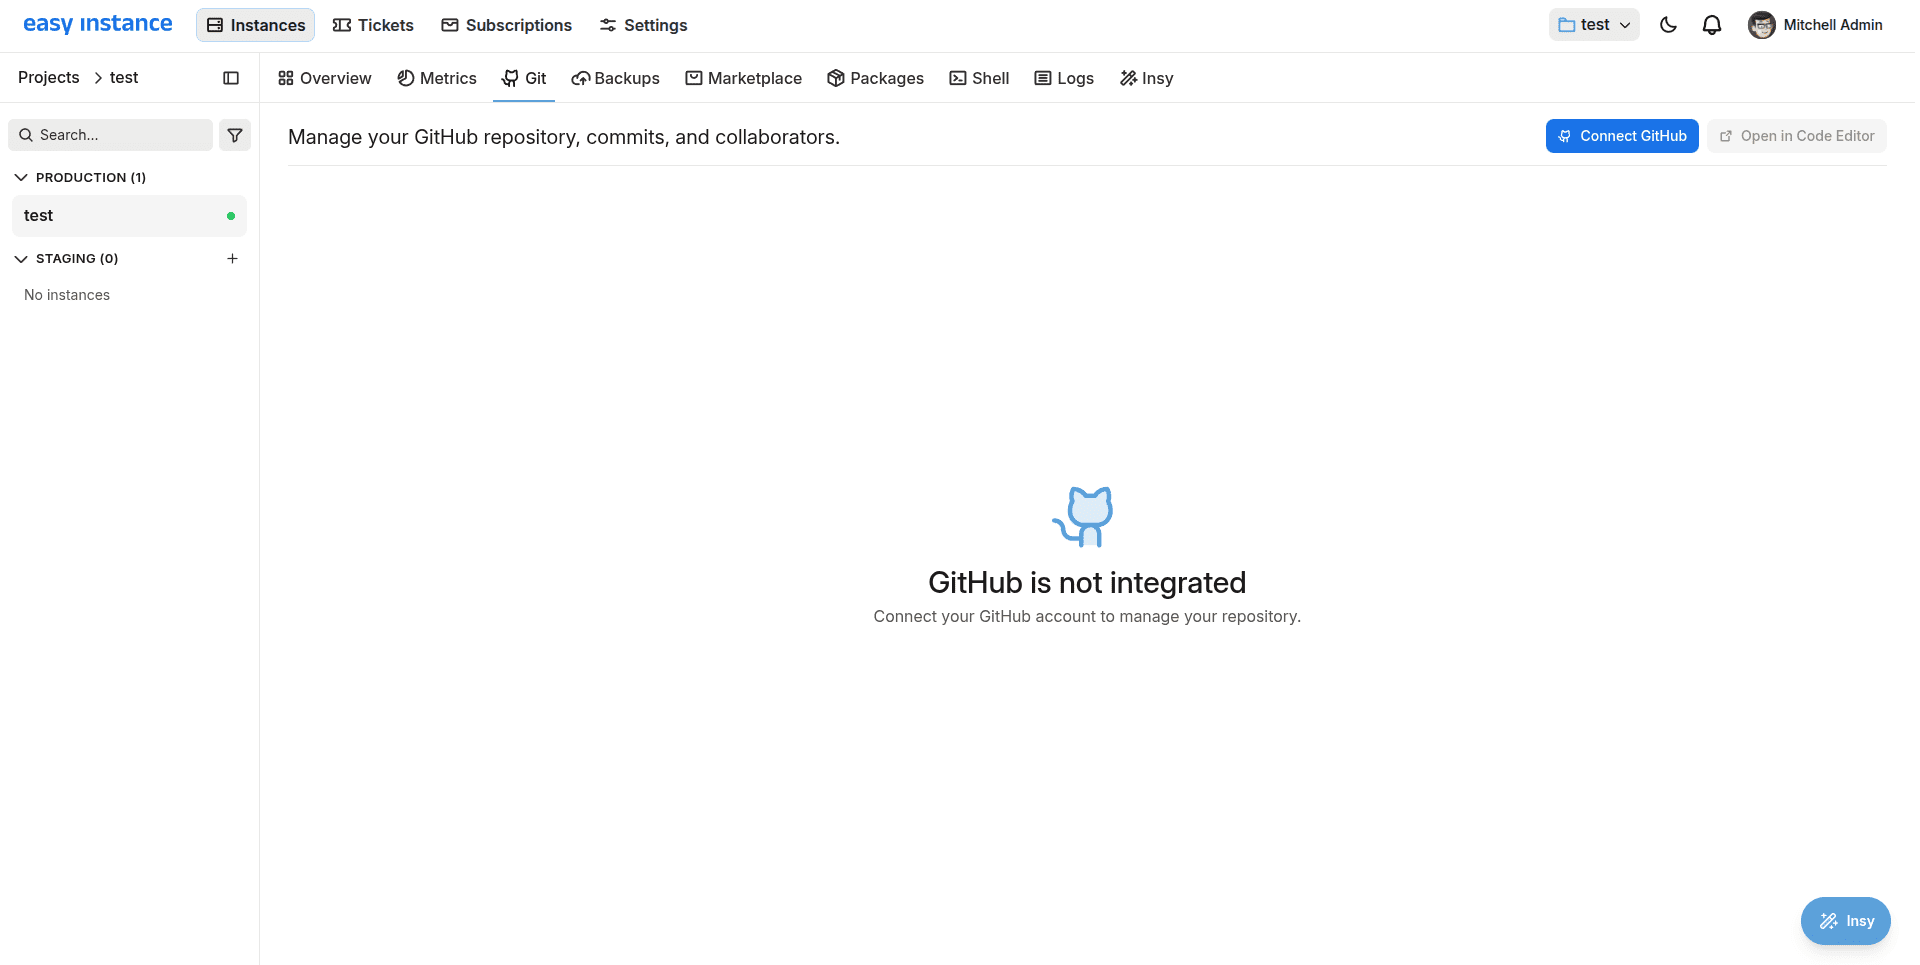
However, in case you haven’t linked a repository during instance creation, open it and click on the Git tab, which indicates that GitHub is not integrated. Click Connect GitHub to resolve this.
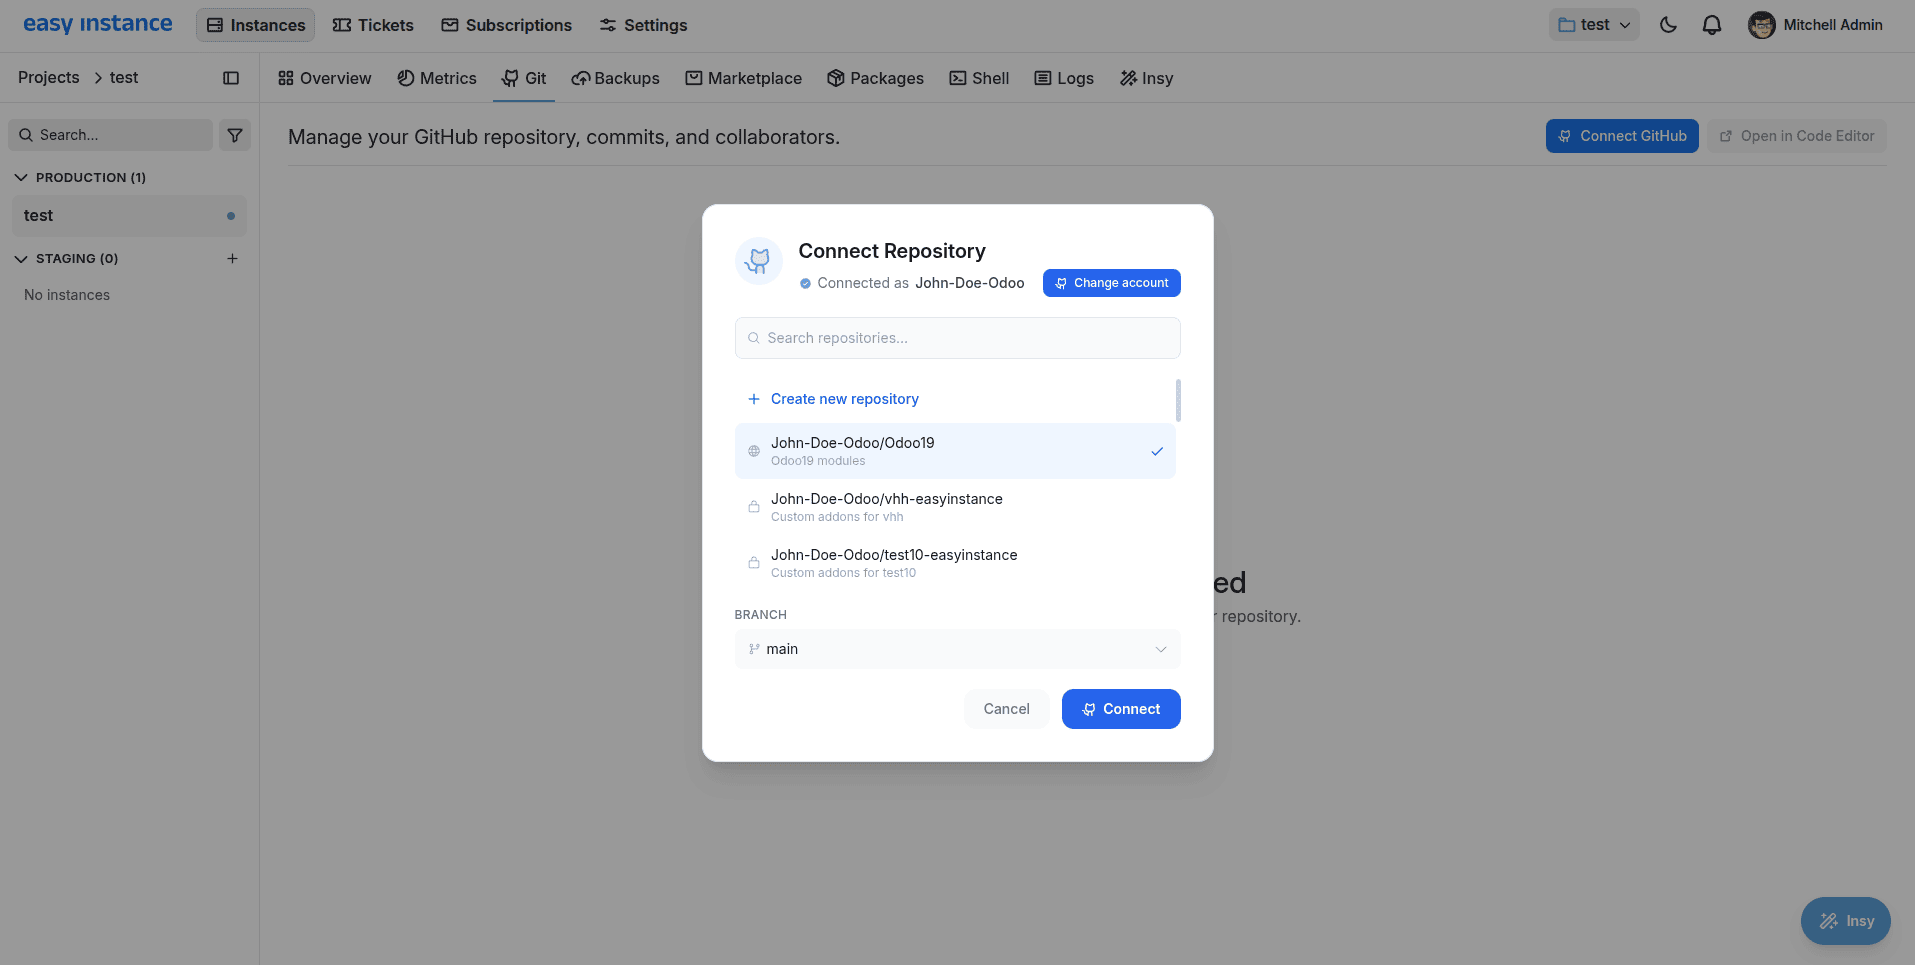
- A Connect Repository dialog box will pop up, and it shows that you are connected to your GitHub account.
- Search for an existing repository or click on the Create new repository button to create a new repository.
- Select the desired repository and branch, then click Connect.
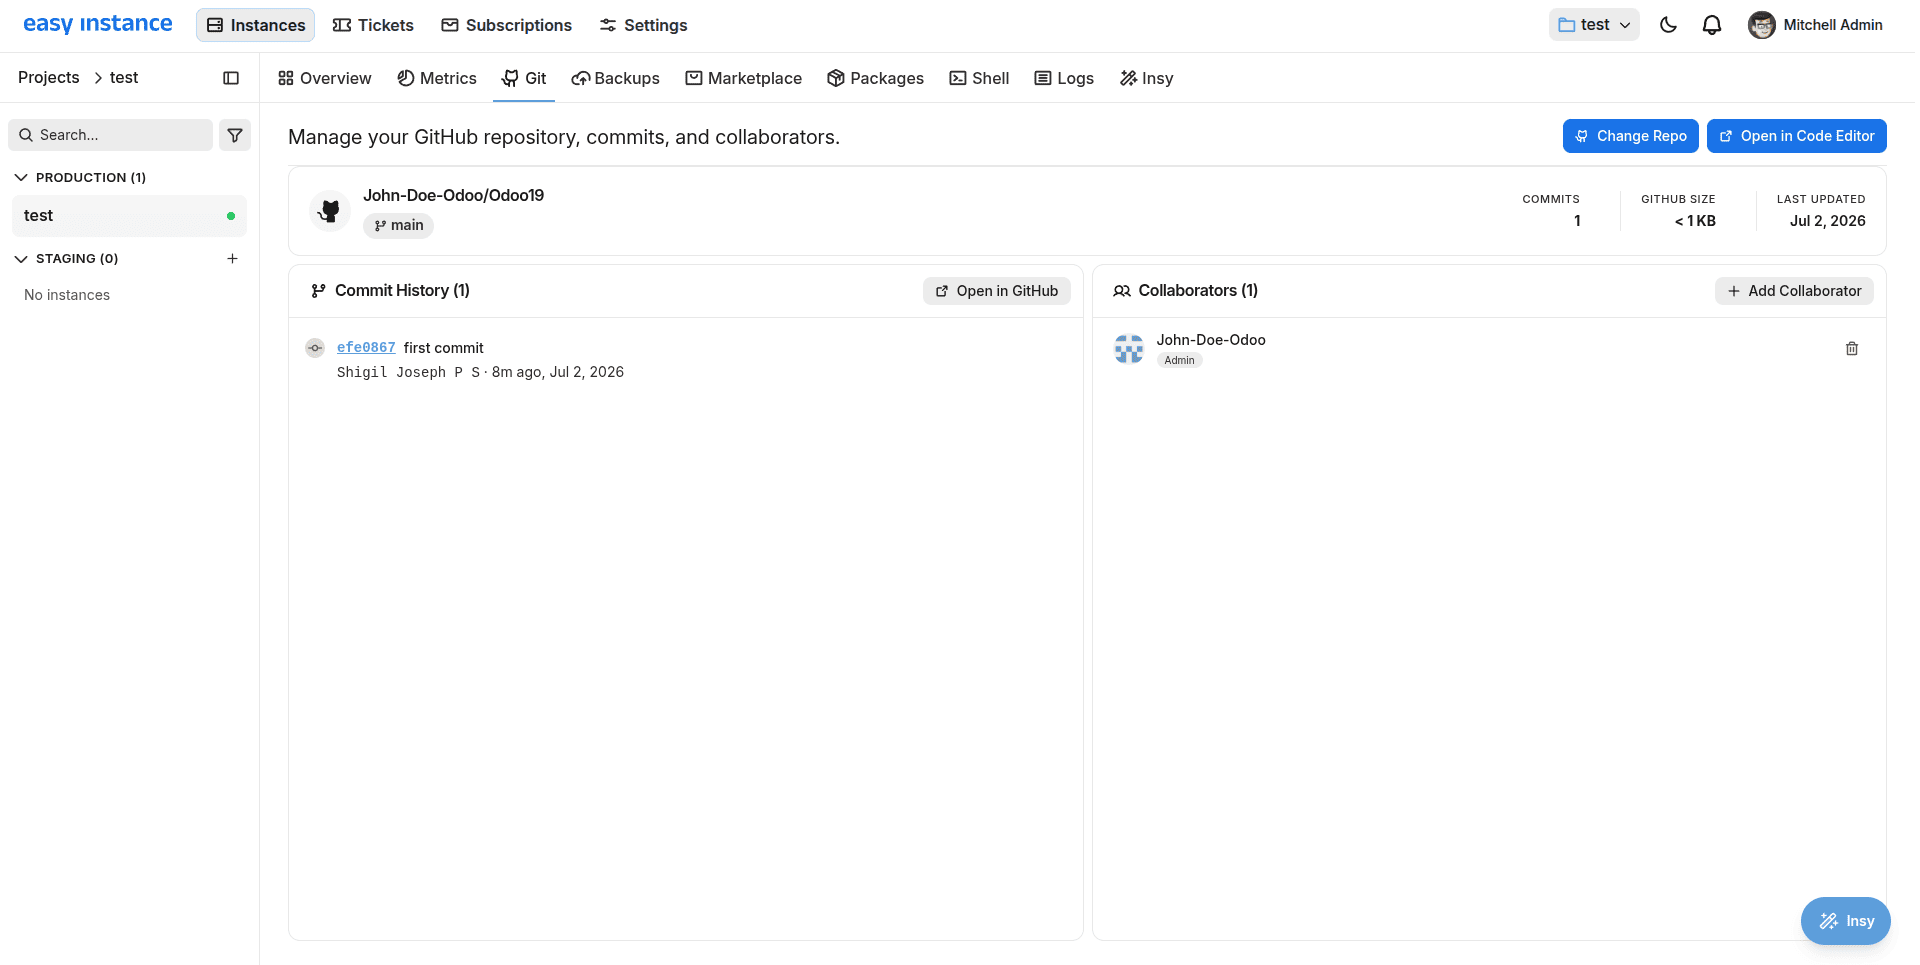
If you’re already connected, this tab will display the repository details, including the branch and commit history.
Step 3: Open Your Repository
As soon as a repository is connected, the Git tab will show the repository itself, the associated branch, and all the commits that have been pushed so far.
- To begin coding immediately, click Open in Code Editor, or to view the repository first, click Open in GitHub.
- If you haven't got a copy of the repository yet, get one.
Step 4: Add Your Module and Push It Up
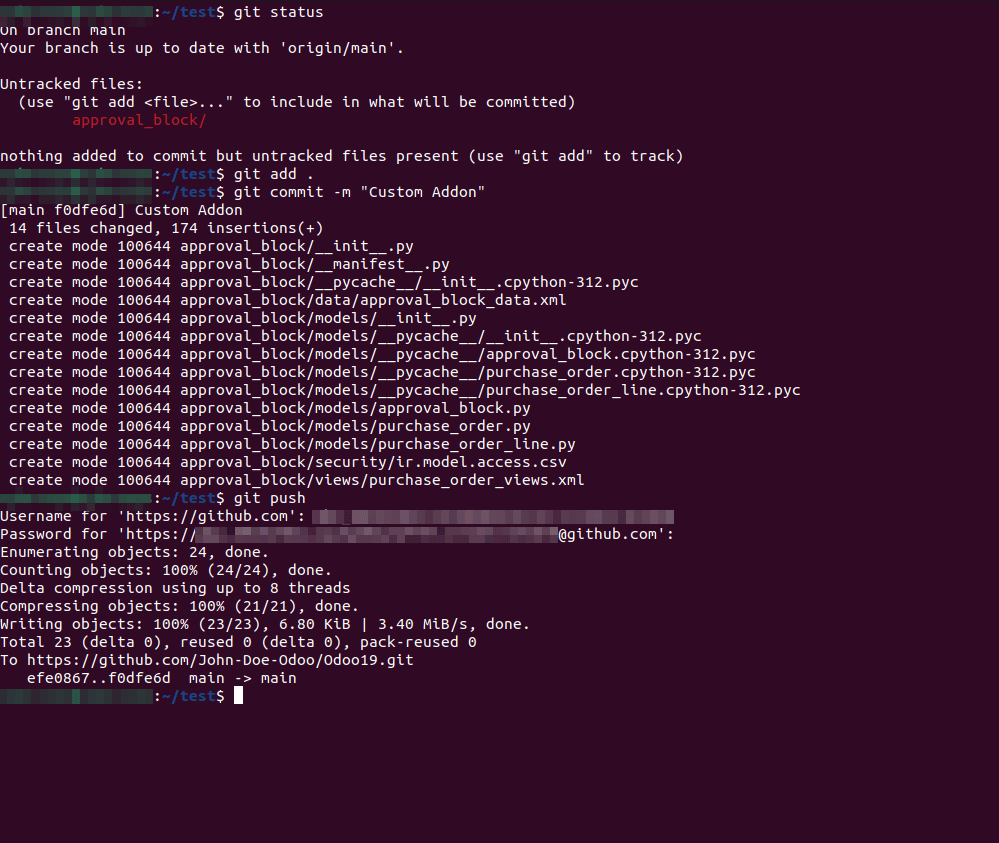
In the repository folder on your local machine, create a new folder for your module, such as approval_block, along with its manifest, models, views, etc. Once your module is ready, navigate to the repository directory in your terminal and run the following commands:
git add.
git commit -m "custom addon"
git push
Now go back to EasyInstance and open the Overview section for the relevant instance. You will see your custom commit in the list of commits.
What branch to push to: For a production environment instance, it observes the branch that was selected while linking the repo. For a test instance, it automatically observes the branch whose name is equal to that of the test instance itself.

Step 5: Turn It On Inside Odoo
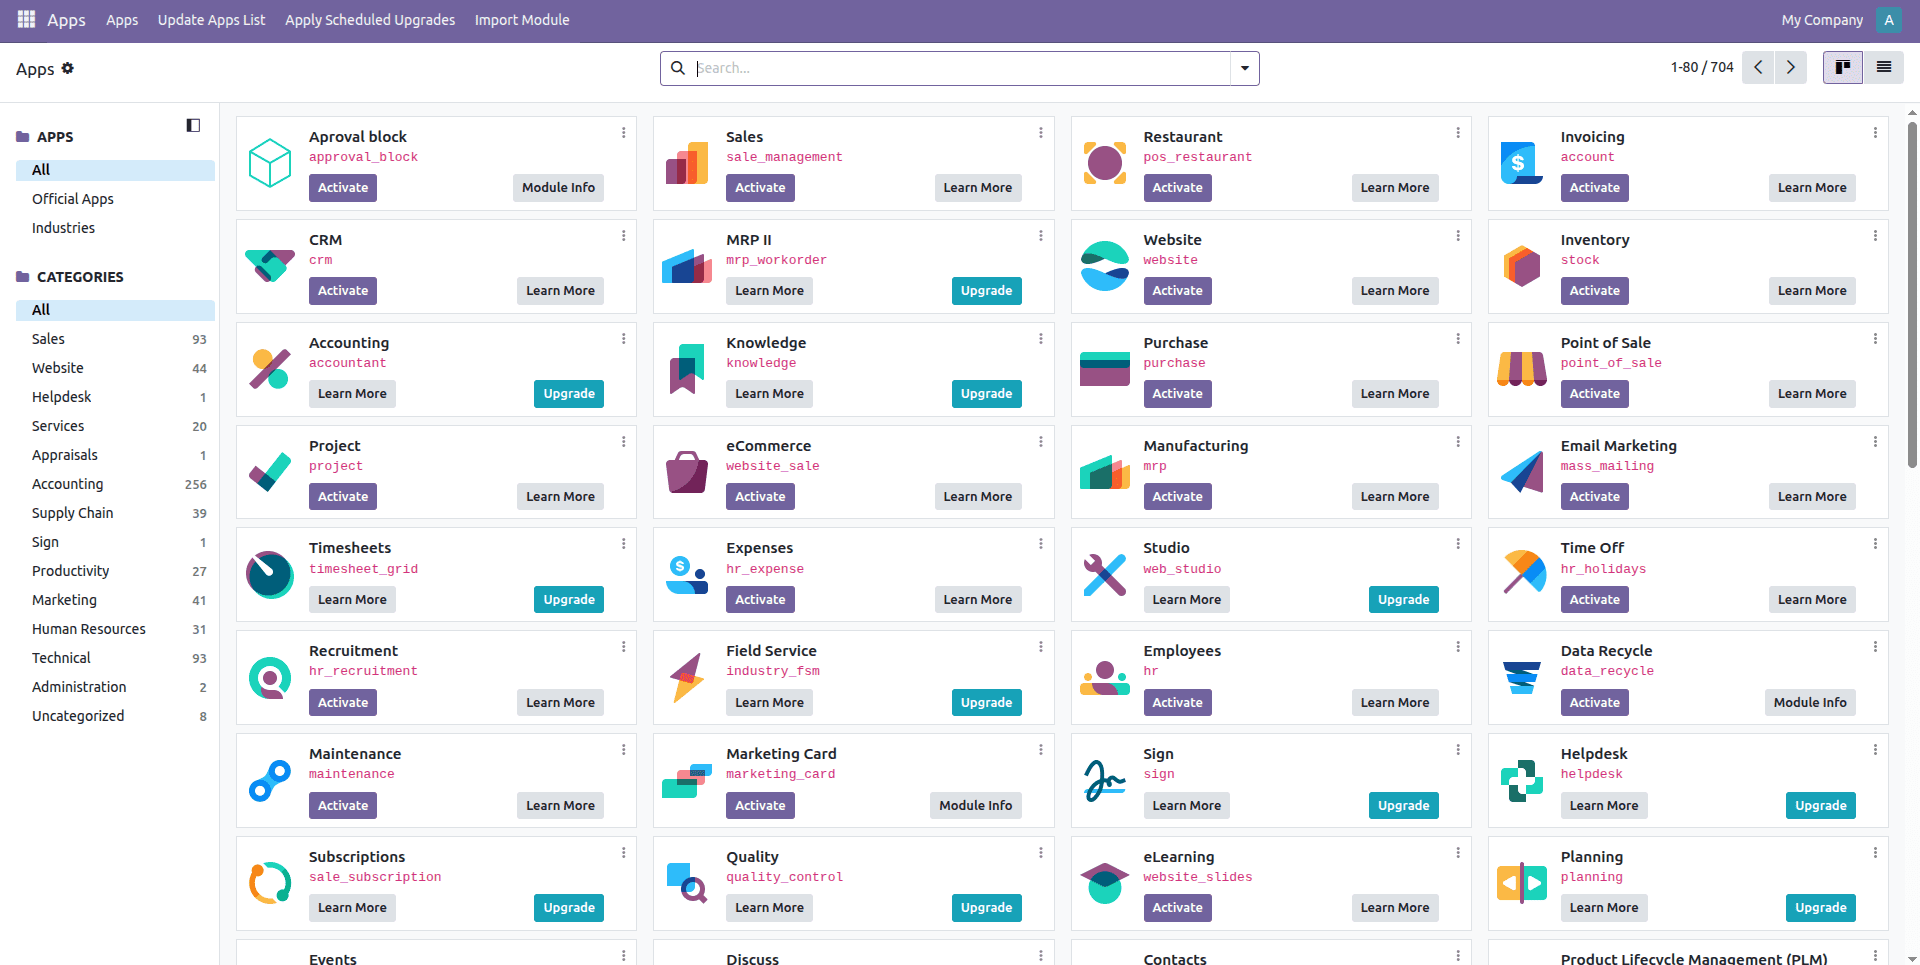
Open your instance and log in. Now do the following:
- Open the Apps menu.
- Select the "Update Apps List" option to make Odoo search for any updates.
- Locate your module in the menu; it will be displayed with the name and brief description.
- Click "Activate."
Now your module is active.
After the linking process between your instance and the repository has been completed, you can add a new module in just three easy steps: write it, upload it, and enable it. No server skills or deployment processes required.
To read more about How to Deploy Odoo In Seconds Using EasyInstance, refer to our blog How to Deploy Odoo In Seconds Using EasyInstance.