Defining and managing job positions effectively is a core step in building a structured recruitment process in Odoo 19. The Recruitment module allows organizations to create detailed job roles, specify requirements, and track hiring progress from application to onboarding. A well-defined job position ensures clarity for both recruiters and applicants, helping align expectations with organizational goals. In Odoo 19, users can configure job positions with essential details, including job title, department, location, responsibilities, and required skills. Additionally, features such as job position templates, automated workflows, and integration with other HR modules streamline the hiring process. By structuring job roles properly, companies can streamline hiring, attract better candidates, and maintain consistency across departments. Understanding how to define and manage these positions is crucial for HR teams aiming to optimize recruitment operations and ensure a smooth hiring experience within the Odoo ecosystem.
Create a New Job Position:
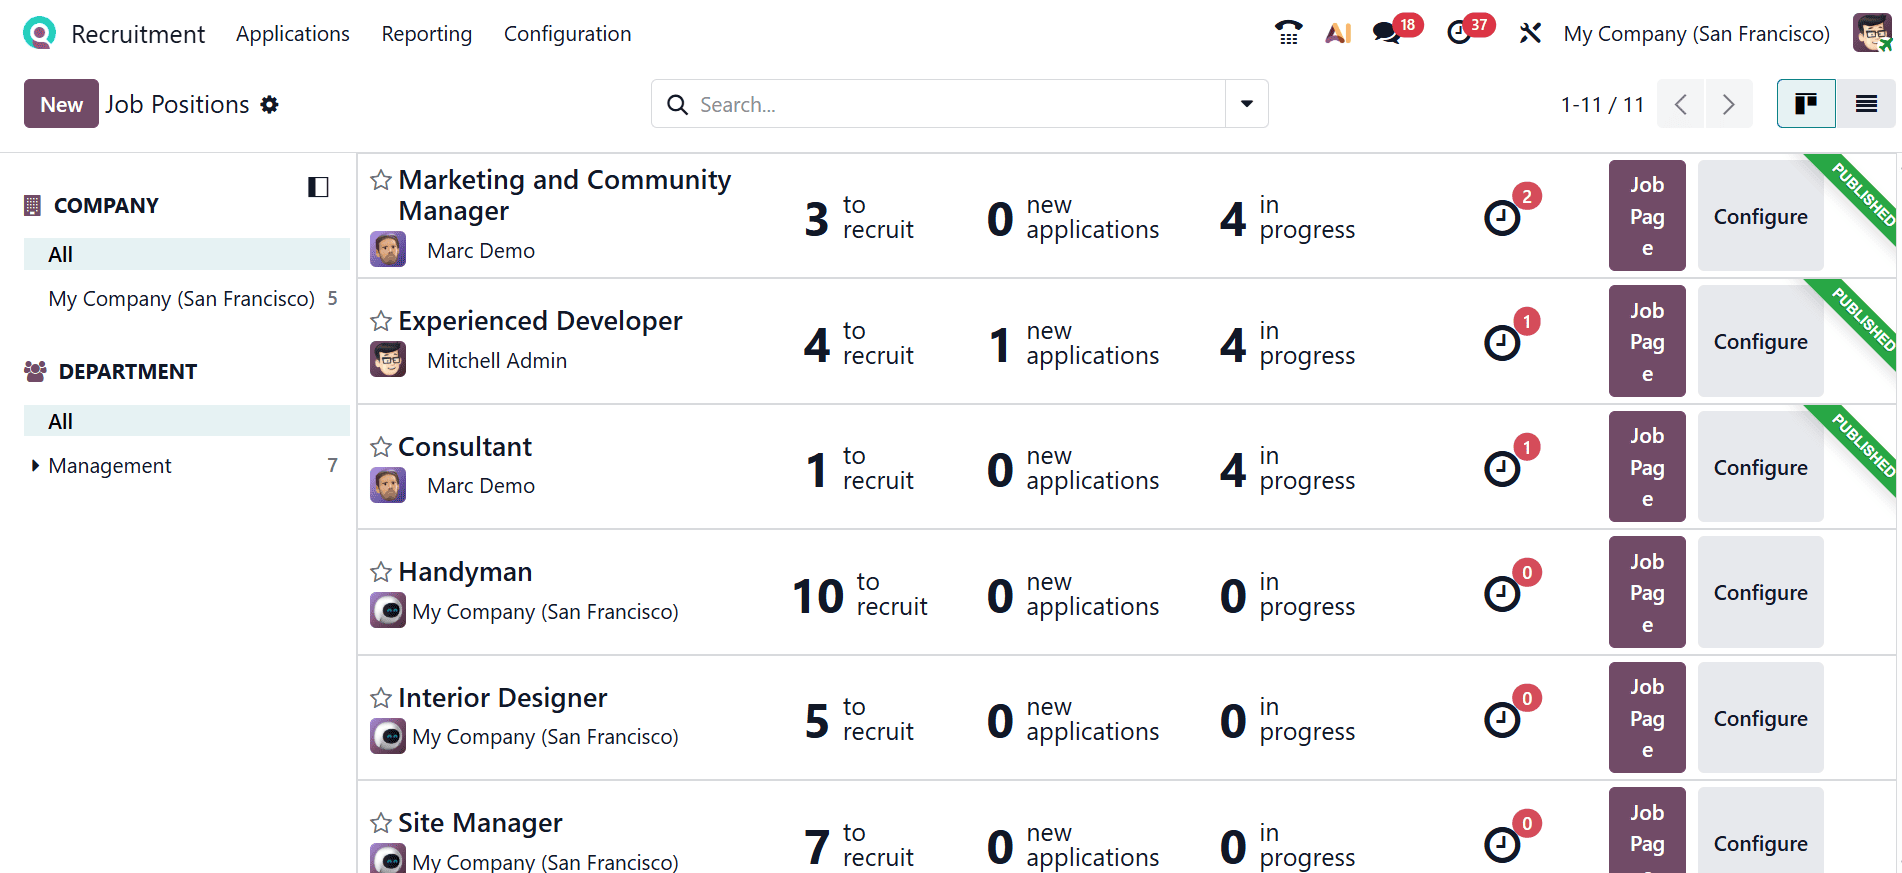
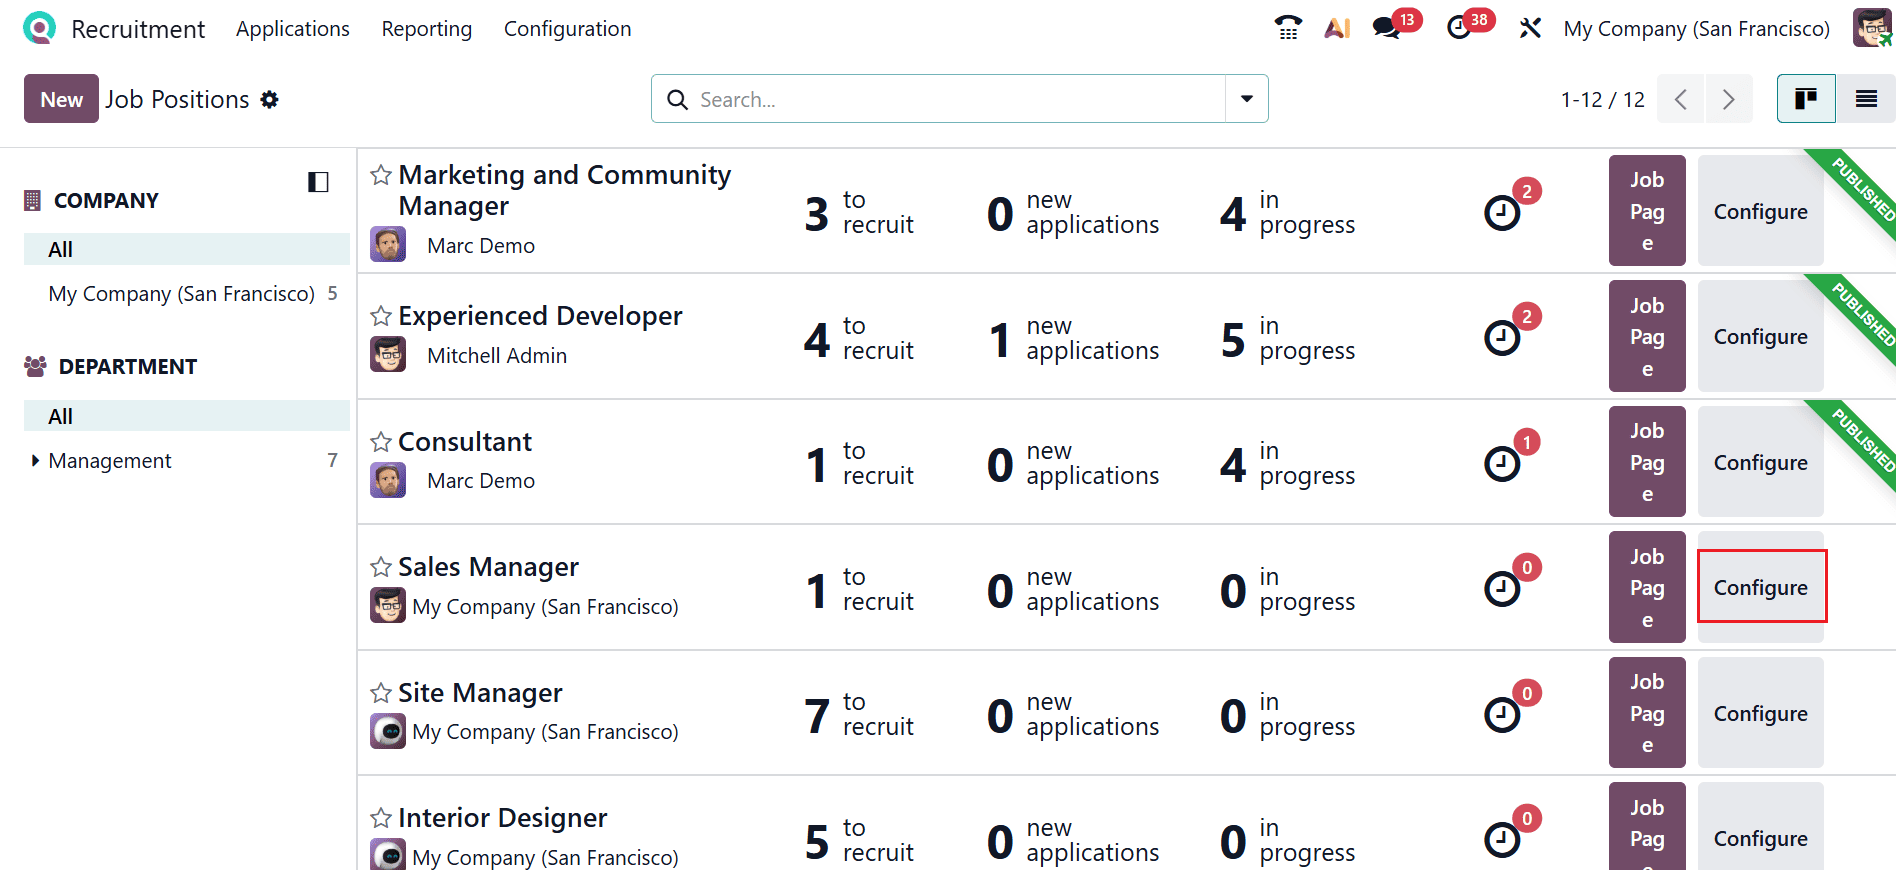
Firstly, open the Recruitment module from the Odoo 19 dashboard. By default, the main dashboard shows all the job positions in a kanban card view with details including the number to recruit, new applications, and in-progress recruitments. You can review the activity, job page, and job position settings, while the left panel provides information about the company and department. You can also analyze whether the job position is published or unpublished.
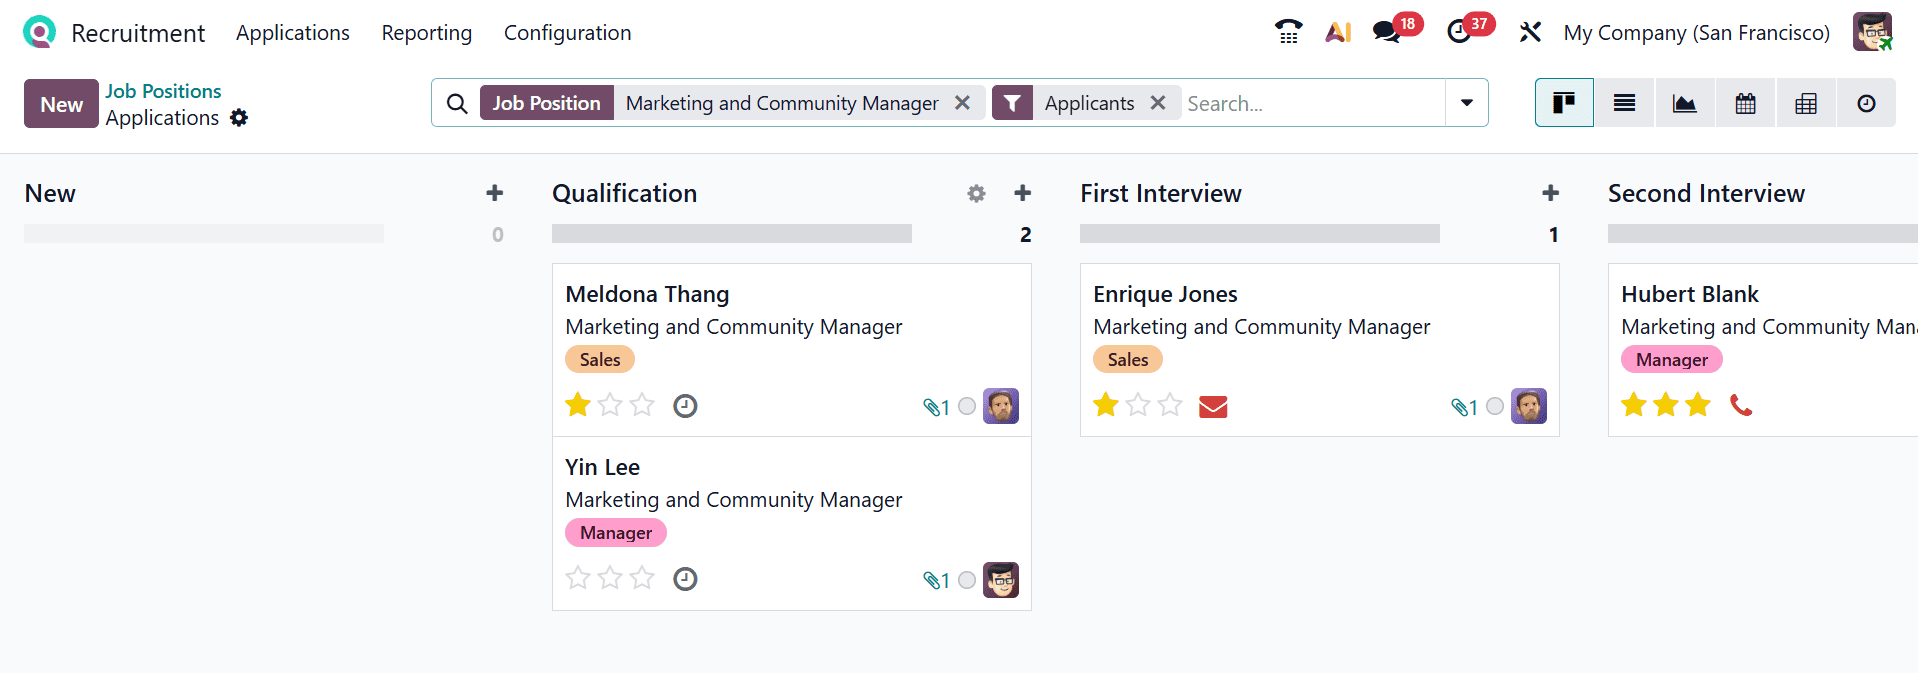
As you move through each job position, a new window appears, as shown below, where you can view the recruitment status of candidates.
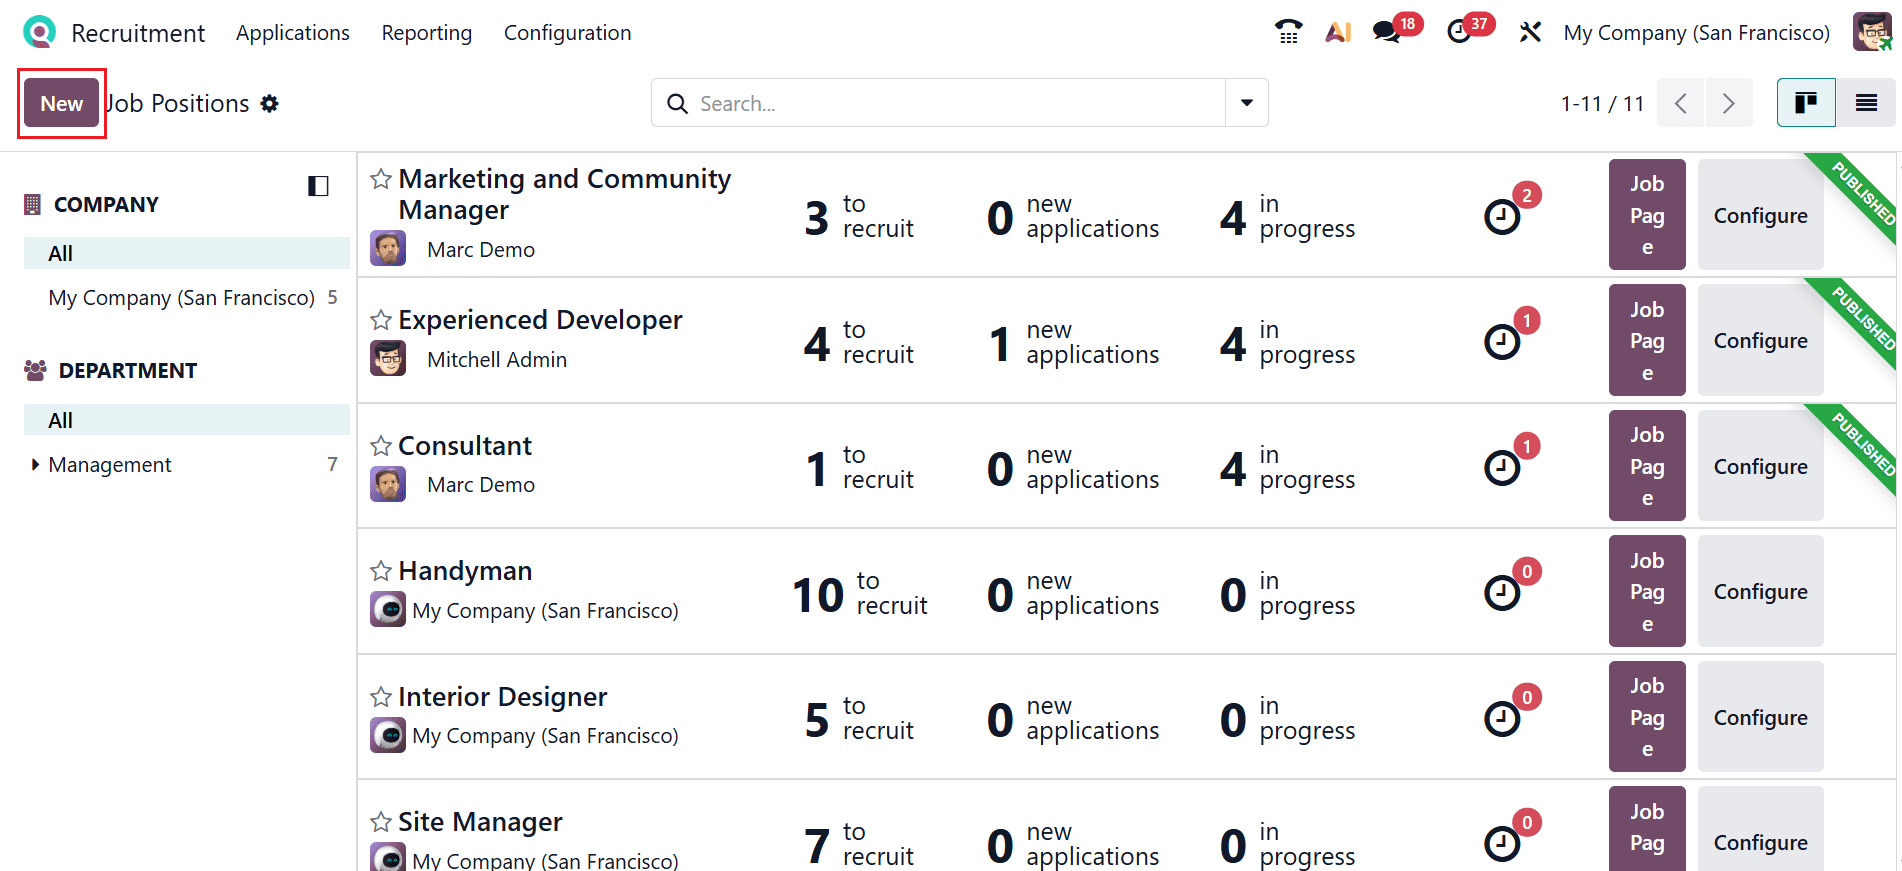
To add a new job position, select the New button located at the top of the screen, as shown below.
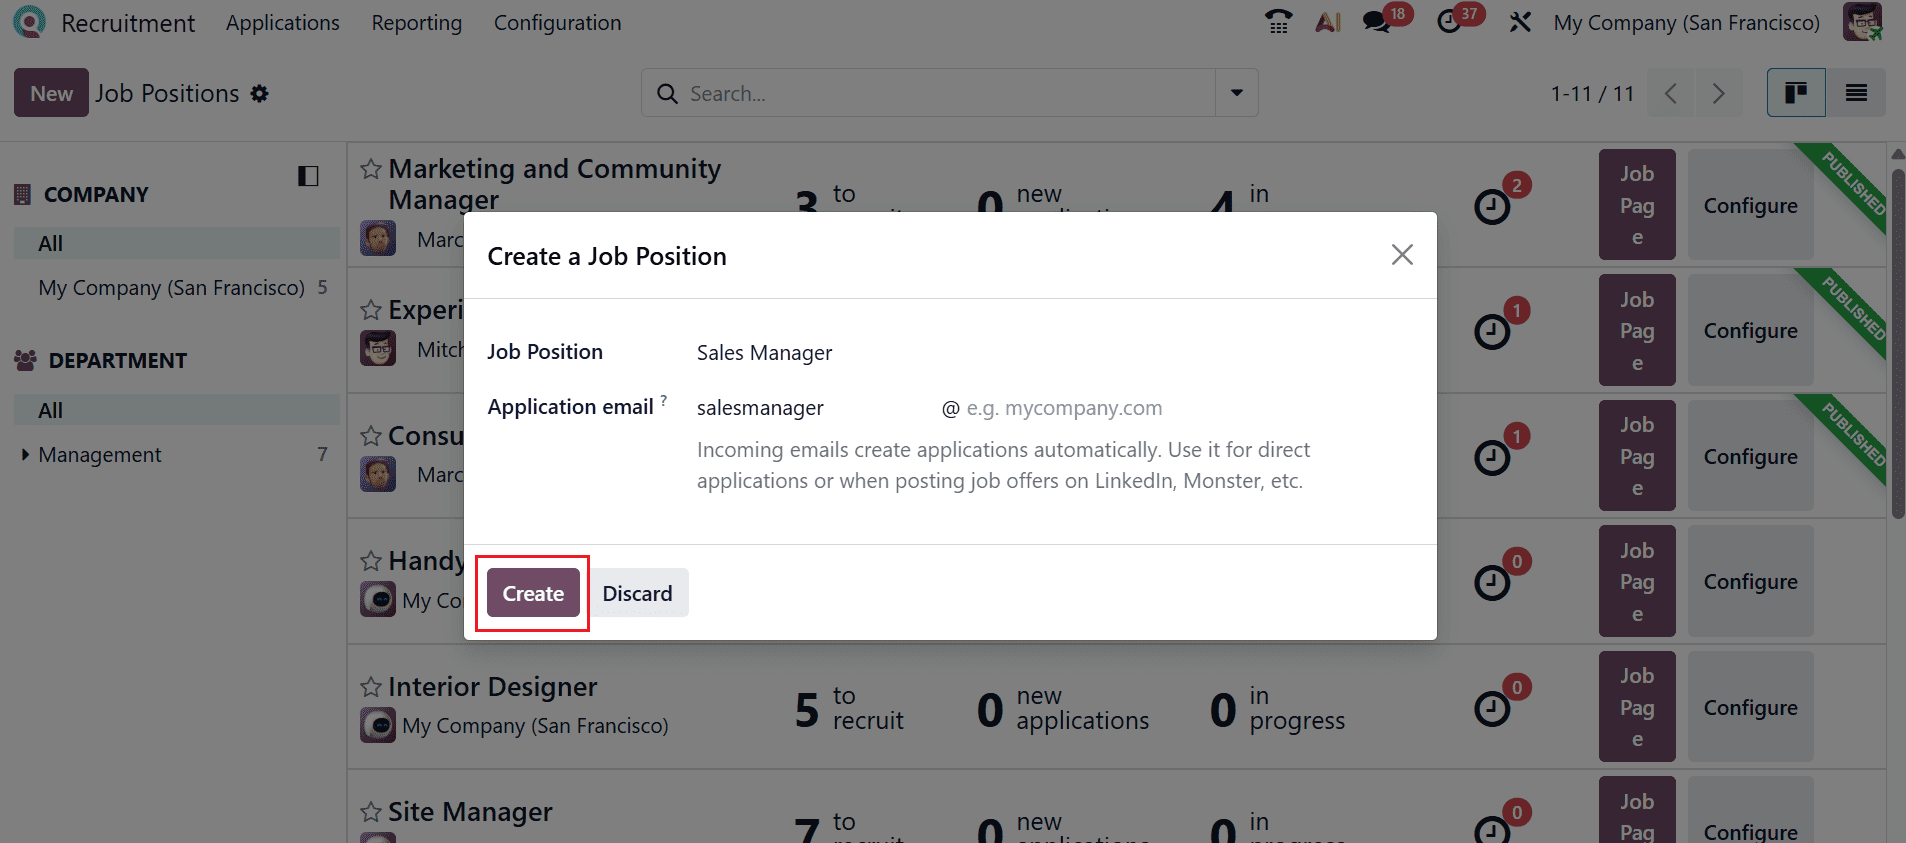
A new pop-up window appears, allowing you to select Sales Manager as the Job Position and enter an email in the Application Email field. Then, click on the Create button as shown below:
The Sales Manager job position you created is now displayed on the dashboard. To configure the job position, click the Configure button, as shown below.
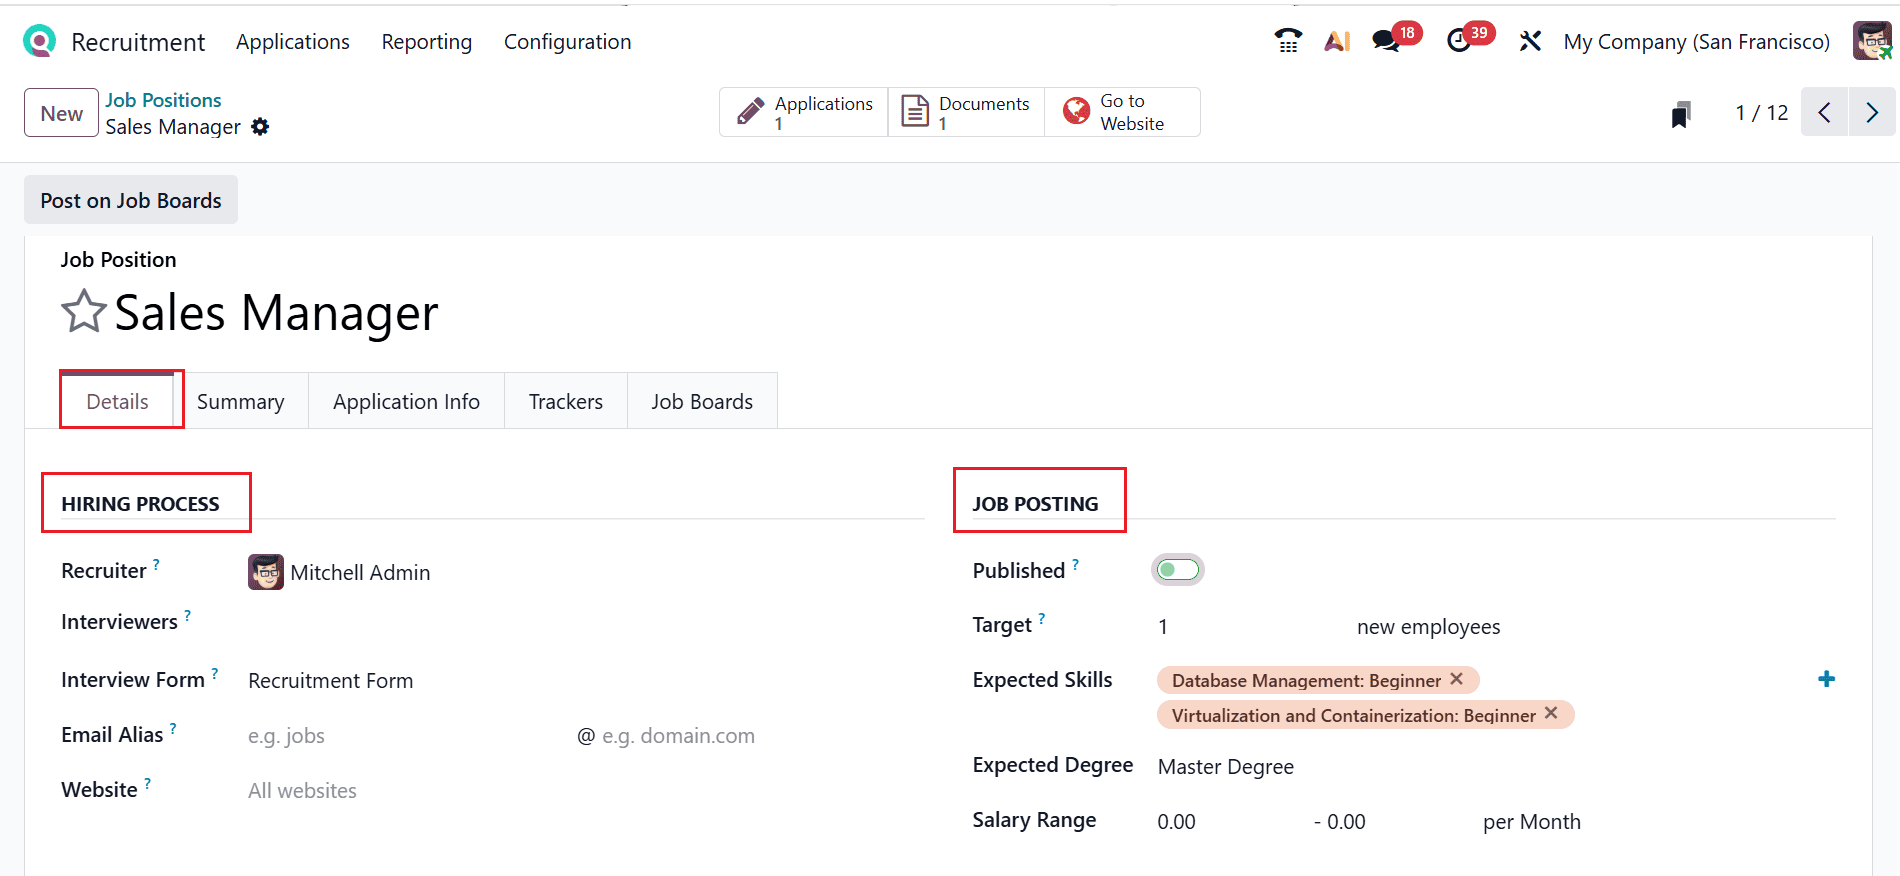
A new window will open where you can configure the newly created job position. It includes five tabs: Details, Summary, Application Info, Trackers, and Job Boards. The Details tab is further divided into four sections: Hiring Process, Job Posting, Job, and Contract.
Under the Hiring Process sections, you can add details such as Interviewers, Email Alias, and Website. Select the Interview Form as the Recruitment Form. Under the Job Posting section, you can add the details such as target number of new employees, Expected Skills, Expected Degree, and Salary Range. After providing all the necessary details, enable the Published option to publish the job position. Under the Job section, Company and Job Location will be automatically updated. If needed, you can mention the Department of the job position. In the Contract section, specify details such as Employment Type, Working Schedule, and Contract Template.

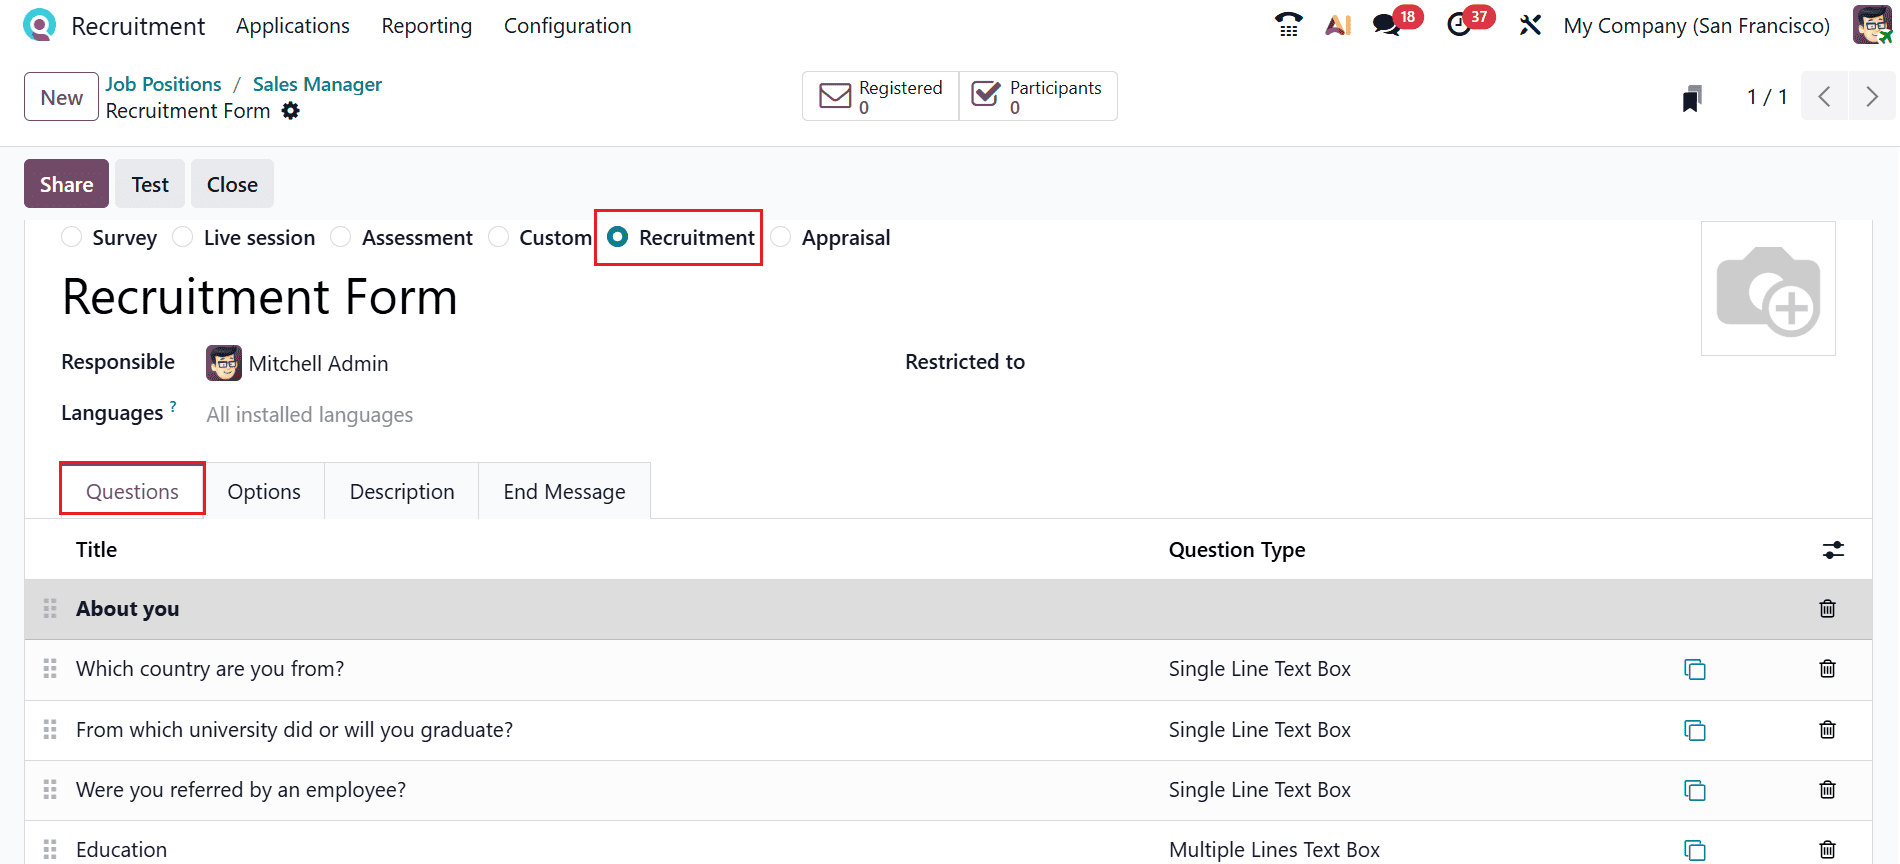
Next, open the internal link for the Recruitment Form, where you can also set up a new recruitment form. The Question tab provides various types of interview questions and also allows you to add new ones by clicking the Add a line button.
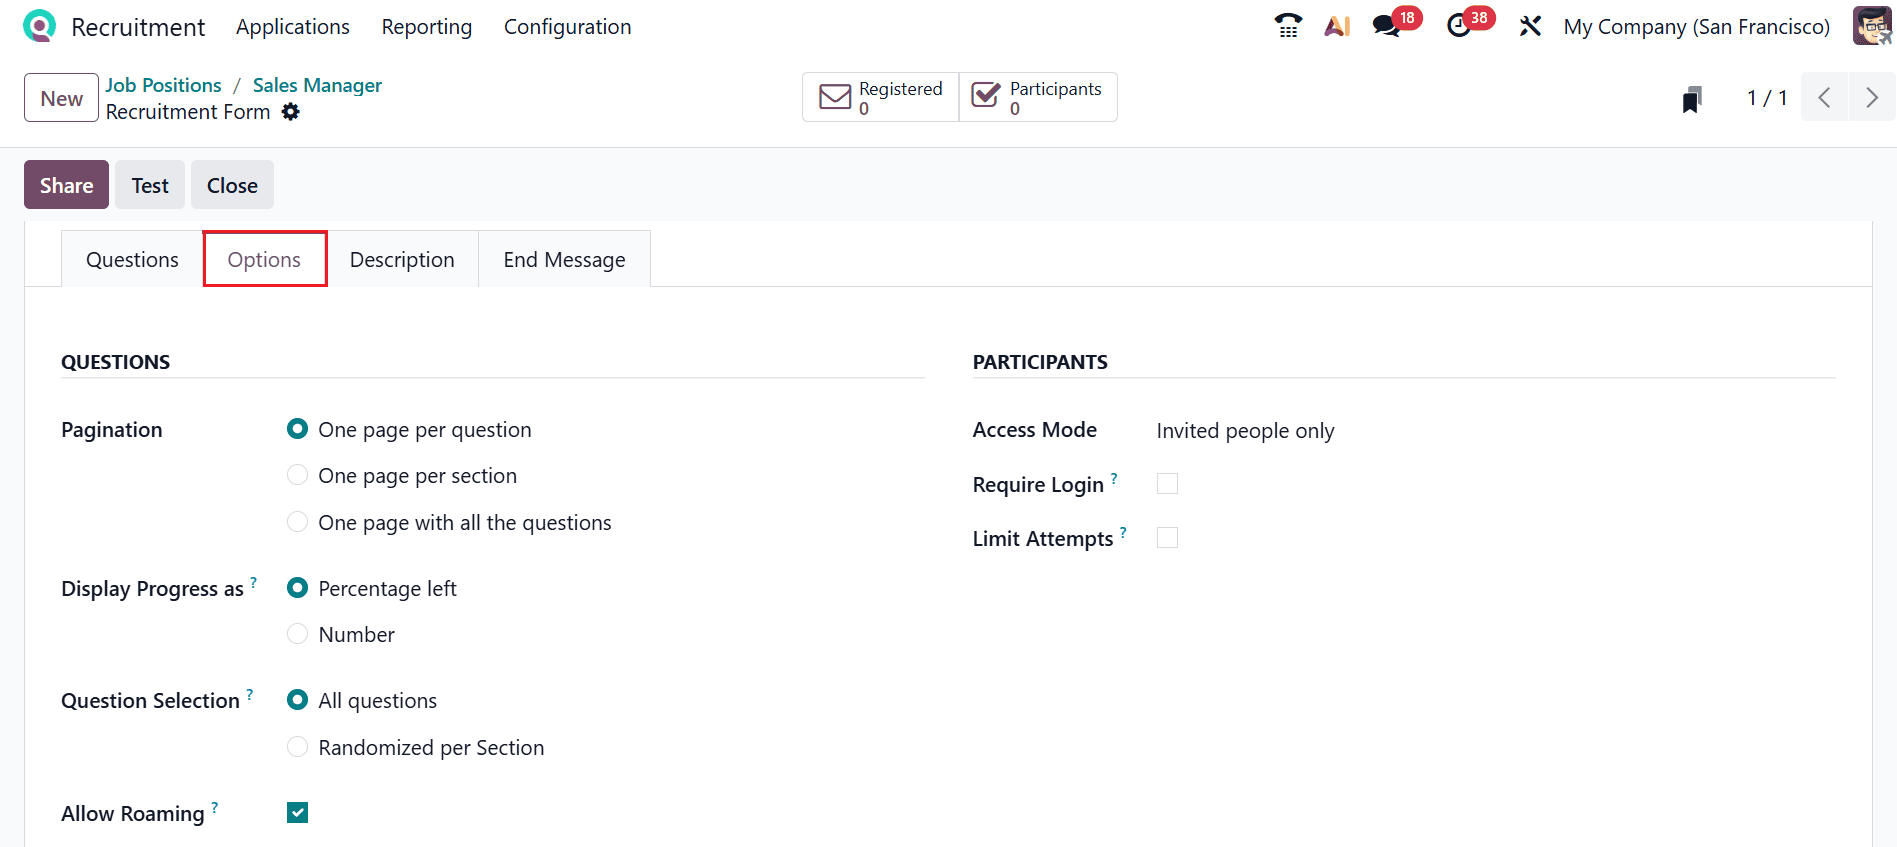
In the Options tab, you can set up form configurations and manage access permissions. Here, you can see three sections: Questions, Participants, and Time & Scoring. Under the Questions section, add the details such as Pagination, Display Progress as, and Question Selection. Enable the Allow Roaming option to allow users to return to previous pages. Under the Participants section, add the details such as Access Mode, Require Login, and Limit Attempts. Under the Time & Scoring section, set the Survey Time Limit and choose the Scoring option.

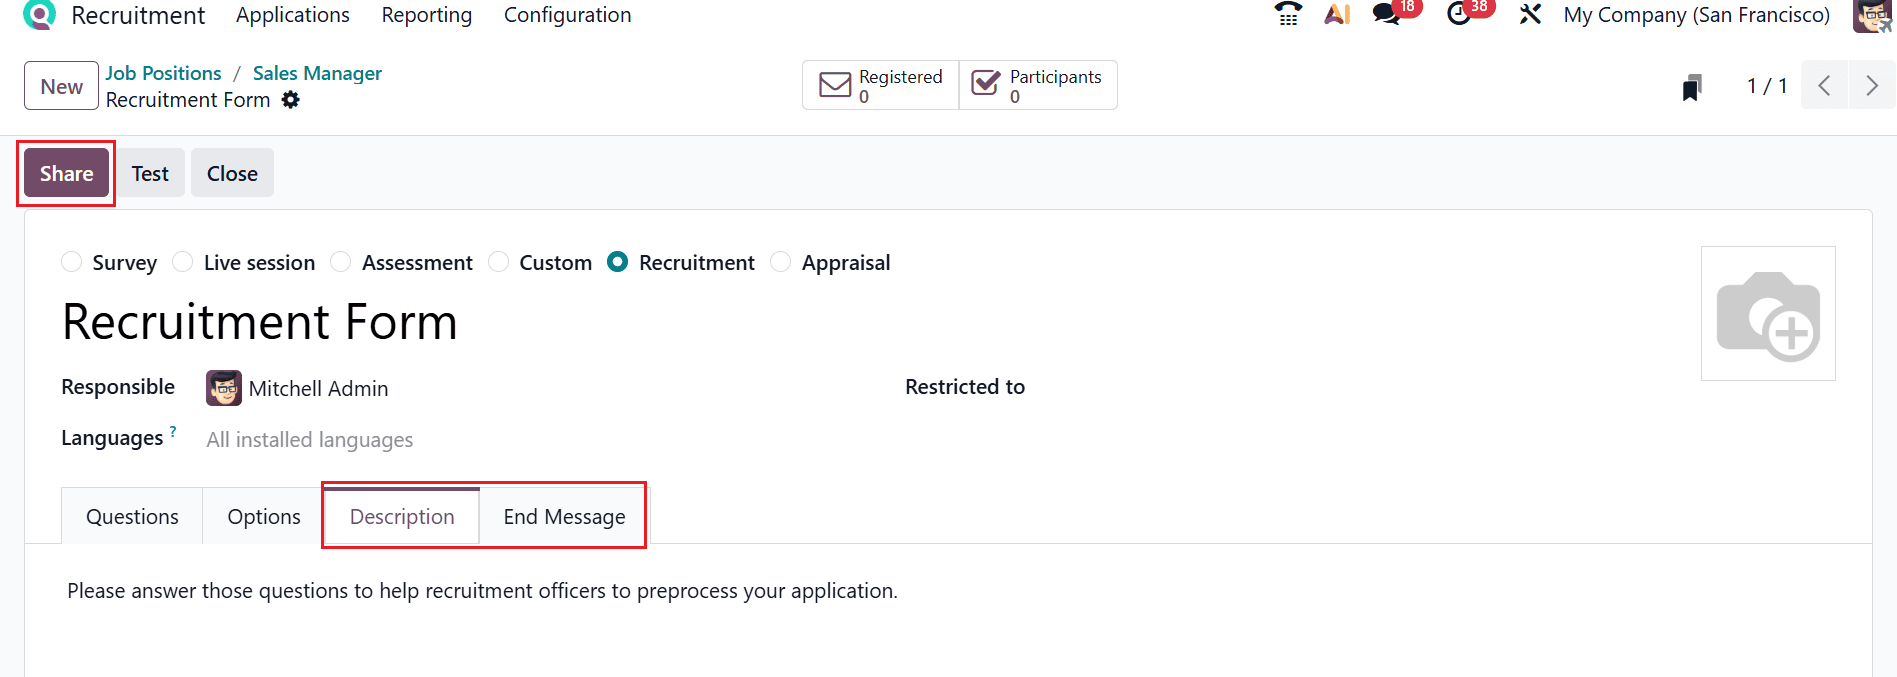
The Description tab is used to provide an introduction to the form, while the End Message tab displays a message to participants after they submit the form. Once completed, click the Share button.
A new pop-up window appears, enabling you to share the form by selecting the desired recipients and clicking the Send button, as shown below.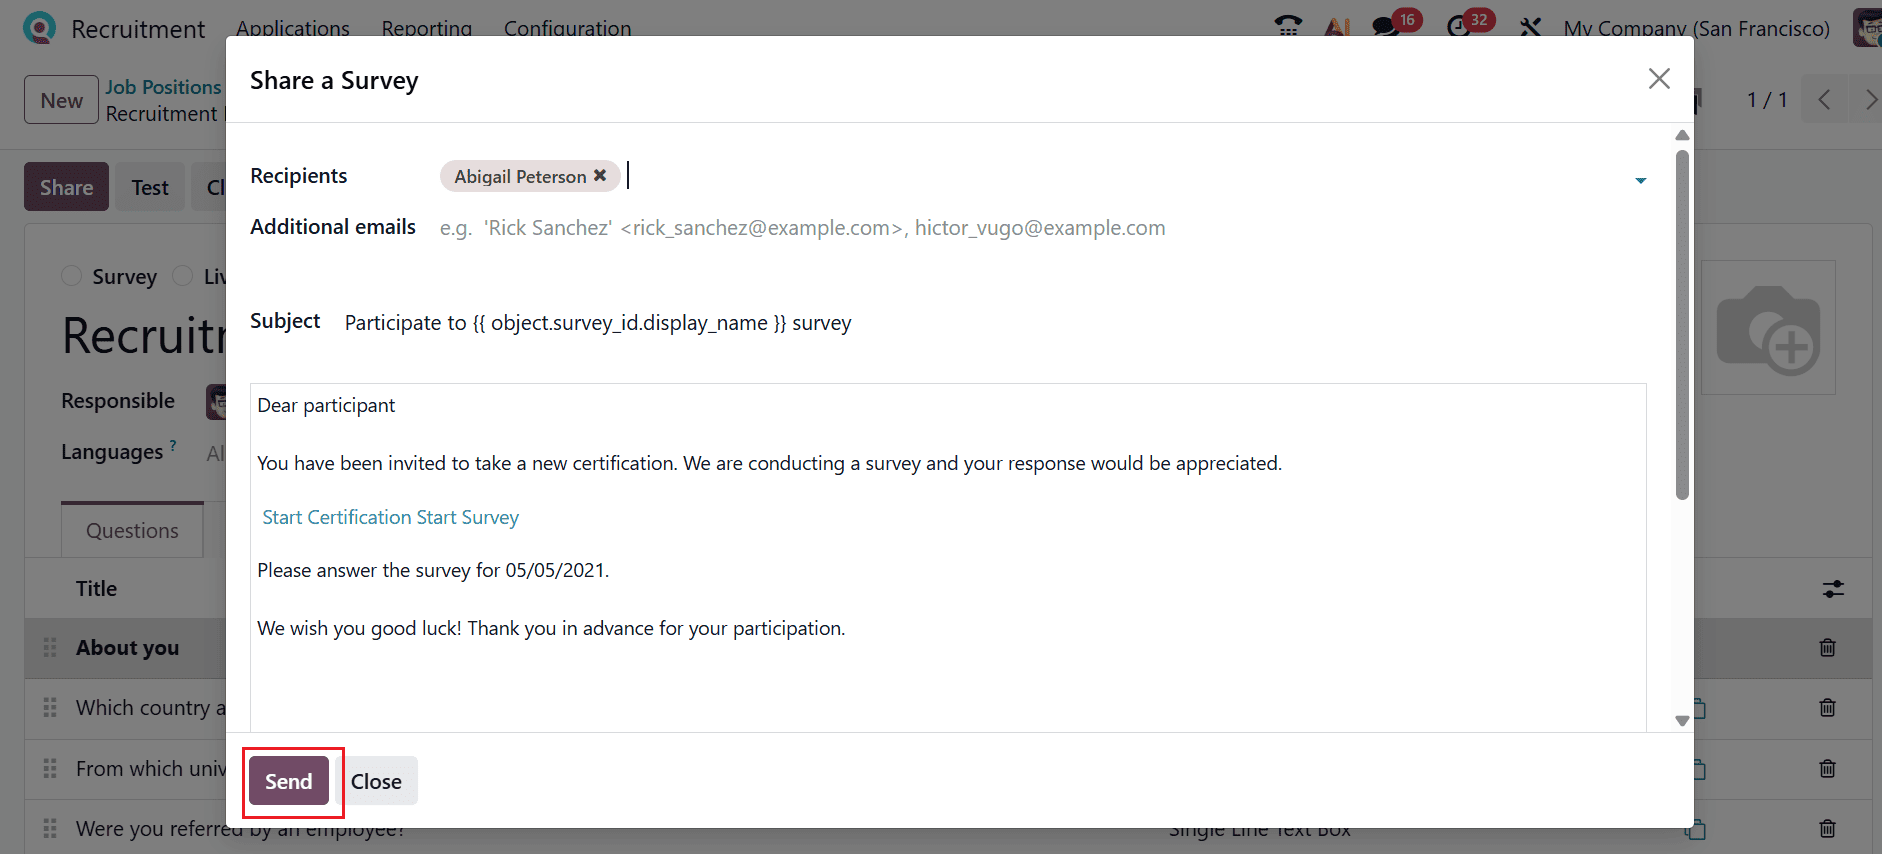
In the Summary tab, you can provide a detailed description of the job position.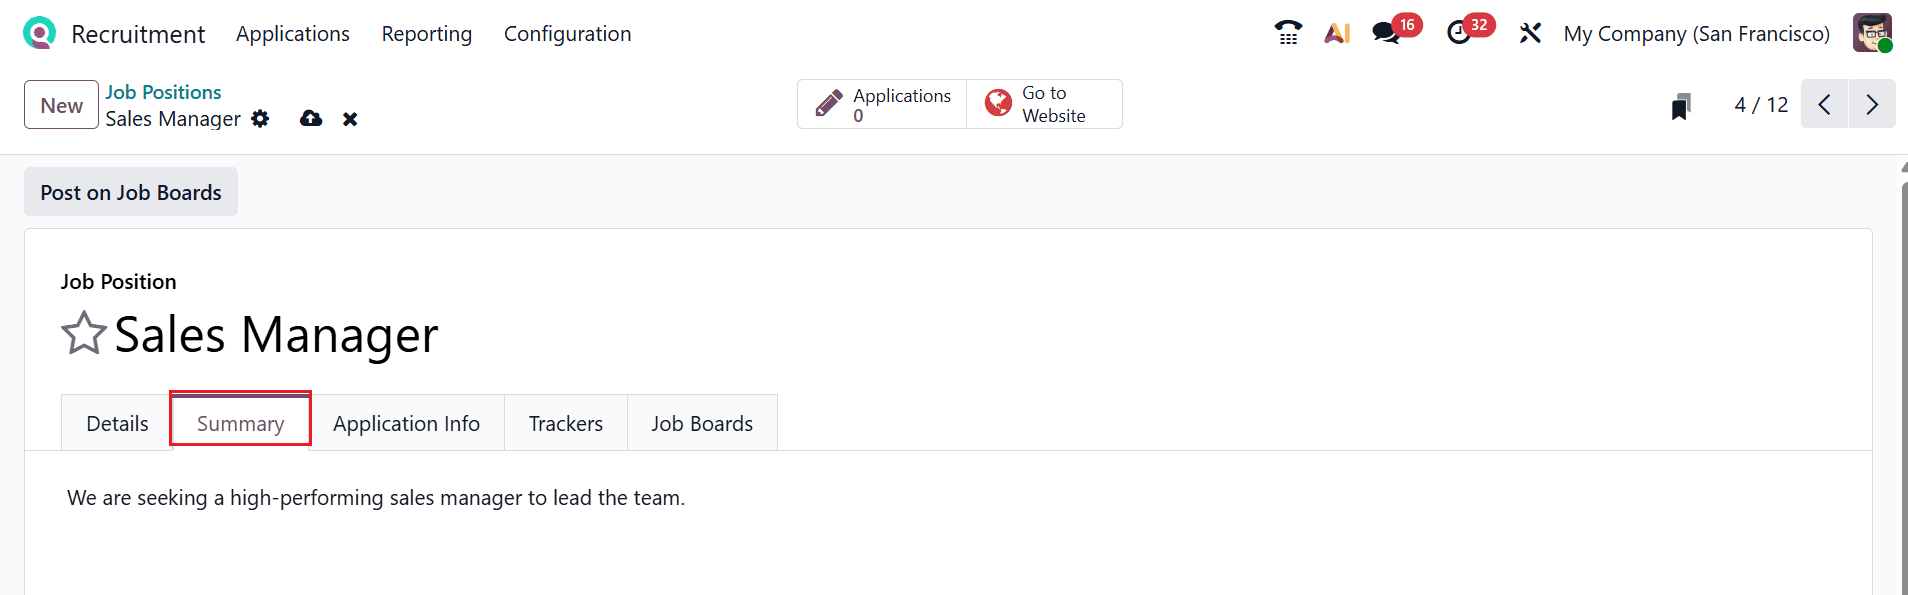
In the Application Info tab, you can view the processing details related to the job position.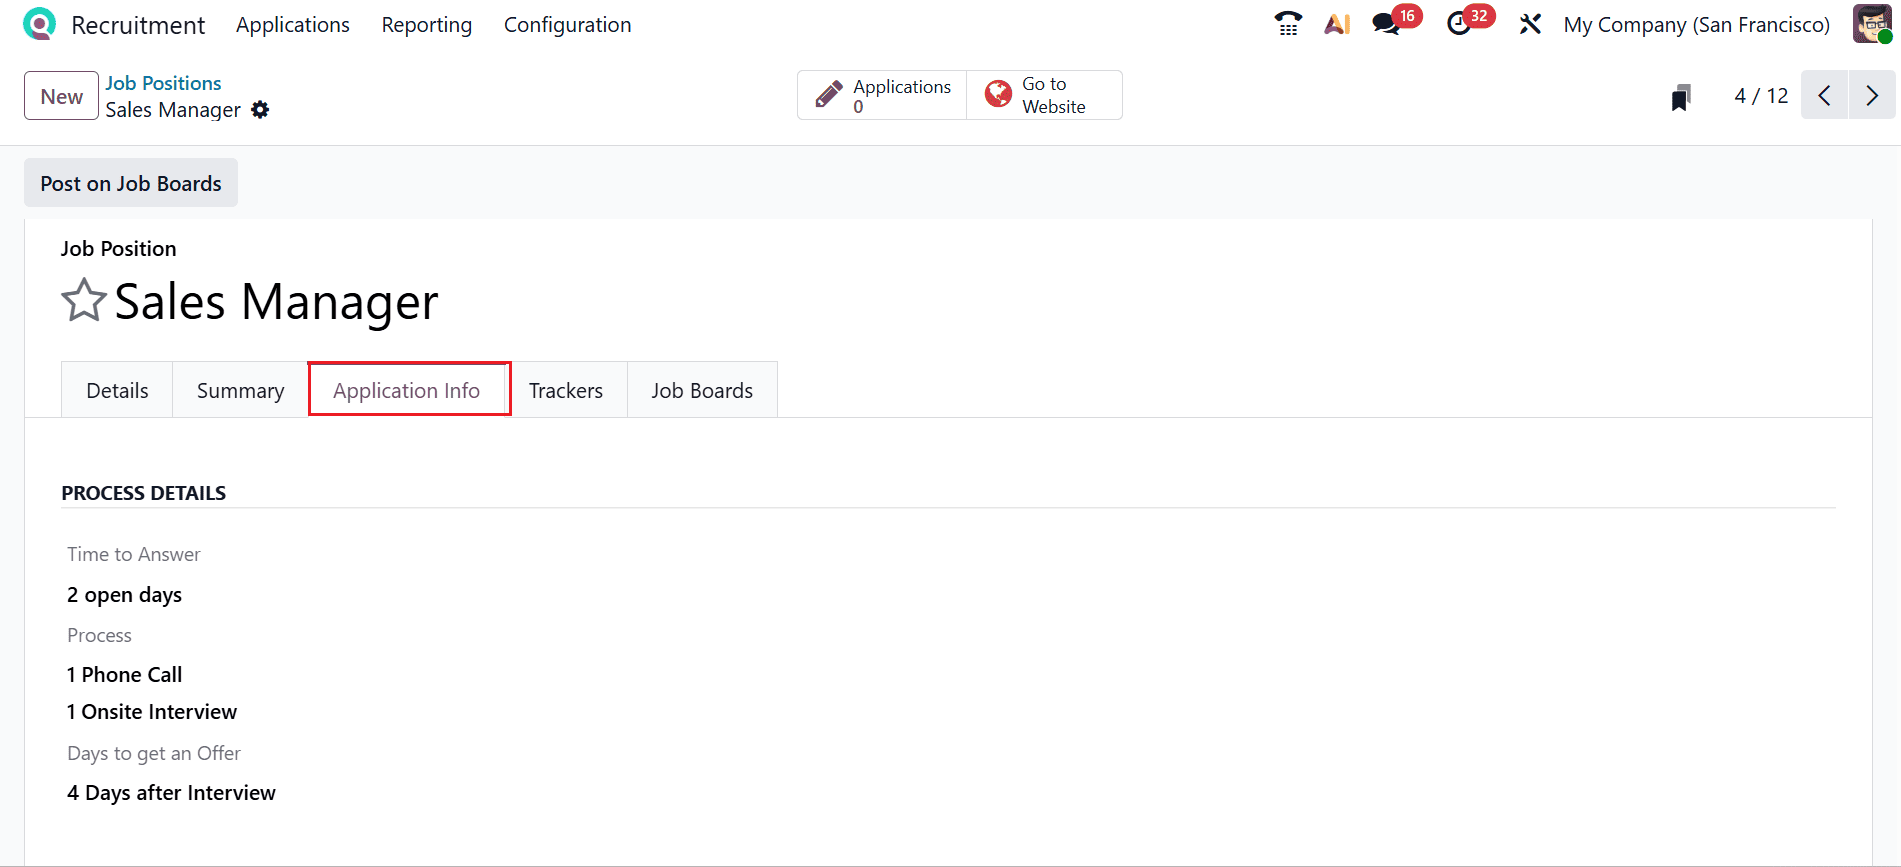
In the Trackers tab, you can track how applications are received for the specific job. Select Add a line to add details such as Campaign, Source, Medium, Tracker URL, and Email.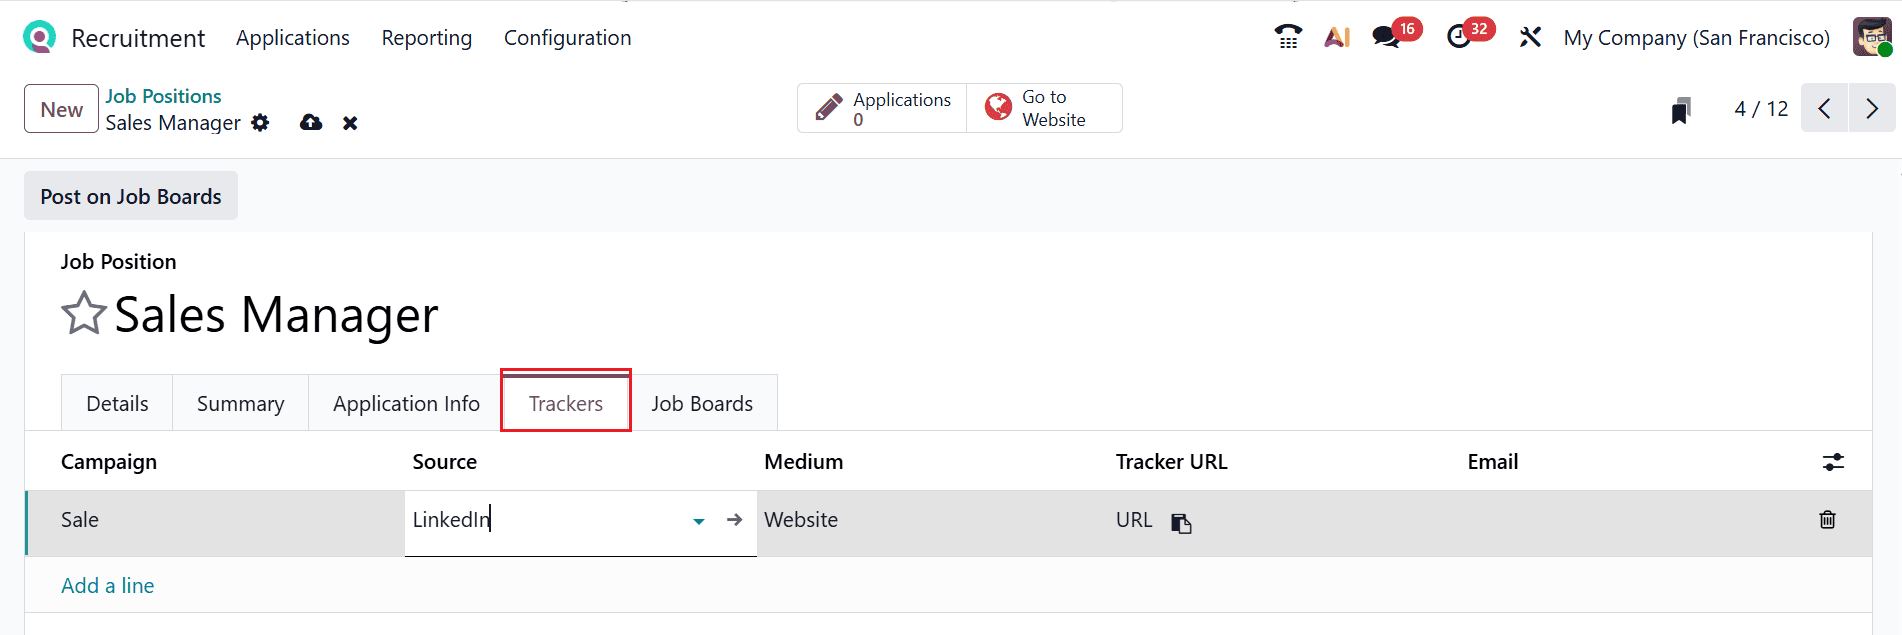
In the Job Boards tab, you can define the platforms and settings for publishing the job.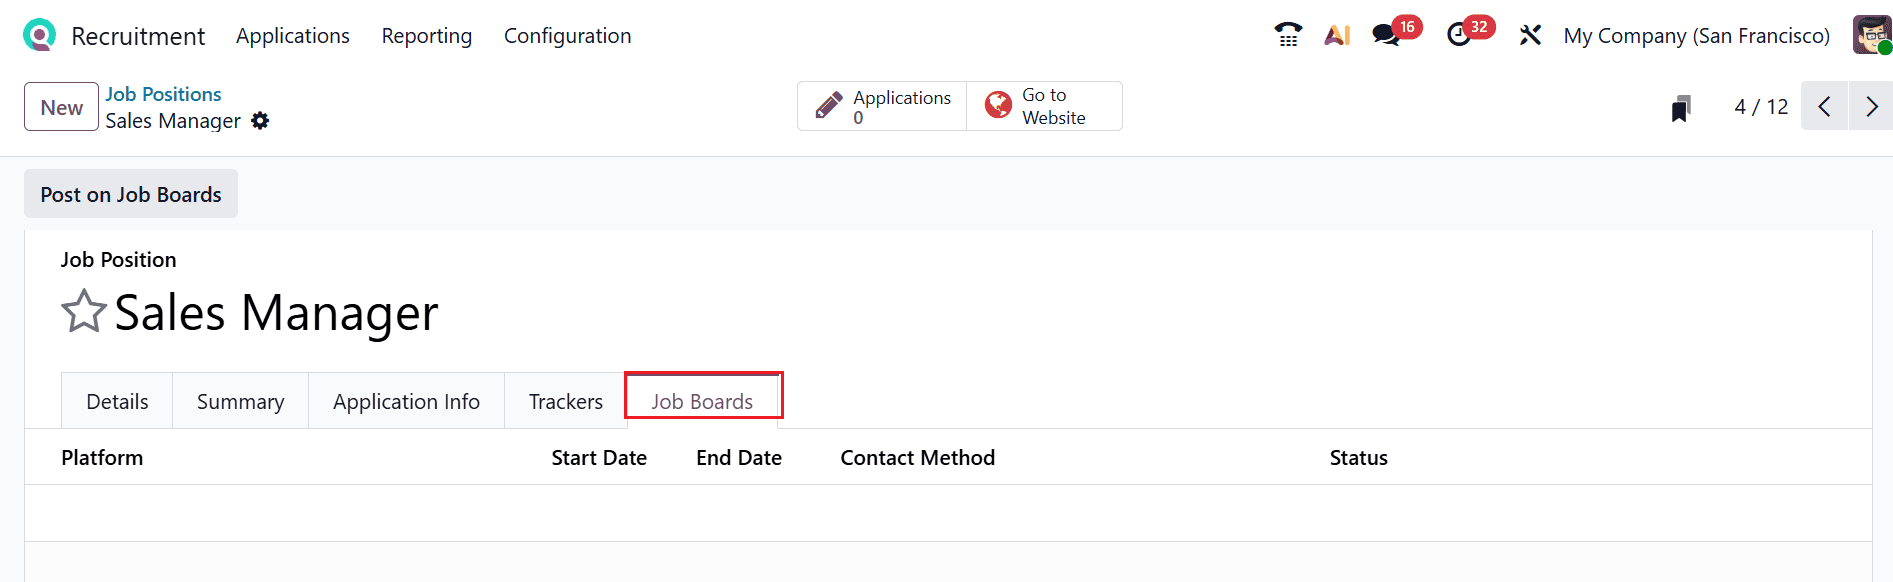
In the Job Posting section, switch on the Published toggle to publish the job position on the website.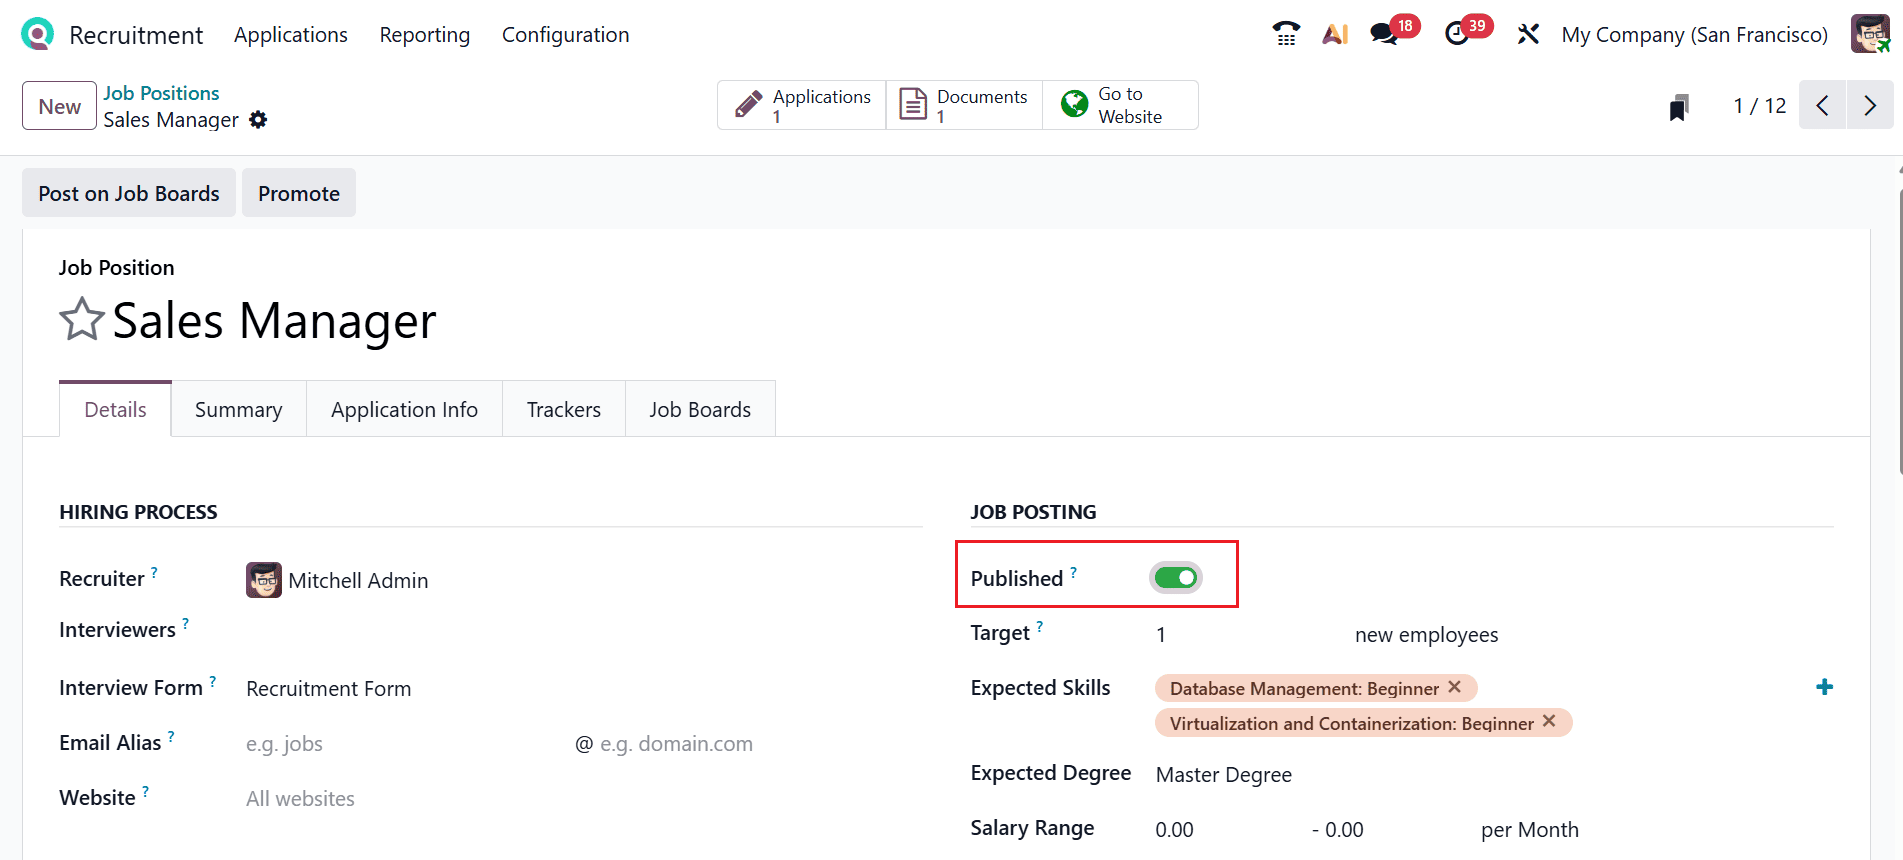
Let’s create a job application for the newly created job position by Marc Demo. Open the Marc Demo profile and move to the Website module. Click on the + button and select the Job option to view all the job positions. Choose the Sales Manager job position, as illustrated below: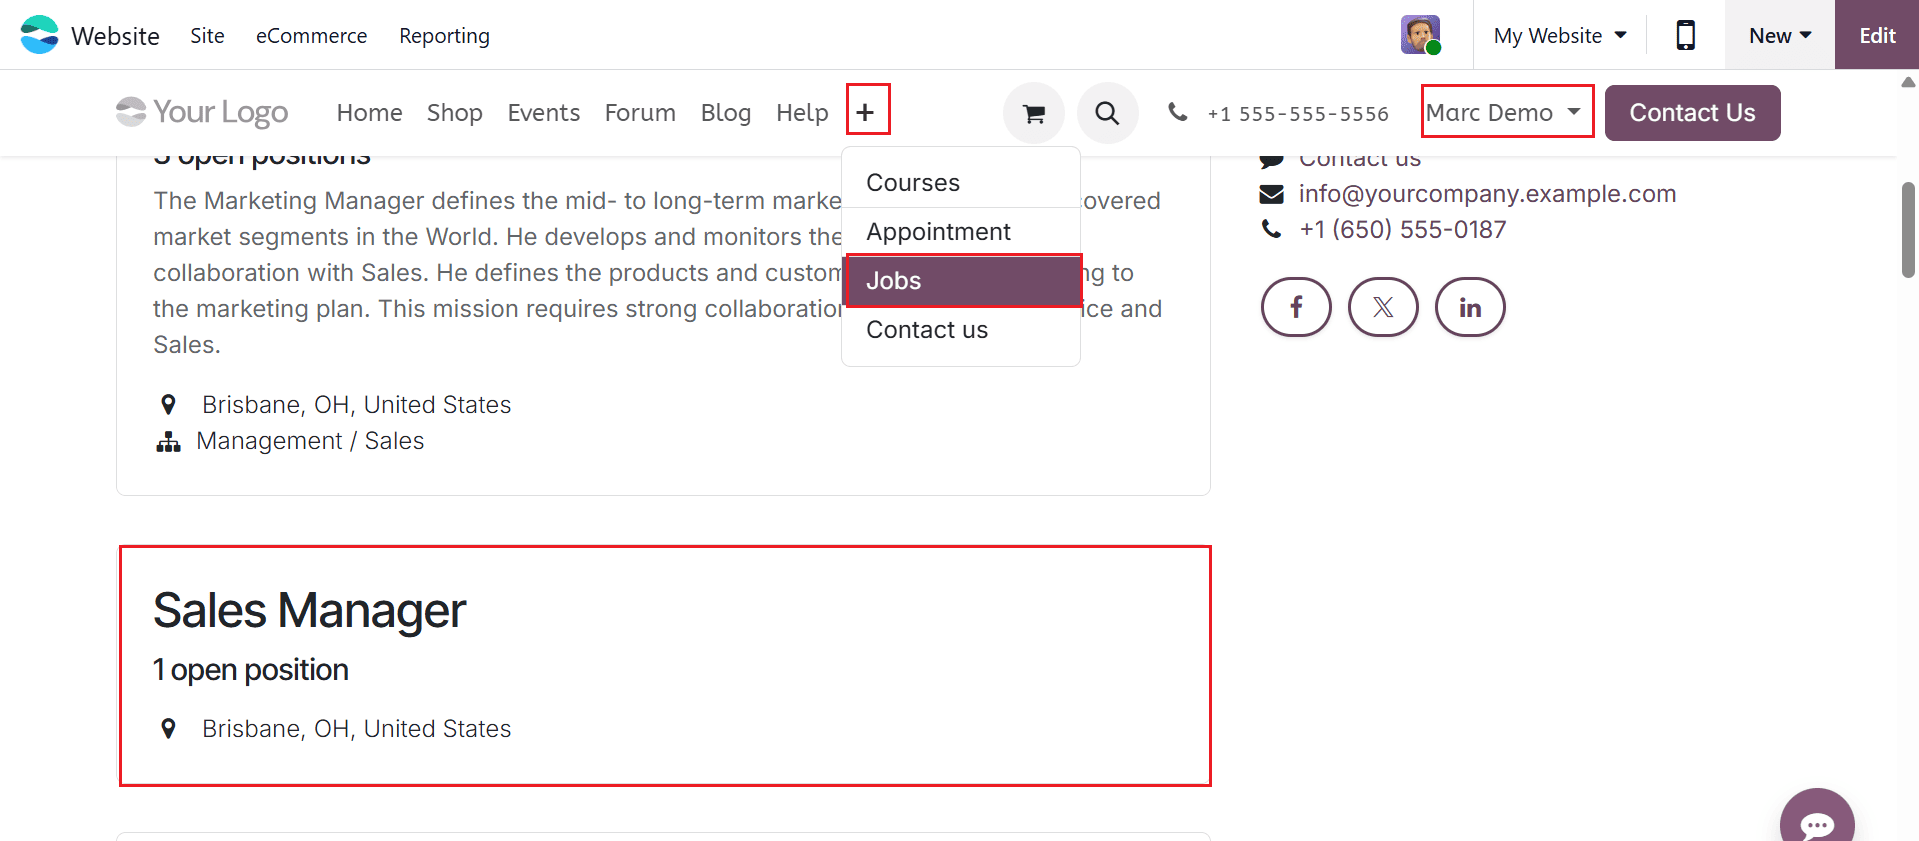
To proceed with the Sales Manager job application, click the Apply Now button, as illustrated below: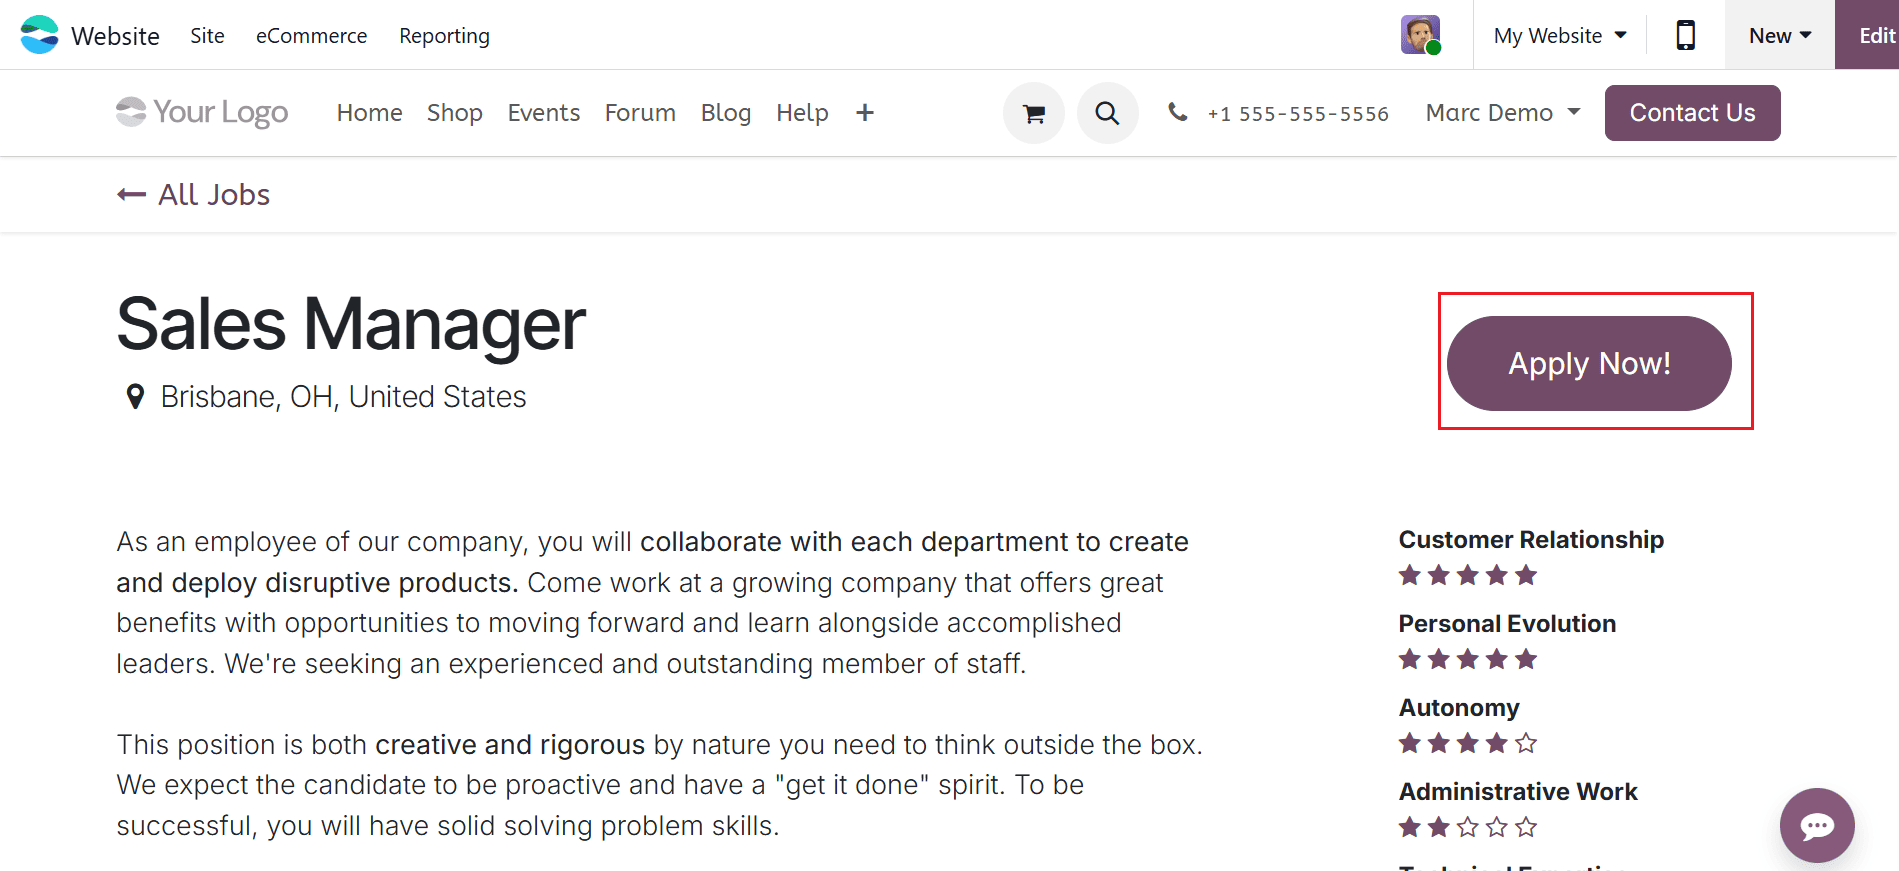
Here, the Job Application Form for the Marc Demo appears, with the job description displayed on the right side of the screen. To proceed with the application, enter the necessary details and click the I’m Feeling Lucky button.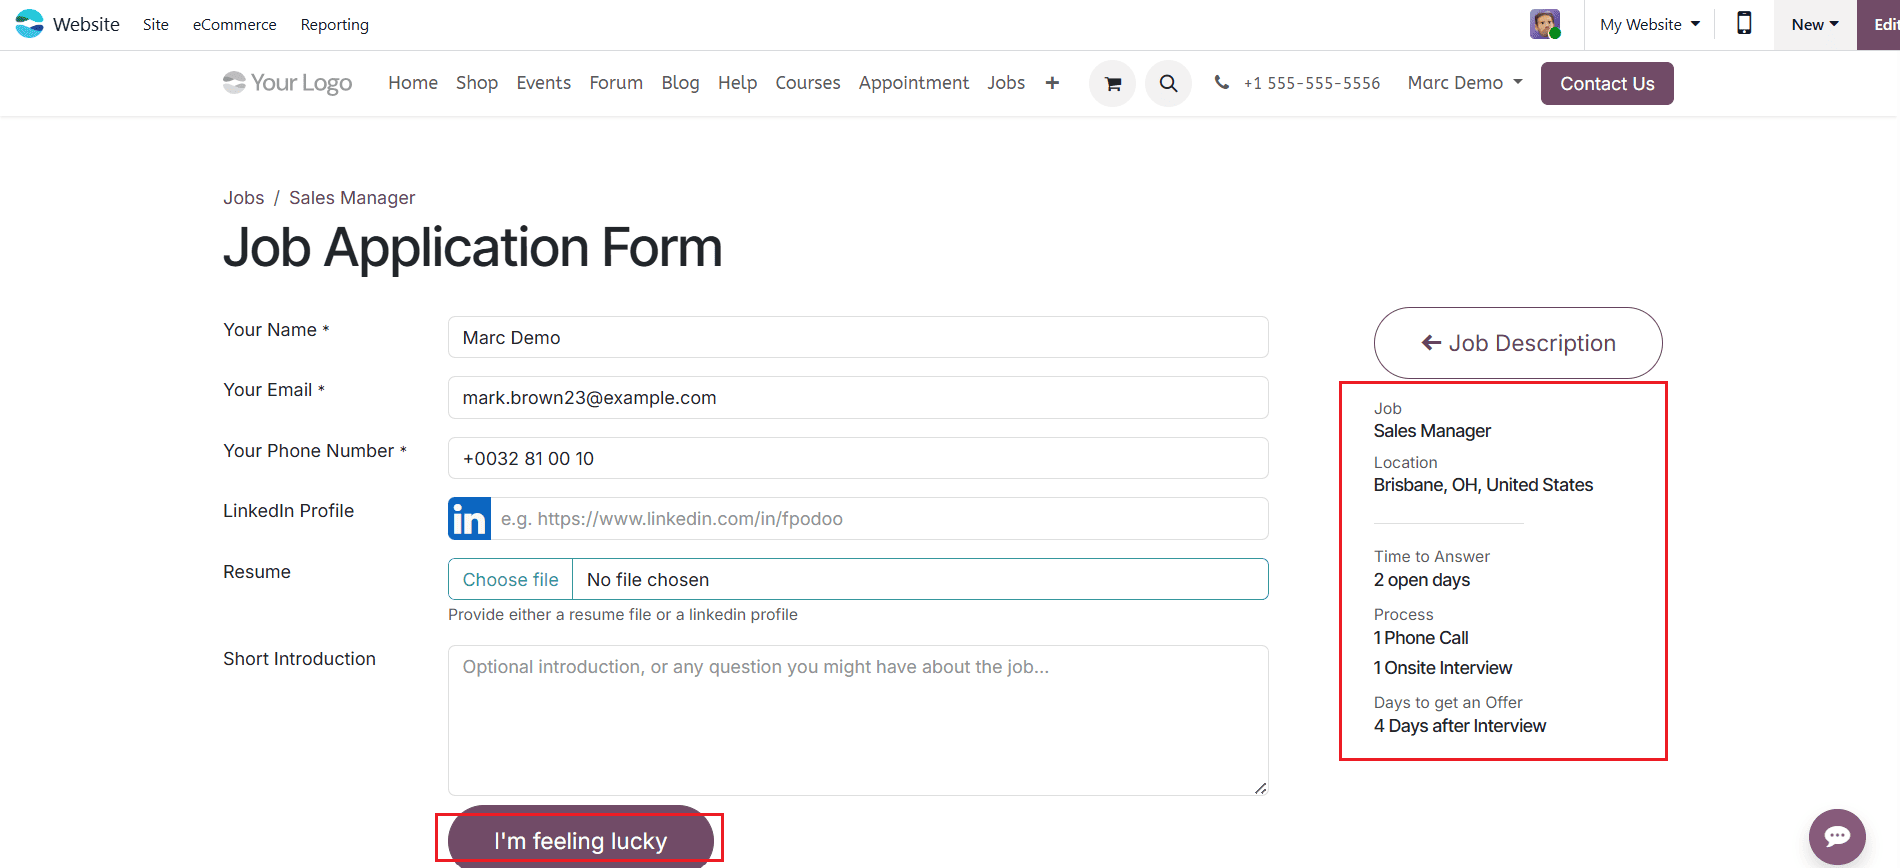
Then, log in to the Mitchell Admin profile and open the Recruitment module. From the dashboard, you can view the updated status of the job position. Then, select the Sales Manager job position to view the new job application.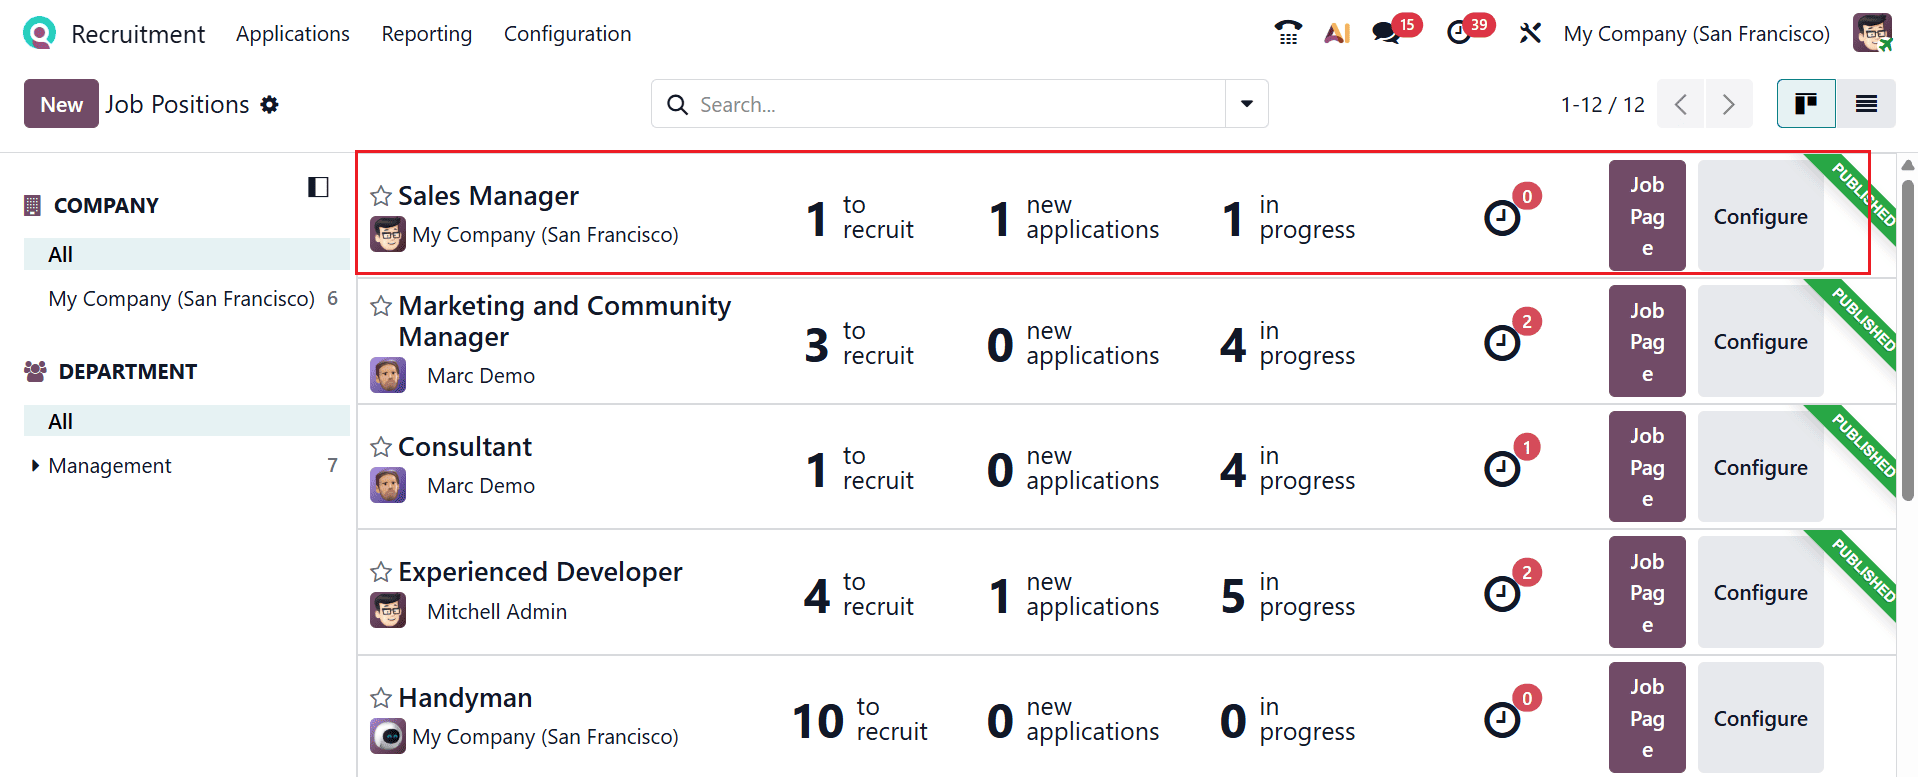
A new window will open where you can view the new job application done by Marc Demo, which is in the New stage. Click the New button to manually create a new application for the selected job position, as shown below.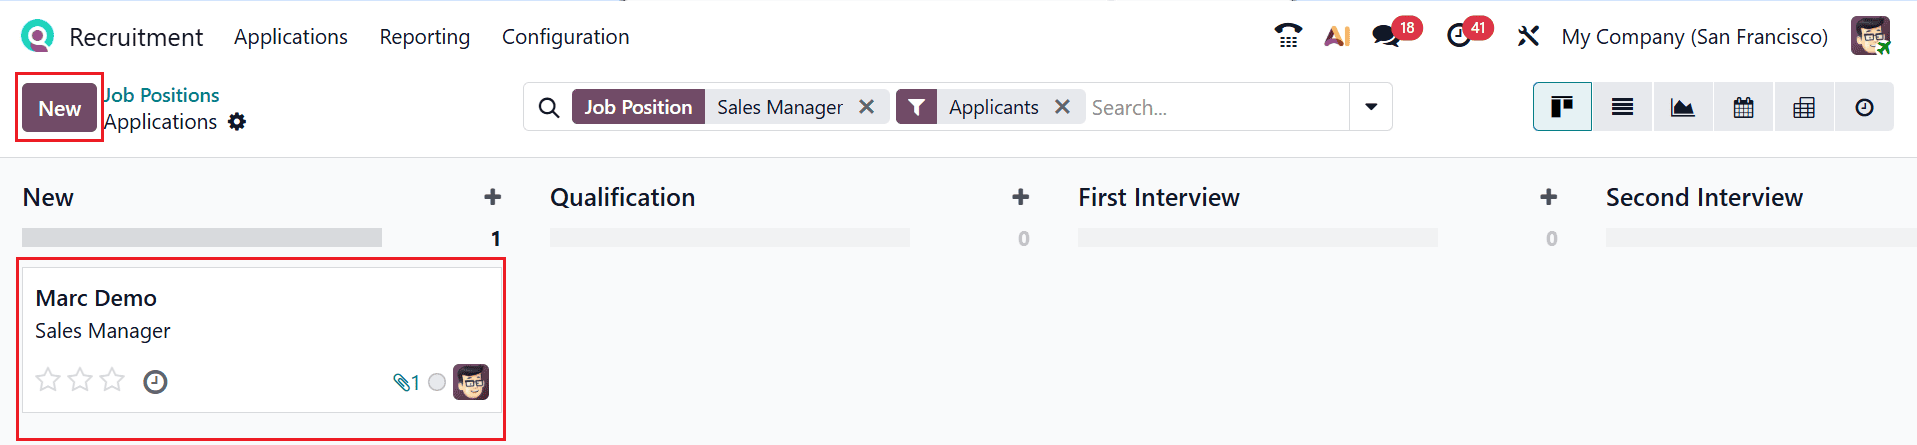
A new window will open, allowing you to enter the applicant’s name and fill in the required details. Then, save it.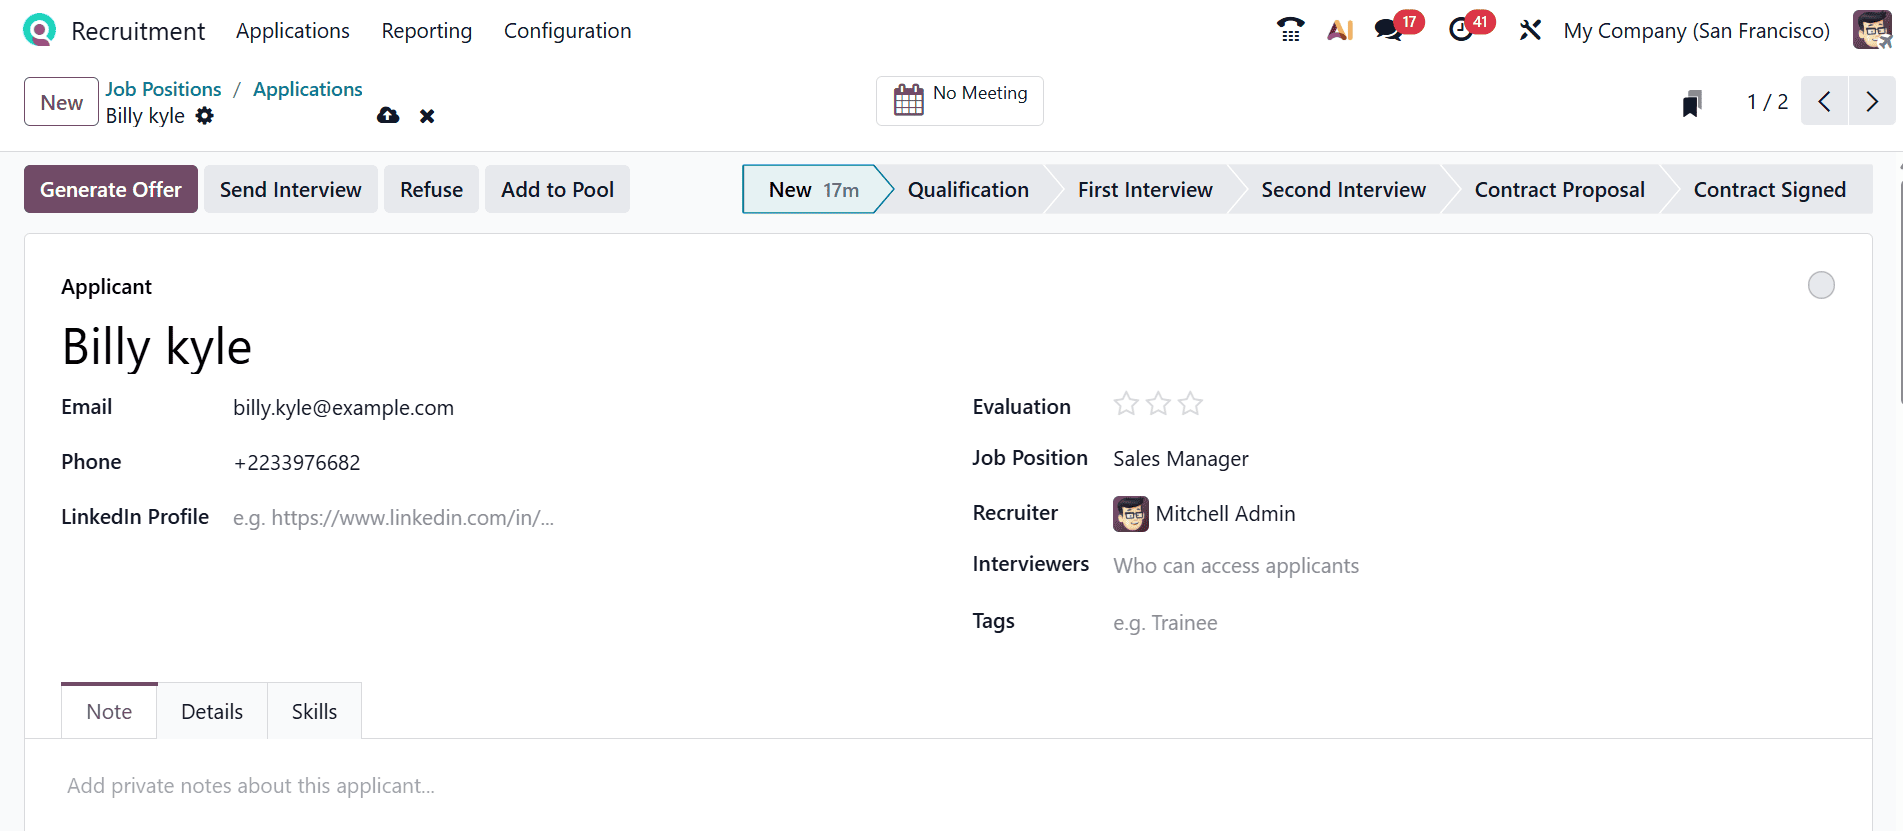
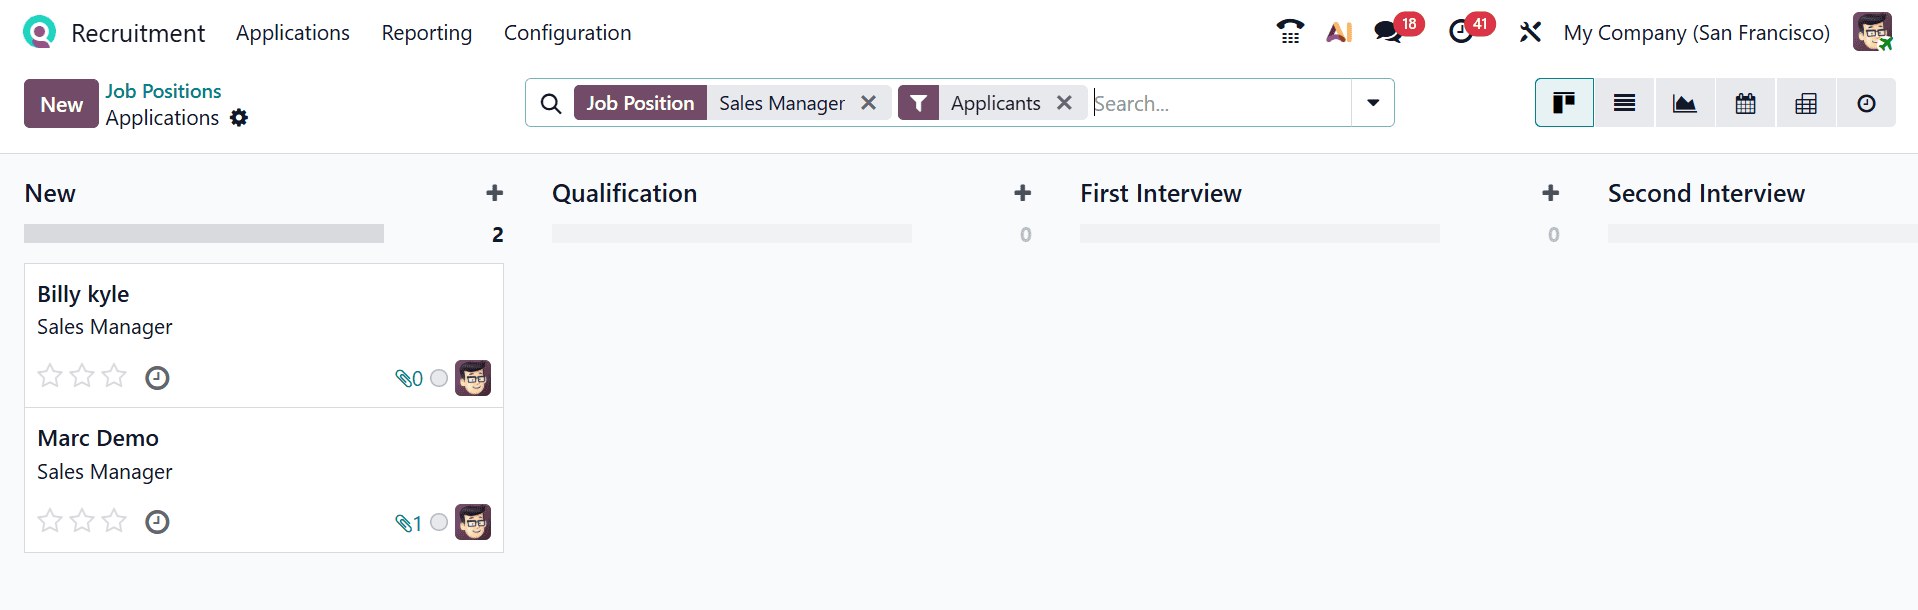
Here, you can see the newly created two job applications, which are in the New stage.
Managing job positions in Odoo 19 goes beyond simply listing vacancies it involves creating a structured framework that supports efficient hiring and long-term workforce planning. By leveraging Odoo’s Recruitment module, organizations can standardize job descriptions, automate candidate tracking, and collaborate seamlessly across HR teams. Proper management of job positions also enables better reporting and analytics, helping decision-makers evaluate recruitment performance and identify areas for improvement. Features such as stage customization, applicant tracking, and integration with employee records ensure that the transition from candidate to employee is smooth and well-documented. Ultimately, defining and managing job positions effectively in Odoo 19 contributes to a more organized, transparent, and scalable recruitment process. Businesses that adopt these practices can enhance their talent acquisition strategies, attract the right candidates, and build a stronger, more capable workforce aligned with their organizational objectives.
To read more about How to Configure Job Positions in Odoo 18, refer to our blog How to Configure Job Positions in Odoo 18.