Today, we are going to discuss the use of the useOwnedDialogs hook in Odoo19, a modern OWL technology to use the dialog service while also automatically closing the dialogs opened by the current component when it is unmounted. This means it is a hook that wraps the dialogue service and ensures all the dialog opened by the current component are automatically closed when the current component is destroyed. In this blog, we are going to look at how to use the component efficiently in a custom component.
Requirements: Make sure you have installed and set up the development environment for Odoo 19
Let’s create a custom module with a manifest structure like below
{
    'Name': 'Your Module Name',
    'version': '19.0.1.0.0',
    'summary': 'Demonstration of useOwnedDialogs hooks in Odoo OWL 19',
    'depends': ['web'],
    'data': [
        'views/your_module_actions.xml',
    ],
    'assets': {
        'web.assets_backend': [
            'Your_module_name/static/src/js/component.xml',
            'Your_module_name/static/src/js/component.js',
        ],
    },
    'application': False,
}
Custom Module Plan:
- Let’s create a simple custom module with a custom created client action and add a button in that window, which redirects us to the home screen.
- Create a component and component view for the module and use the useOwnedDialogs hook in our custom component.
Let’s create the compoent.js file in our custom module under static/src/js directory
import { Component } from "@odoo/owl";
import { useOwnedDialogs } from "@web/core/utils/hooks";
import { ConfirmationDialog } from "@web/core/confirmation_dialog/confirmation_dialog";
import { registry } from "@web/core/registry";
export class MyClientComponent extends Component {
    setup() {
        this.addDialog = useOwnedDialogs();
    }
    async goHome(){
        this.addDialog(ConfirmationDialog, {
            body: ("Are you sure you want to go back"),
            confirm: async () => {
                this.env.services.action.doAction({
                    type: "ir.actions.act_url",
                    url: "/web",
                    target: "self",
                });
            },
            cancel: () => {},
        });
    }
}
MyClientComponent.template = "Your_module_name.MyClientTemplate";
registry.category("actions").add("my_client_action_tag", MyClientComponent);
Let’s create the component.xml file in our custom module under static/src/xml directory
<?xml version="1.0" encoding="UTF-8"?>
<templates xml:space="preserve">
    <t t-name="Your_module_name.MyClientTemplate">
        <div class="o_my_client_action">
            <h1>Hello from Client Action ??</h1>
            <p>This is a custom OWL component in Odoo 19.</p>
            <!-- Button -->
            <button type="button" class="btn btn-primary"
                    t-on-click="goHome">
                Go to Home
            </button>
        </div>
    </t>
</templates>
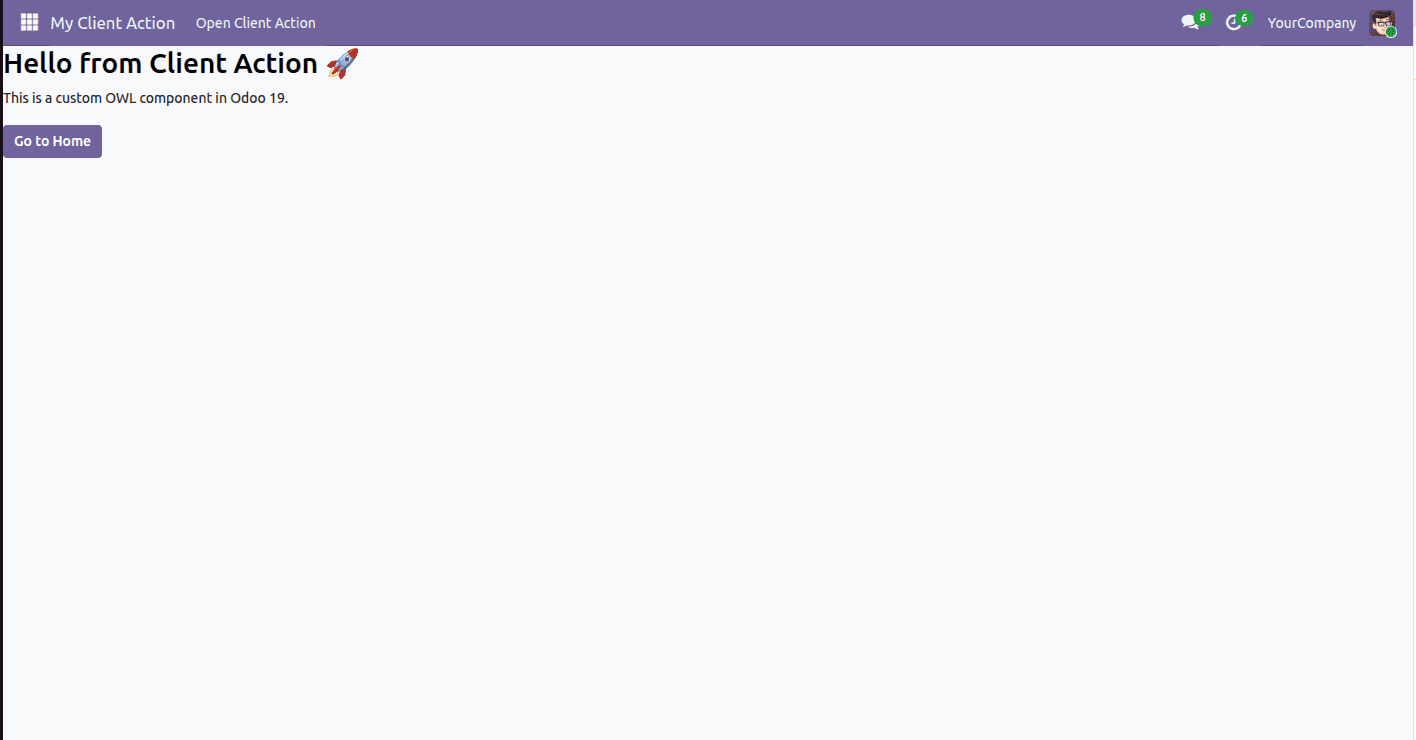
Below is the view of the custom component we created, On clicking on the module Parent menuitem we can see the custom template we created
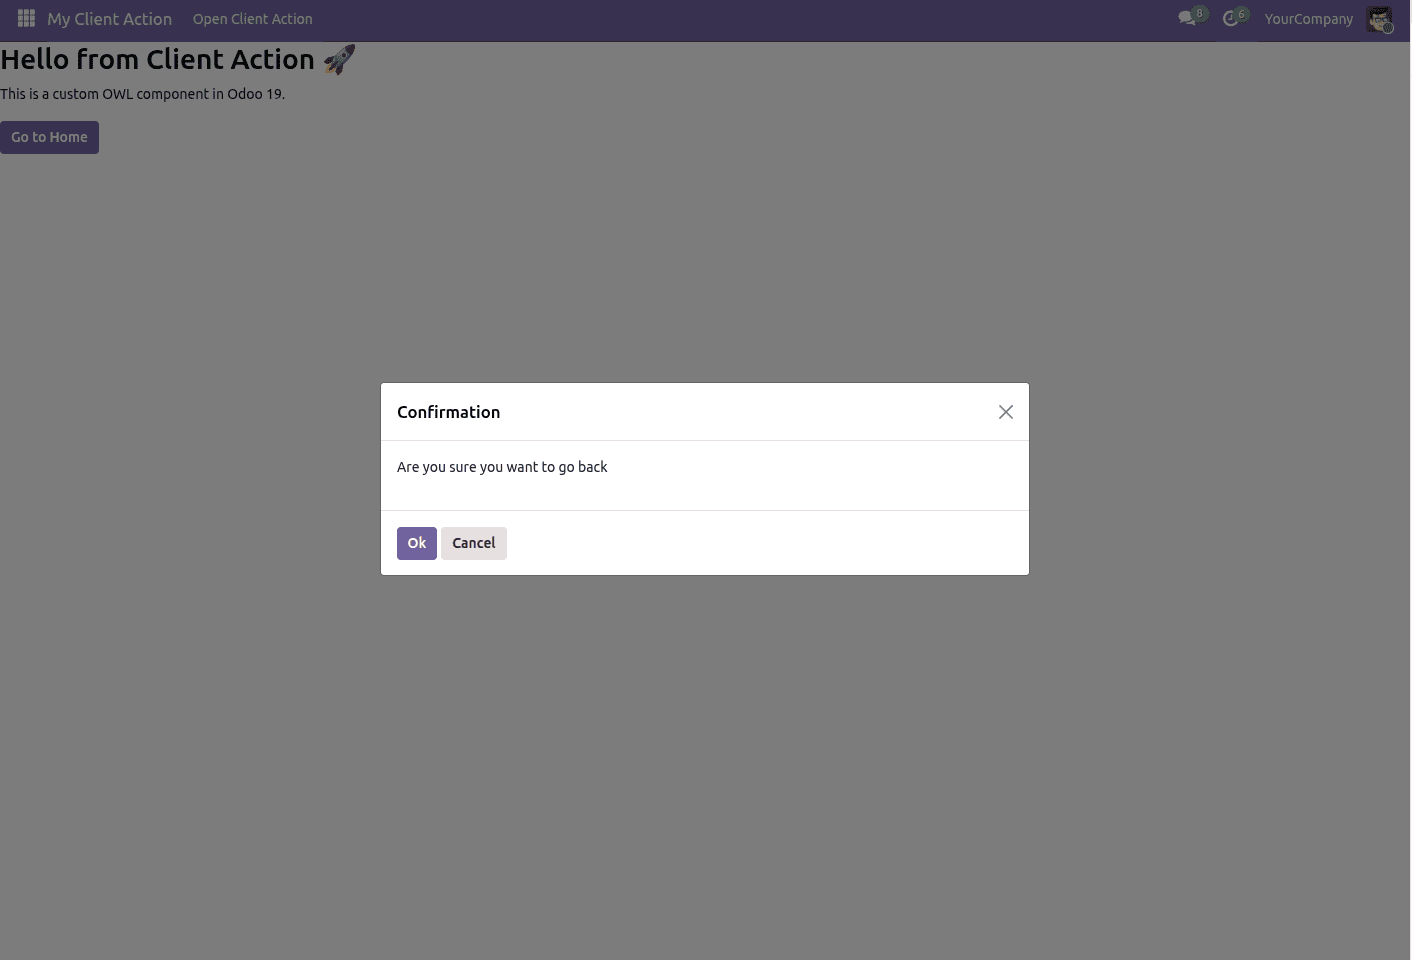
On clicking the button in the custom view we can see the below pop up using the useOwnDialogs hooks.
Let’s create the your_module_actions.xml under views directory
<?xml version="1.0" encoding="UTF-8"?>
<odoo>
    <!-- Client Action -->
    <record id="action_my_client" model="ir.actions.client">
        <field name="name">My Client Action</field>
        <field name="tag">my_client_action_tag</field>
    </record>
    <!-- Menu -->
    <menuitem id="menu_my_client_root"
              name="My Client Action"
              sequence="10"/>
    <menuitem id="menu_my_client_action"
              name="Open Client Action"
              parent="menu_my_client_root"
              action="action_my_client"
              sequence="1"/>
</odoo>
Today, we have come across the use case of the useOwnedDialogs, a modern hook in Odoo 19. We have seen a real scenario in the custom development and usage of the modern OWL technologies. It is one of the useful and powerful hooks in Odoo 19 to prevent memory leaks, ensure safe cleanup and proper lifecycle management.
To read more about How to Create Custom Hooks in Odoo 19 OWL, refer to our blog How to Create Custom Hooks in Odoo 19 OWL.