Integrating Google Maps into your Flutter app allows you to create rich, location-based features like showing user locations, plotting routes, and adding markers. In this blog, we’ll guide you through the simple steps to set up and use Google Maps in a Flutter project using the google_maps_flutter package.
For that, first you need to import the google_maps_flutter package like below:
import 'package:google_maps_flutter/google_maps_flutter.dart';
Add the following to the android/app/src/main/AndroidManifest.xml file:
<uses-permission android:name="android.permission.ACCESS_FINE_LOCATION"/>
<uses-permission android:name="android.permission.ACCESS_COARSE_LOCATION"/>
Also, add the Google API key as shown below in the AndroidManifest.xml file, placing it before the <activity> tag:
<meta-data
            android:name="com.google.android.geo.API_KEY"
            android:value="Your Google API"/>
Now, let's begin designing the user interface for the Google Map screen.
Add a build method where the body contains the GoogleMap widget as below:
final LatLng _initialPosition = const LatLng(11.598840, 92.713097);
Also, add a method that is called when the Google Map widget is fully initialized.
void _onMapCreated(GoogleMapController controller) {
  _mapController = controller;
}- It provides a GoogleMapController instance, which is saved in _mapController.
- You can use _mapController later to programmatically control the map, such as moving the camera or adding markers dynamically.
The complete widget method is provided below:
@override
  Widget build(BuildContext context) {
    return Scaffold(
      body: GoogleMap(
        onMapCreated: _onMapCreated,
        initialCameraPosition: CameraPosition(
          target: _initialPosition,
          zoom: 14.0,
        ),
        markers: _markers,
        myLocationEnabled: true,
        myLocationButtonEnabled: true,
        mapType: MapType.normal,
      ),
    );
  }
- onMapCreated: _onMapCreated
- Callback method triggered once the map is fully initialized.
- Allows you to store the map controller for future interactions like camera movement, adding markers, etc.
- initialCameraPosition: CameraPosition(...)
- Defines where the map camera should focus.
- target: _initialPosition: The coordinates where the map starts.
- zoom: 14.0: The zoom level.
- markers: _markers
- A set of markers to show on the map.
- Marker objects are usually placed at specific coordinates to represent places of interest.
- myLocationEnabled: true
- Shows the user’s current location as a blue dot on the map.
- Requires location permission from the device.
- myLocationButtonEnabled: true
- Displays a built-in button on the map UI to recenter the map to the user's current location.
- mapType: MapType.normal
- Sets the visual style of the map.
- normal is the default street map view. Others include satellite, terrain, and hybrid.
The complete code is given below:
import 'package:flutter/material.dart';
import 'package:google_maps_flutter/google_maps_flutter.dart';
class GoogleMapPage extends StatefulWidget {
  const GoogleMapPage({Key? key}) : super(key: key);
  @override
  State<GoogleMapPage> createState() => _GoogleMapState();
}
class _GoogleMapState extends State<GoogleMapPage> {
  late GoogleMapController _mapController;
  final LatLng _initialPosition = const LatLng(11.598840, 92.713097);
  final Set<Marker> _markers = {
    const Marker(
      markerId: MarkerId('initial_marker'),
      position: LatLng(11.598840, 92.713097),
      infoWindow: InfoWindow(title: 'Target Location'),
    ),
  };
  void _onMapCreated(GoogleMapController controller) {
    _mapController = controller;
  }
  @override
  Widget build(BuildContext context) {
    return Scaffold(
      body: GoogleMap(
        onMapCreated: _onMapCreated,
        initialCameraPosition: CameraPosition(
          target: _initialPosition,
          zoom: 14.0,
        ),
        markers: _markers,
        myLocationEnabled: true,
        myLocationButtonEnabled: true,
        mapType: MapType.normal,
      ),
    );
  }
}
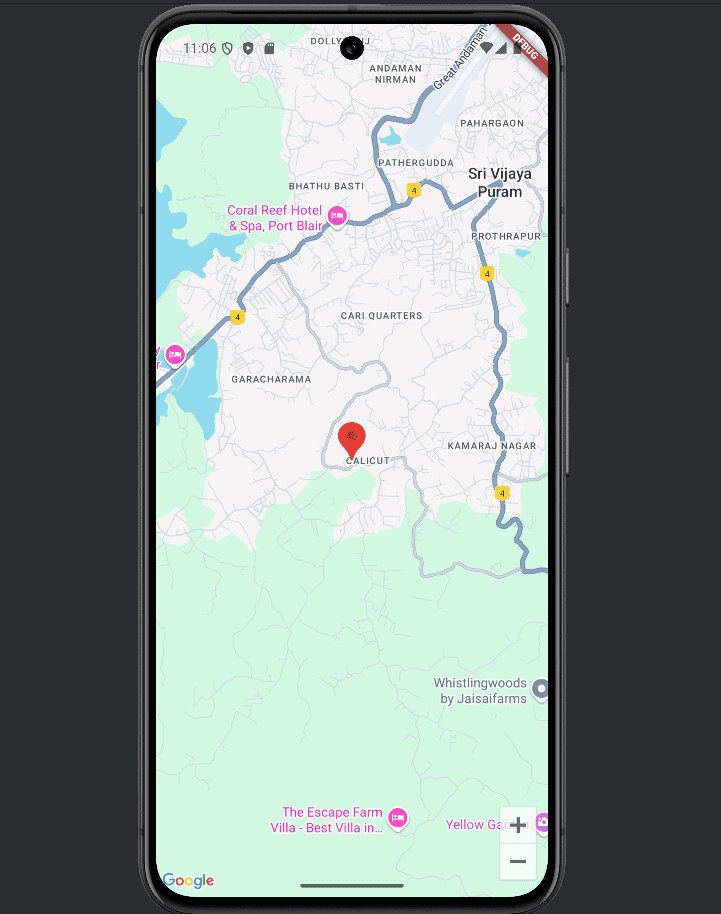
The output of the code is given below:
Now, let's implement a route for specified source and destination locations.
Add the following to declare a location. You can specify your selected location using the input controllers.
final LatLng _startLocation = const LatLng(11.258753, 75.780411);
final LatLng _endLocation = const LatLng(11.262320, 75.772636);
Now add a new function for marking the start and end location as below:
void _setMarkers() {
    _markers.addAll([
      Marker(
        markerId: const MarkerId('start'),
        position: _startLocation,
        infoWindow: const InfoWindow(title: 'Start Location'),
        icon: BitmapDescriptor.defaultMarkerWithHue(BitmapDescriptor.hueBlue),
      ),
      Marker(
        markerId: const MarkerId('end'),
        position: _endLocation,
        infoWindow: const InfoWindow(title: 'End Location'),
        icon: BitmapDescriptor.defaultMarkerWithHue(BitmapDescriptor.hueRed),
      ),
    ]);
}- MarkerId('start'): A unique ID for the marker.
- position: _startLocation: The LatLng position of the starting point.
- infoWindow: When tapped, this will show a label "Start Location".
- icon: Customizes the pin color to blue using BitmapDescriptor.hueBlue.
void _setPolyline() {
    _polylines.add(
      Polyline(
        polylineId: const PolylineId('route'),
        color: Colors.blue,
        width: 5,
        points: [_startLocation, _endLocation],
      ),
    );
}- void: Method doesn't return anything.
- _setPolyline(): Method name, likely called after _startLocation and _endLocation are set.
- _polylines: A Set used to store all route lines on the map.
- .add(...): Adds one polyline to the set.
The complete code is given below:
import 'package:flutter/material.dart';
import 'package:google_maps_flutter/google_maps_flutter.dart';
class GoogleMapPage extends StatefulWidget {
  const GoogleMapPage({Key? key}) : super(key: key);
  @override
  State<GoogleMapPage> createState() => _GoogleMapState();
}
class _GoogleMapState extends State<GoogleMapPage> {
  late GoogleMapController _mapController;
  final LatLng _initialPosition = const LatLng(11.258753, 75.780411);
  final LatLng _startLocation = const LatLng(11.258753, 75.780411);
  final LatLng _endLocation = const LatLng(11.262320, 75.772636);
  final Set<Marker> _markers = {};
  final Set<Polyline> _polylines = {};
  @override
  void initState() {
    super.initState();
    _setMarkers();
    _setPolyline();
  }
  void _setMarkers() {
    _markers.addAll([
      Marker(
        markerId: const MarkerId('start'),
        position: _startLocation,
        infoWindow: const InfoWindow(title: 'Start Location'),
        icon: BitmapDescriptor.defaultMarkerWithHue(BitmapDescriptor.hueBlue),
      ),
      Marker(
        markerId: const MarkerId('end'),
        position: _endLocation,
        infoWindow: const InfoWindow(title: 'End Location'),
        icon: BitmapDescriptor.defaultMarkerWithHue(BitmapDescriptor.hueRed),
      ),
    ]);
  }
  void _setPolyline() {
    _polylines.add(
      Polyline(
        polylineId: const PolylineId('route'),
        color: Colors.blue,
        width: 5,
        points: [_startLocation, _endLocation],
      ),
    );
  }
  void _onMapCreated(GoogleMapController controller) {
    _mapController = controller;
  }
  @override
  Widget build(BuildContext context) {
    return Scaffold(
      body: GoogleMap(
        onMapCreated: _onMapCreated,
        initialCameraPosition: CameraPosition(
          target: _initialPosition,
          zoom: 14.0,
        ),
        markers: _markers,
        polylines: _polylines,
        myLocationEnabled: true,
        myLocationButtonEnabled: true,
        mapType: MapType.normal,
      ),
    );
  }
}
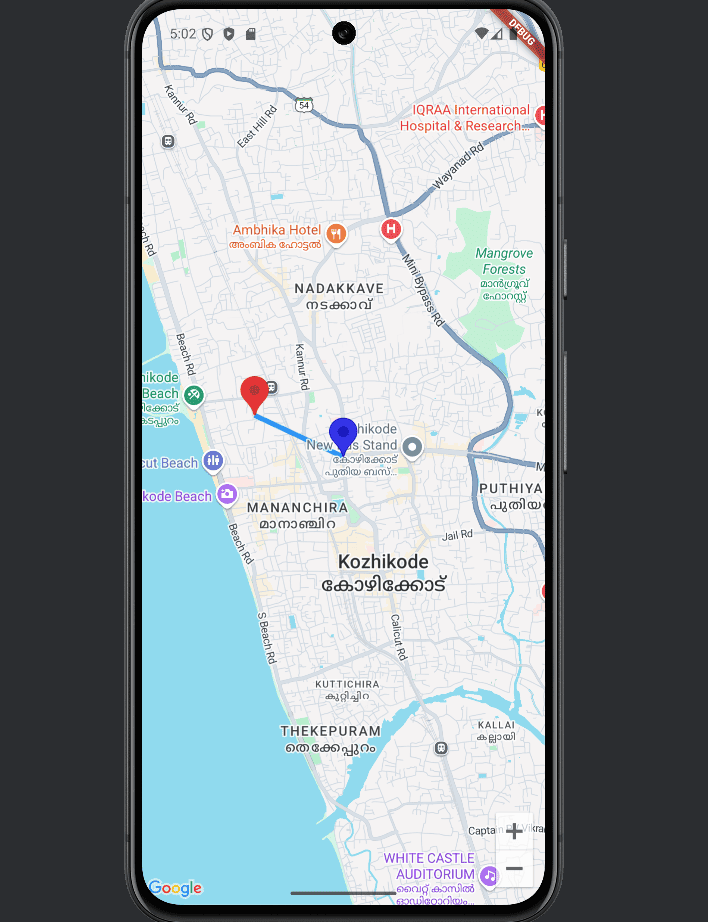
And the output is given below:
Integrating Google Maps into your Flutter app enhances user experience by enabling location-based features like custom markers, routes, and live directions. With just a few lines of code, you can bring interactive, map-based functionality to life—empowering your users to navigate, explore, and engage more intuitively.
To read more about What are the Types of Notifications in Flutter, refer to our blog What are the Types of Notifications in Flutter