An effective and user-friendly Point of Sale (POS) system is crucial for optimizing operations in the fast-paced retail industry. The most recent iteration of the well-known open-source ERP, Odoo 19, provides a robust and user-friendly point-of-sale module that is intended to maximize your retail enterprise. This article offers a thorough tutorial on setting up your retail store with Odoo 19 Point of Sale.
Starting with Odoo 19 POS
Install Odoo 19 and select the Community or Enterprise edition according to your requirements. In order to activate the POS module:
- Open the Odoo dashboard and log in.
- Locate and install Point of Sale from the Apps menu.
- To see the POS Dashboard, open the Point of Sale module.

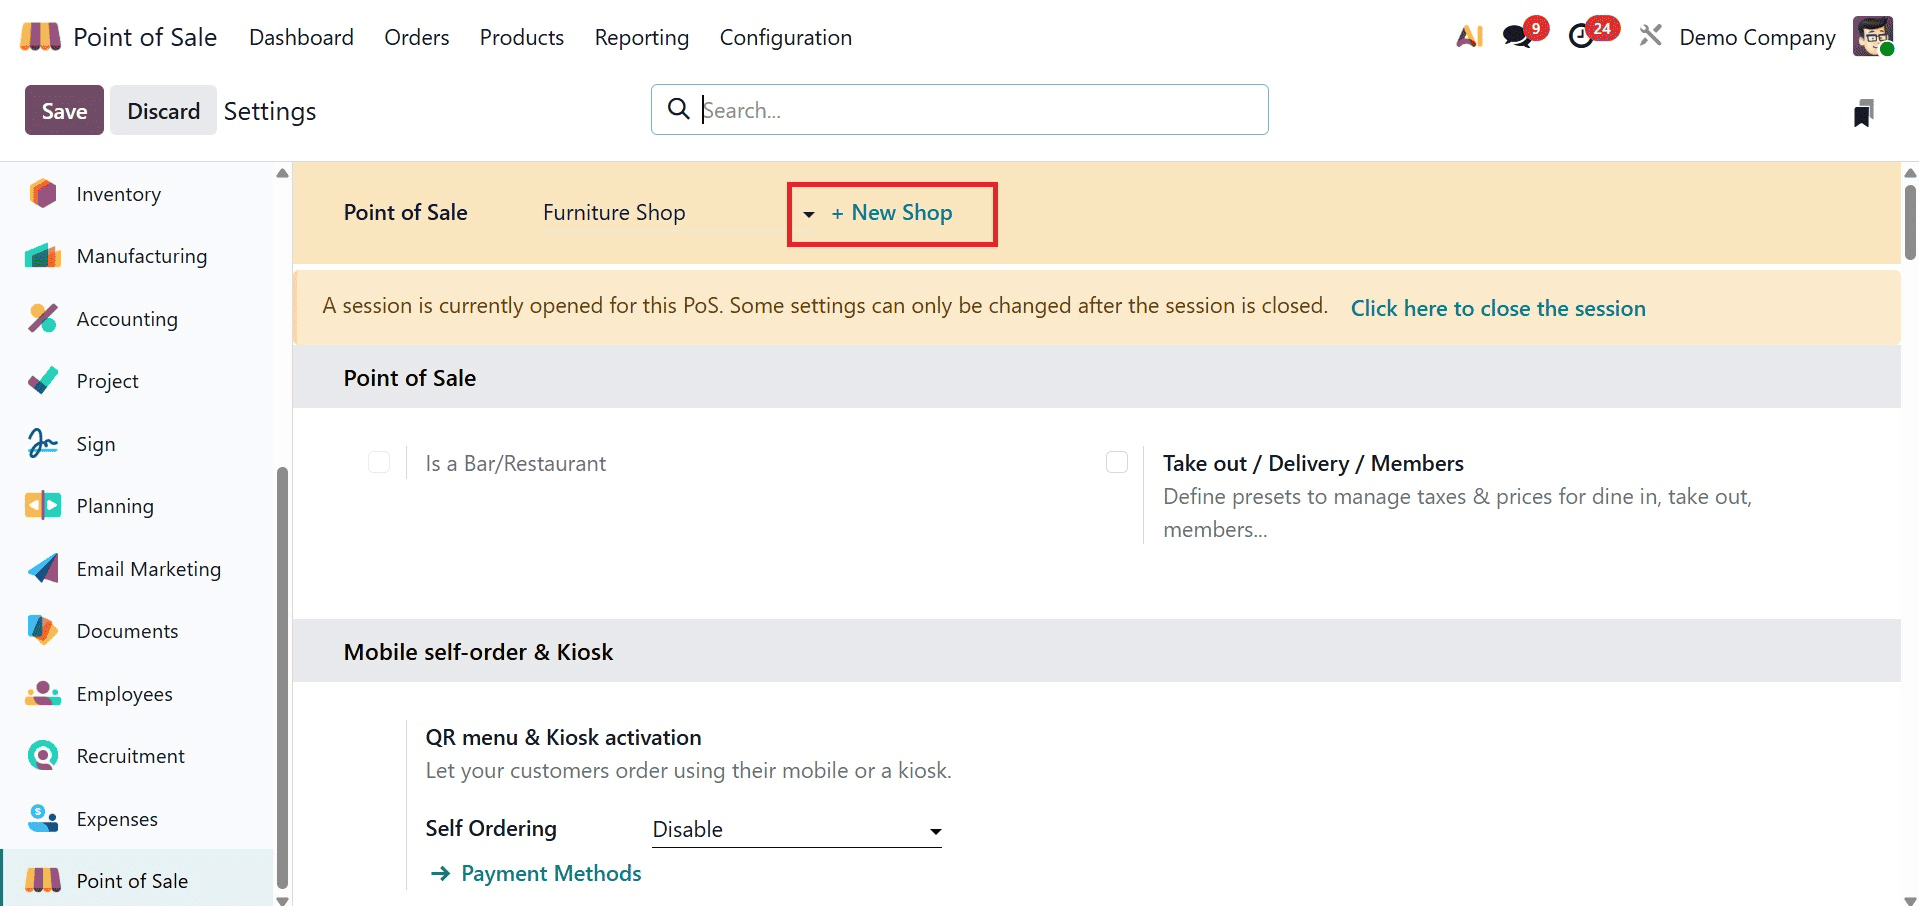
Click New Session in the shop's list view to start a new POS session from the Dashboard. Alternatively, use the +New Shop button in the Settings window of the Configuration menu to create a new shop.
Creation of a New Shop
A setup wizard appears when you click New Shop, allowing you to:
Indicate the shop name or point of sale. Then, turn on Bar/Restaurant Mode if you'd like (for a typical retail store, leave unchecked).
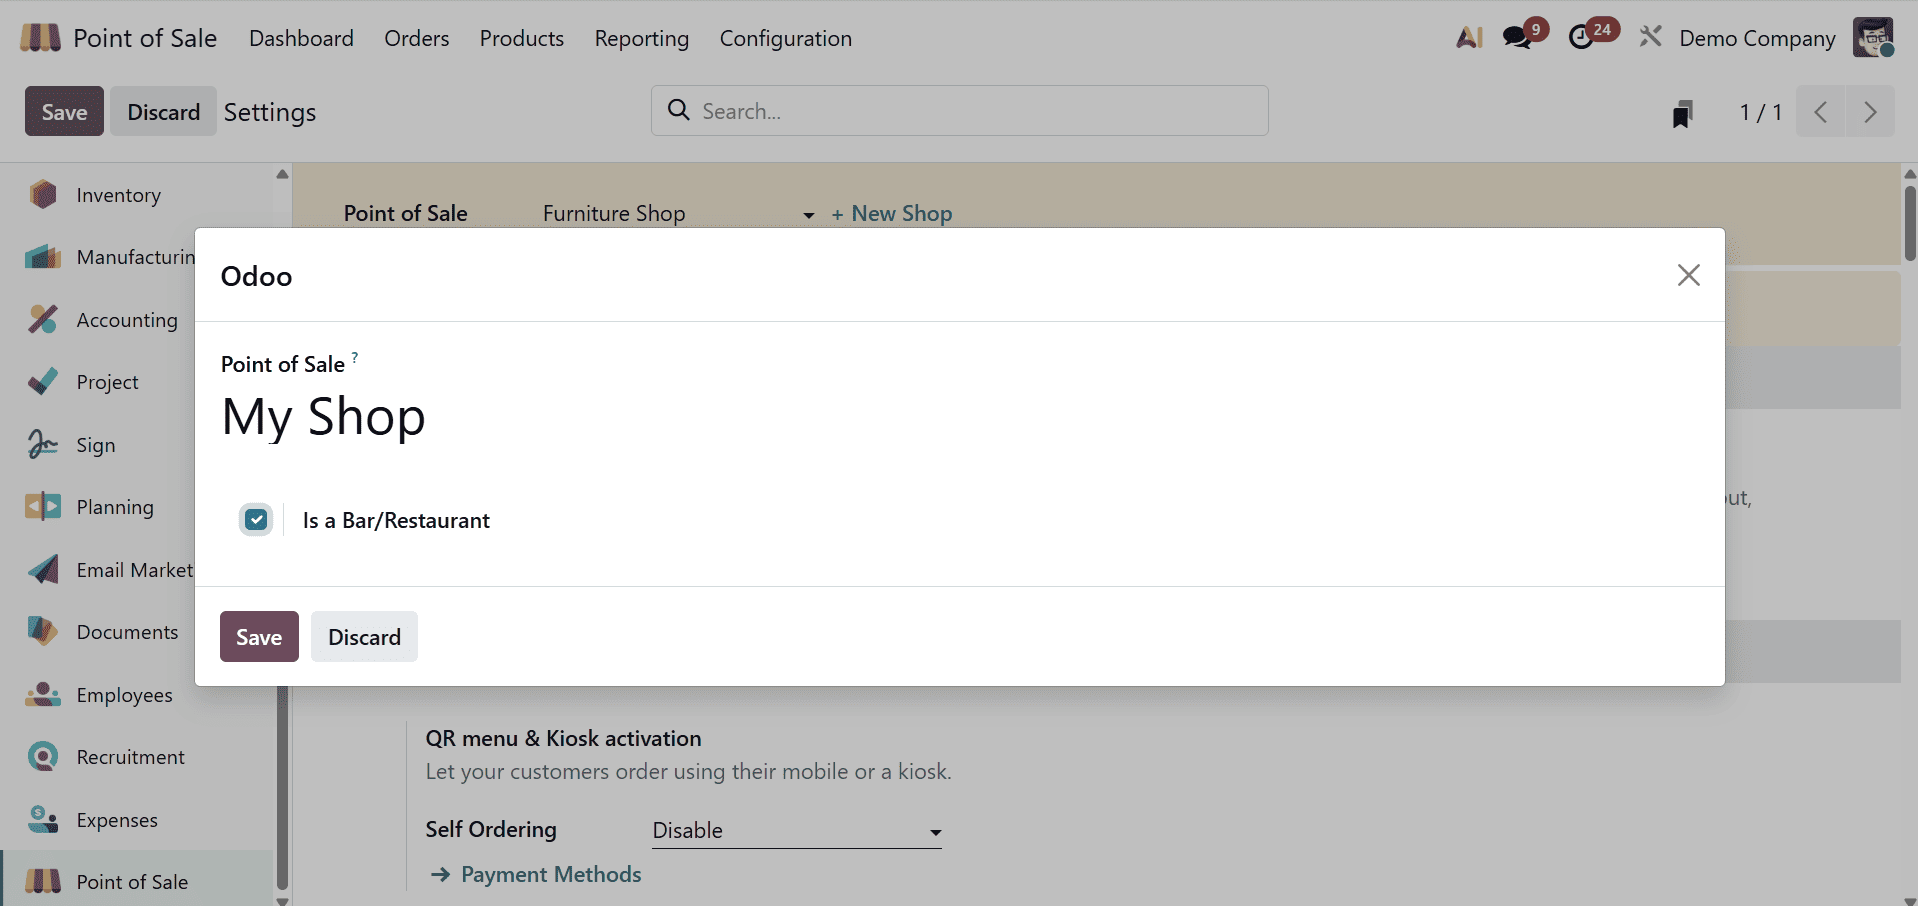
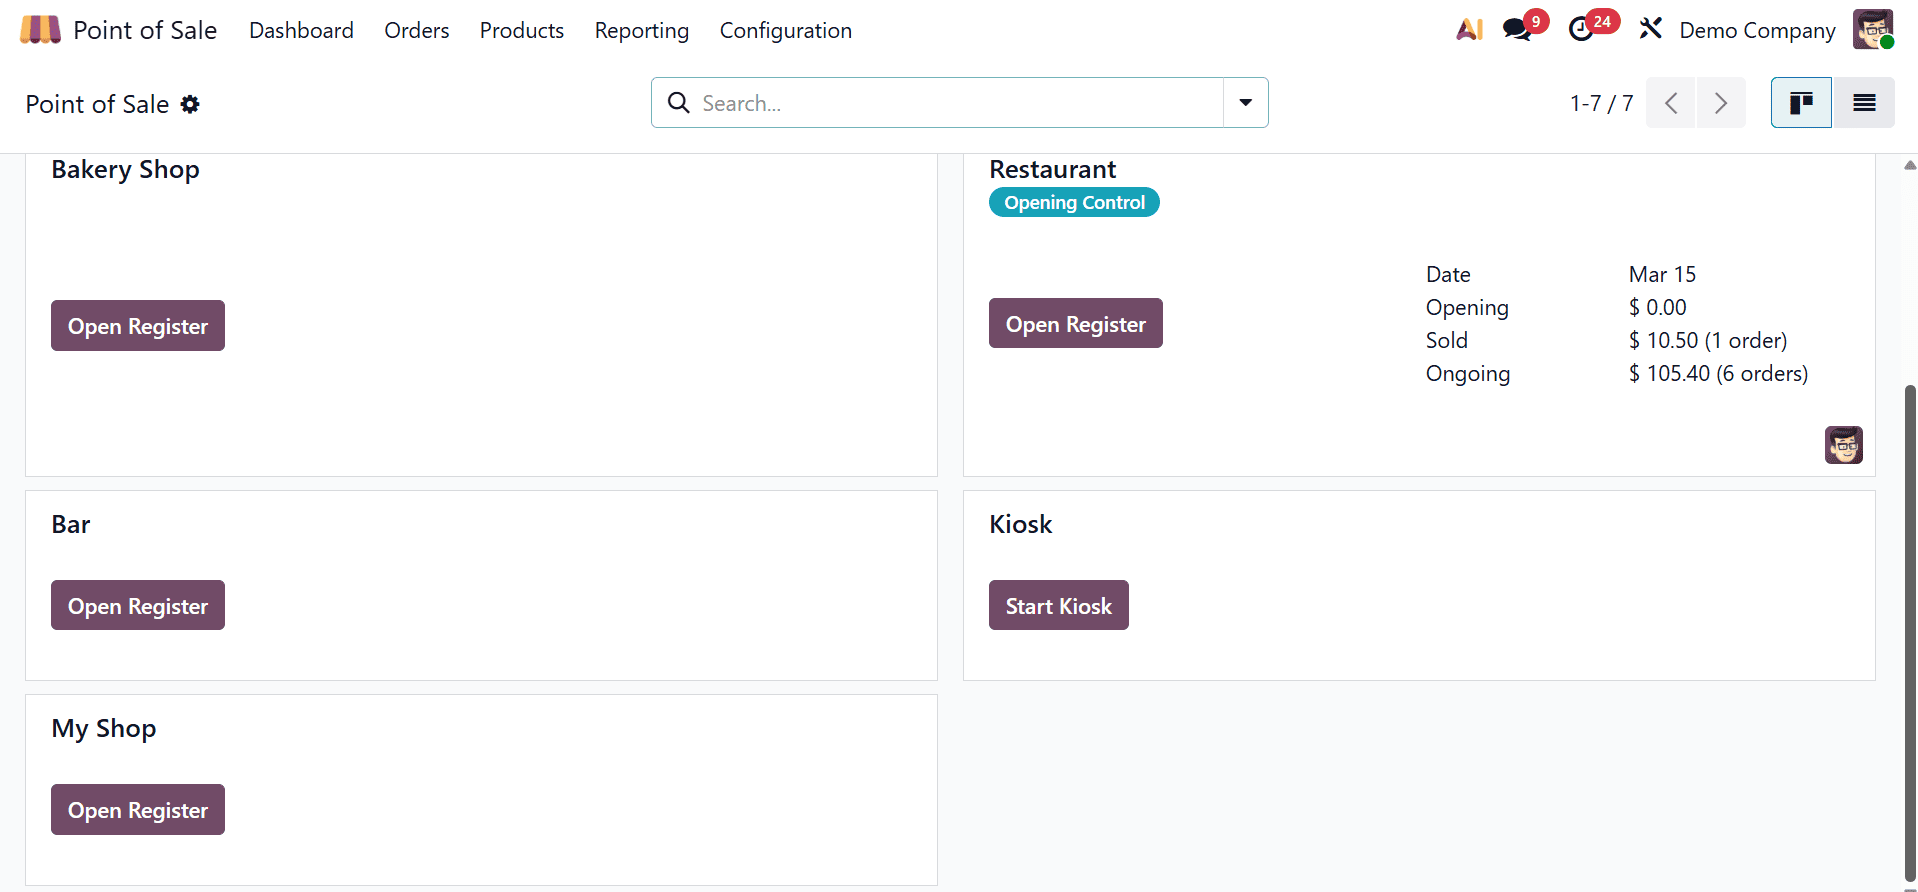
Click Save once the shop details have been entered, then go back to the POS Dashboard to see the new shop. Before beginning sales, set up the following crucial settings by clicking New Session to access the shop interface.
Configuration setup
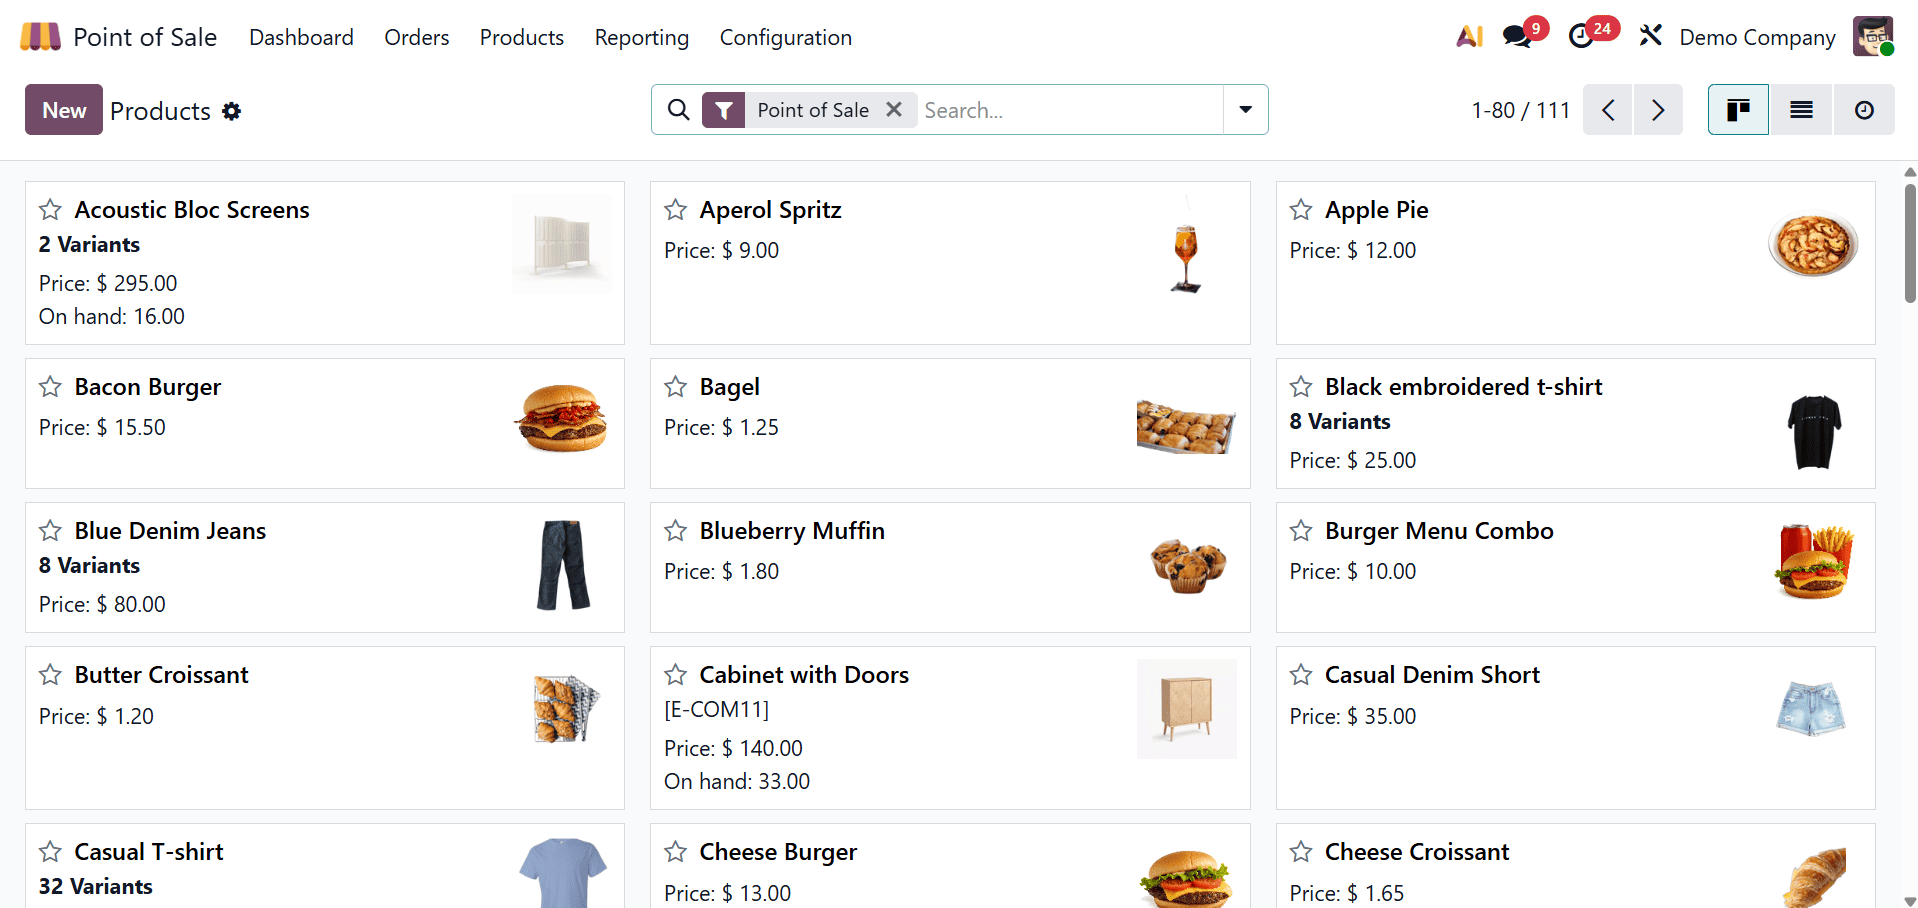
Go to the Products menu and choose Products to add items to your store. For visual appeal, create or modify products with details like Name, Description, Category, Price, and Images.
Product configuration in other Odoo modules, such as Sales or Inventory, is consistent with this procedure.
Price list Setup
You can make several pricing lists for various consumer segments or campaigns with Odoo 19. Go to Products > Pricelists to specify pricing lists according to: Types of customers, quantity discounts, and seasonal sales
For instance, from the Point of Sale module's Configuration, select the Point of Sale. The Point of Sale sessions that have been generated are listed.
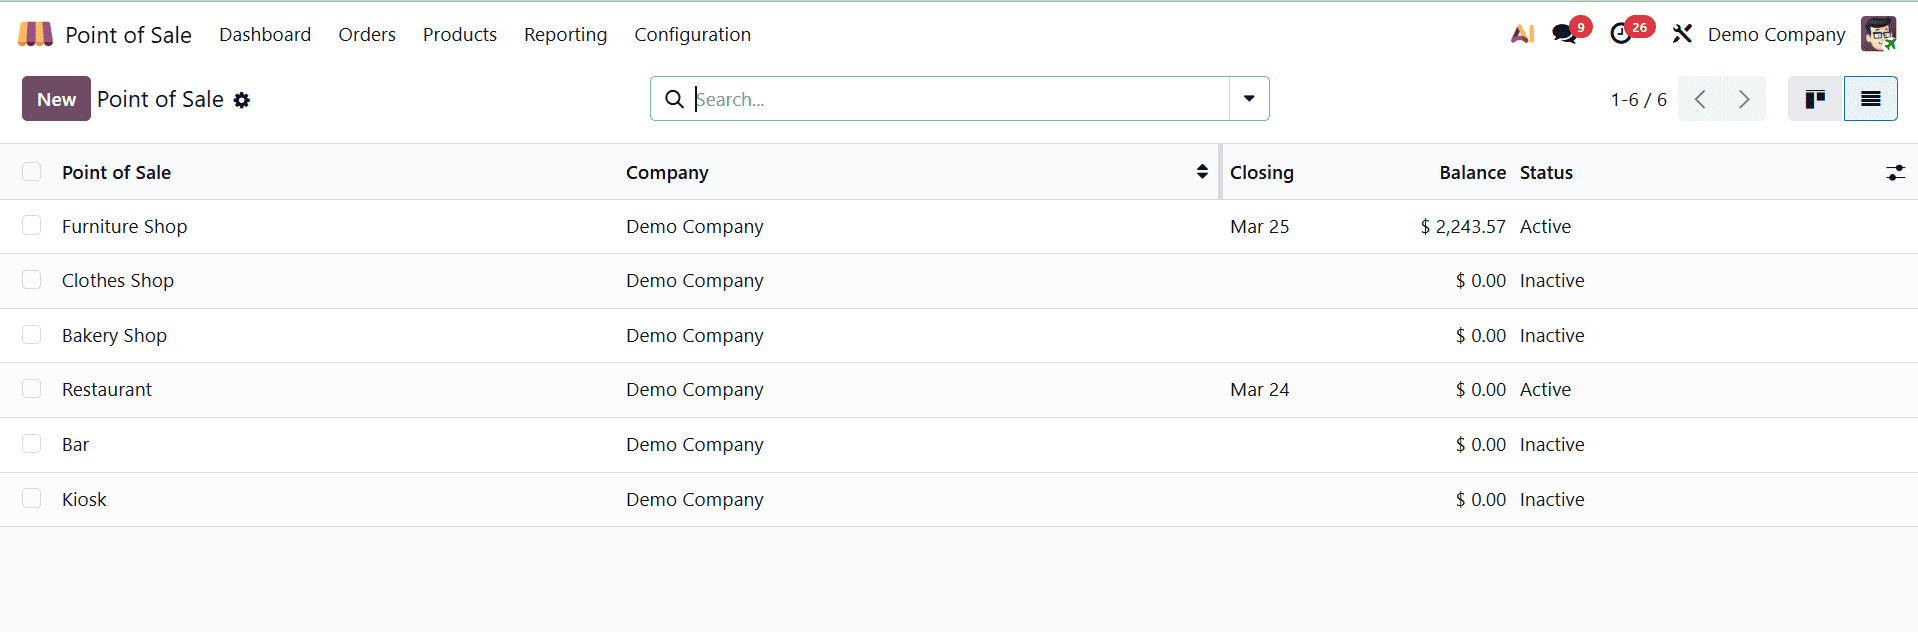
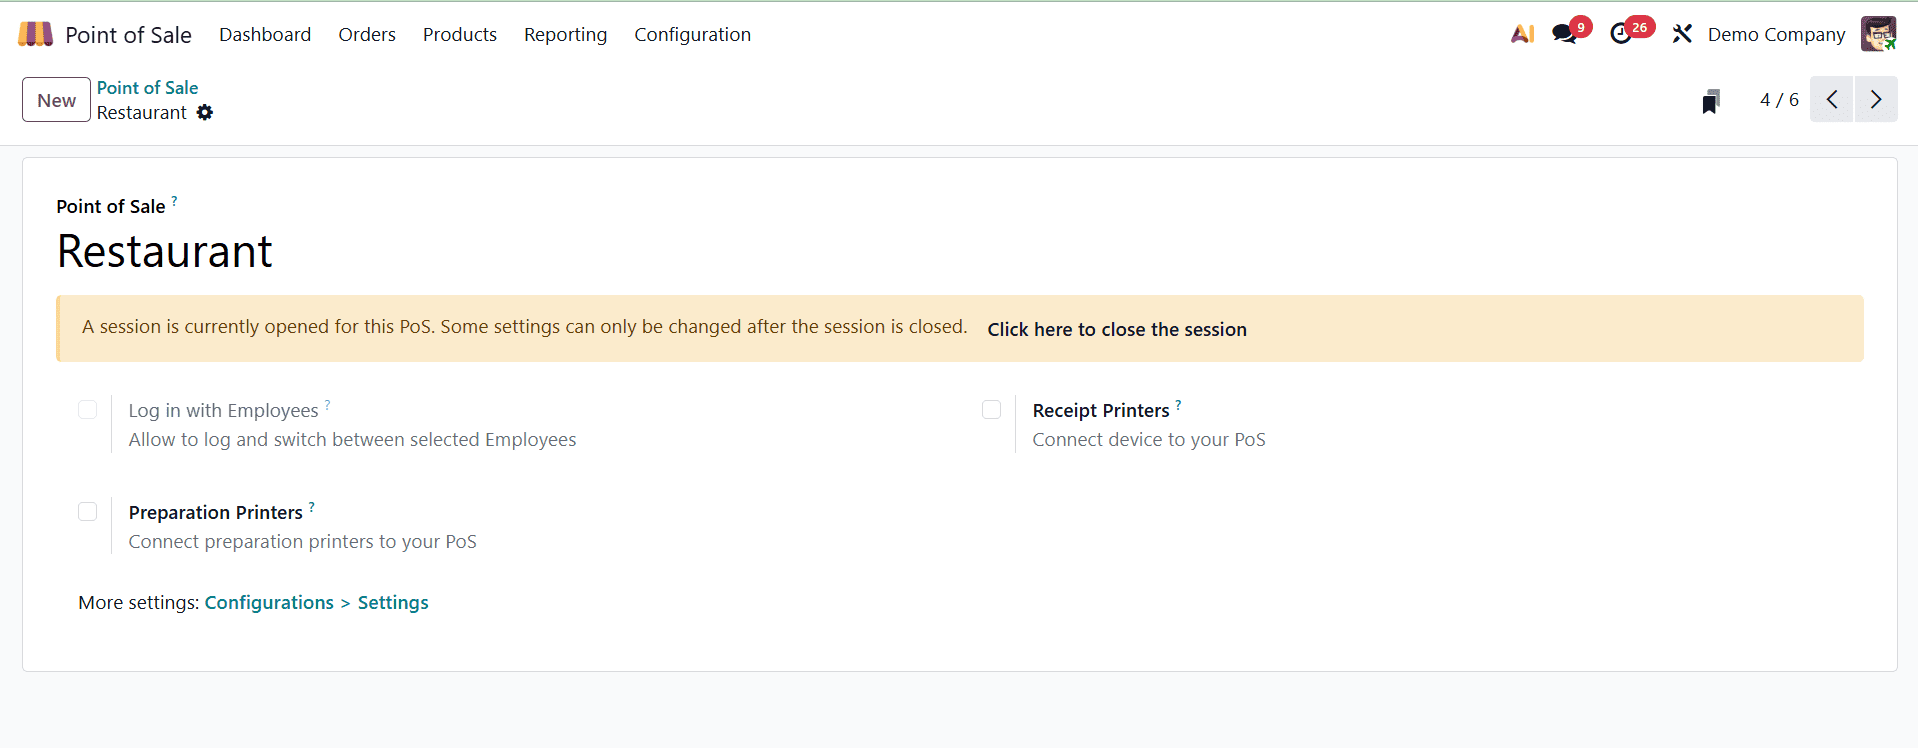
The restaurant is included in the list as well. To open it, click on it.
Let's set up some pricing guidelines for the AC Floor under the Restaurant. “AC Floor: Pricelist” is the name of the price list. The Currency, Company, and Country Groups can be mentioned by users. If the Currency field allows you to select any of the current currencies. This price list will then be used to display the product price in the selected currency. By using the Country Group parameter, the user can limit this price list to specific country groups.
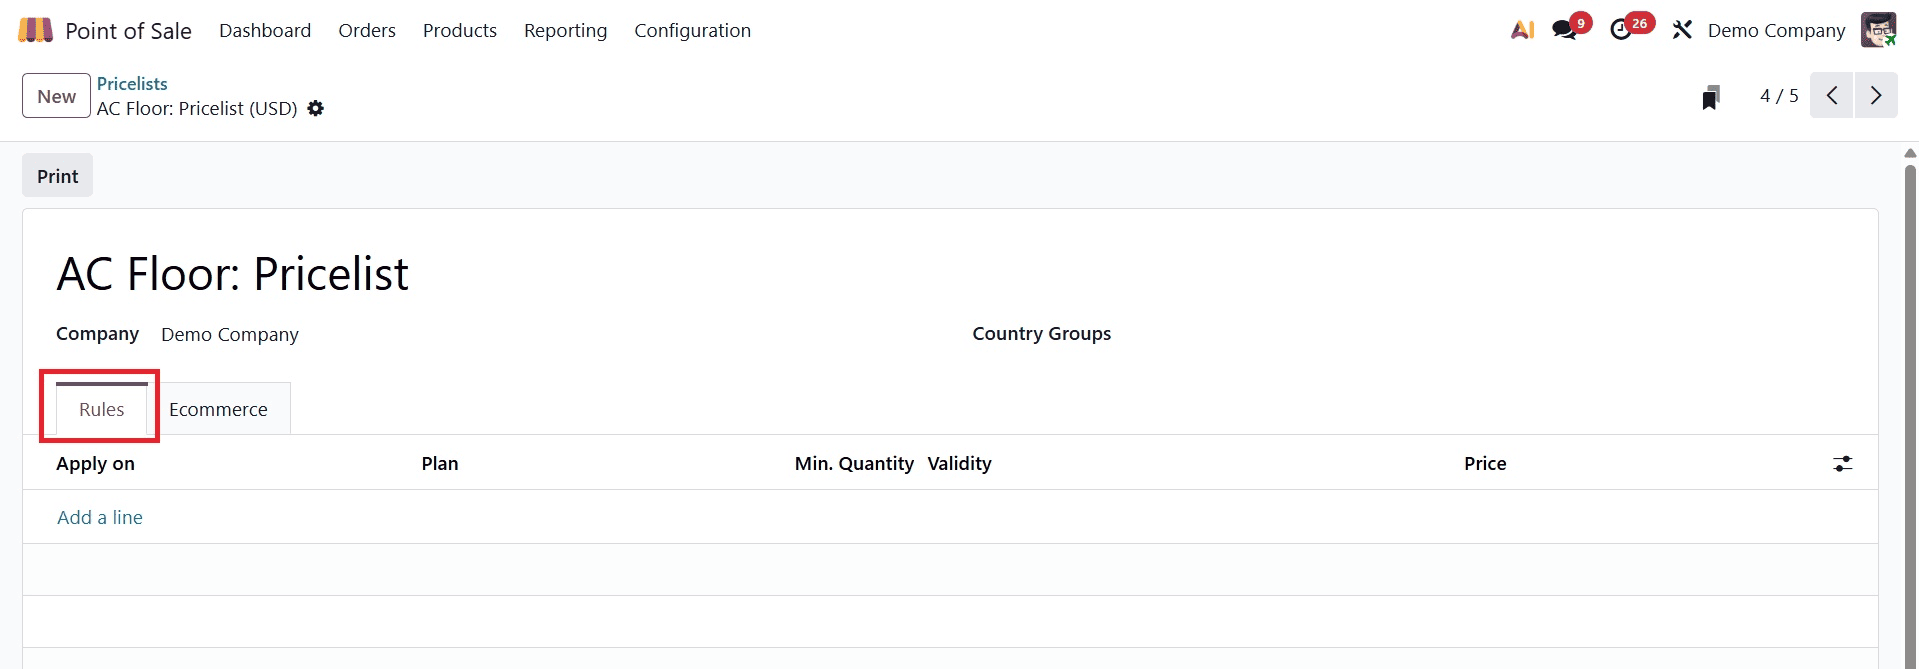
To add a new pricing rule, click the Add a line option under pricing Rules. The product or product category may be covered by the pricelist item. If this rule only applies to one product template, users can provide a template in the Product field. There are three different price types: Fixed price, formula, and discount. Customers can see discounts by using the discount rules and turning on the discount settings.

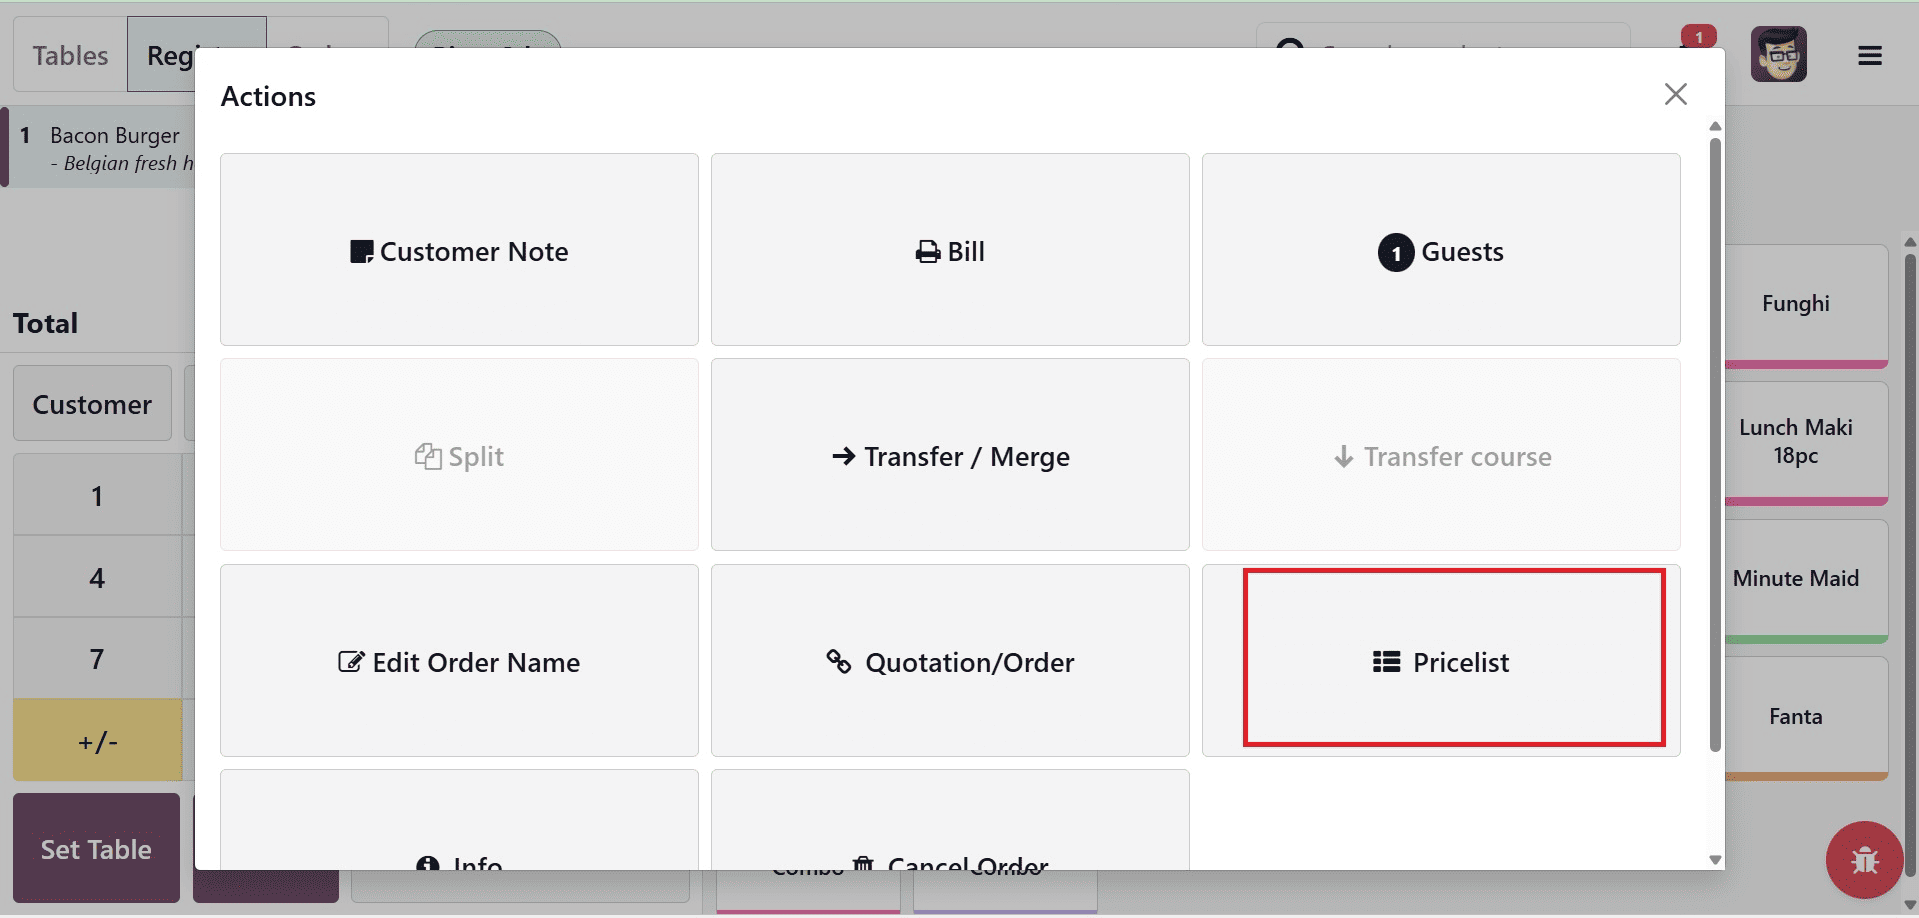
Here, if we are setting the price type as fixed, then, while purchasing the product, the price will be shown as fixed on selecting the price list. The pricelist option will be available on selecting the three dots, which is the Action icon, as shown below.
Here, you can see the price set as fixed, as shown below.
Creating Product Combos
Product bundling is improved with Odoo 19. Go to Products > Product Combos to organize similar products, promoting sales and making purchasing easier.

Configuring Payment Methods
Integrate preferred methods to streamline payments. In the Payments tab of the Settings window:
Choose predetermined payment options, such as credit cards, cash, and mobile payments.
If necessary, use the Payment Methods link to create unique payment methods.

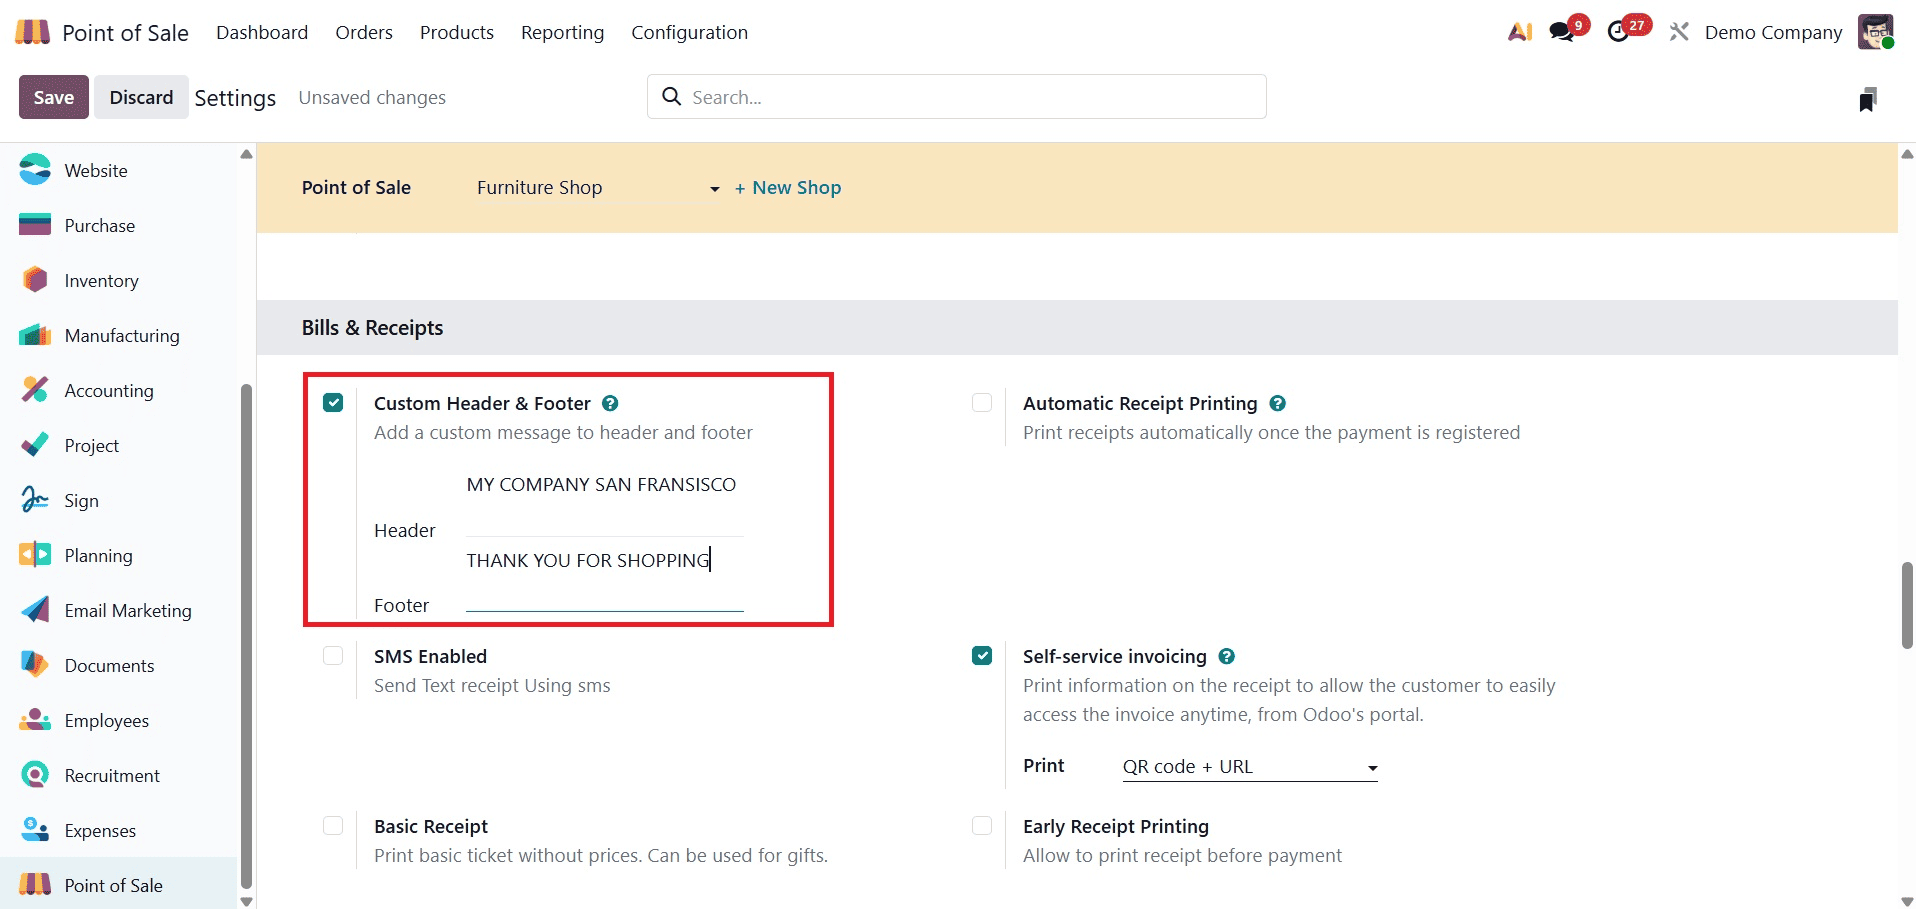
Personalize the Receipts
Customize receipts to showcase your brand. Add your company's logo, contact information, and other details for professionalism under the Bills & Receipts area of the Settings window.
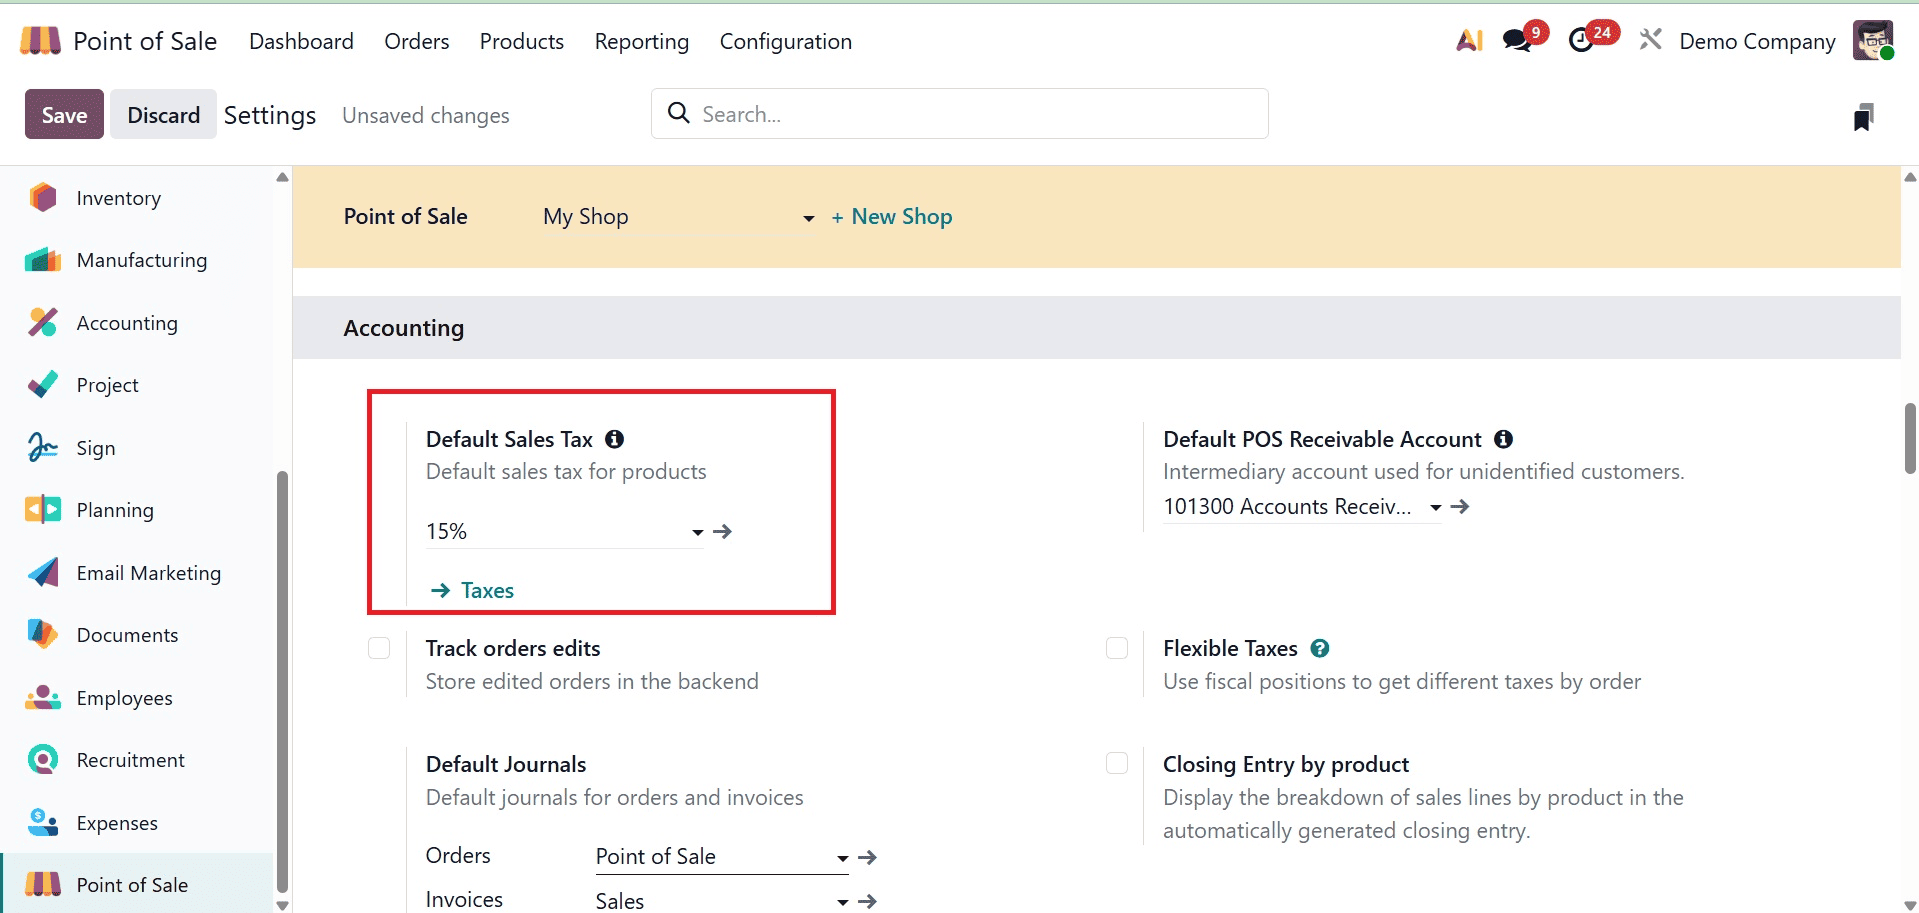
Setting Sales Tax
Configure taxes in accordance with local tax laws. In the Accounting tab of the Settings window, set:
- Sales Tax by Default
- Adaptable taxes for particular goods
- Fiscal Positions according to customer type or location
Integrating Payment Terminals
Allow payment terminals to accept a variety of payment methods, such as credit and debit cards. Configure integrations with services like Paytm, Adyen, and Stripe in the Settings page.

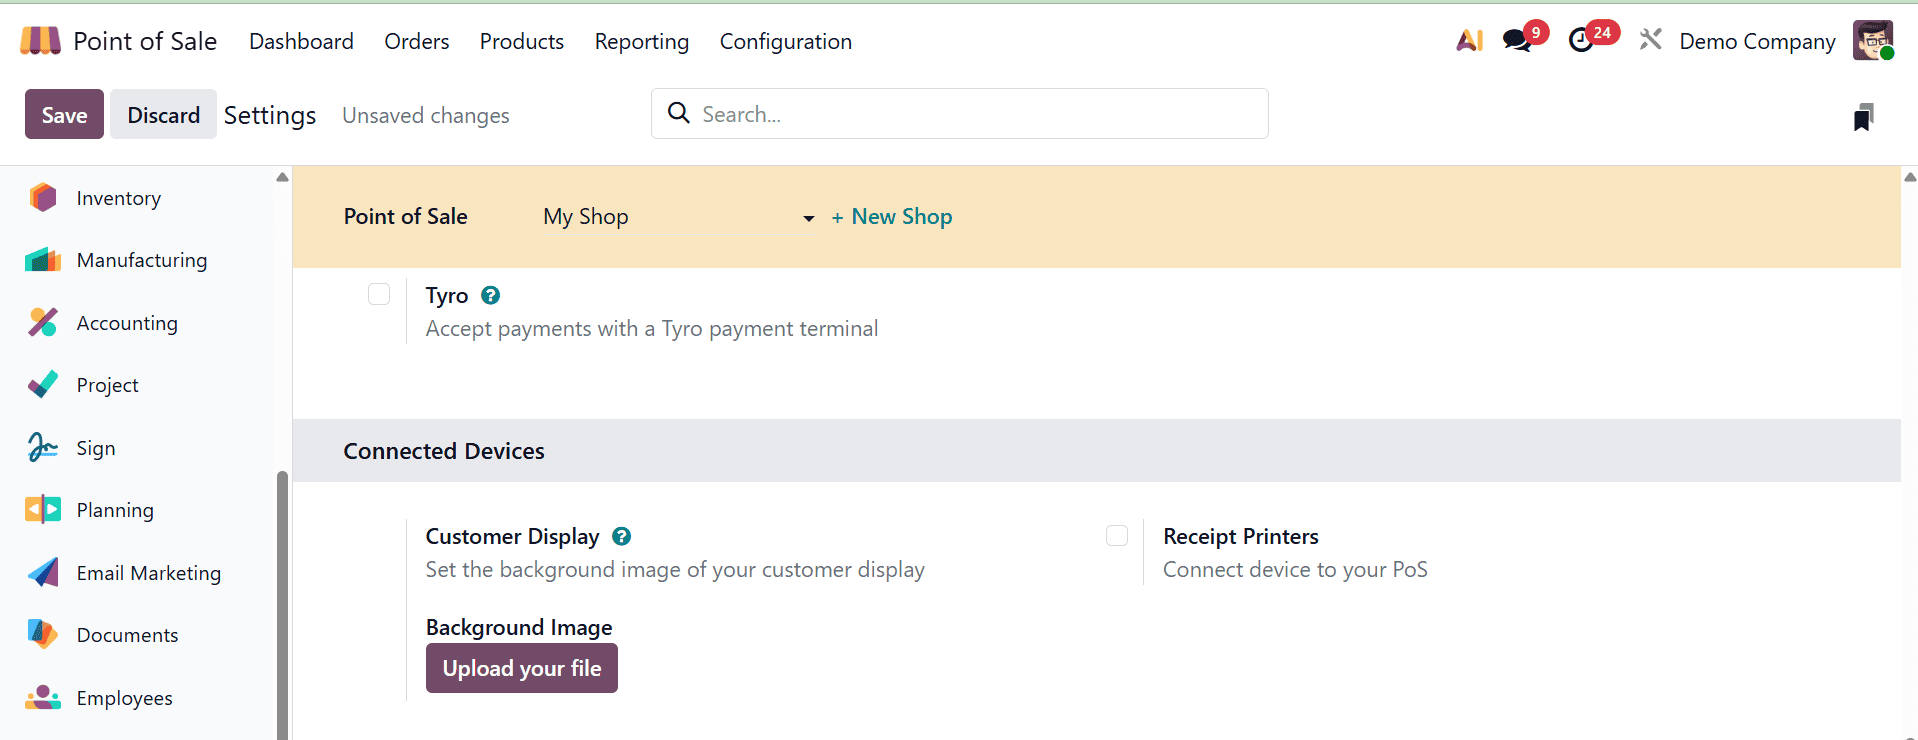
Connecting Hardware
Shops that use devices like cash drawers, barcode scanners, or receipt printers should set them up in the Connected Devices tab of the Settings window. With or without an IoT Box, Odoo 19 facilitates smooth hardware integration. Before going live, thoroughly test the devices.
Managing the Shop and Taking Orders
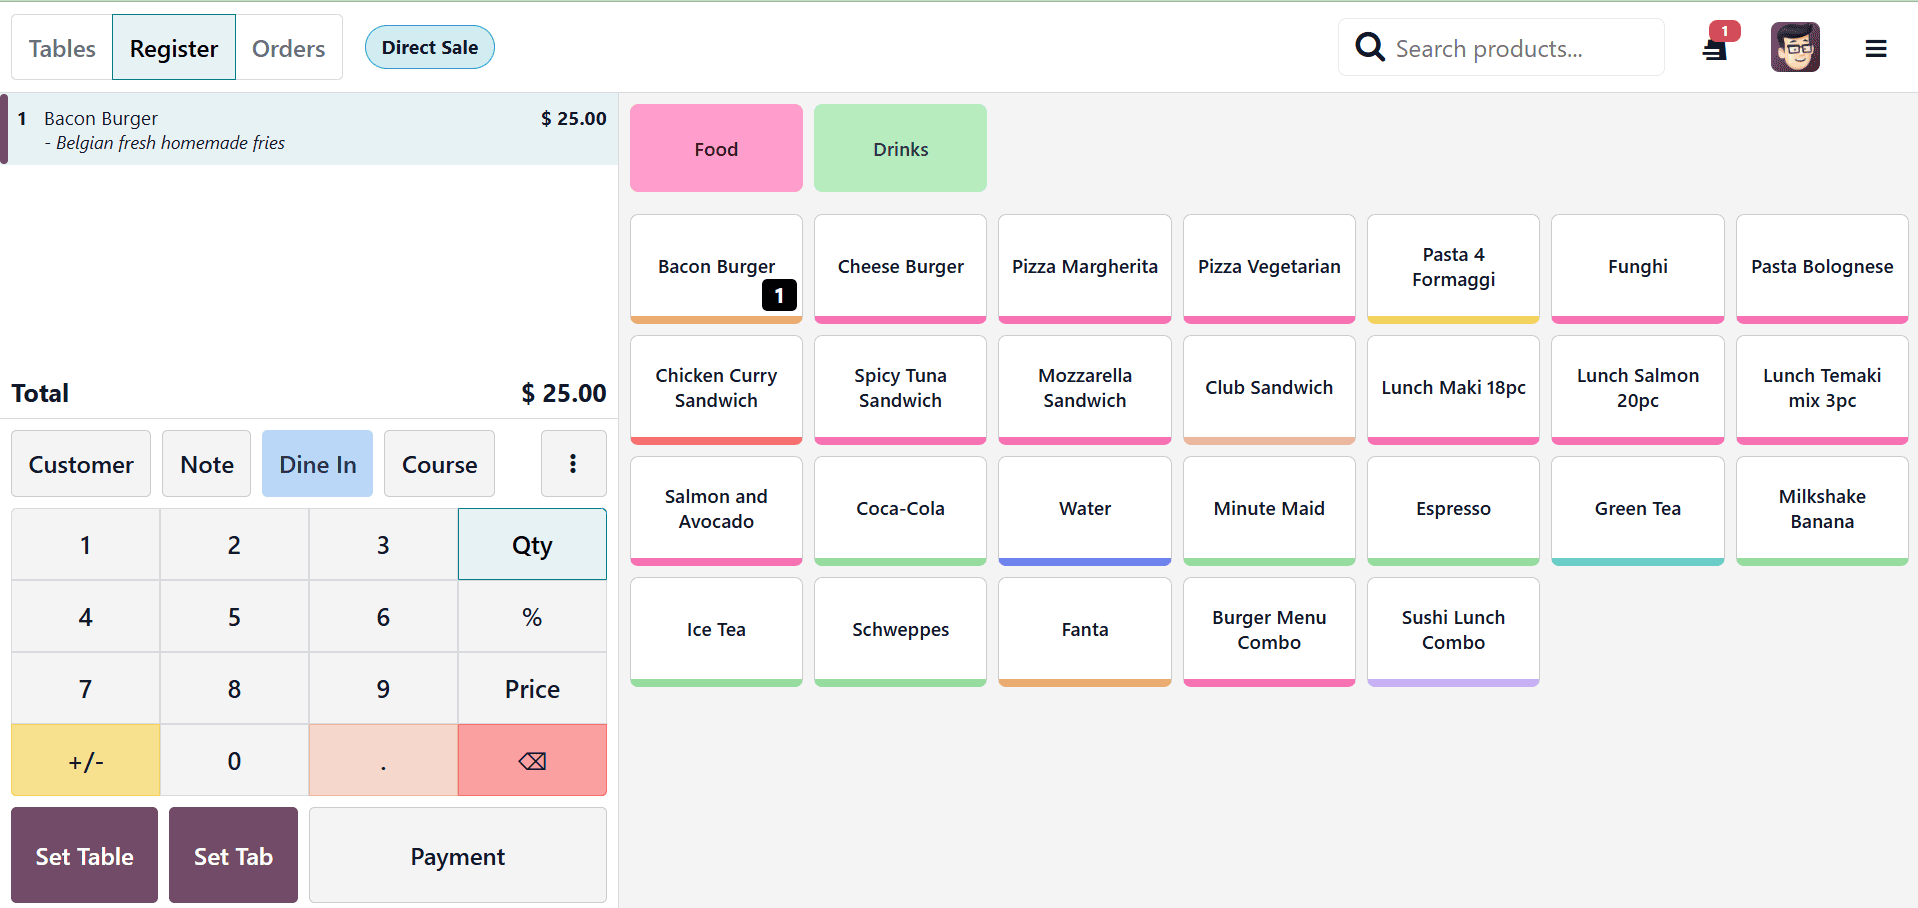
To access the store interface, choose your shop from the POS Dashboard and click New Session. The interface displays products arranged by categories (e.g., Clothing, Electronics, Accessories) with names, prices, and photos.
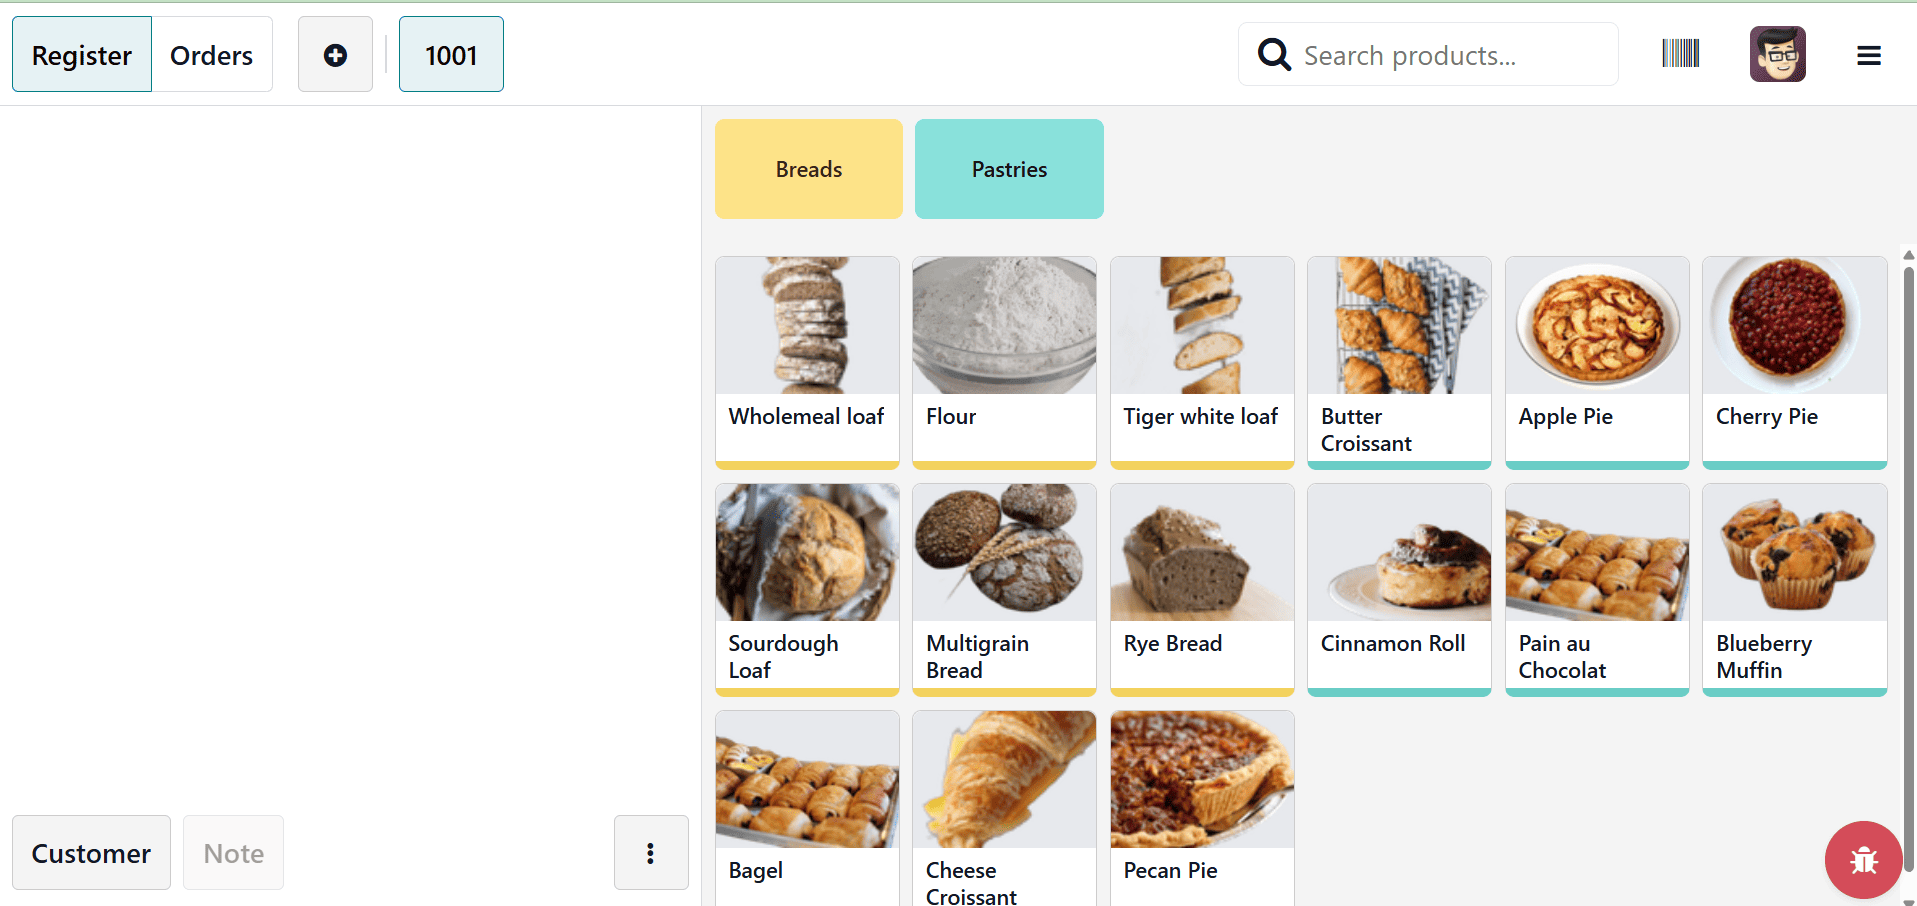
Placing an order
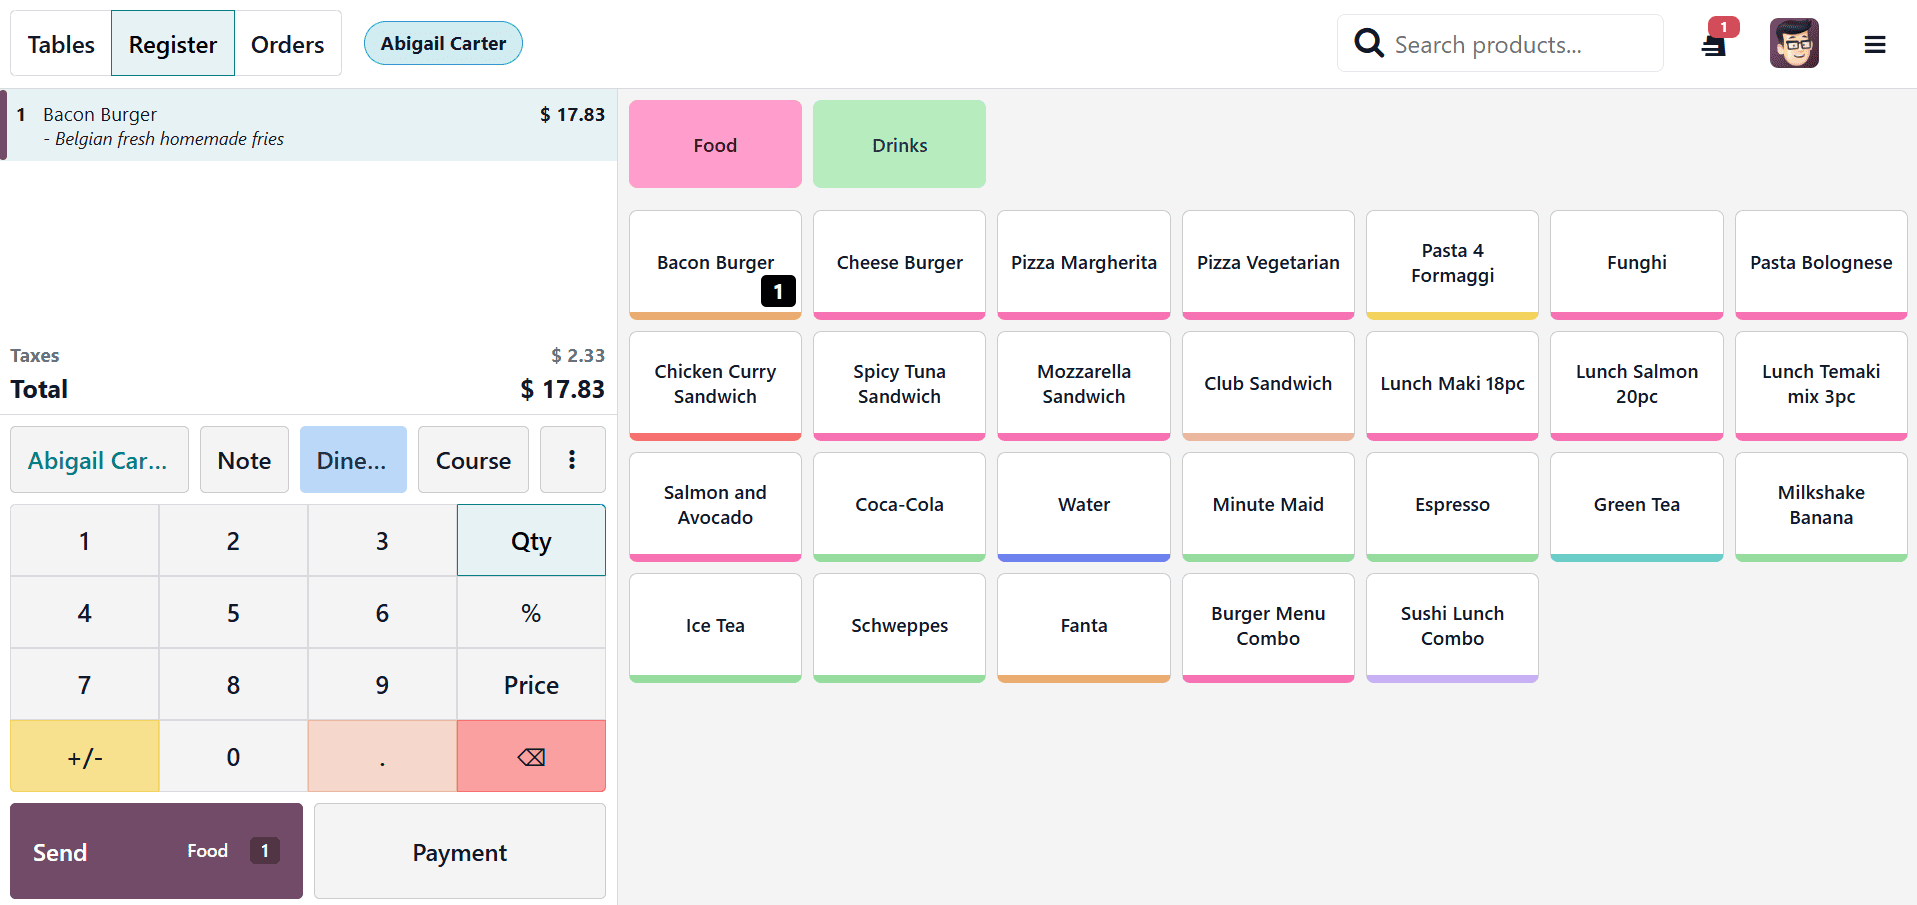
To place an order, choose products from the provided list.
Examine the order information (total, quantity, and unit prices) on the left.
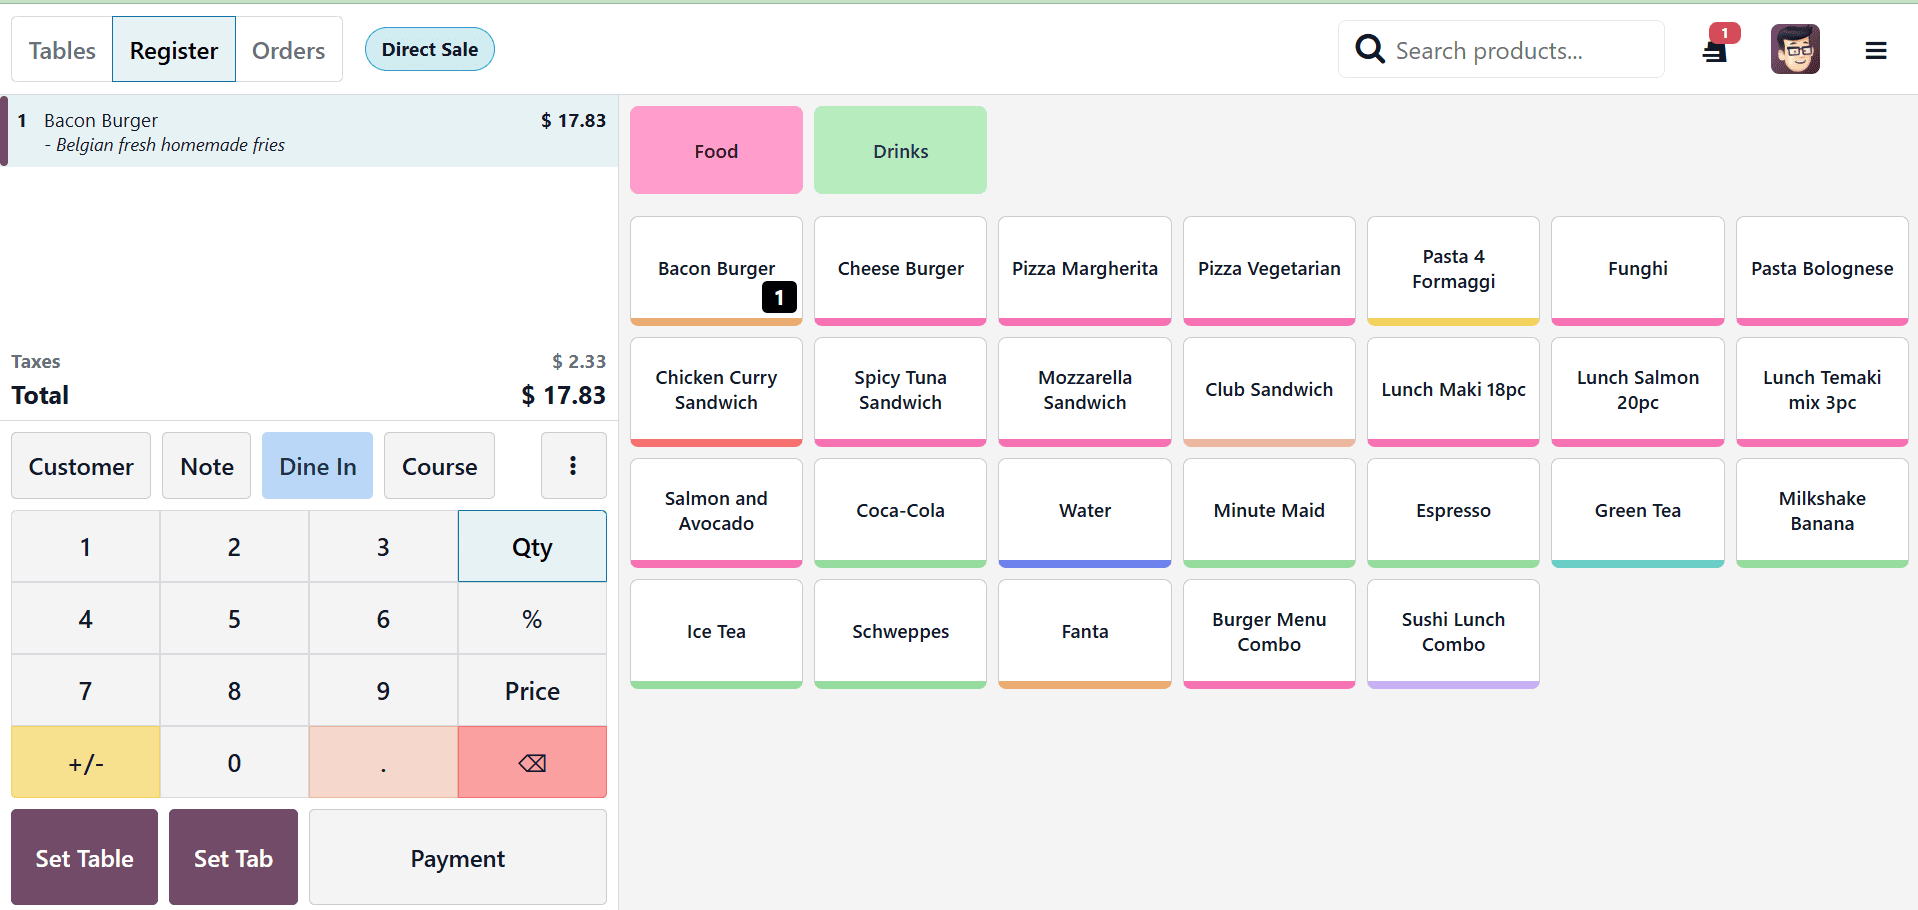
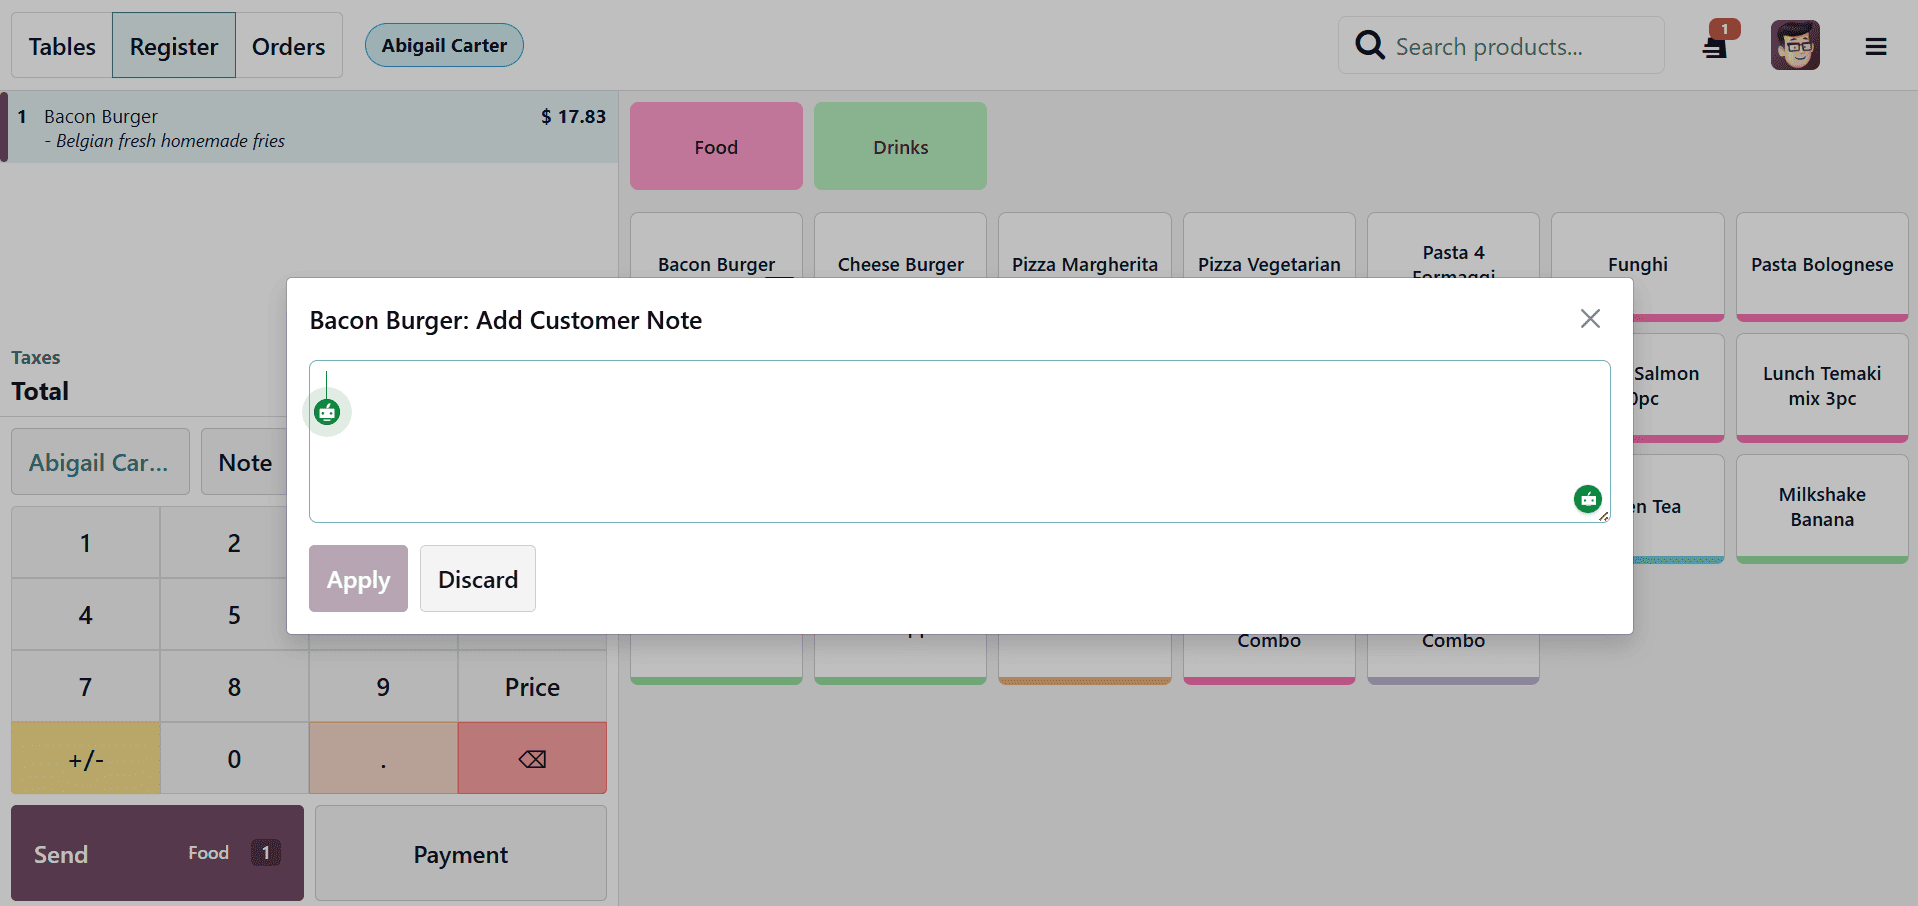
And, for specific requests, use customer notes; for returns, use refunds.
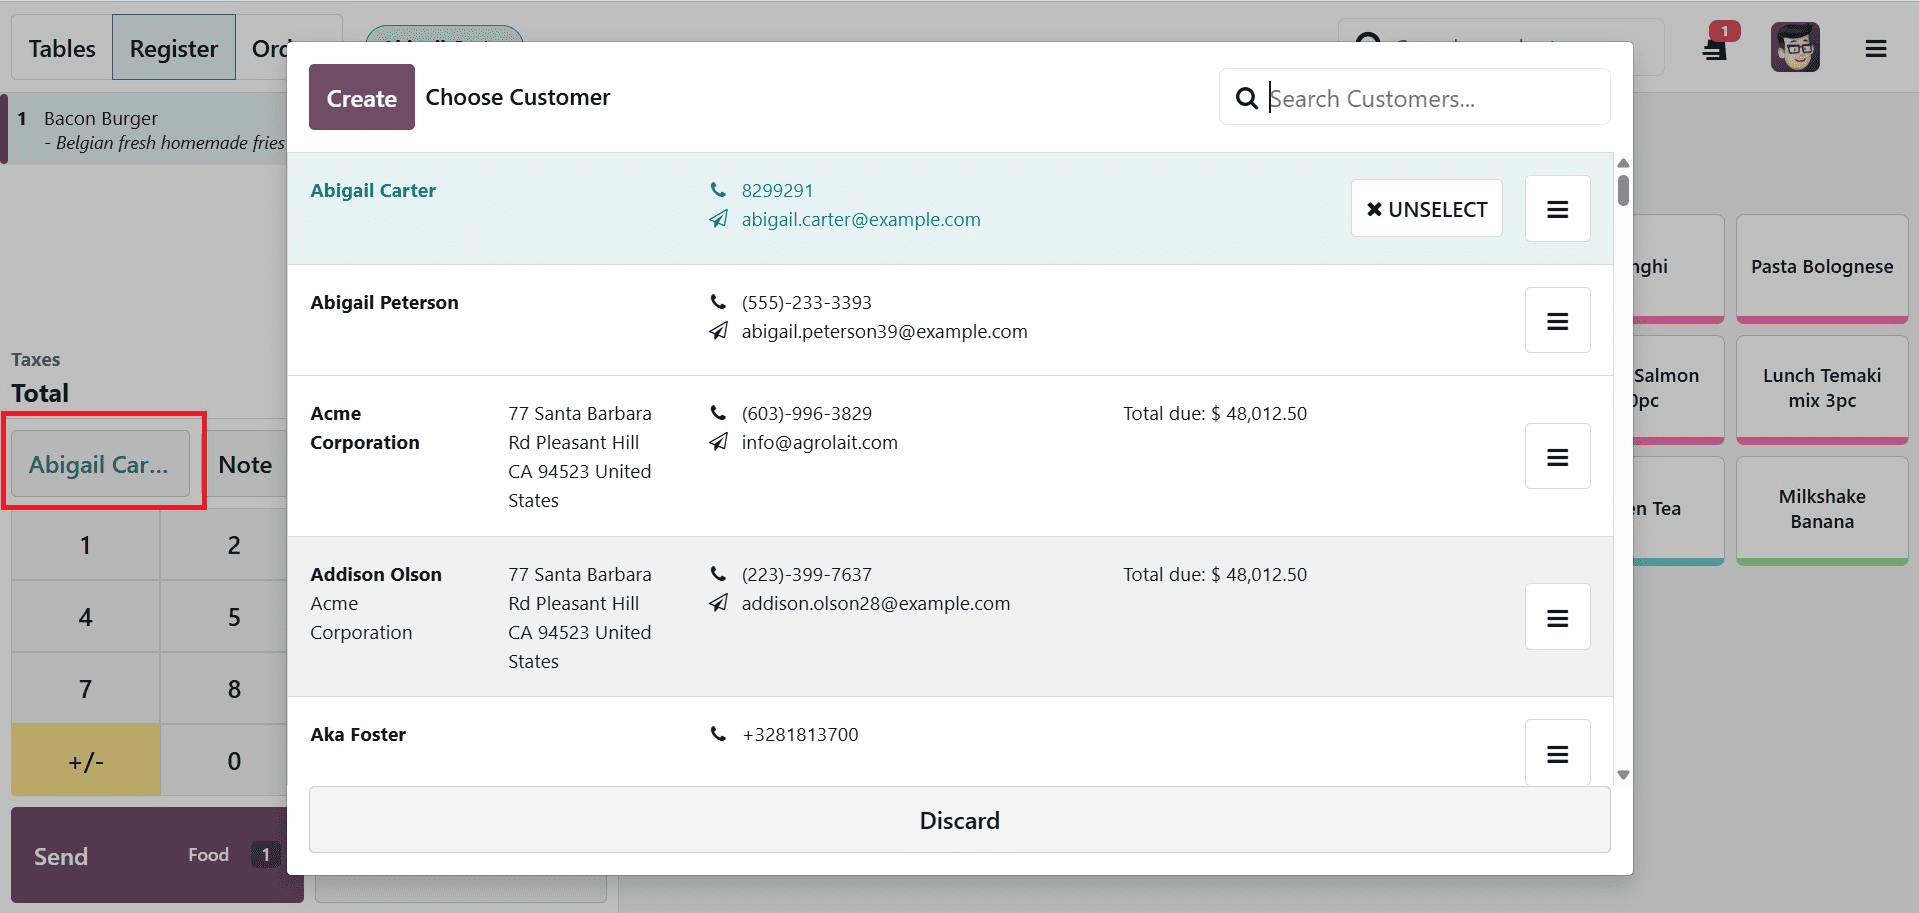
Moreover, you can select the Customer from the provided list, which is available on selecting the Customer option, as marked in the screenshot below.
Examine the order summary, taking note of taxes and subtotals.
You are also provided with some other options under the three dots, as shown below.
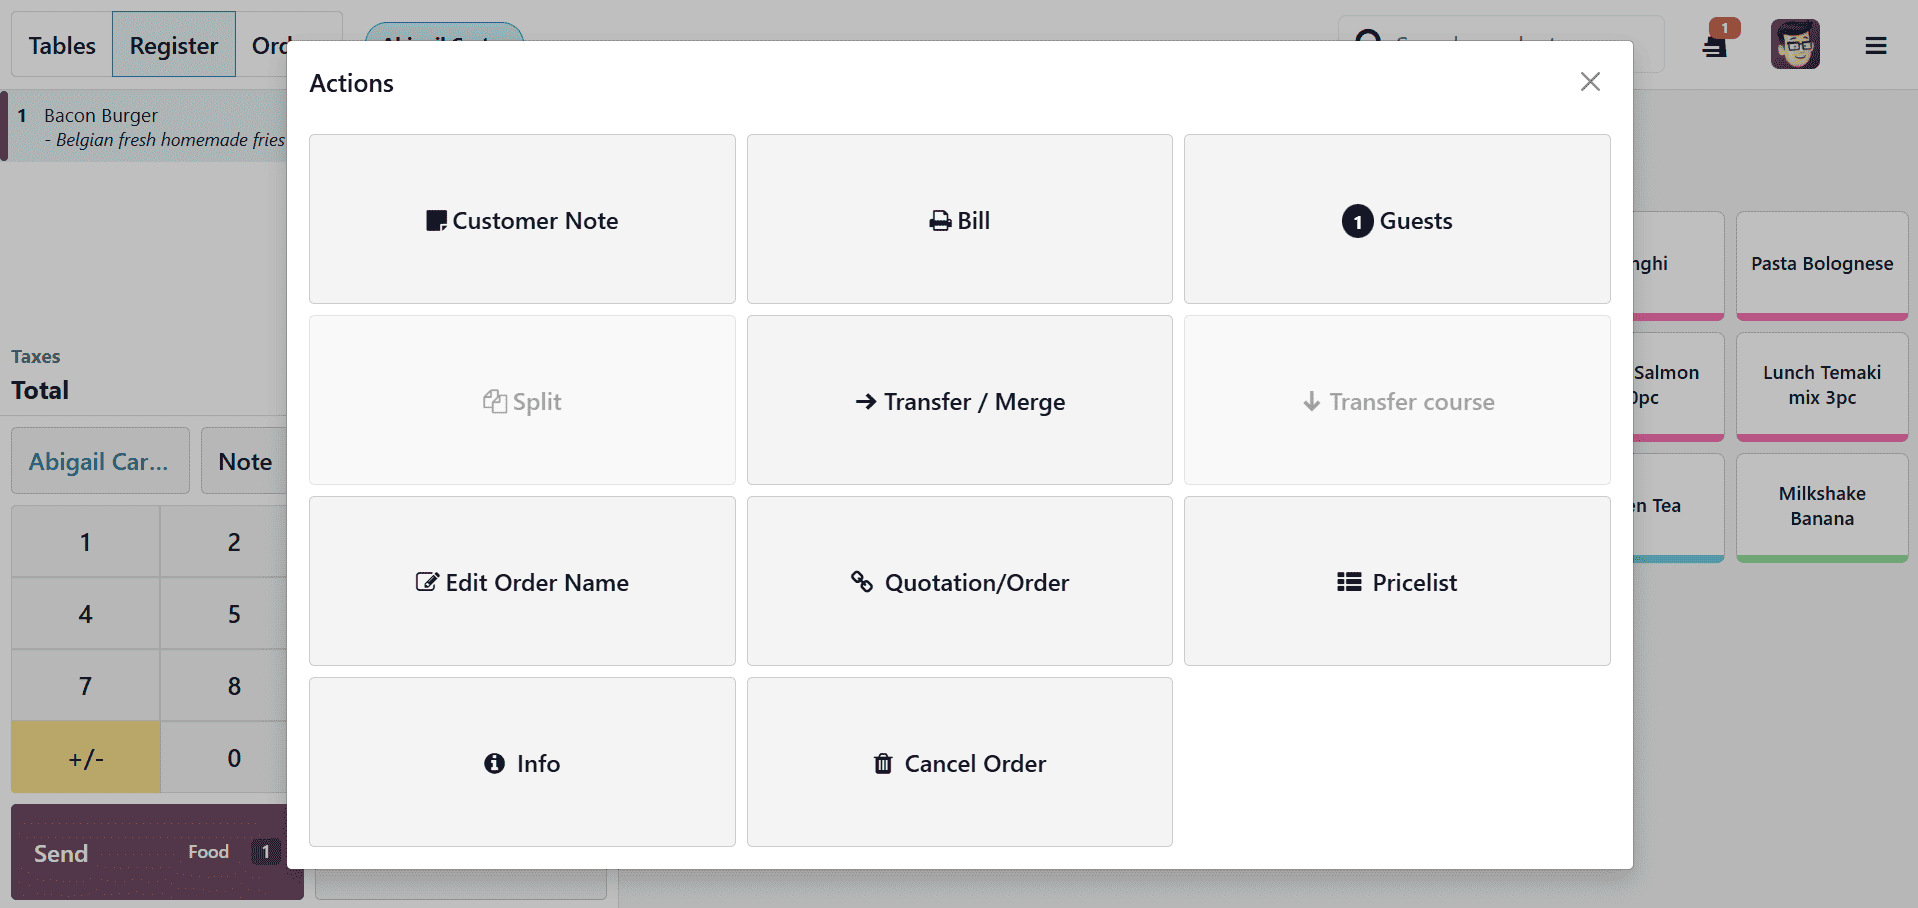
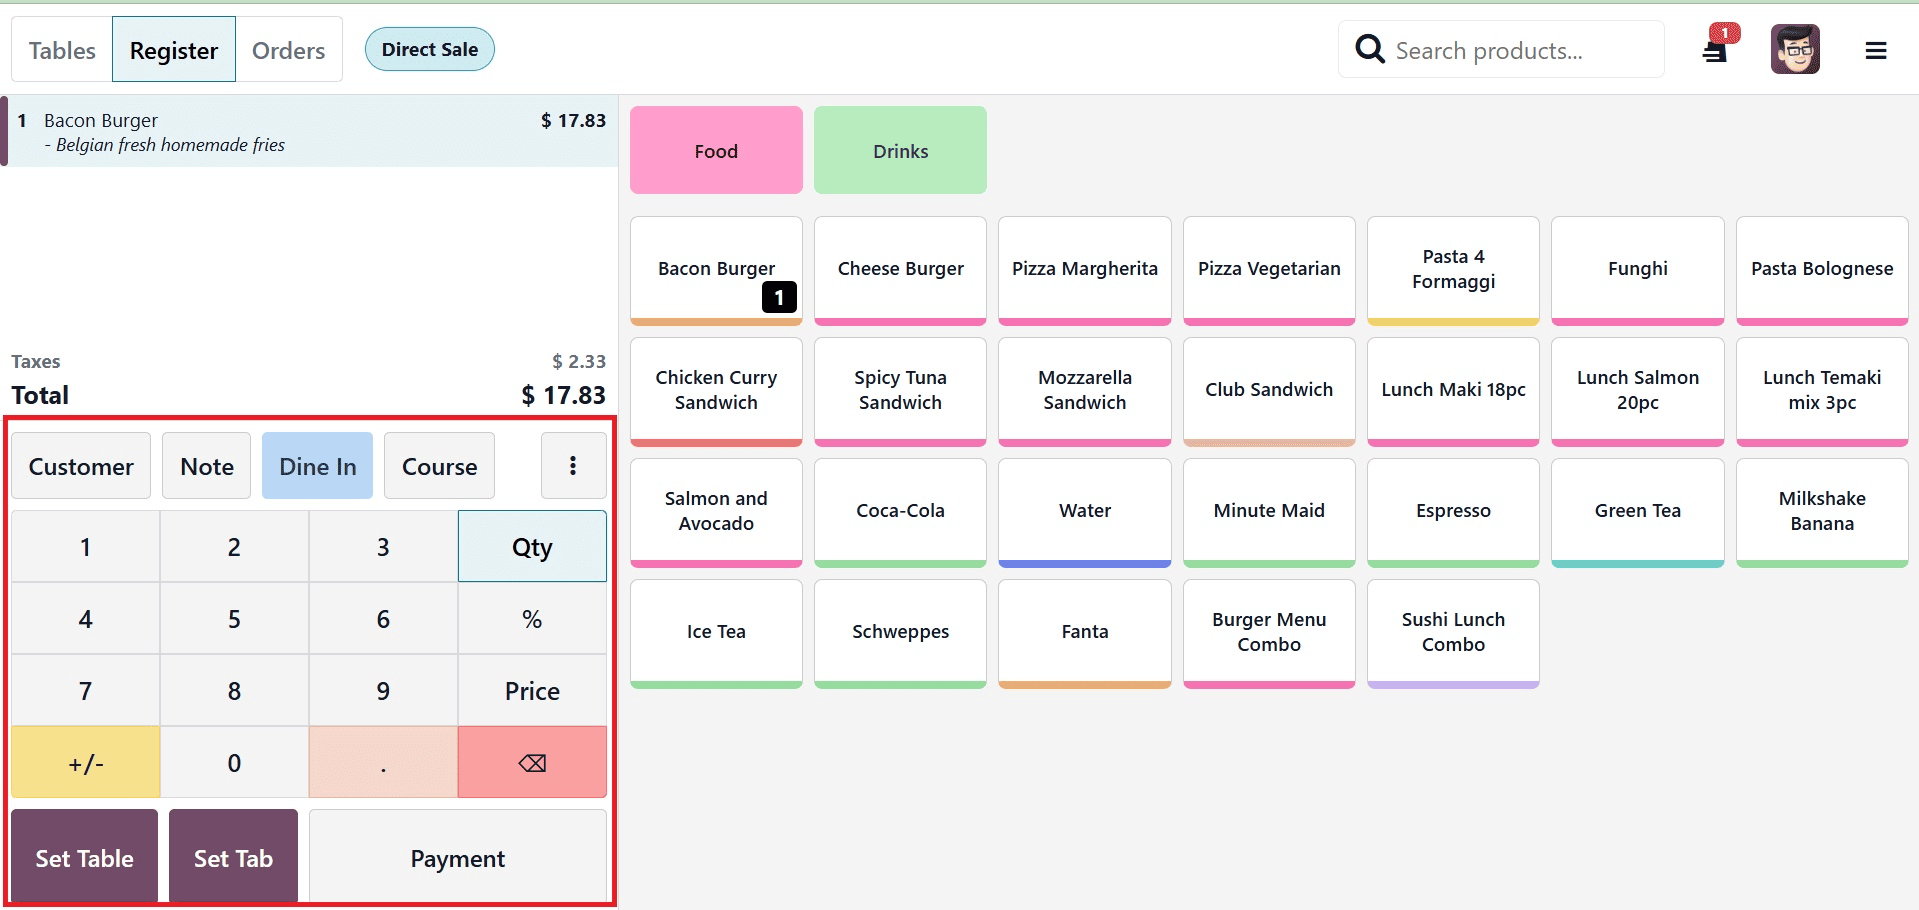
- Customer Note – Allows the cashier to add a note related to the customer or order, such as special requests or delivery instructions.
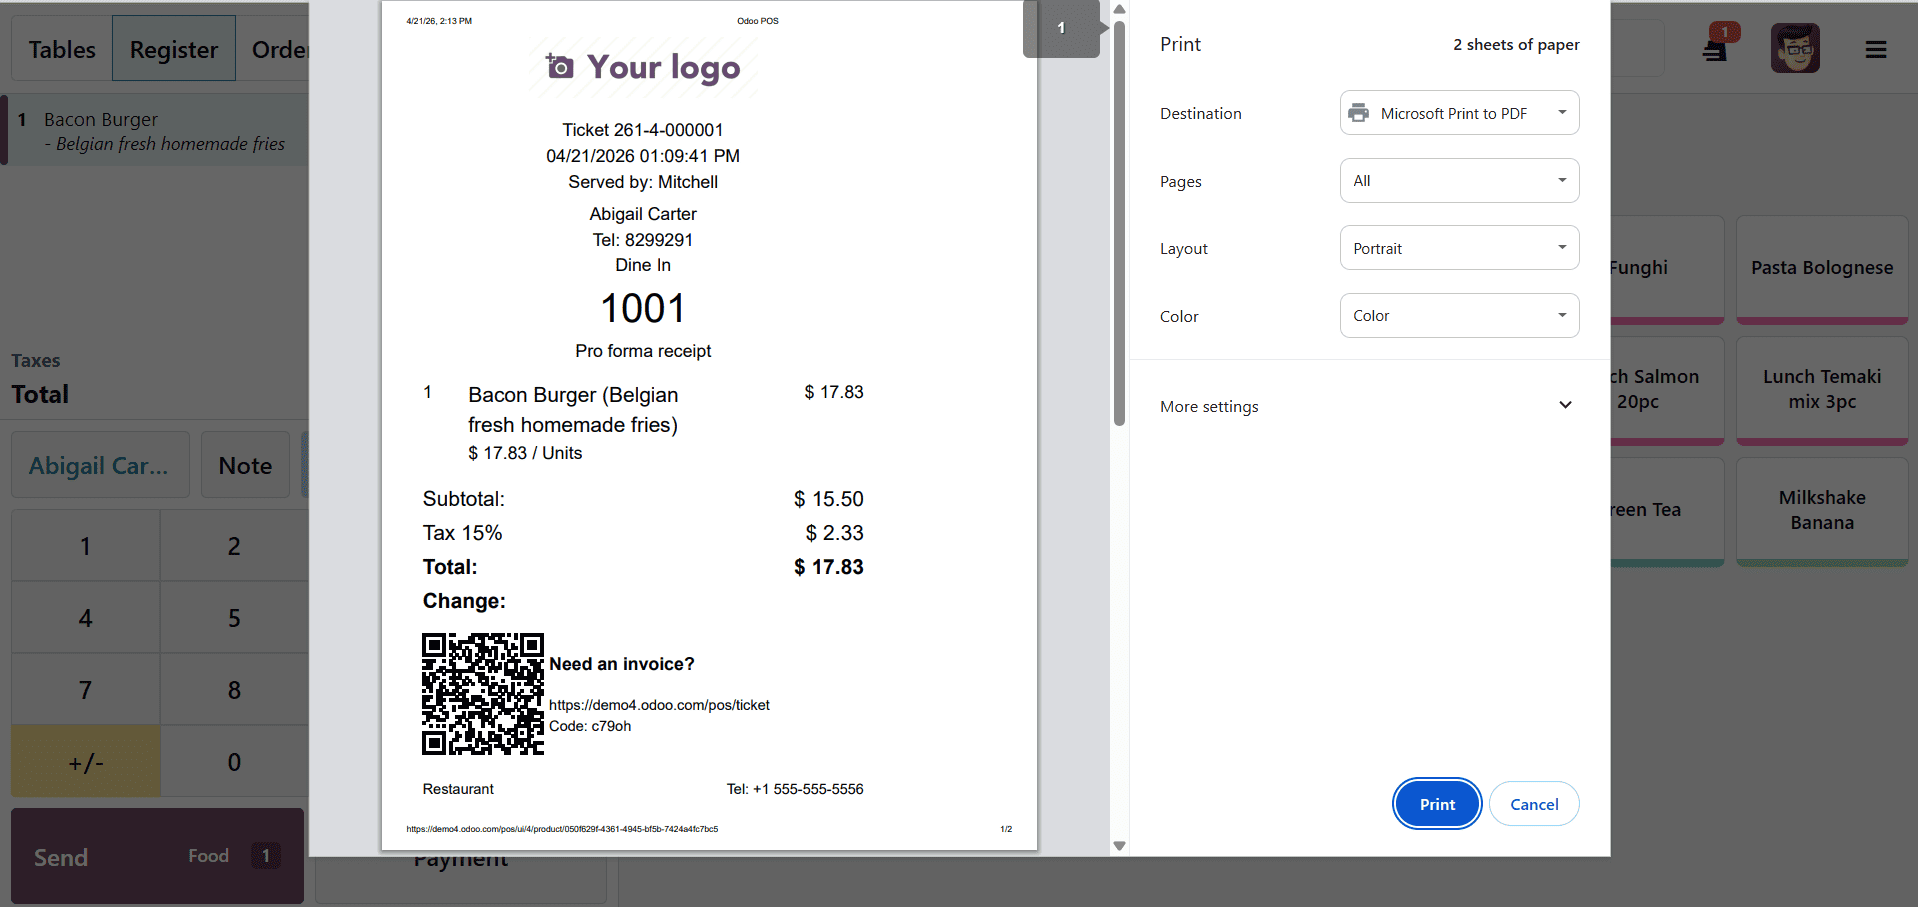
- Bill – Prints or displays a provisional bill for the current order without validating the payment, mainly used to show customers the total amount.
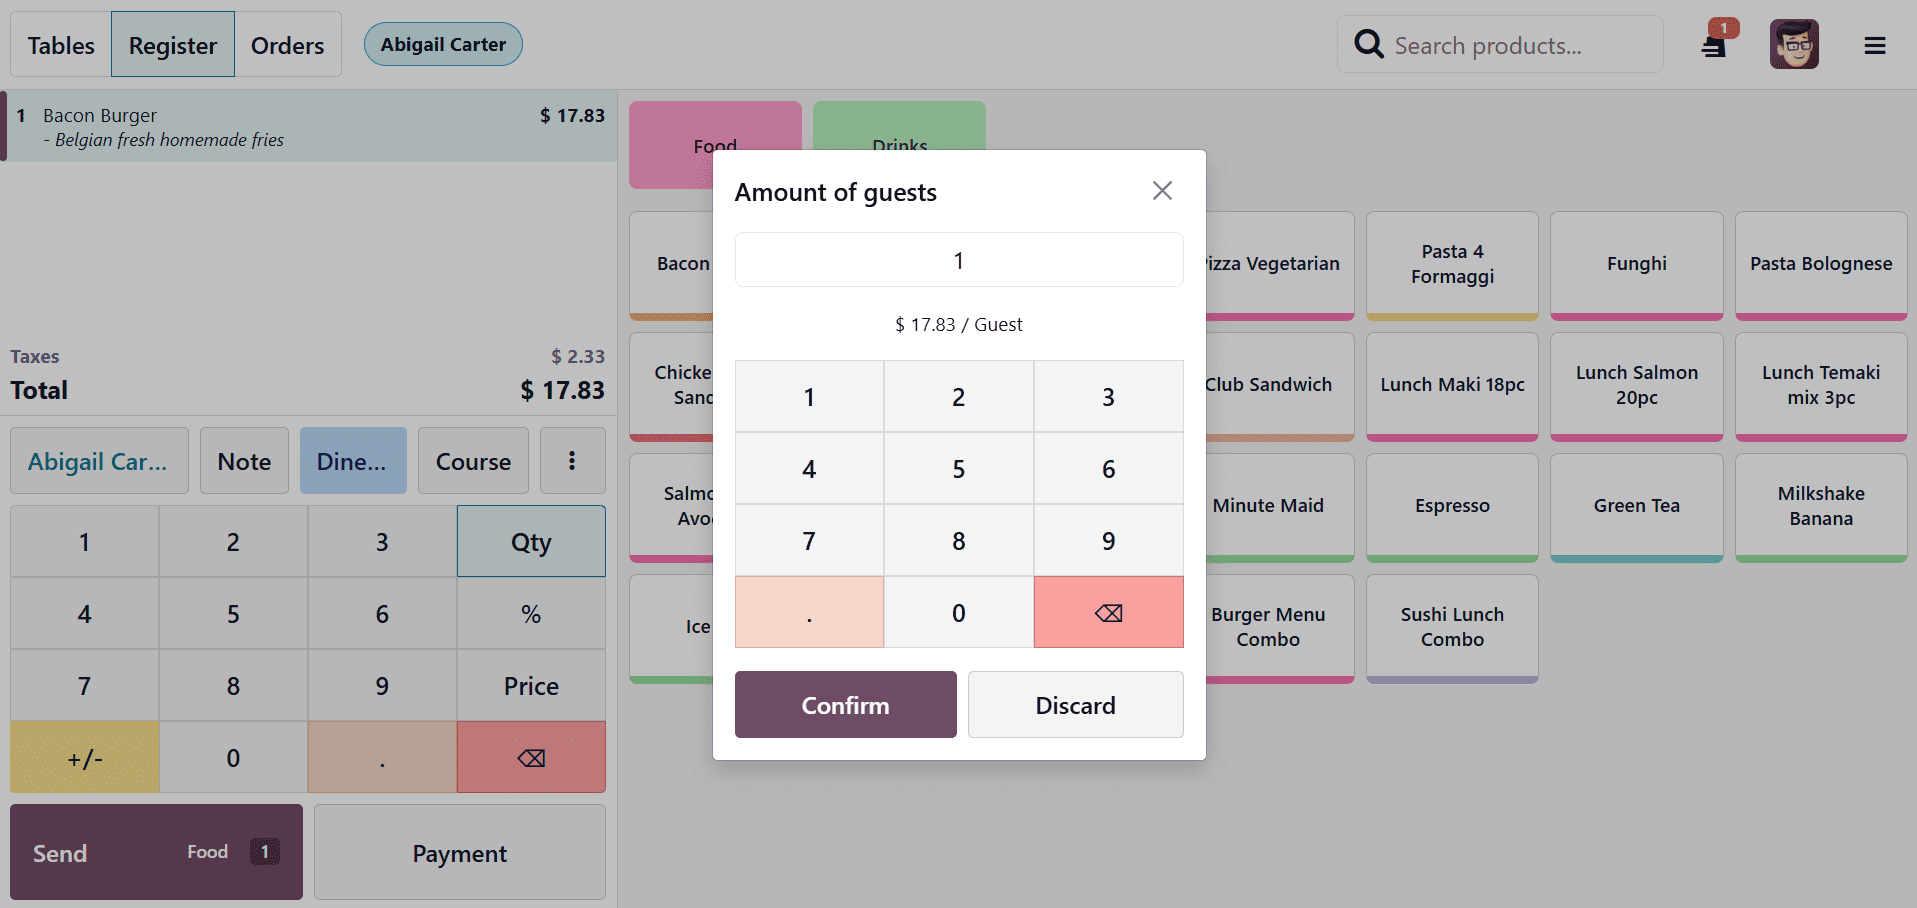
- Guests – Lets you specify the number of guests for the order, commonly used in restaurant POS to manage table service.
- Transfer / Merge – Enables transferring an order to another table or merging multiple orders into a single one, useful in restaurant workflows.
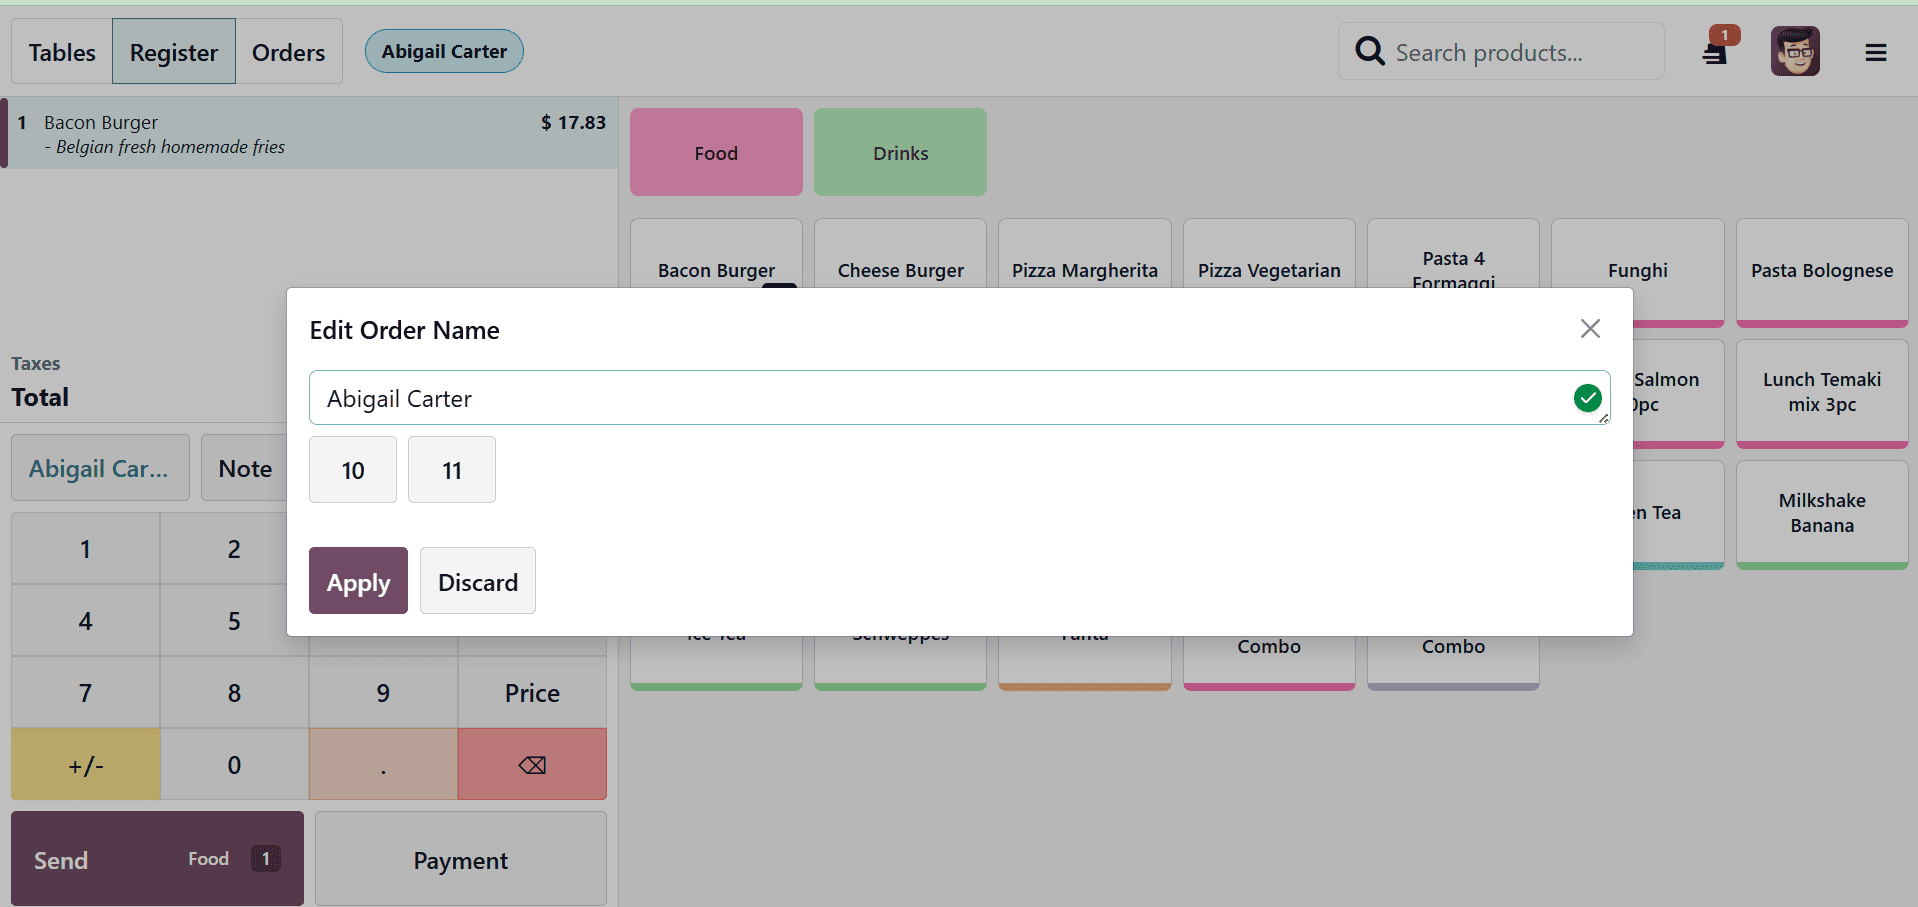
- Edit Order Name – Allows renaming the current order, for example changing it to a customer name or table identifier.
- Quotation / Order – Converts the current POS order into a quotation or confirms it as a sales order in the backend, depending on configuration.

- Info – Displays additional details about the order, such as creation time, cashier, session, and other order-related information.
- Cancel Order – Cancels the current order and removes all added products, effectively resetting the order screen.
Payment and Invoices
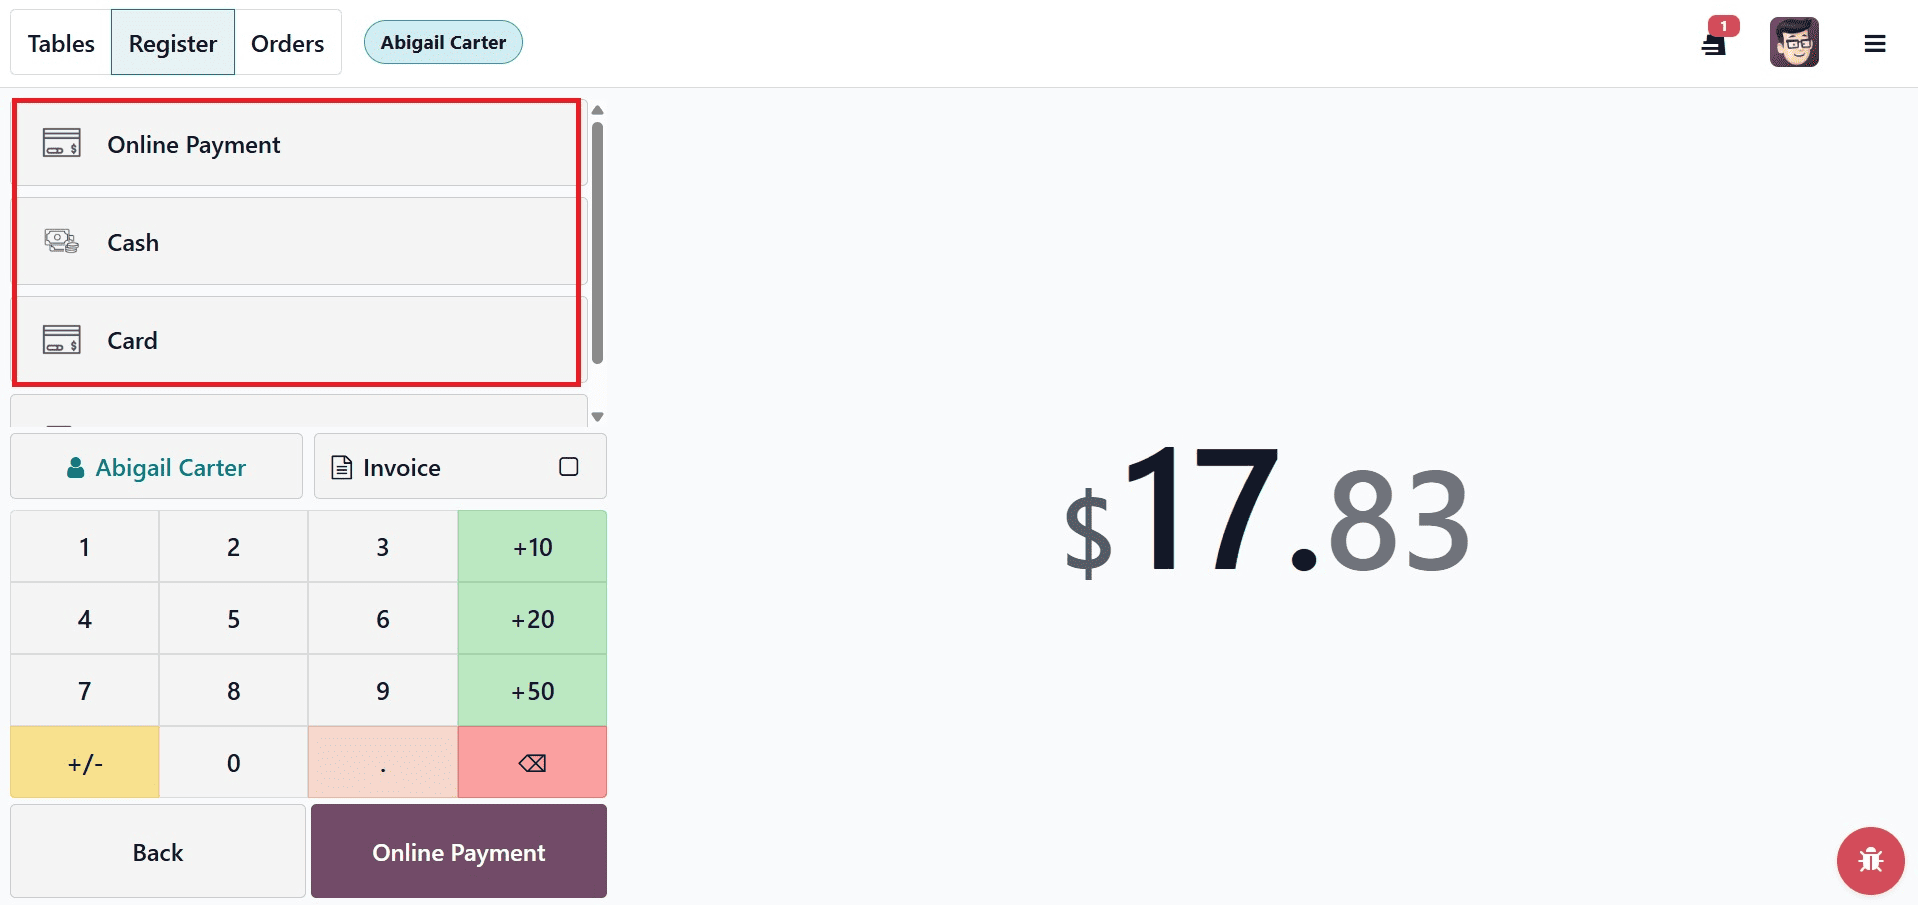
To view the payment screen, click Payment.
- Choose a payment option (cash, bank, or customer account).
- Click Validate after entering the payment amount
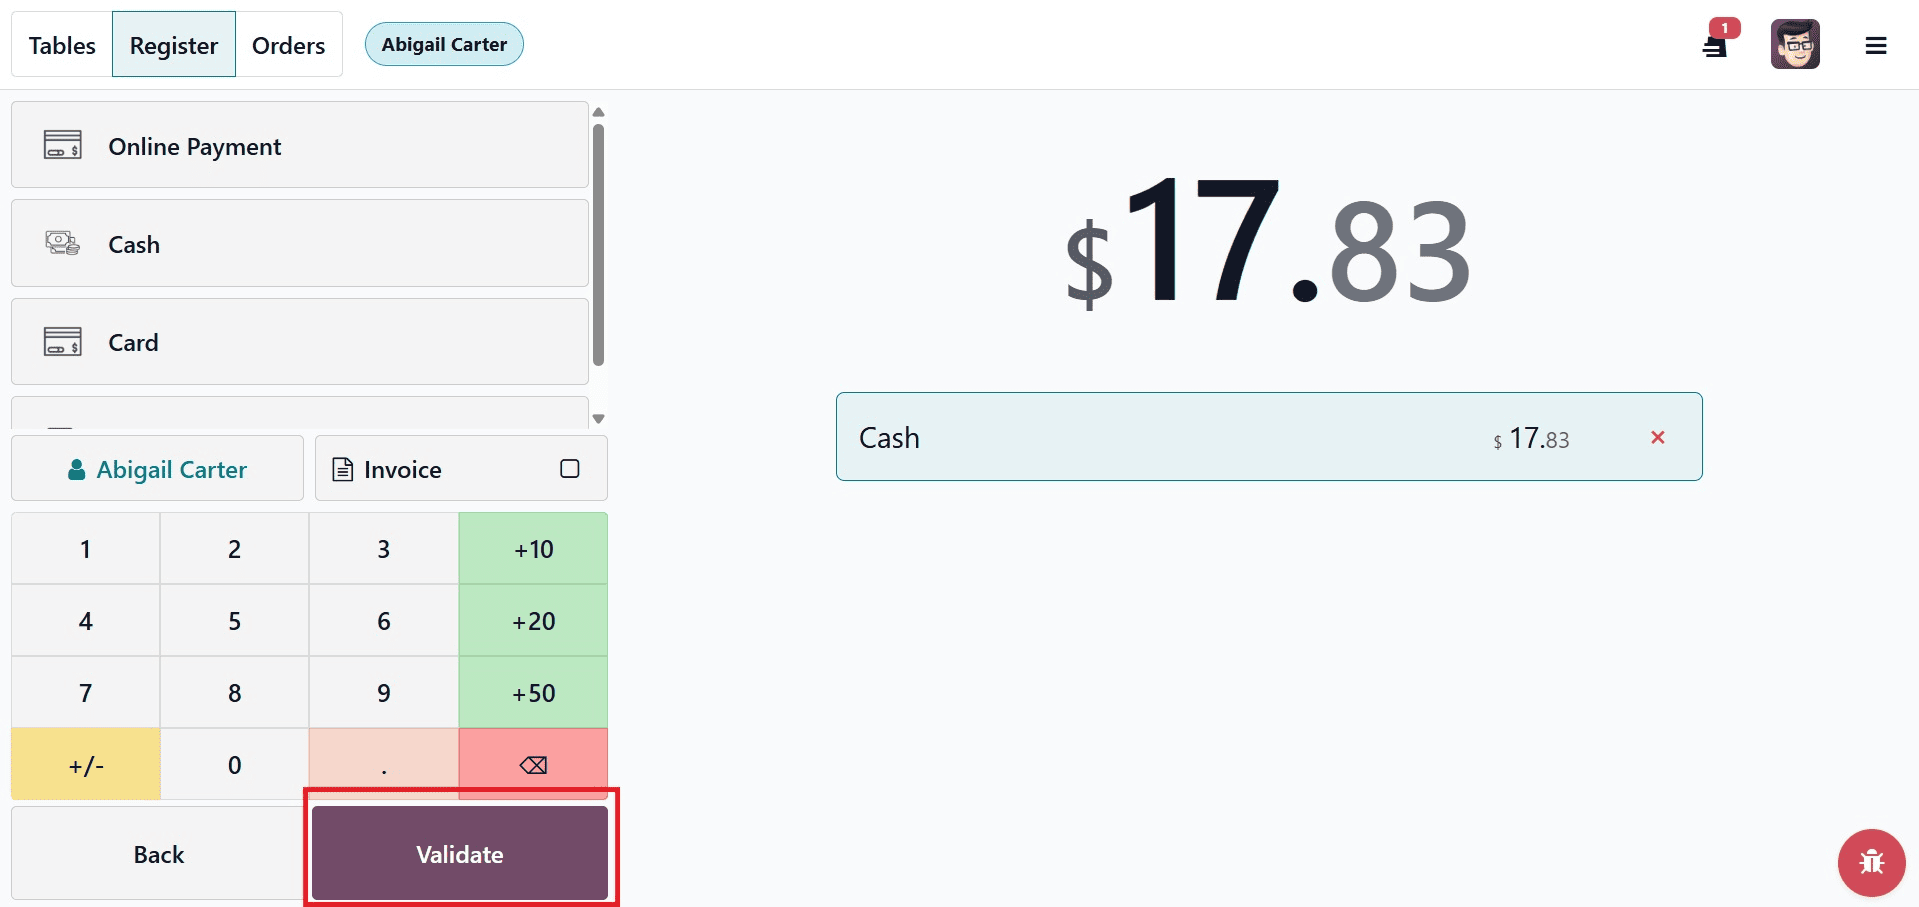
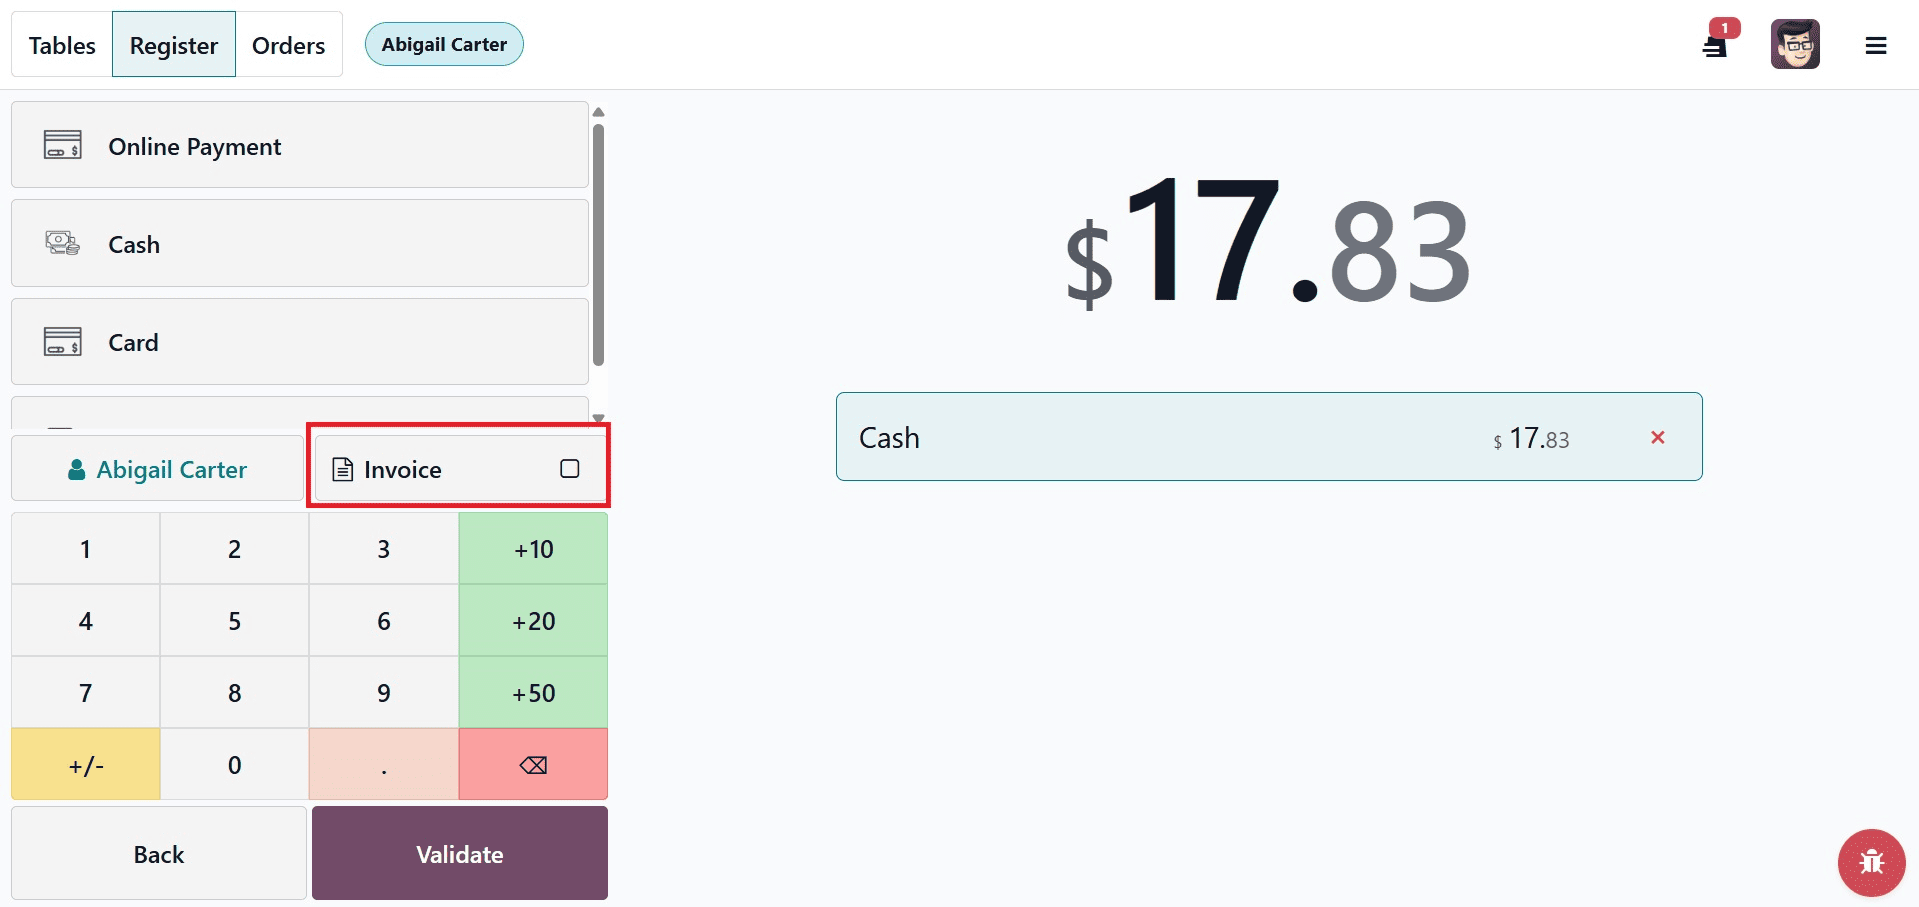
- Enable the check box near the Invoice button so that odoo will create an invoice once the payment is validated
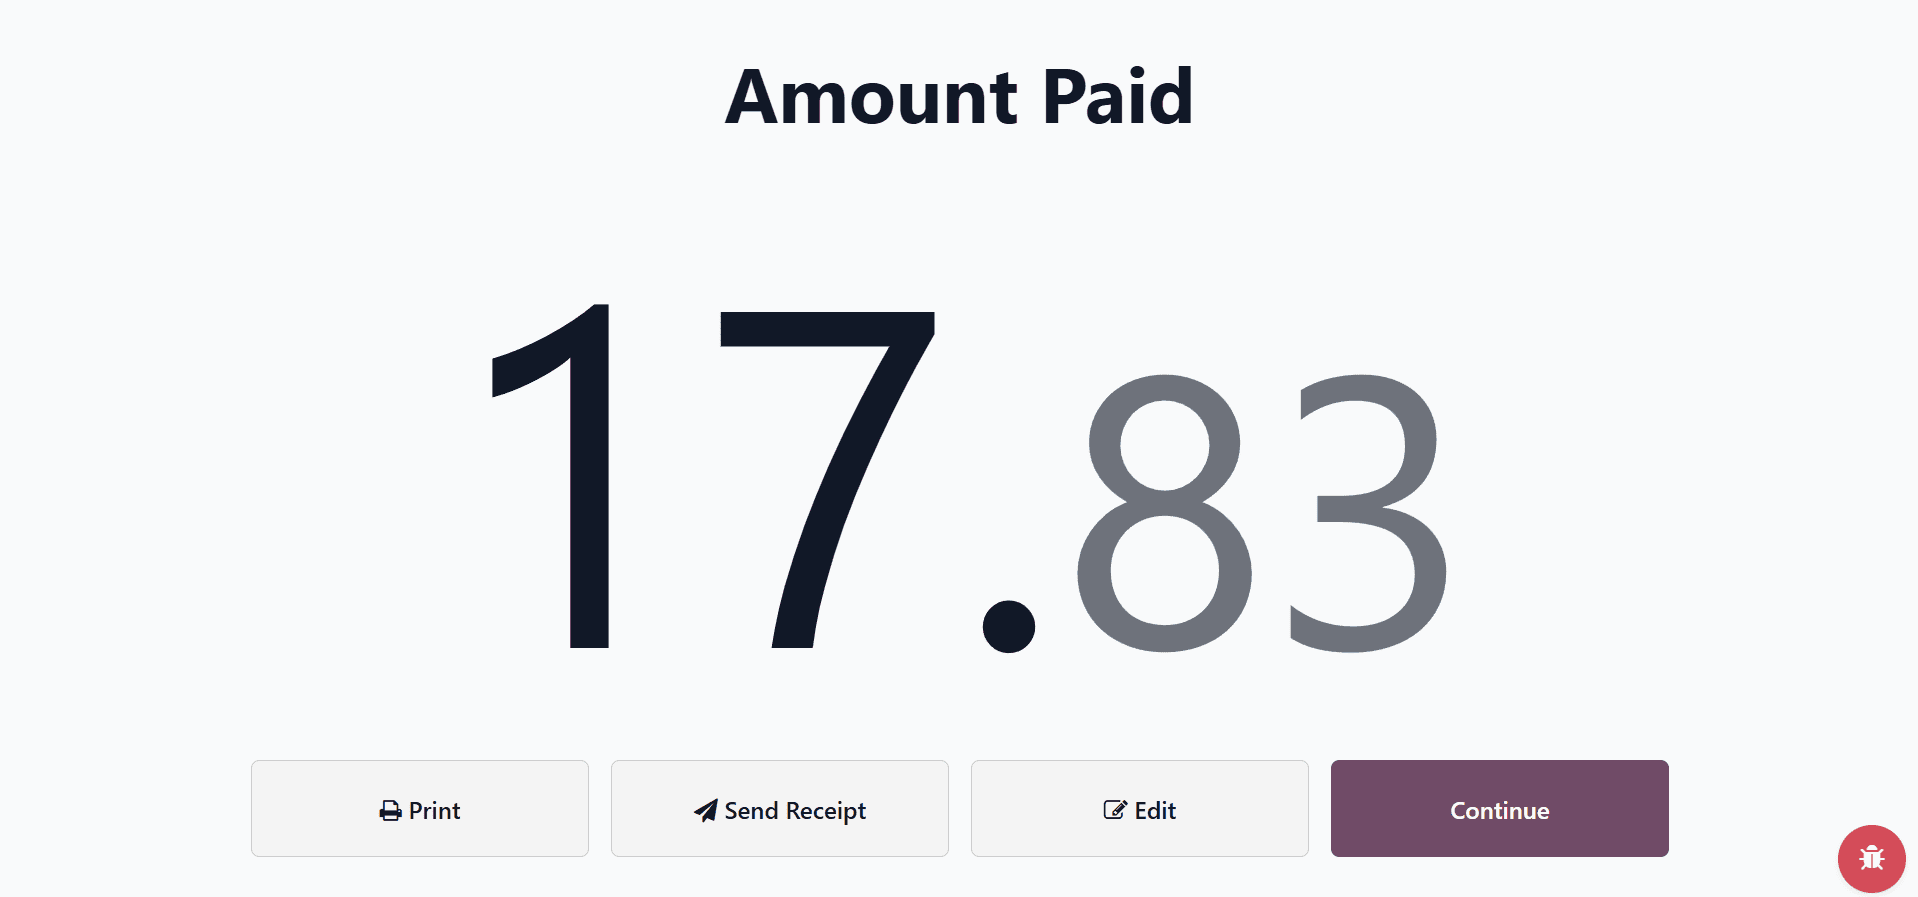
To print or email receipts, click Print Receipt. To begin a new order without going back to the shop window, use New Order.
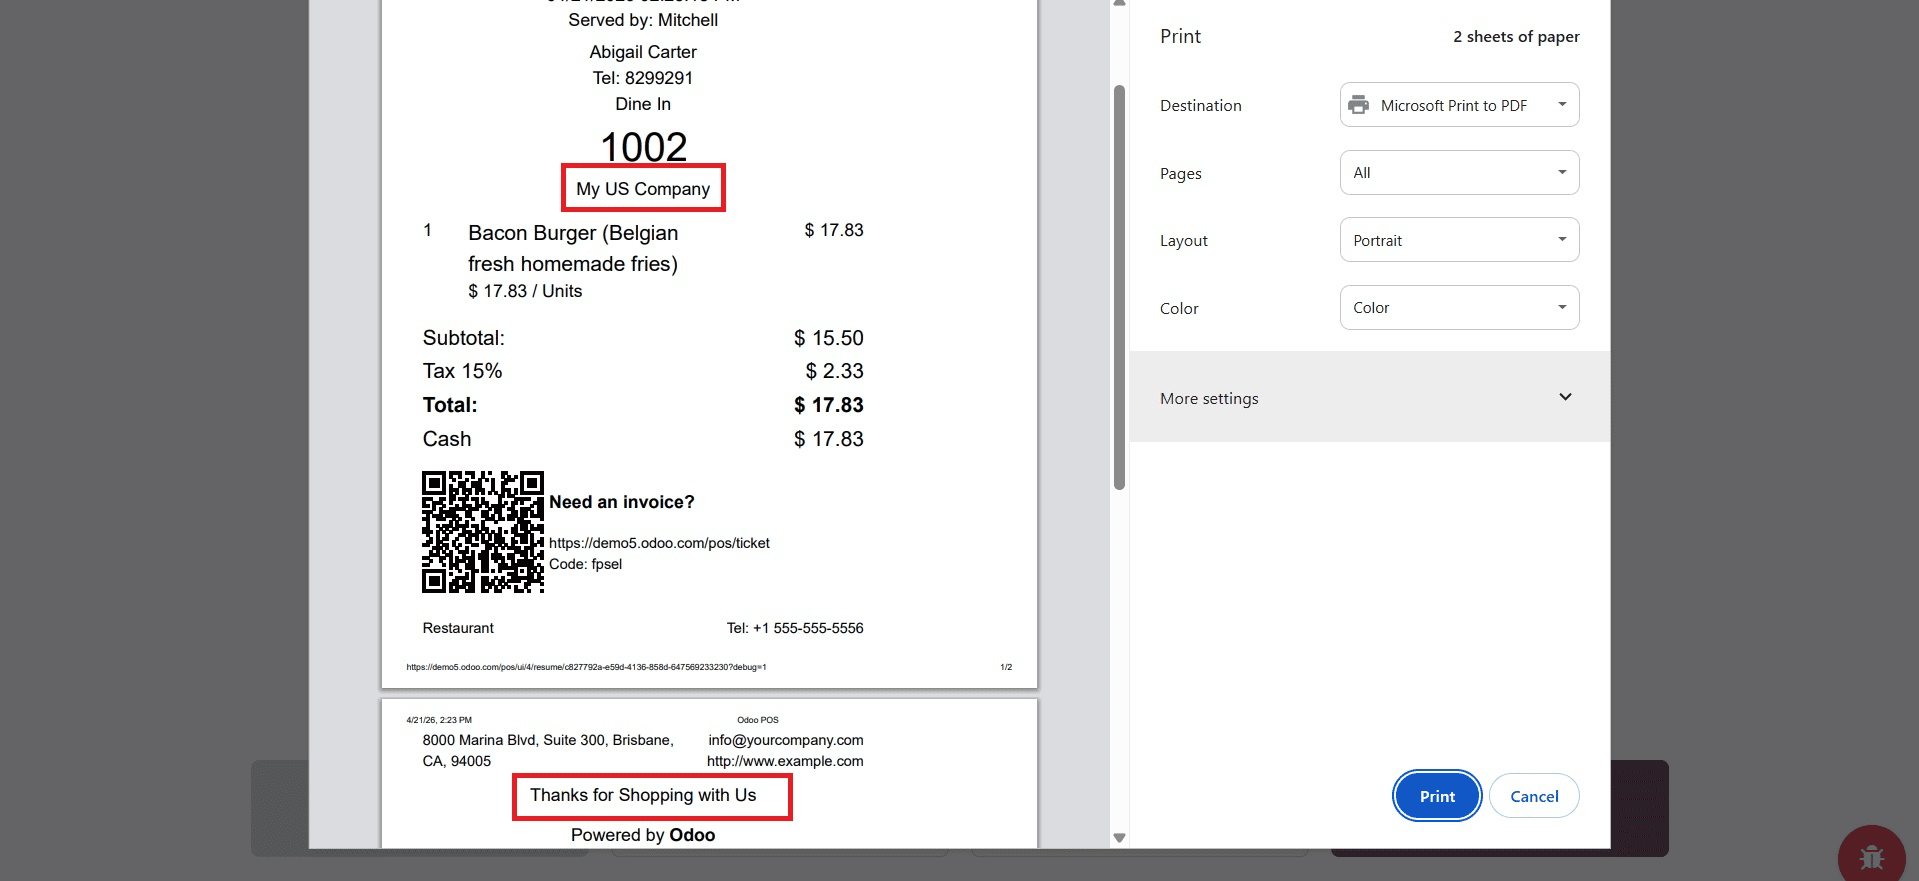
The header and footer that we added to the receipt are also visible.
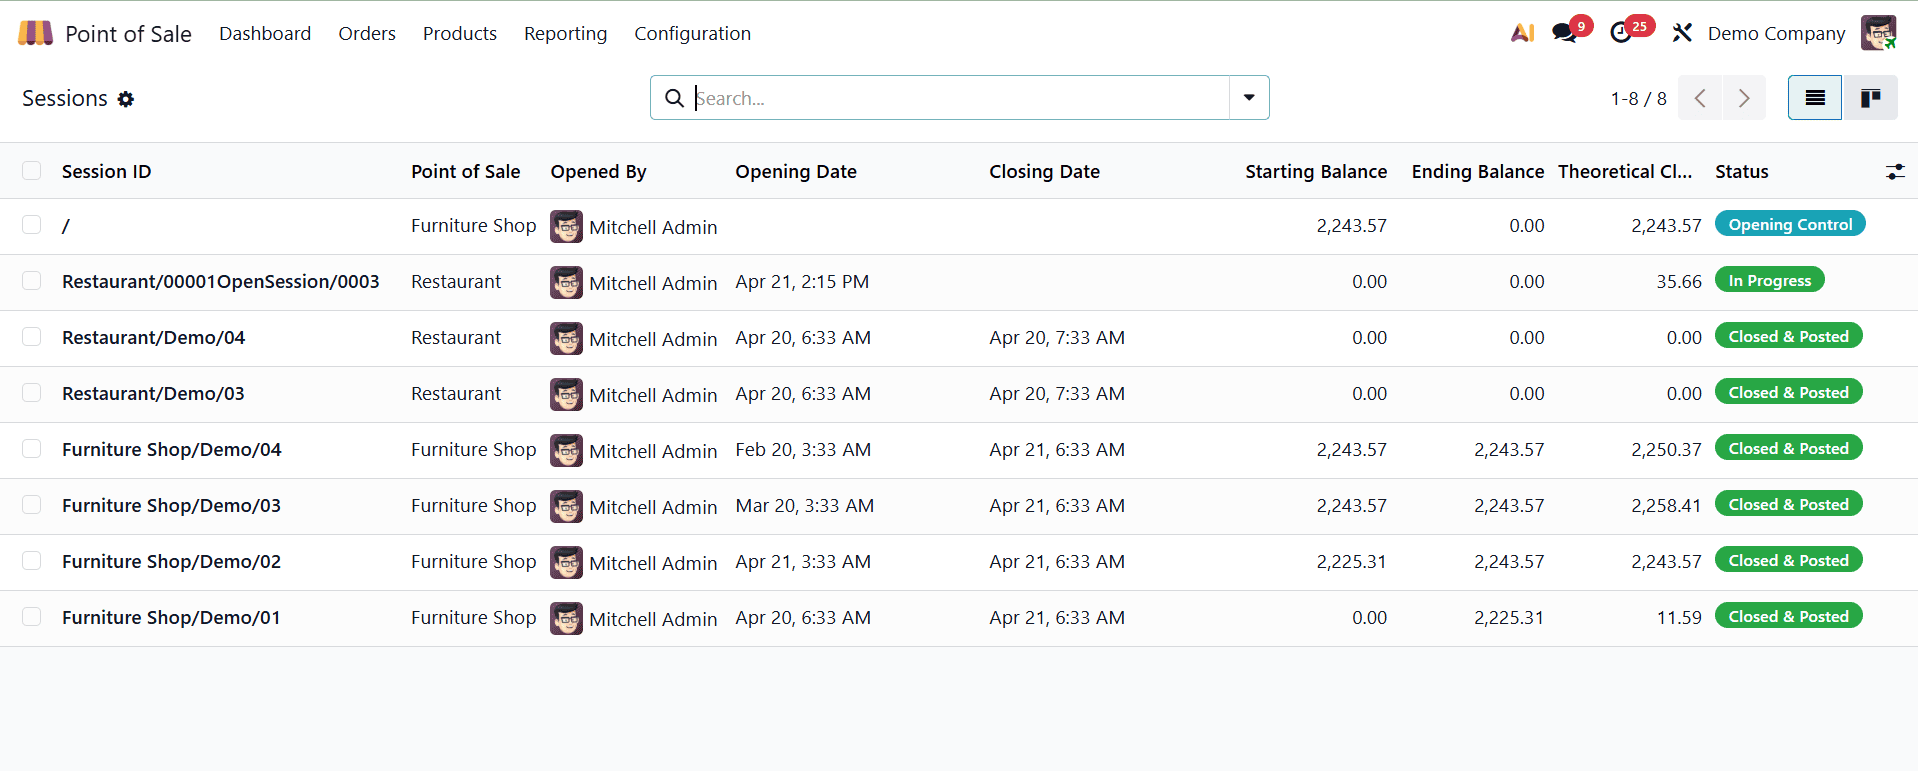
Use the Sessions option on the Orders tab to keep track of sessions. This brings up the POS Dashboard, which shows the details of active sessions.
Using Odoo 19 Point of Sale to set up your retail store improves customer experiences and streamlines processes. You may adapt the POS system to your company's requirements with the help of this detailed tutorial. You can remain competitive and adjust to changes in the market using Odoo 19's adaptable and user-friendly POS module.
To read more about How to Configure the Retail Shop in Odoo 18 POS, refer to our blog How to Configure the Retail Shop in Odoo 18 POS.