Configuring an eLearning course in Odoo 19 allows organizations to deliver structured, interactive training efficiently through a centralized platform. The eLearning module integrates content creation, learner management, and performance tracking, making it suitable for businesses, schools, and training providers. To begin, users must install and activate the eLearning app, then create a course by defining its title, description, visibility, and access settings. Content such as videos, documents, quizzes, and certifications can be added as lessons to enhance engagement. Odoo helps learners stay engaged by offering scheduled content, interactive challenges, and forums for interaction. Administrators can assign instructors, monitor progress, and analyze course performance using built-in reporting tools. By using these features, organizations can design flexible and scalable learning experiences that meet diverse educational needs while maintaining quality and consistency across all training programs.
Open the eLearning module from the Odoo 19 dashboard.
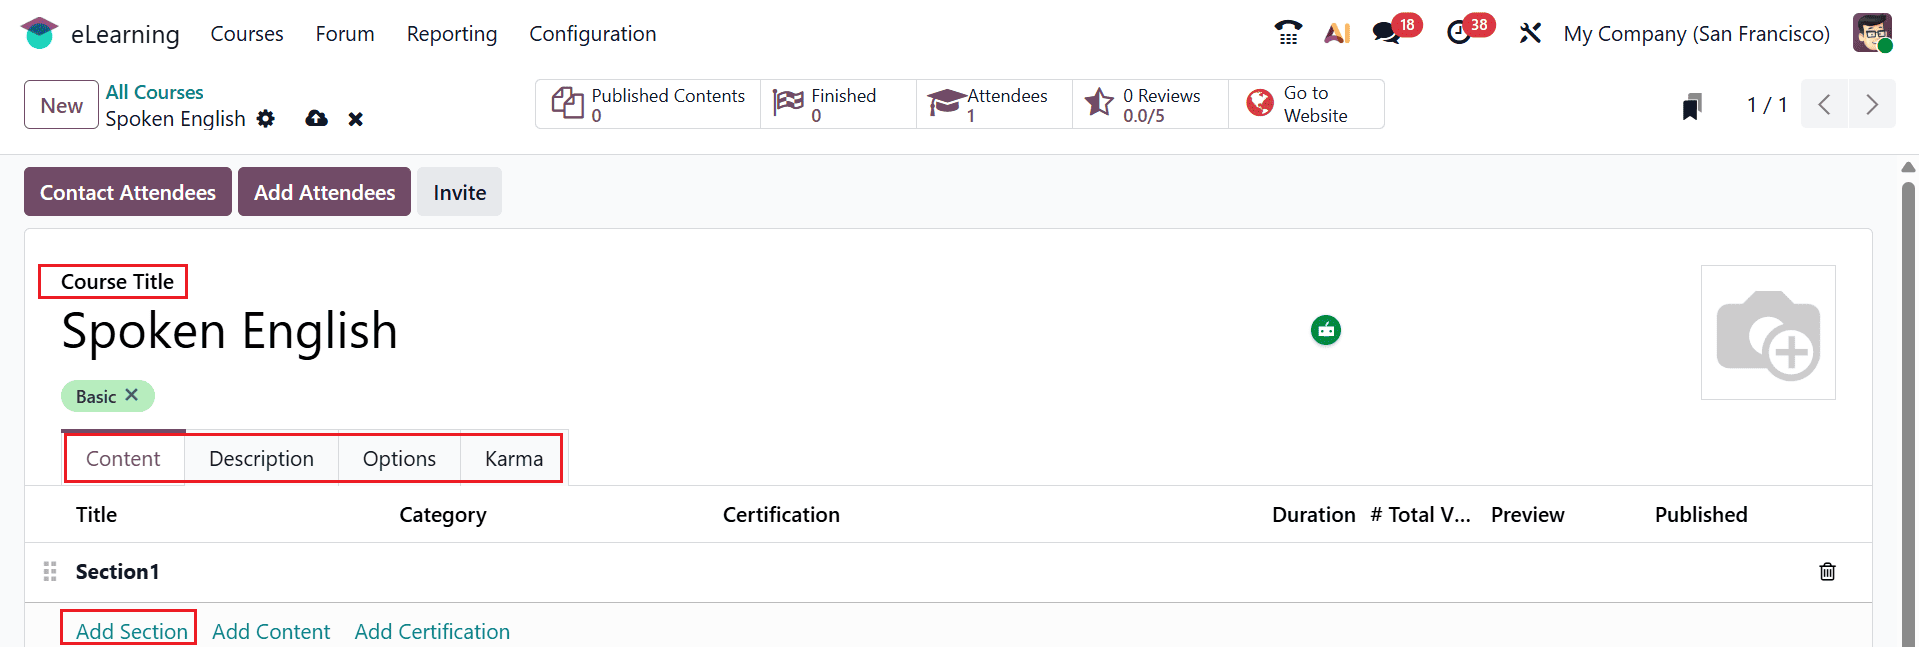
Here, the main dashboard displays all the courses, which are arranged in a kanban card view. Select the New button to create a course.

A new window will open, where you can add the appropriate title and tags for the course under the Course Title field. Here, you can see four tabs: Contents, Description, Options, and Karma. In the Content tab, click Add Section, then enter a name for the new section as shown below:
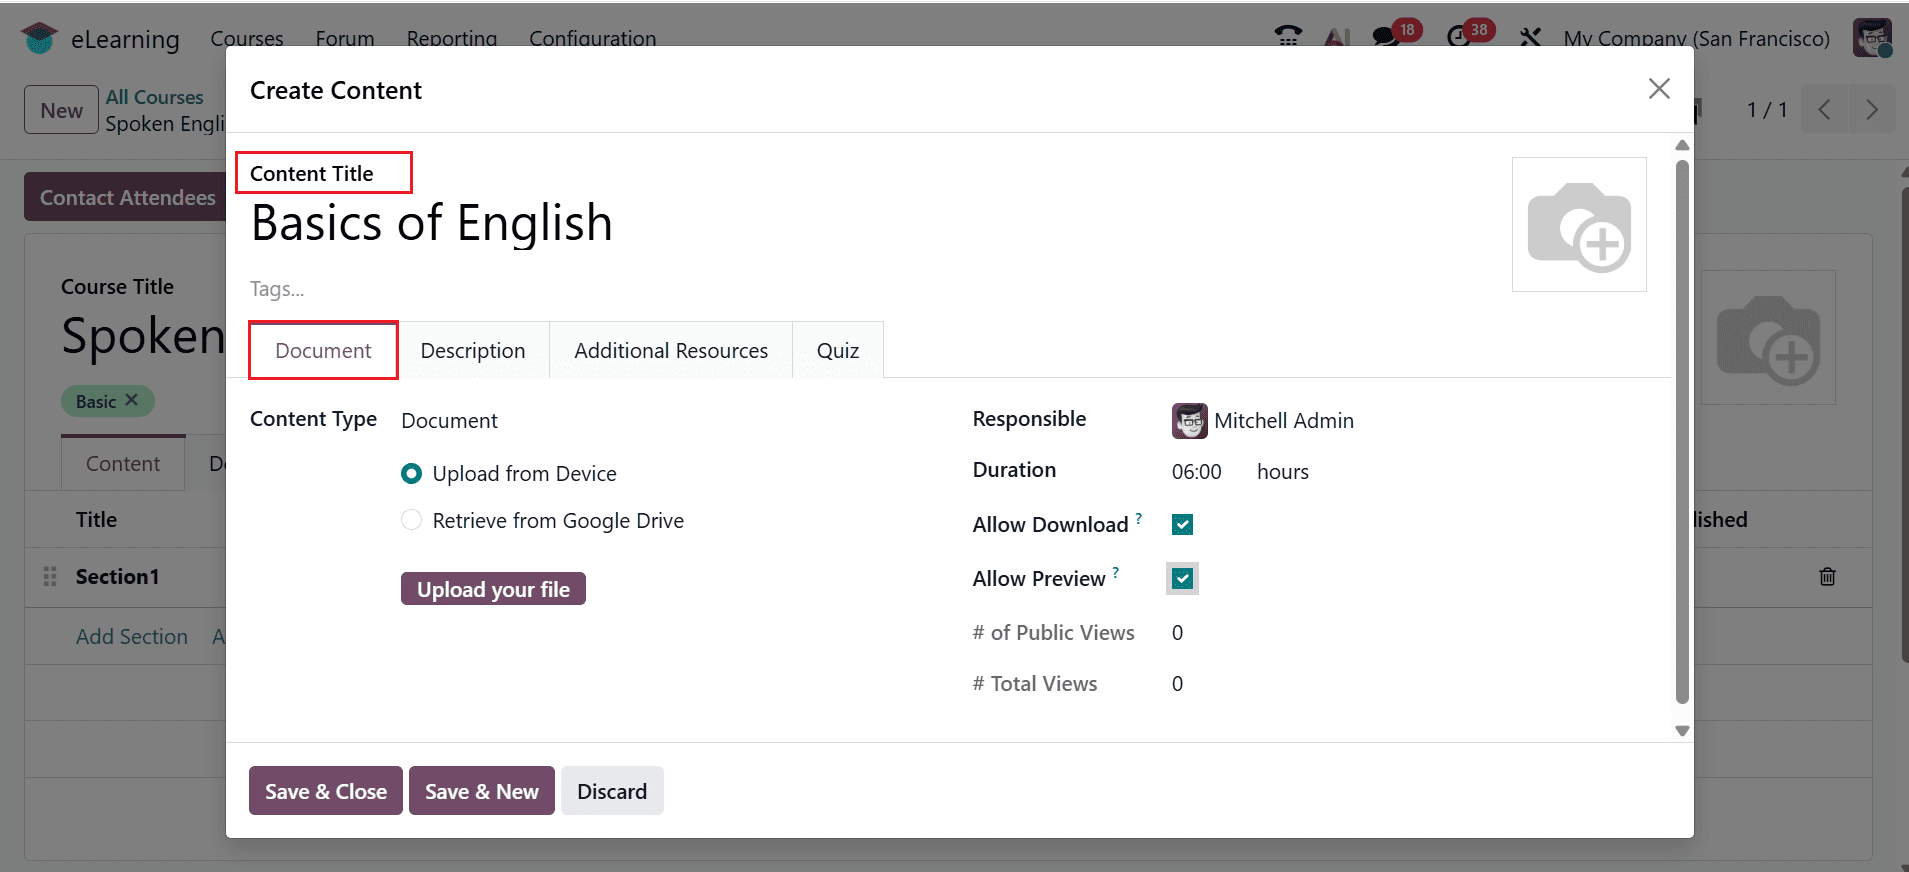
Click the Add Content button to open a new pop-up window, as shown below. In this window, enter the Content Title and add relevant Tags. Under the Document tab, choose the Content Type Image, Article, Document, Video, or Quiz and upload the corresponding file. You can also assign a Responsible person and specify the Duration. If you enable the Allow Preview option, the content becomes publicly accessible, allowing users to view it without joining the channel. You can also enable the Allow Download option to let users download the content file for offline access.
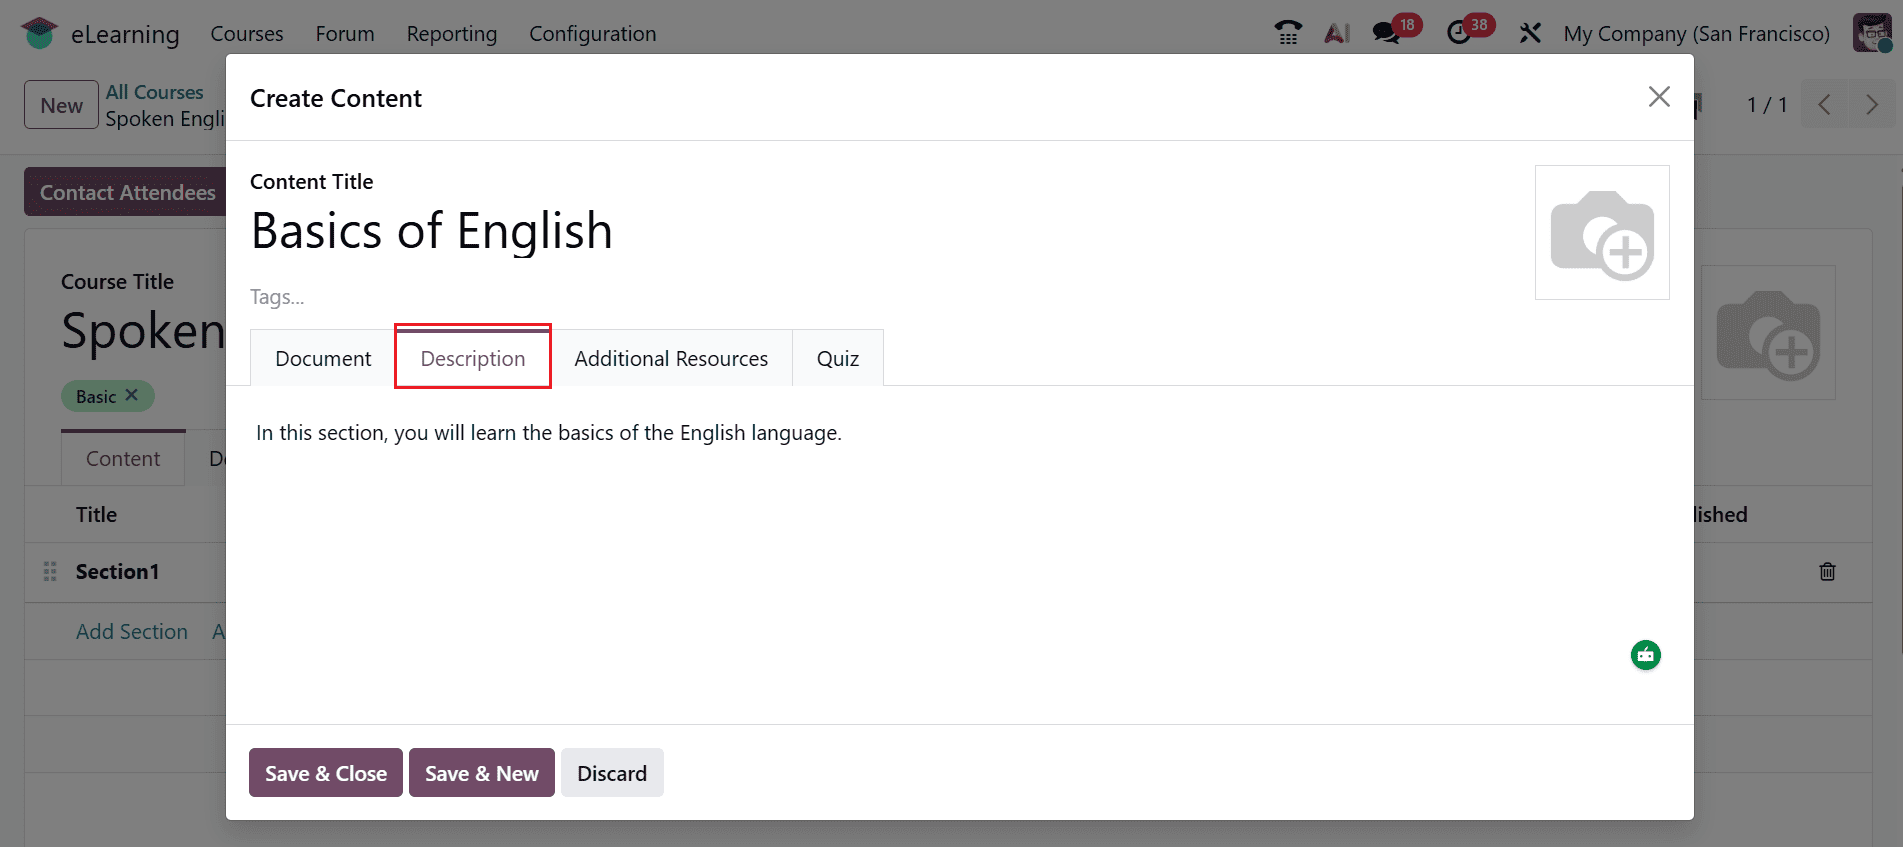
In the Description tab, enter a brief explanation of the content, as shown below:
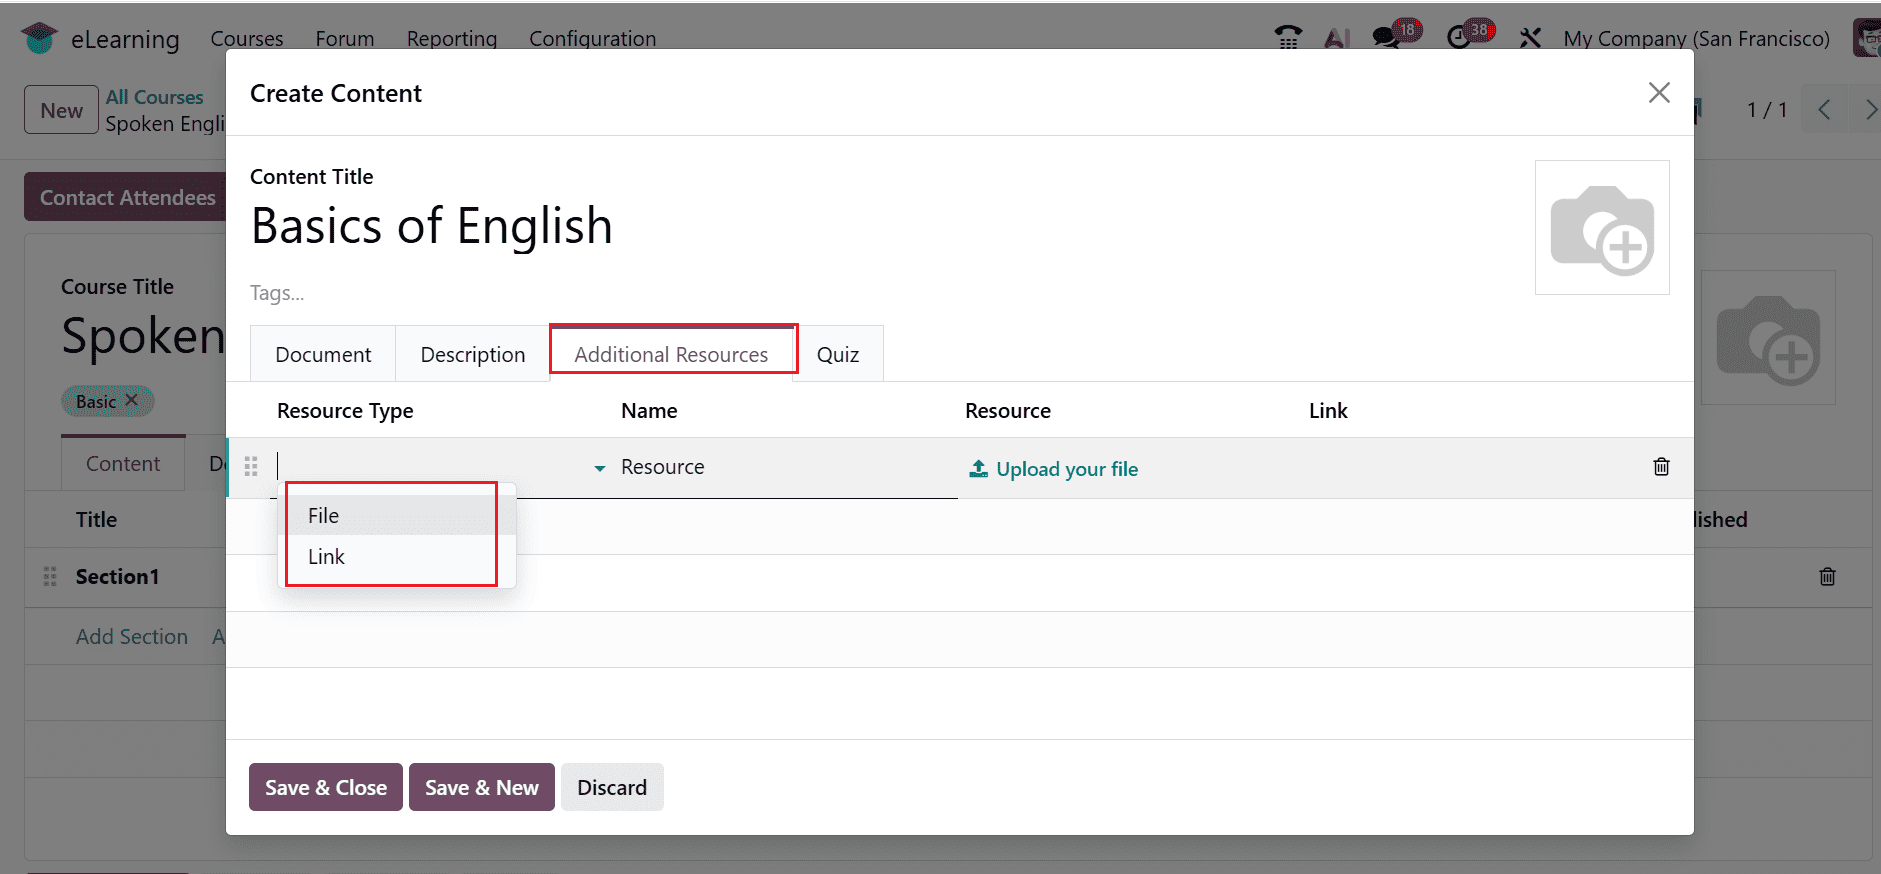
Then, under Additional Resources, you can upload supporting files or include external links to enhance the learning material, as illustrated below:
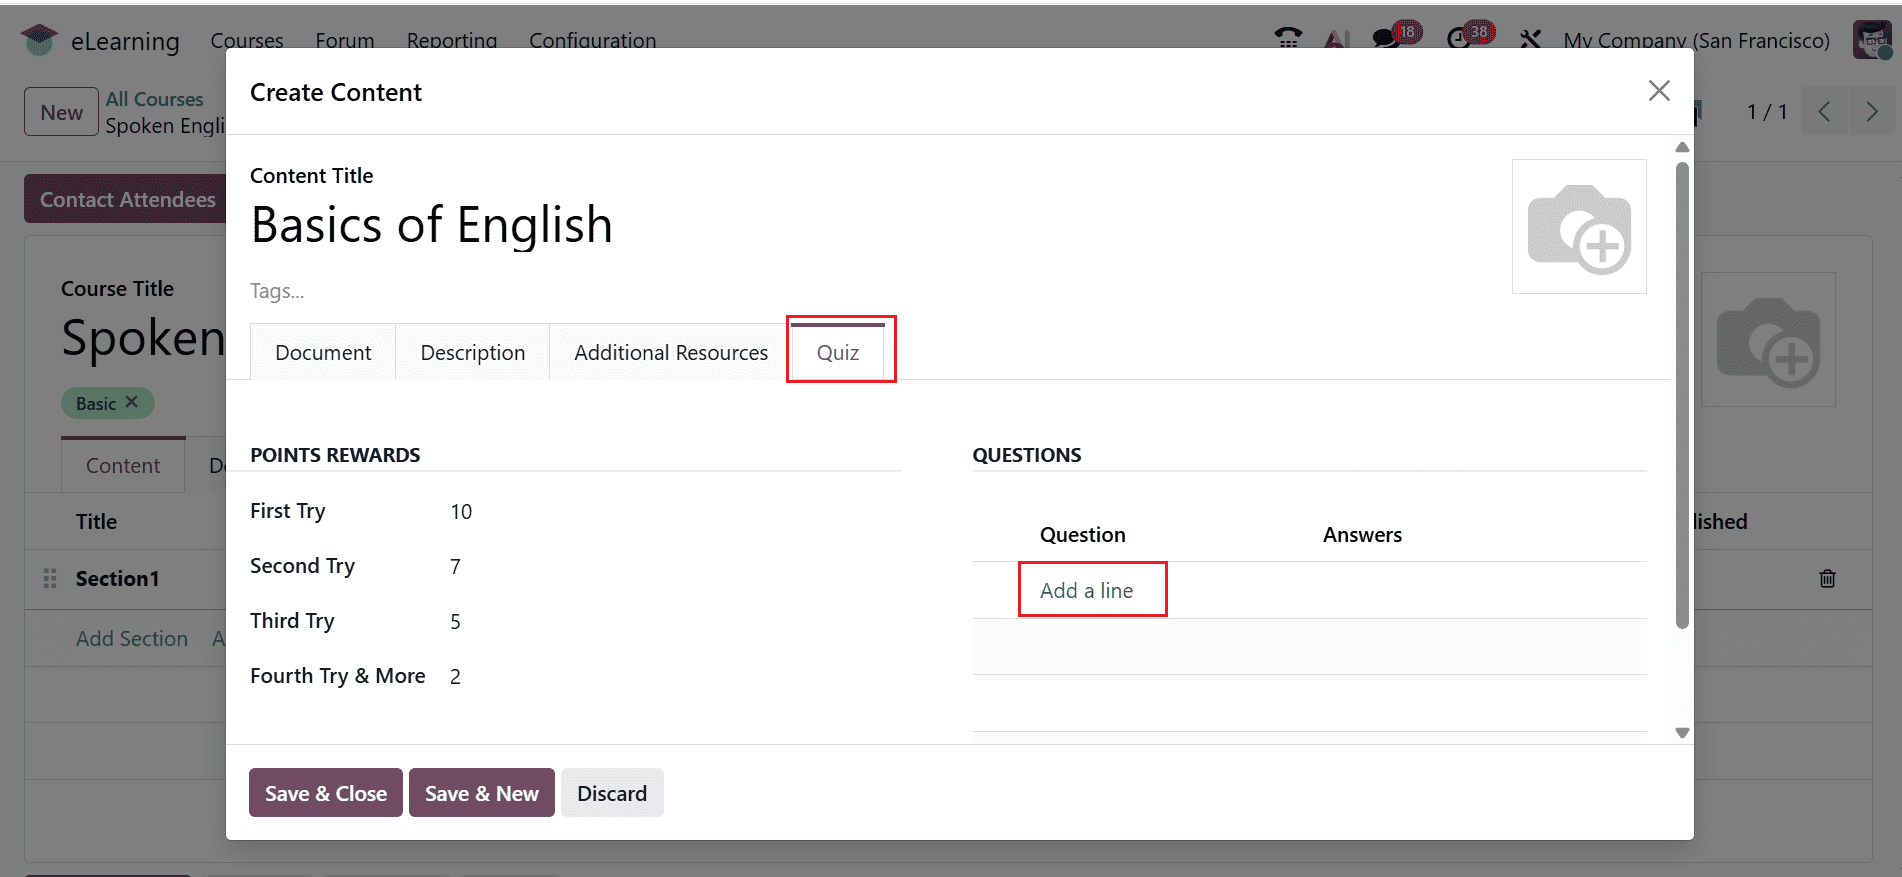
In the Quiz tab, you can check the Points Reward. Then, under the Questions section, click Add a line to add a new question, as illustrated below.
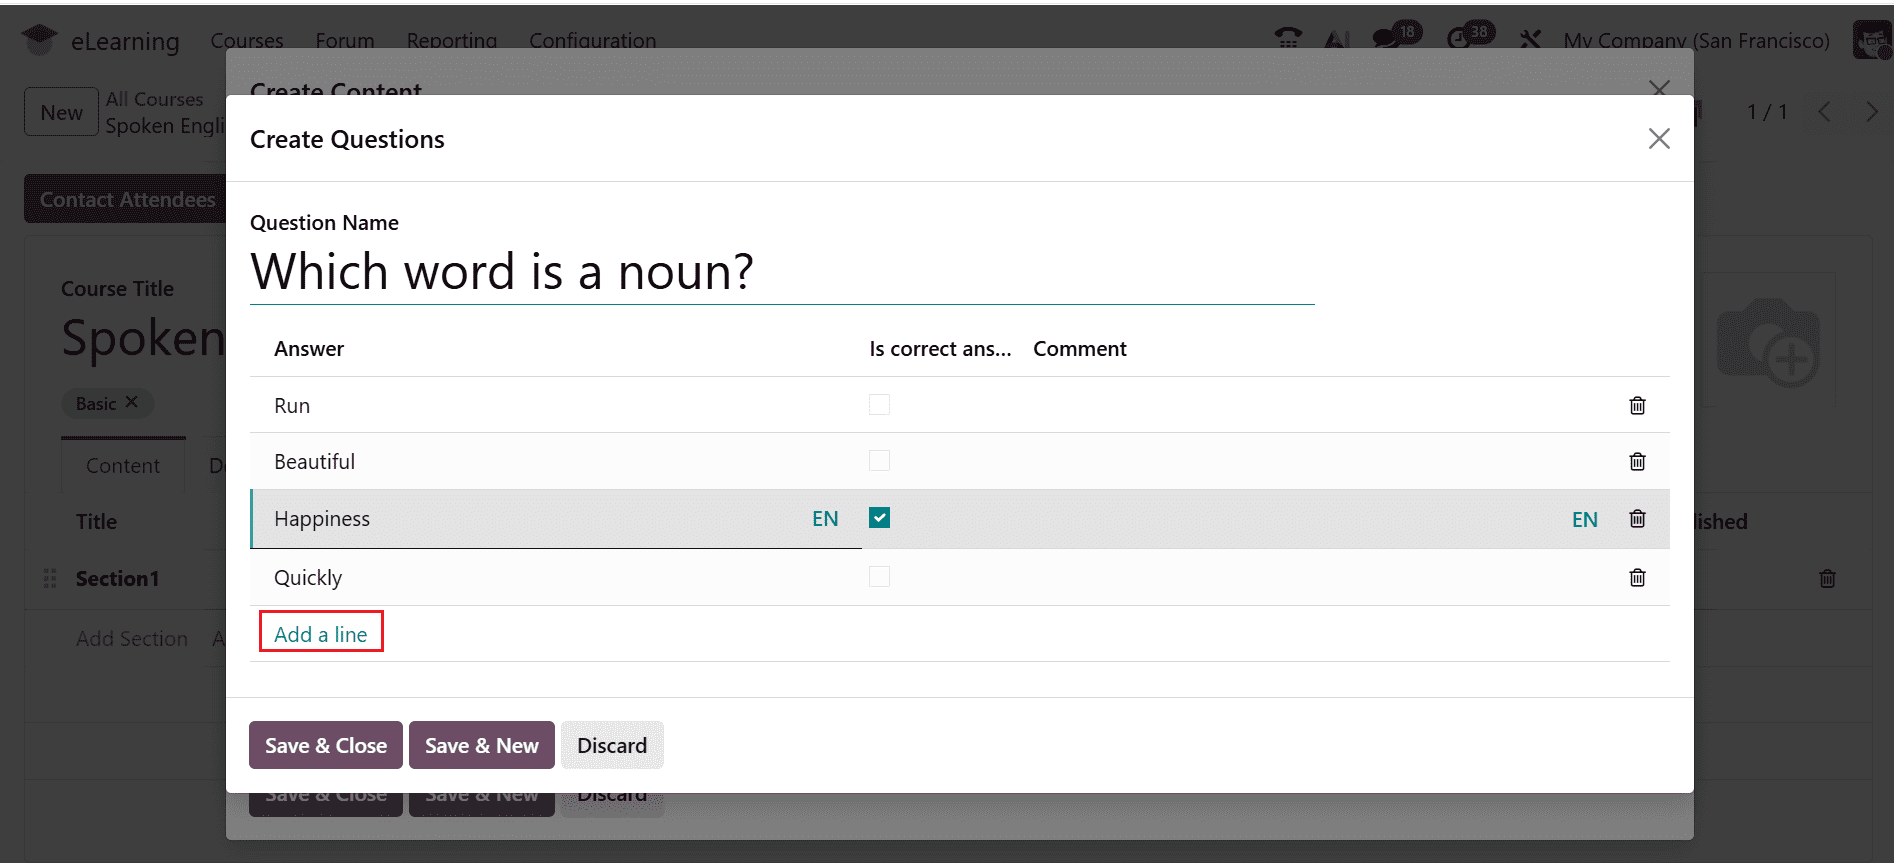
Here, enter your question in the Question Name field. Add the possible answers and select the correct one by clicking on the Add a line button. You can include multiple questions as needed. Once done, click Save & Close, as shown below.
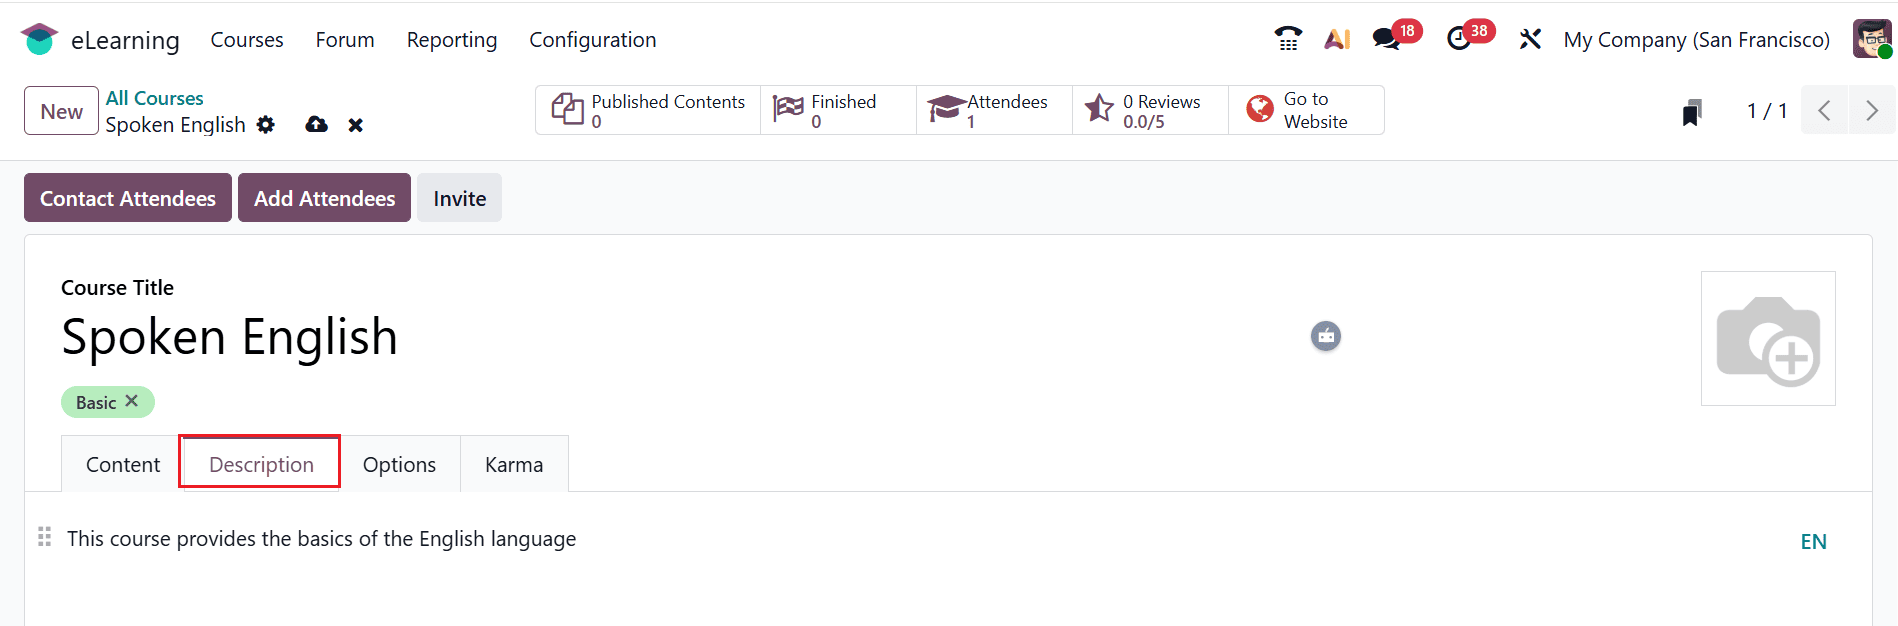
In the Description tab, enter a brief explanation of the course, as shown below:
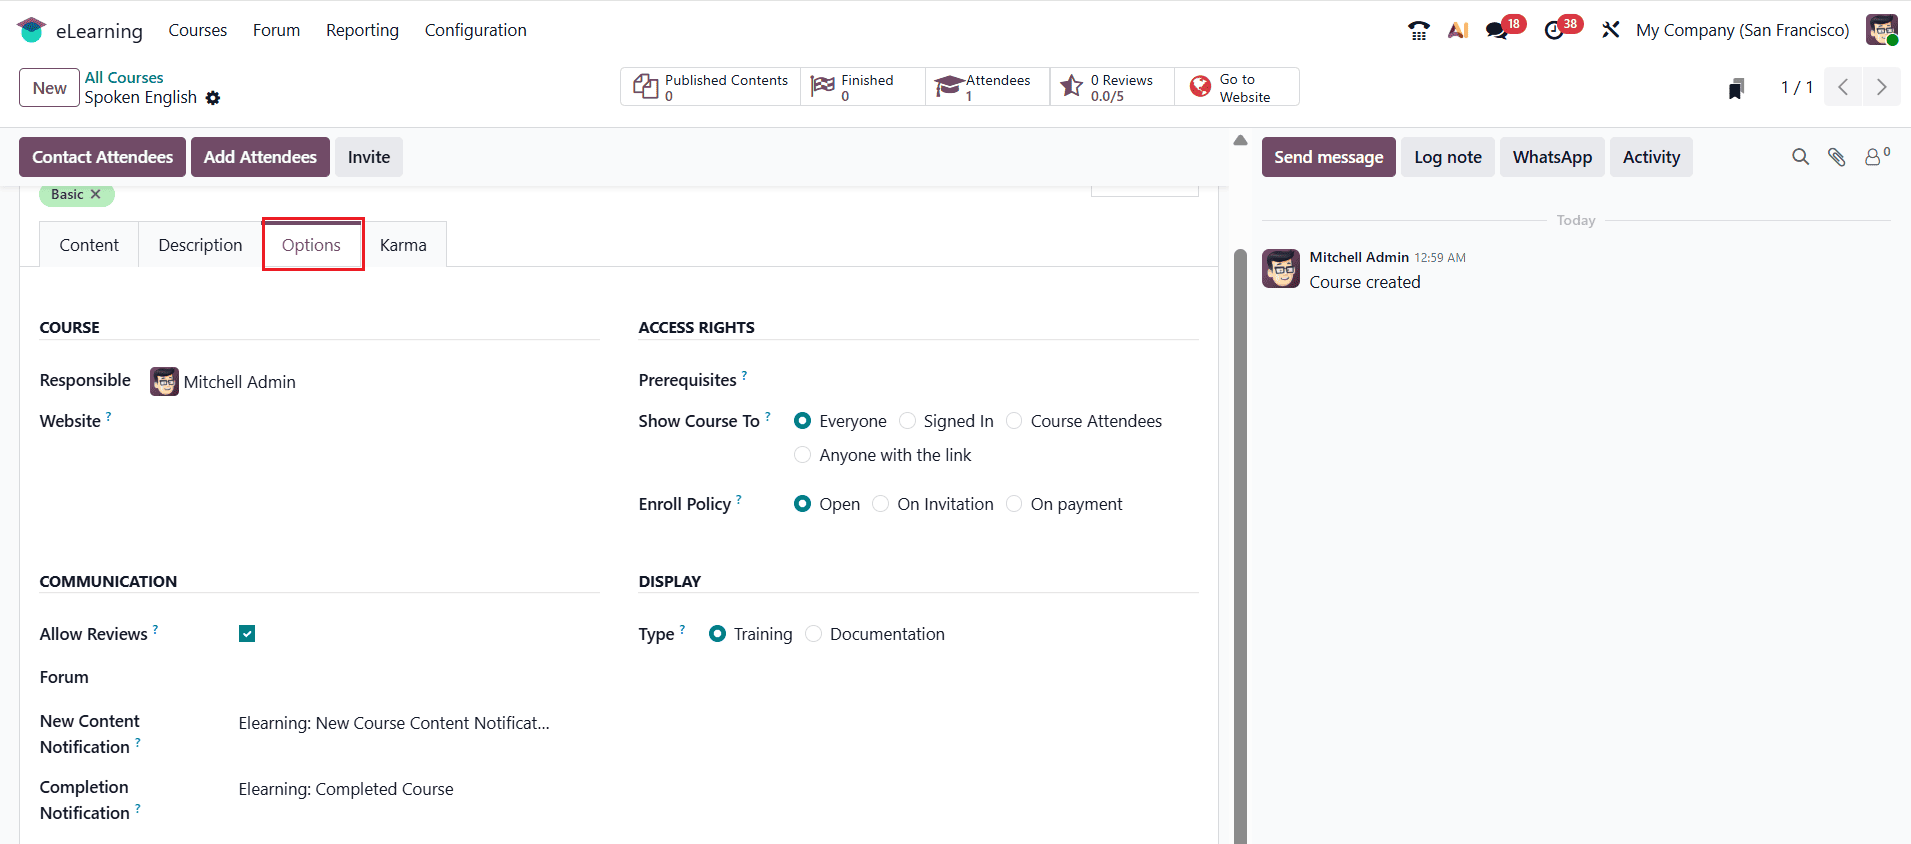
Under the Options tab, you can set the course’s Responsible person and choose the Website where it will be published. In the Access Rights section, configure who can view or enroll in the course by defining Prerequisites, selecting Show Course To, and setting the Enroll Policy. The Display section allows you to choose whether the course is categorized as Training or Documentation. In the Communication section, enable Allow Reviews to let learners leave feedback. Additionally, you may configure a notification template to send alerts when content is started or completed automatically.
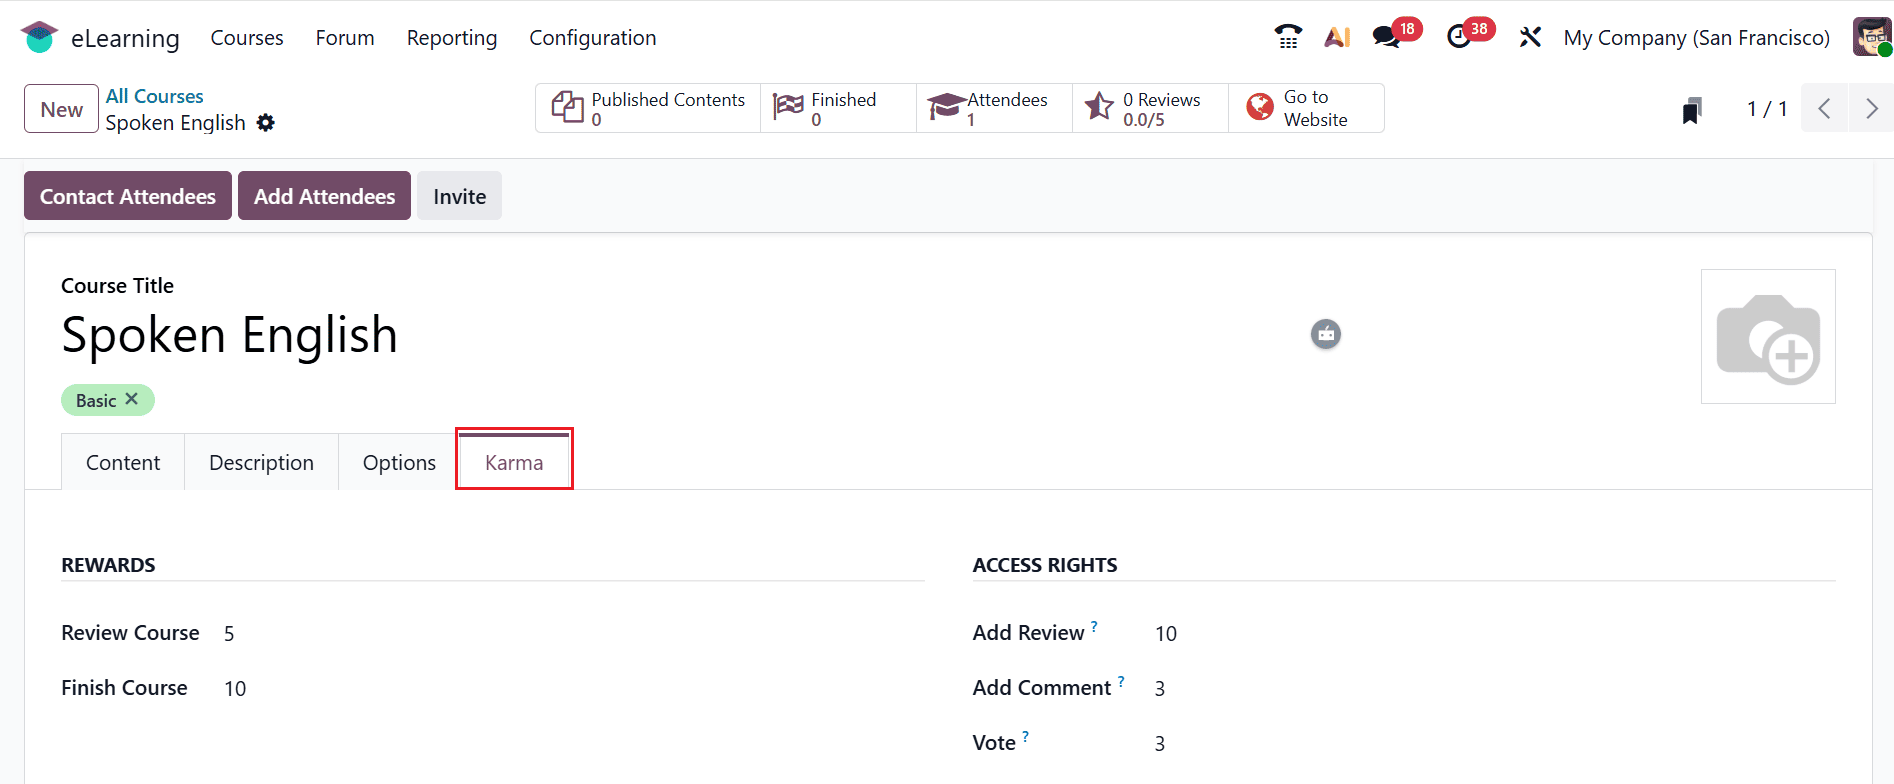
Under the Karma tab, the Reward section displays the karma points for actions like Review Course and Finish Course. In the Access Rights section, you can also check the karma points assigned for activities such as Add Review, Add Comment, and Vote, and then save the configuration.
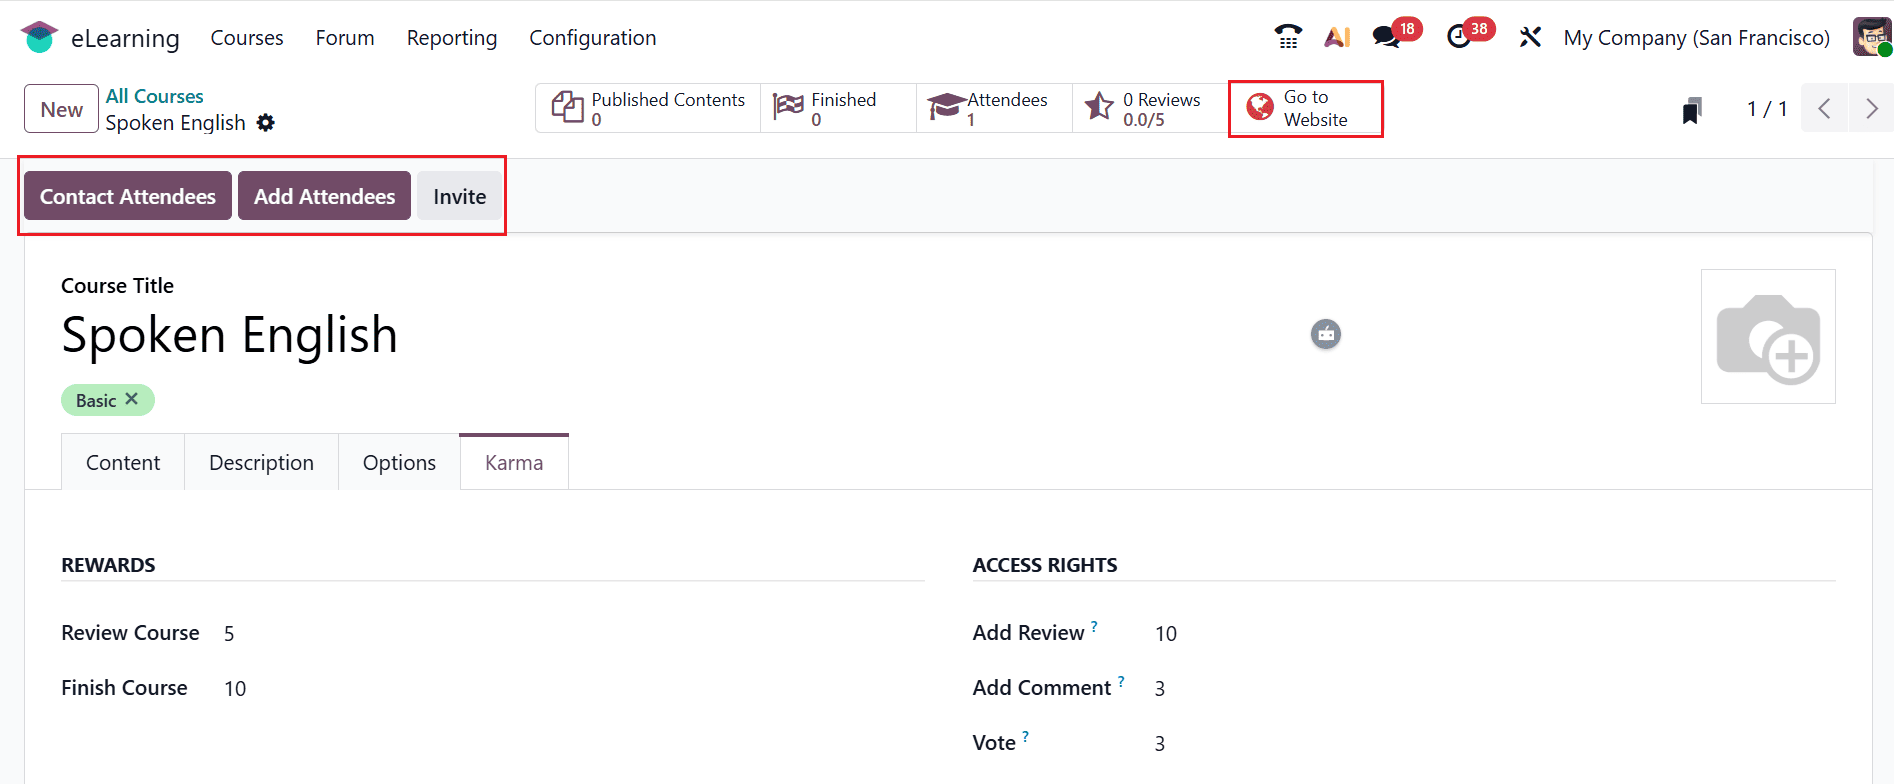
At this stage, you can use the options such as Contact Attendees, Add Attendees, or Invite Attendees for the course. You can also see an existing attendee listed here. After that, click on Go to Website to publish the course, as shown below:
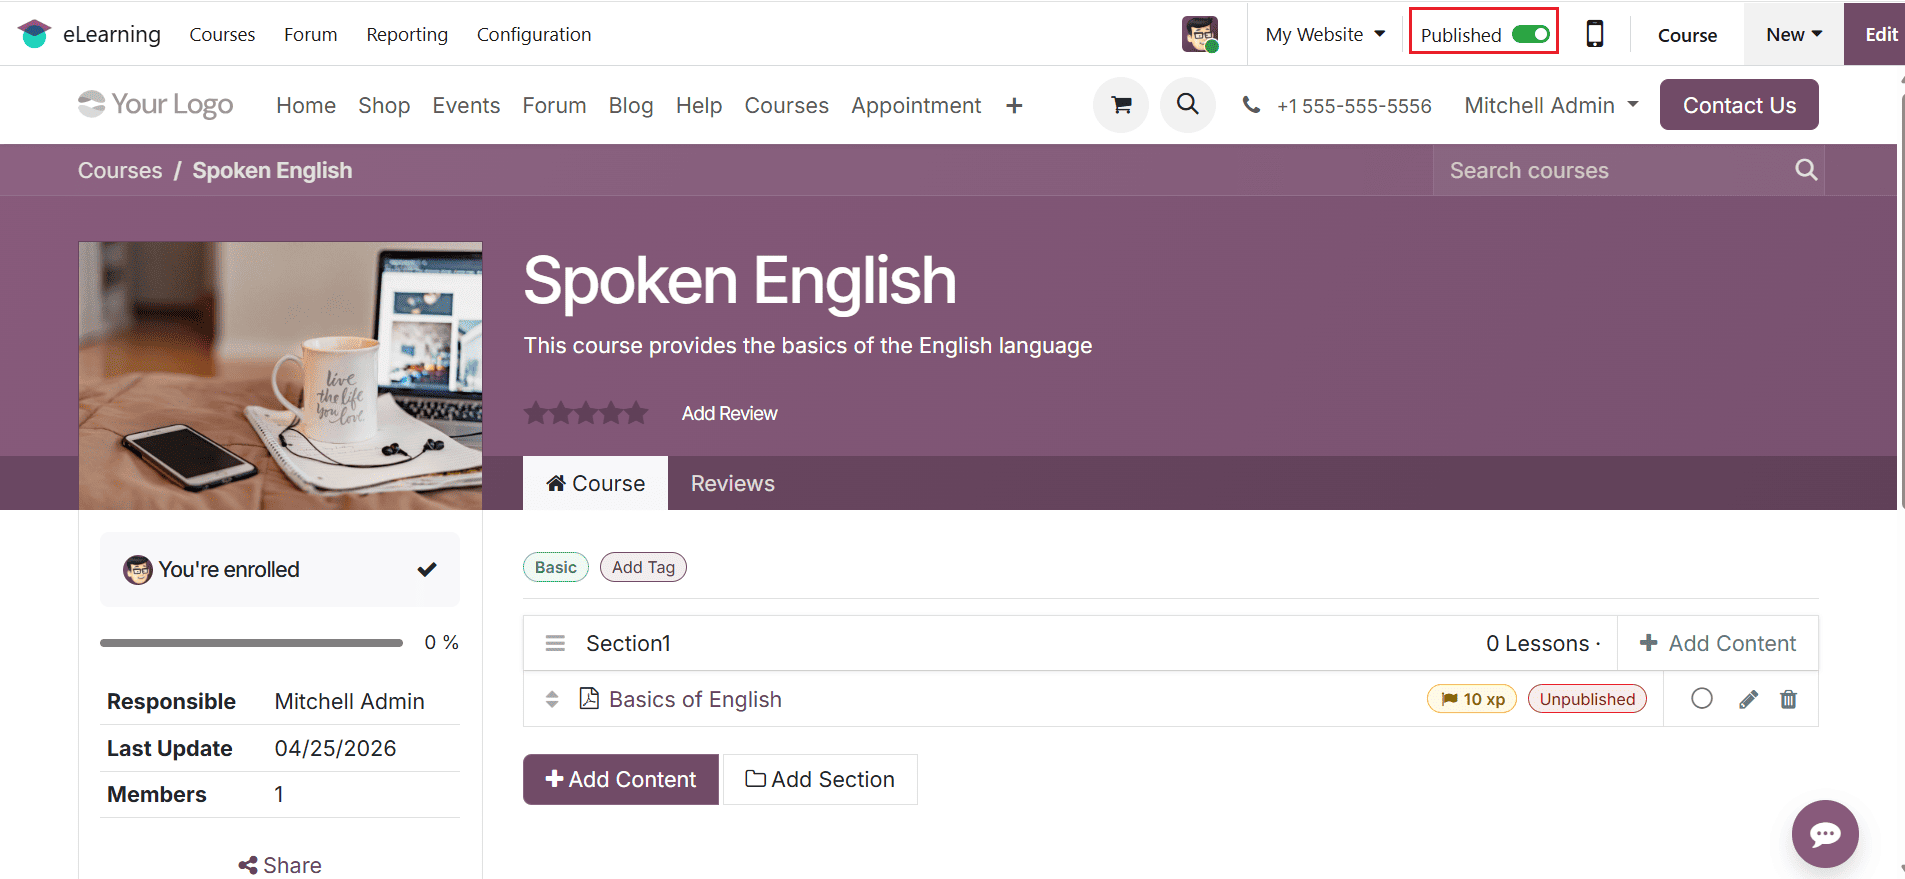
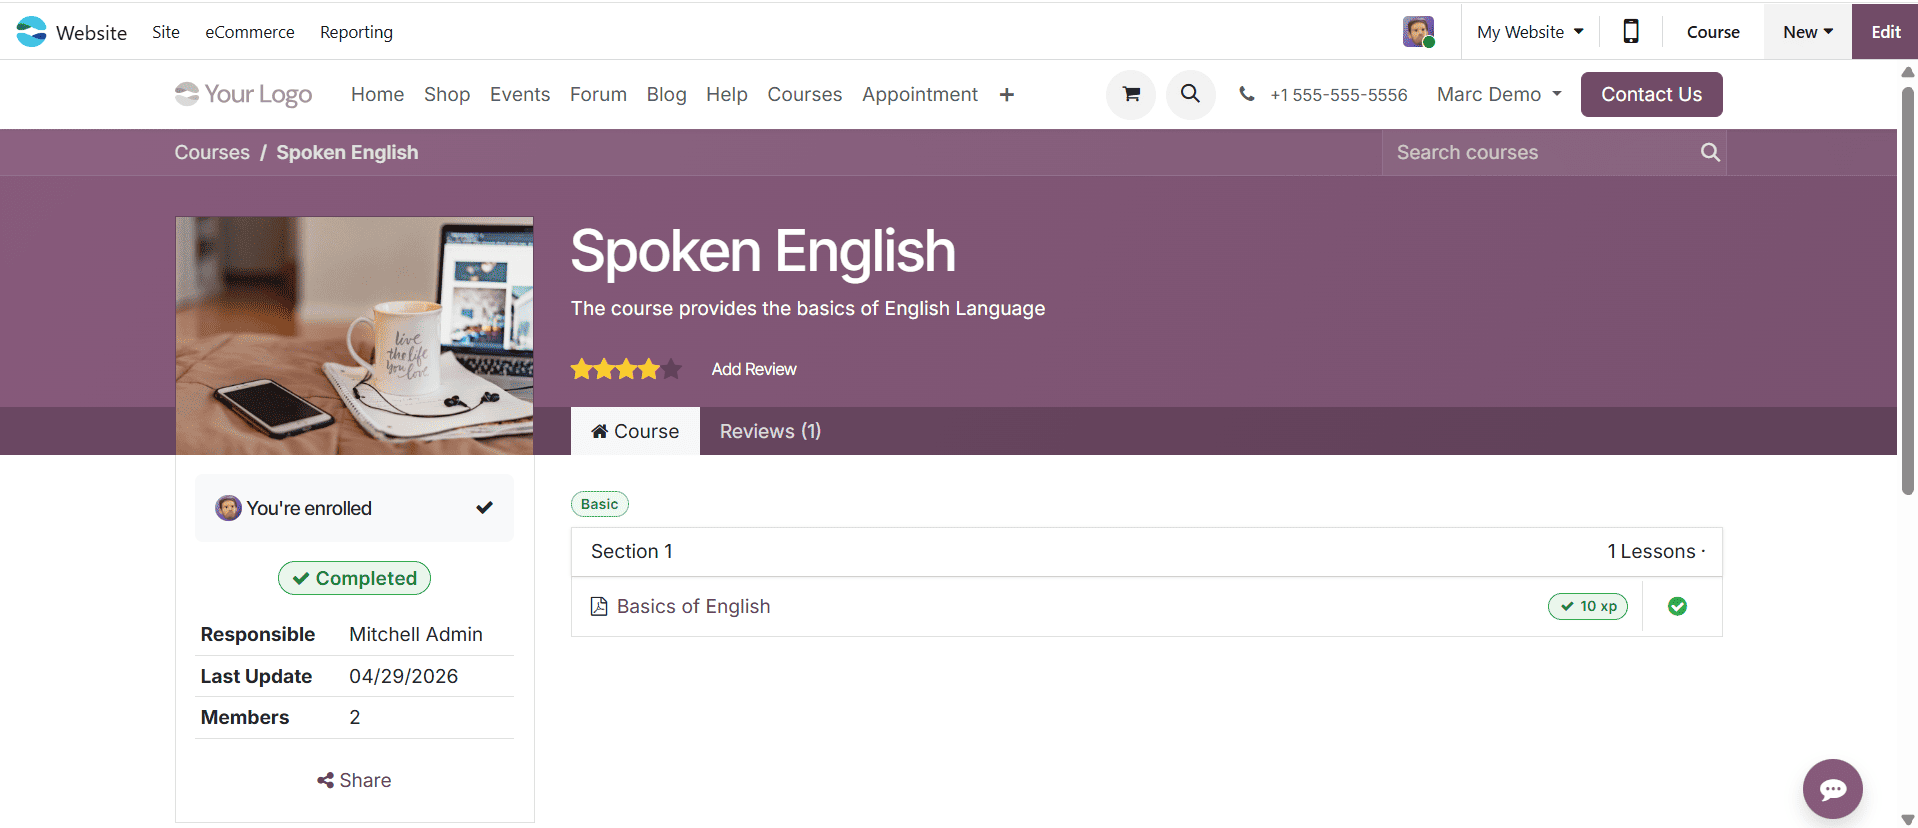
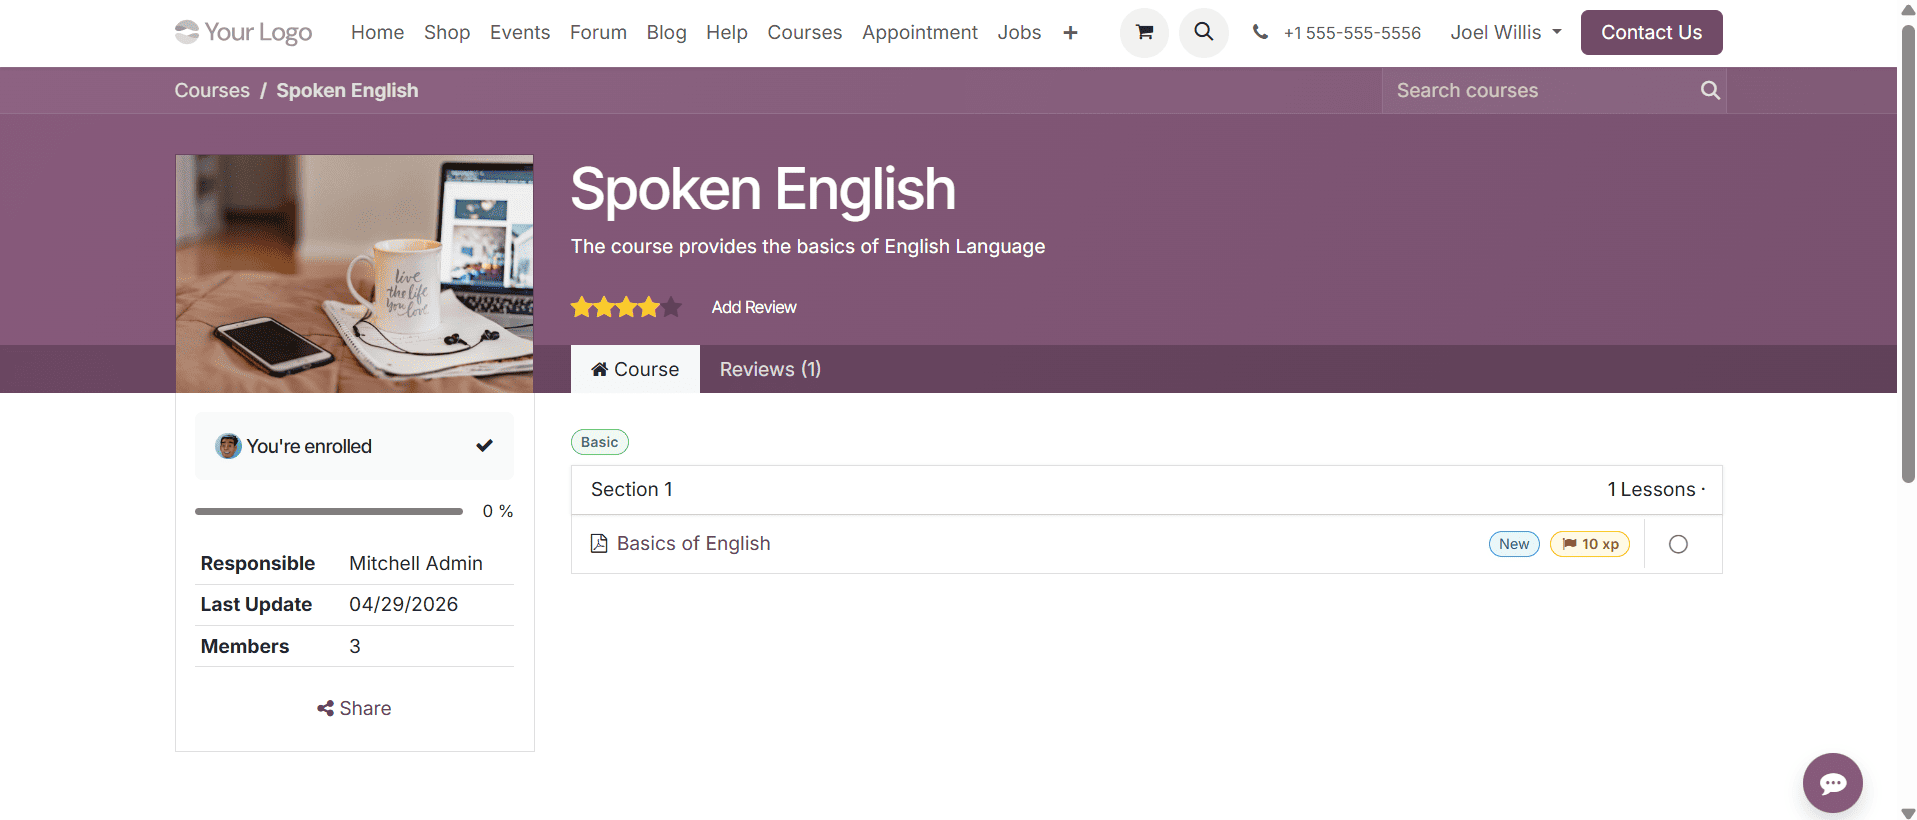
Here, you can enable the Published option to make the course available on the website. The window shows the Course Title, Description, and Add Review option. The left side of the screen shows the details such as Responsible, Last Updated, and Members. You can also edit the course details in the backend or delete them if required. Then, select the created section as shown below:
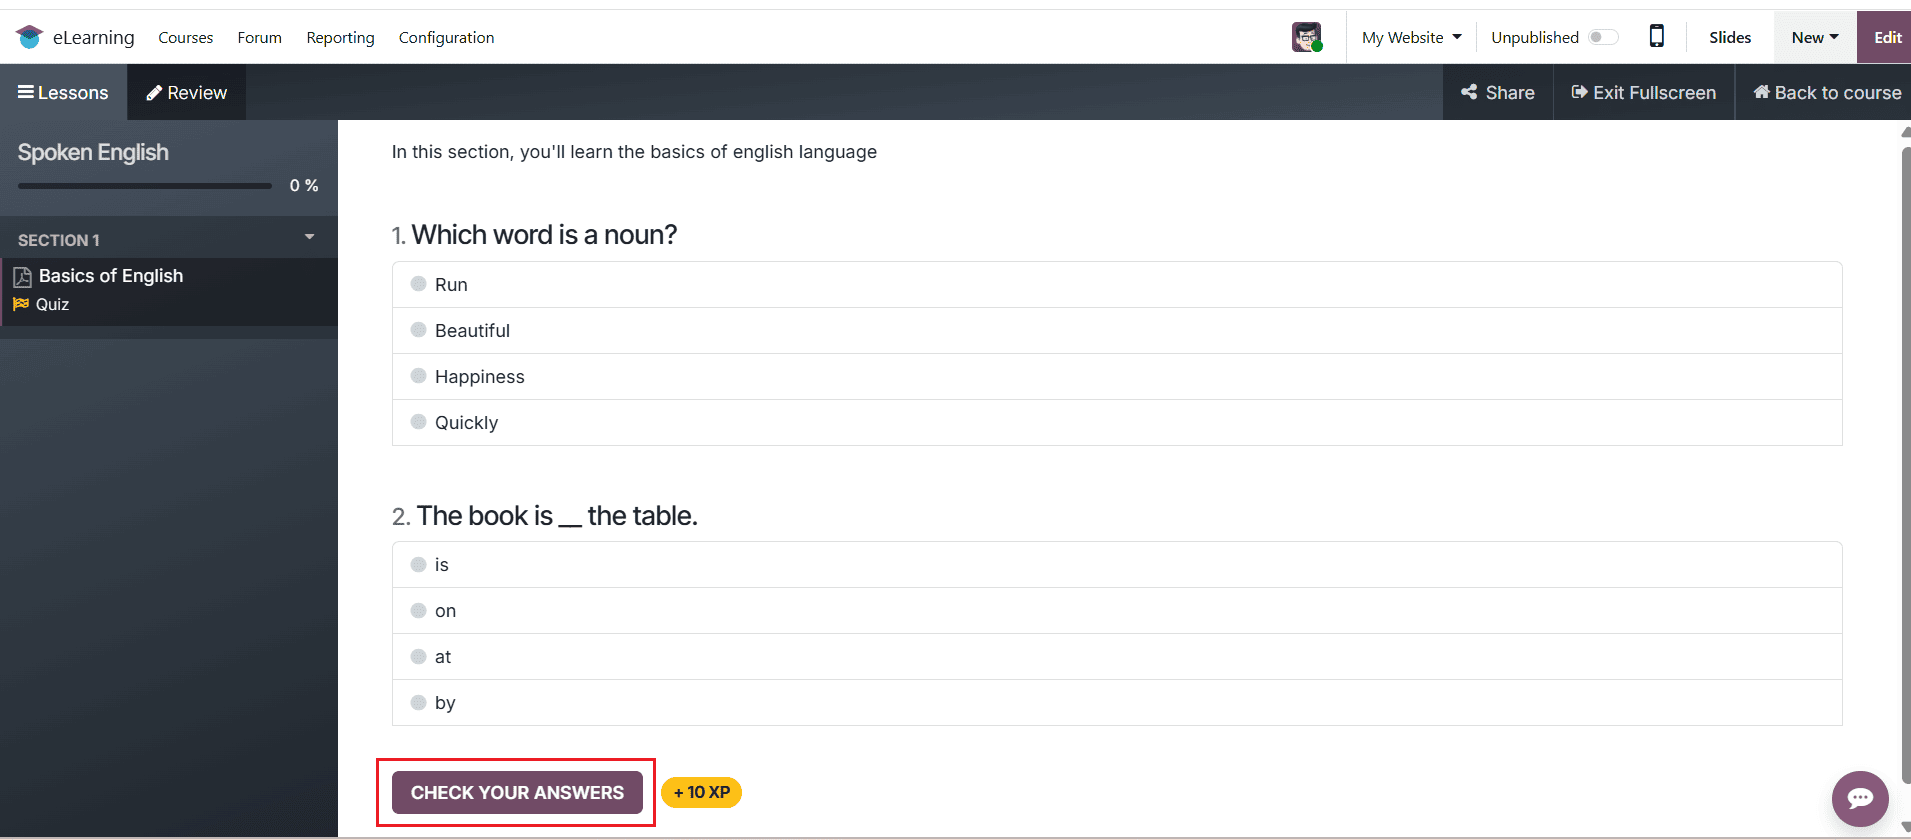
On the left side of the screen, the details of the created section are displayed along with the added quiz. Pick the right answer, then click Check Your Answer, as shown below.
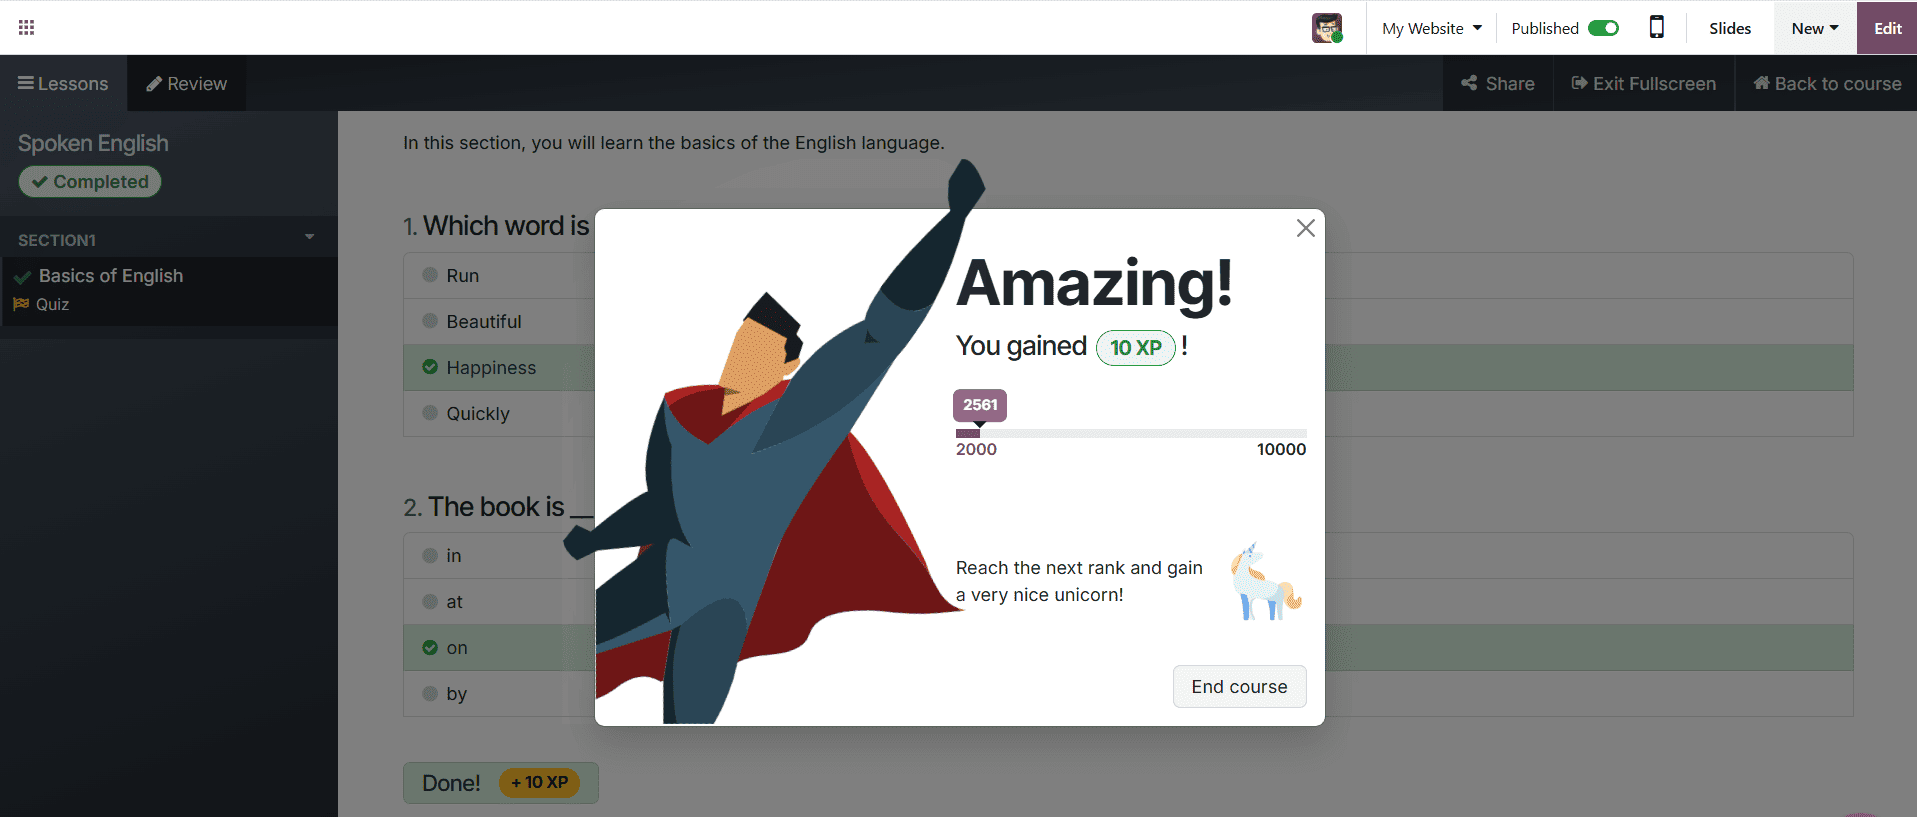
A pop-up window appears showing the karma points earned when your answer is correct.
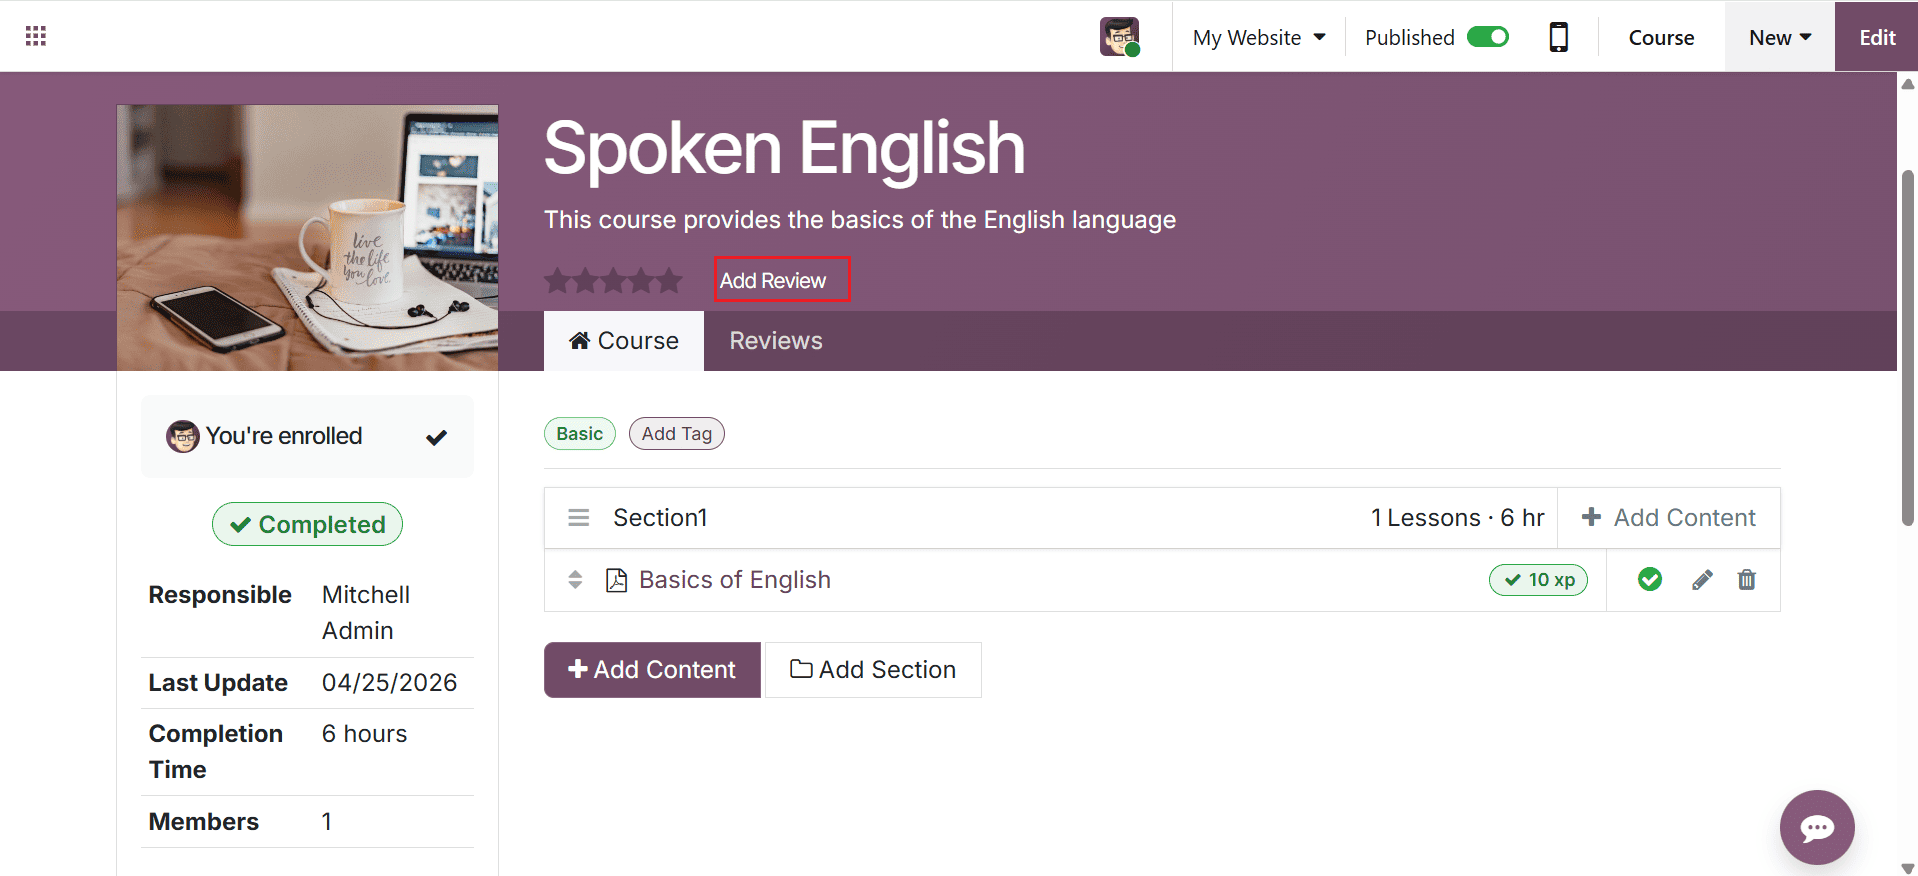
Then go back to the Course page, where the course will appear as completed. After that, click on the Add Review button.
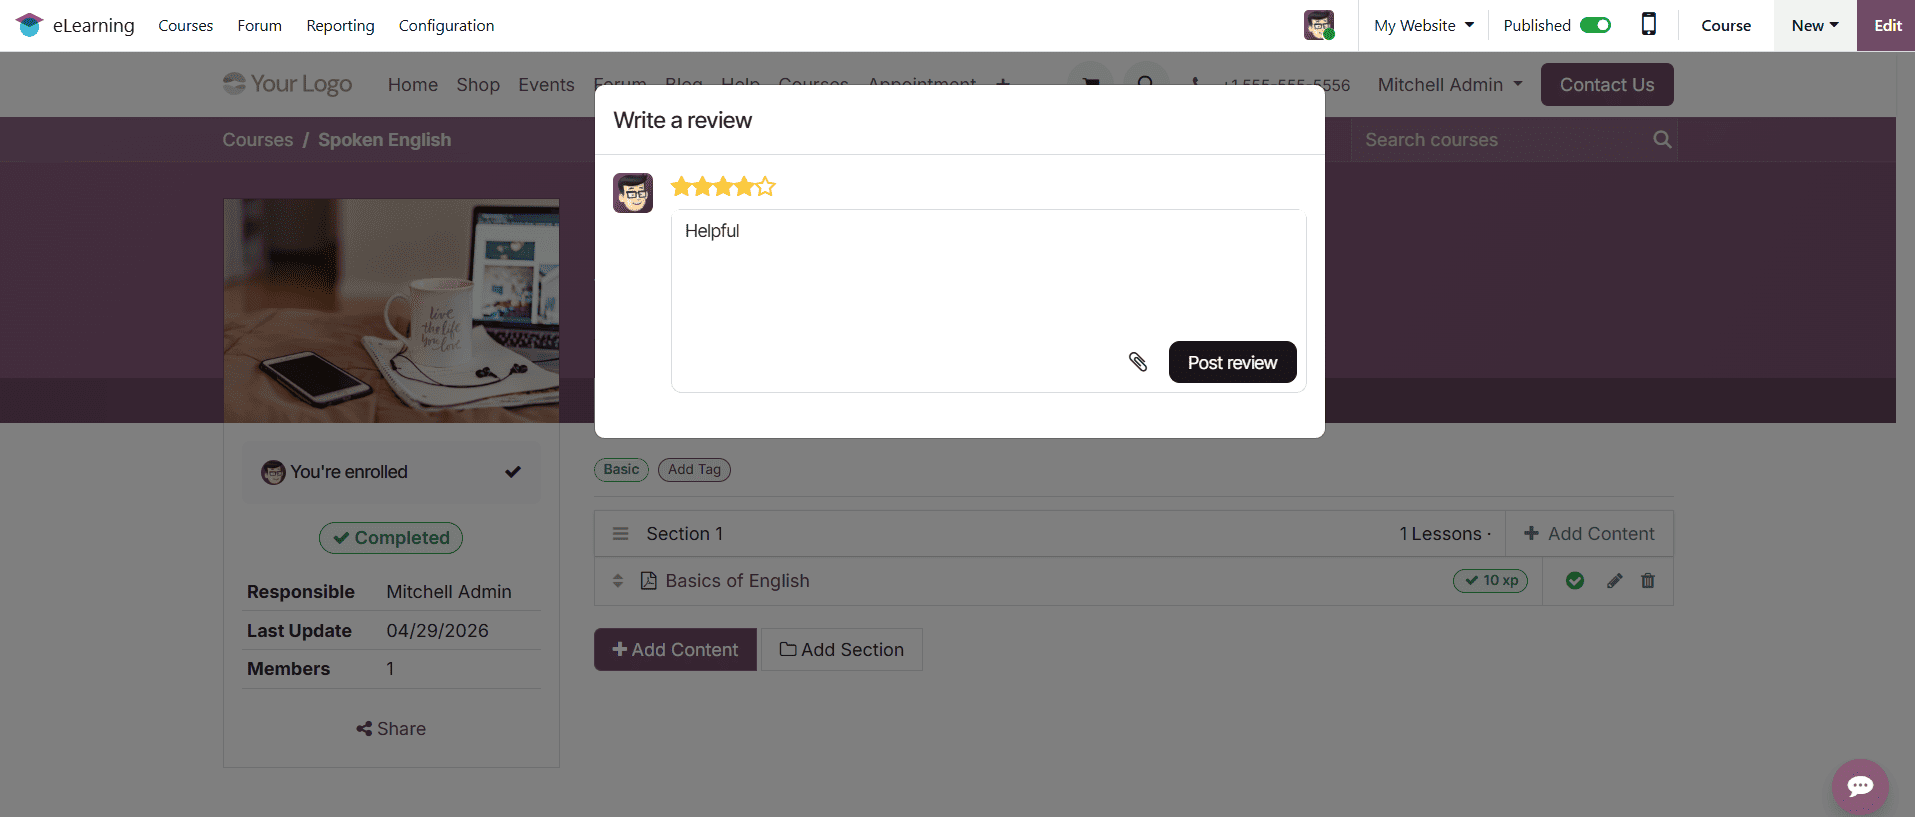
A pop-up window will open where you can type your review and click Post Review, as shown below. Note that you can only submit a review after earning the required karma points.
The eLearning dashboard now shows the newly created course, which is available for anyone to enroll in and attend.

Add new content through the website:
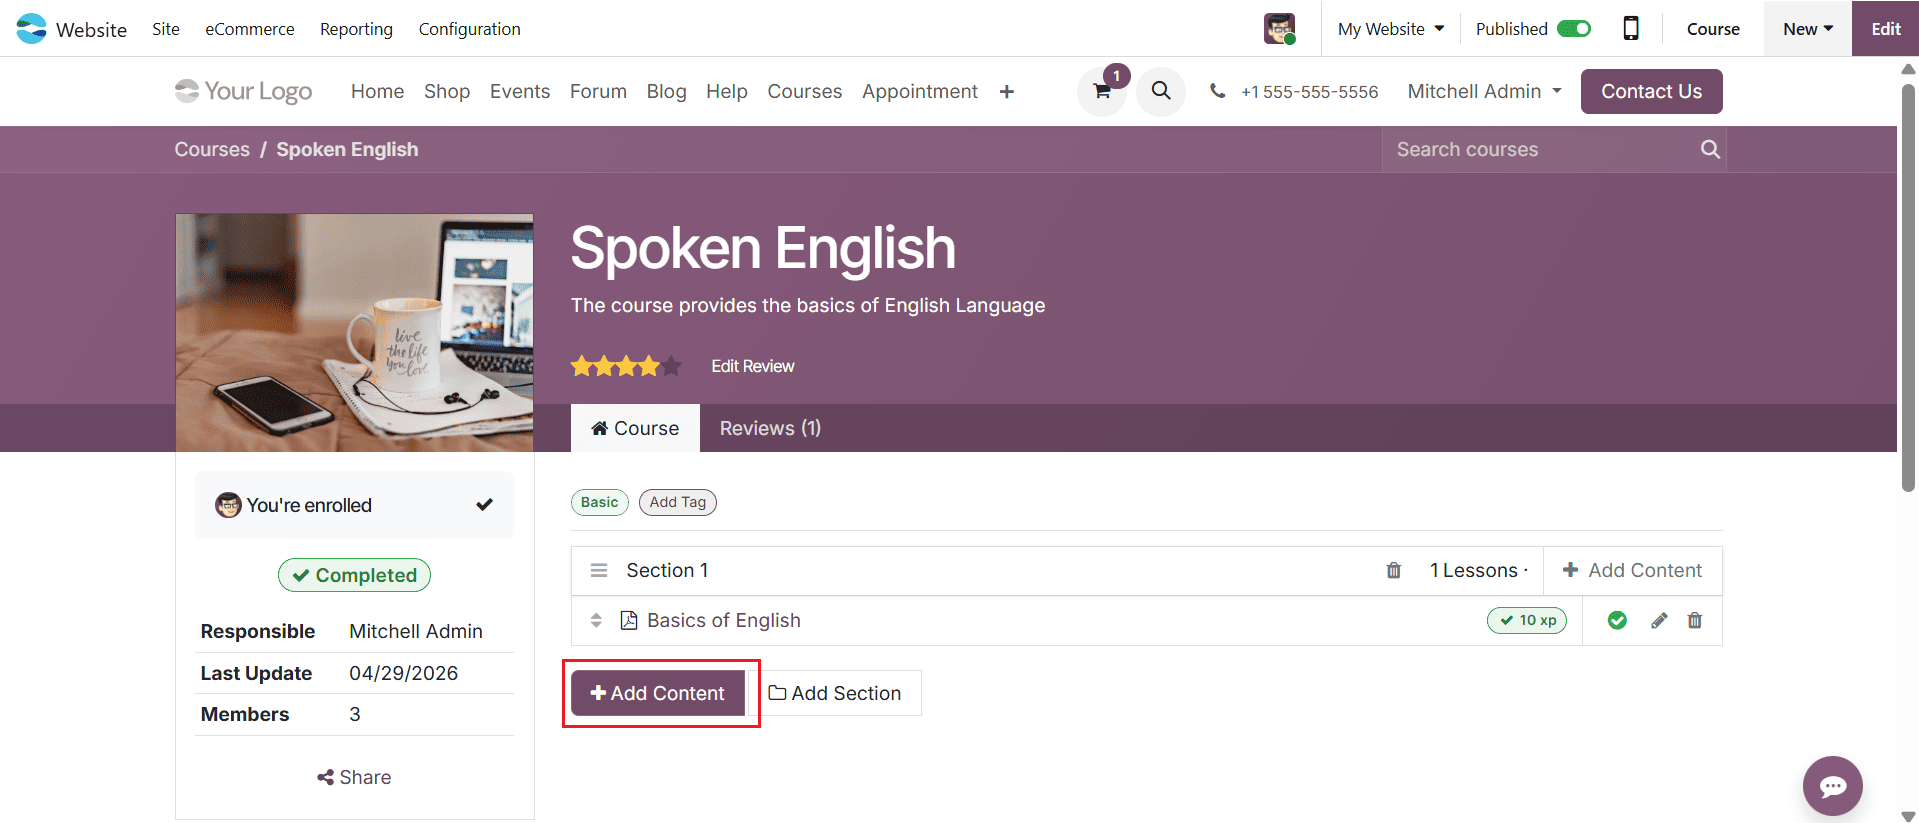
Firstly, open the website module and select the newly created course as shown below. To add new content to the course, click on the +Add Content button as shown below:
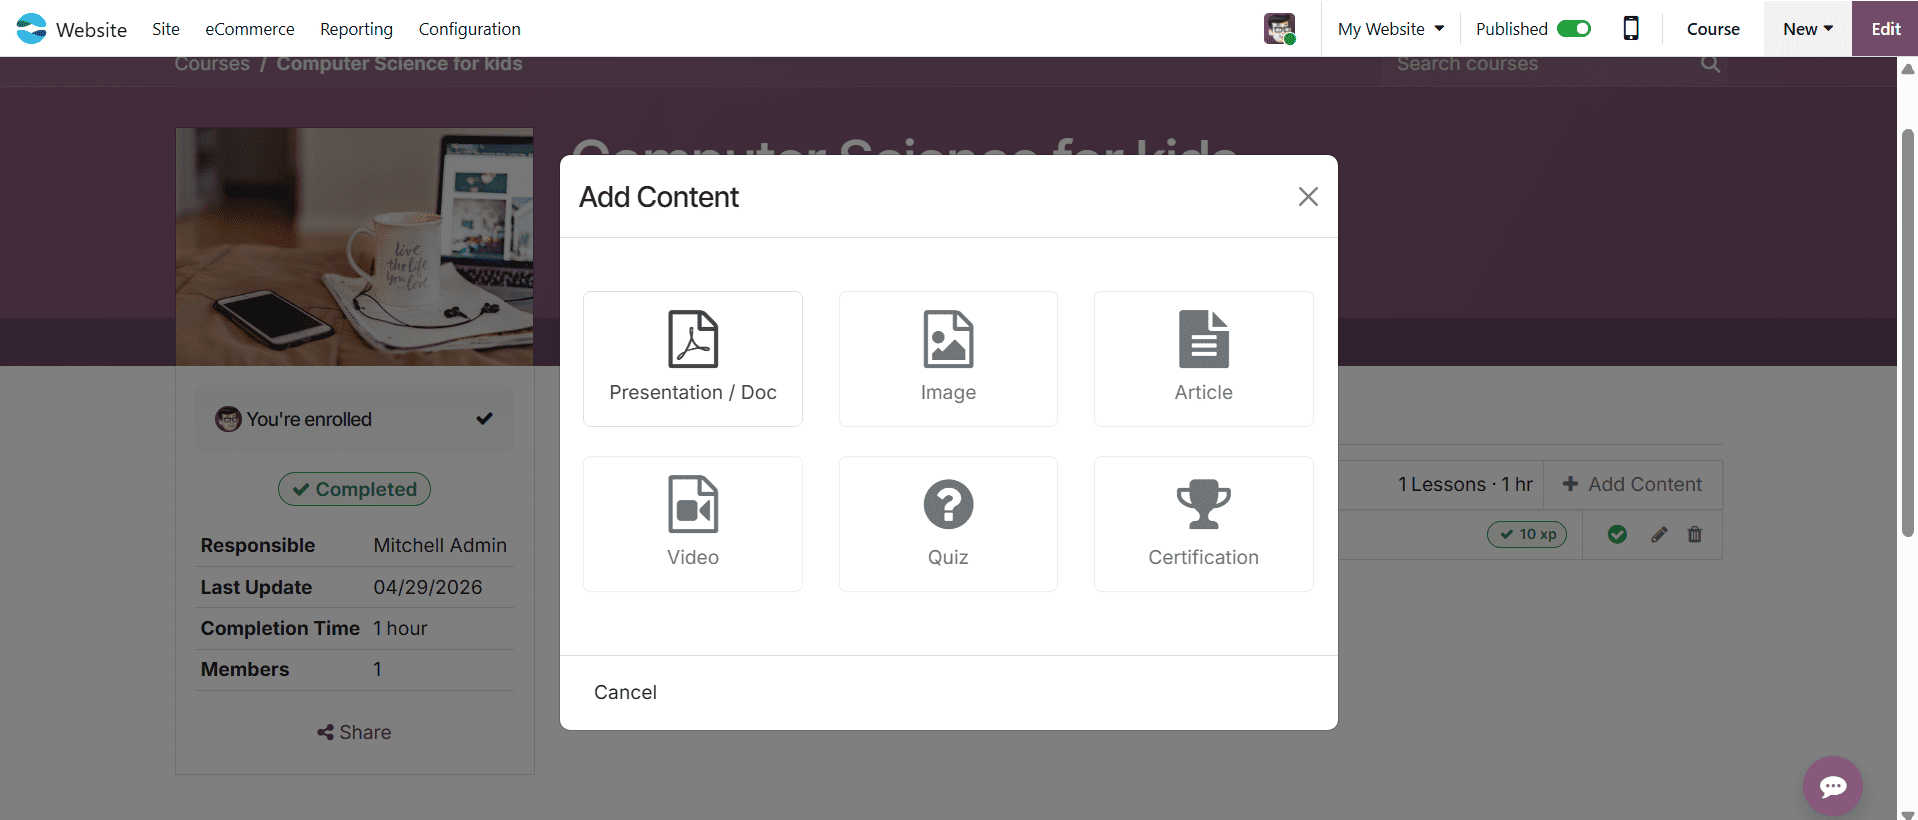
A new pop-up screen will appear where you can add content as a Presentation / Doc, Image, Article, Video, Quiz, or Certification. Here, select the content as Quiz.
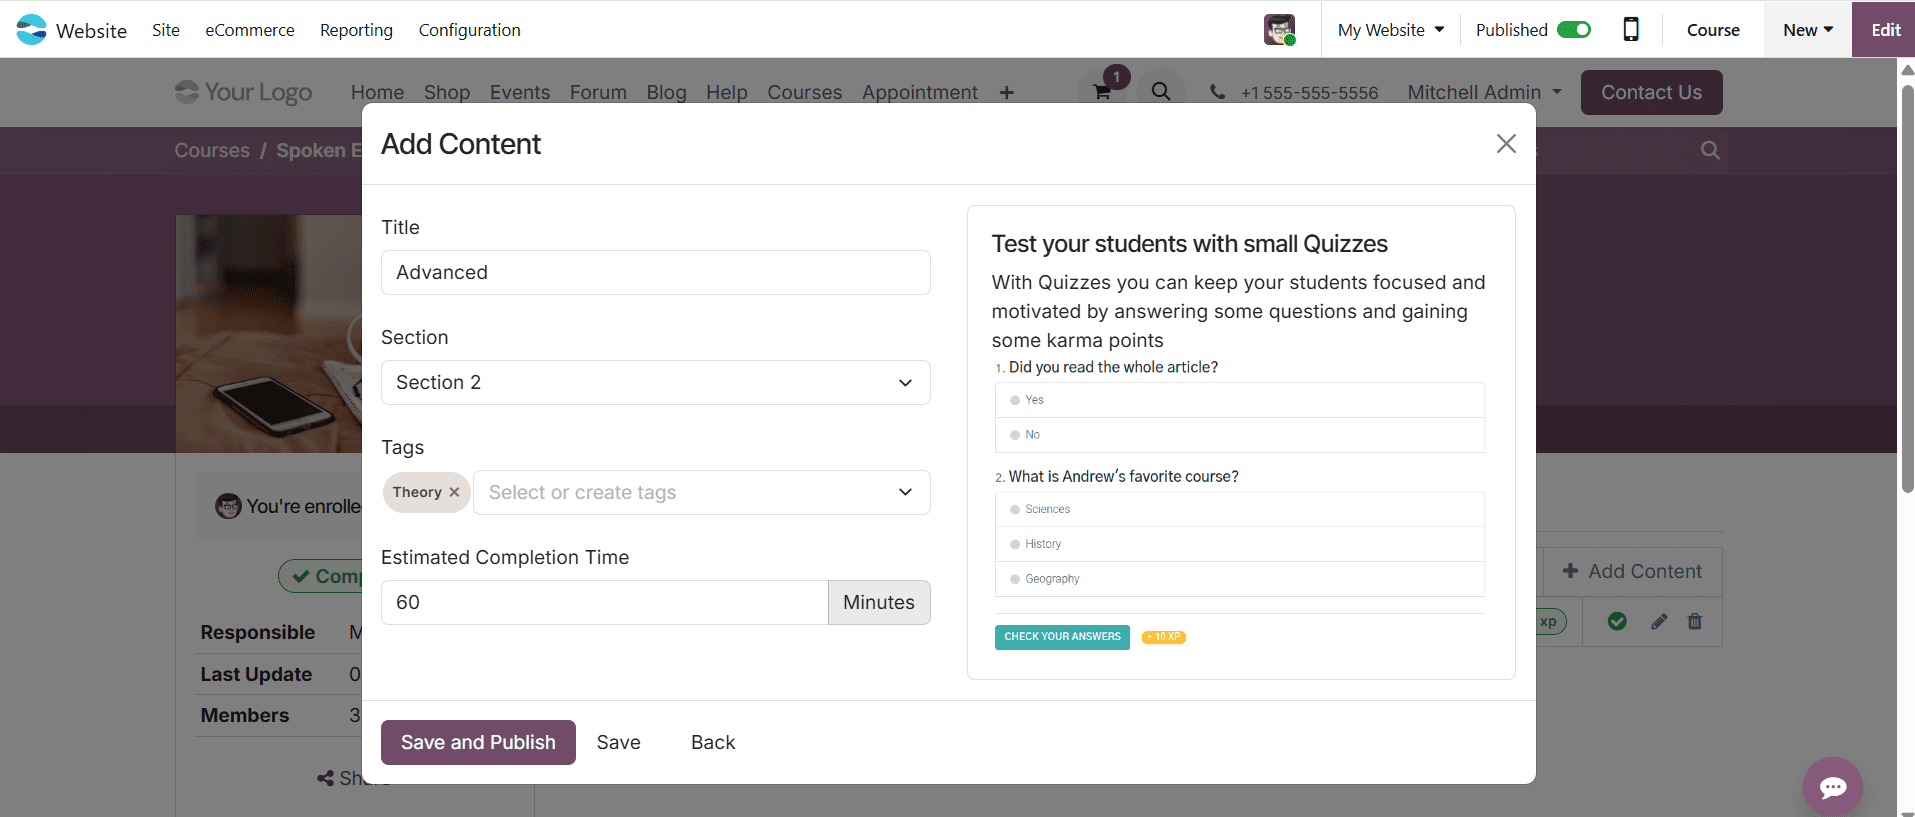
A new pop-up screen will appear where you can add the details of the content, such as Title, Section, Tags, and Estimated Completion Time. Then, click on the Save and Publish button.
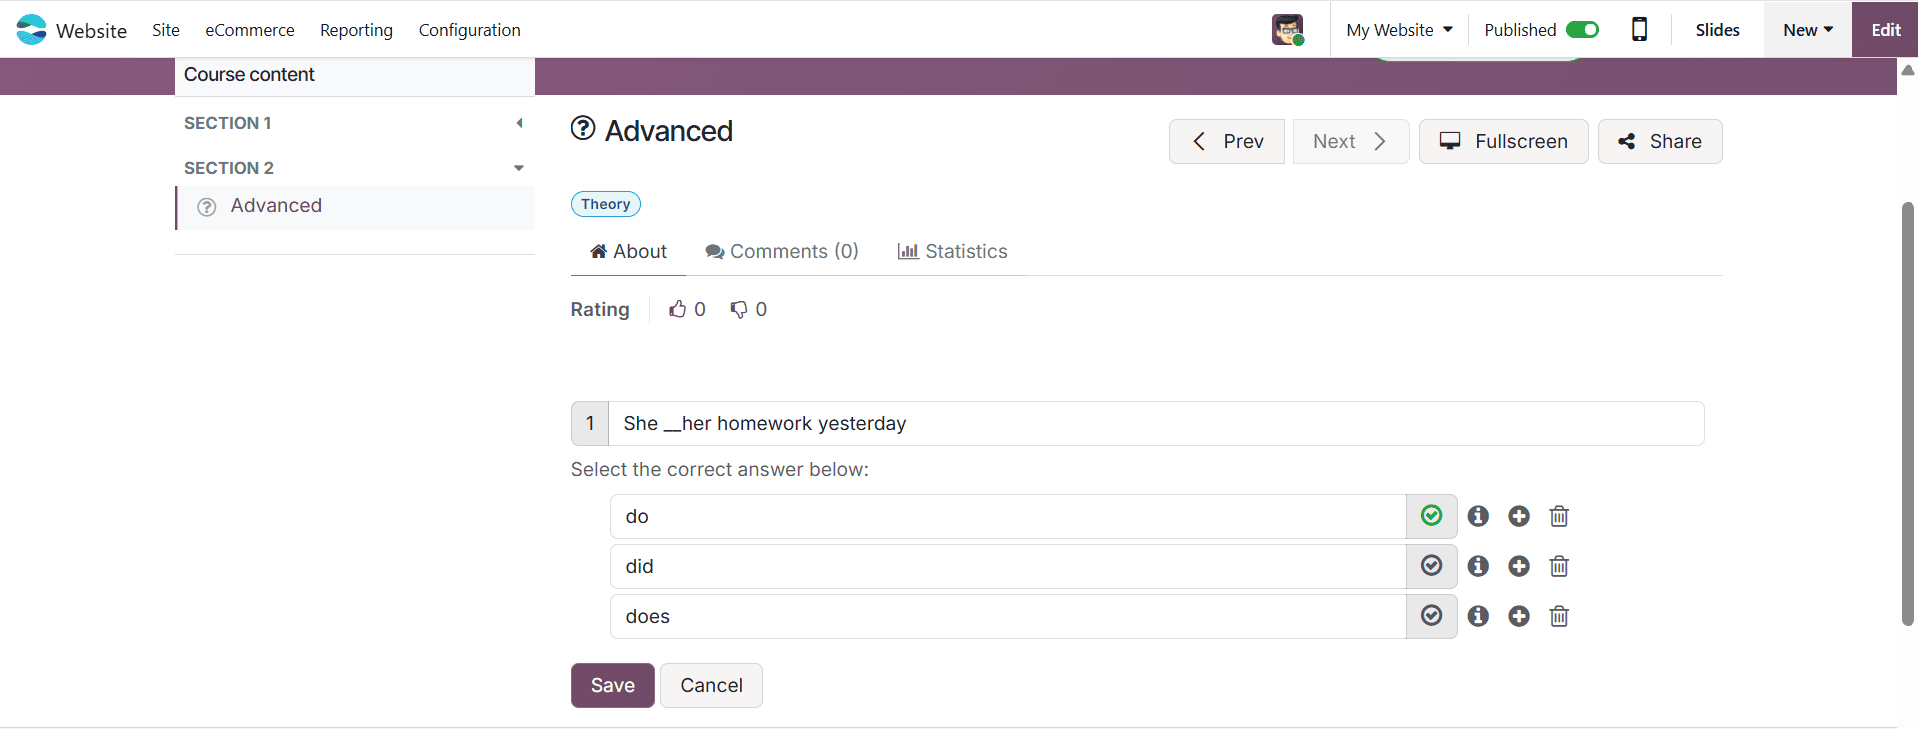
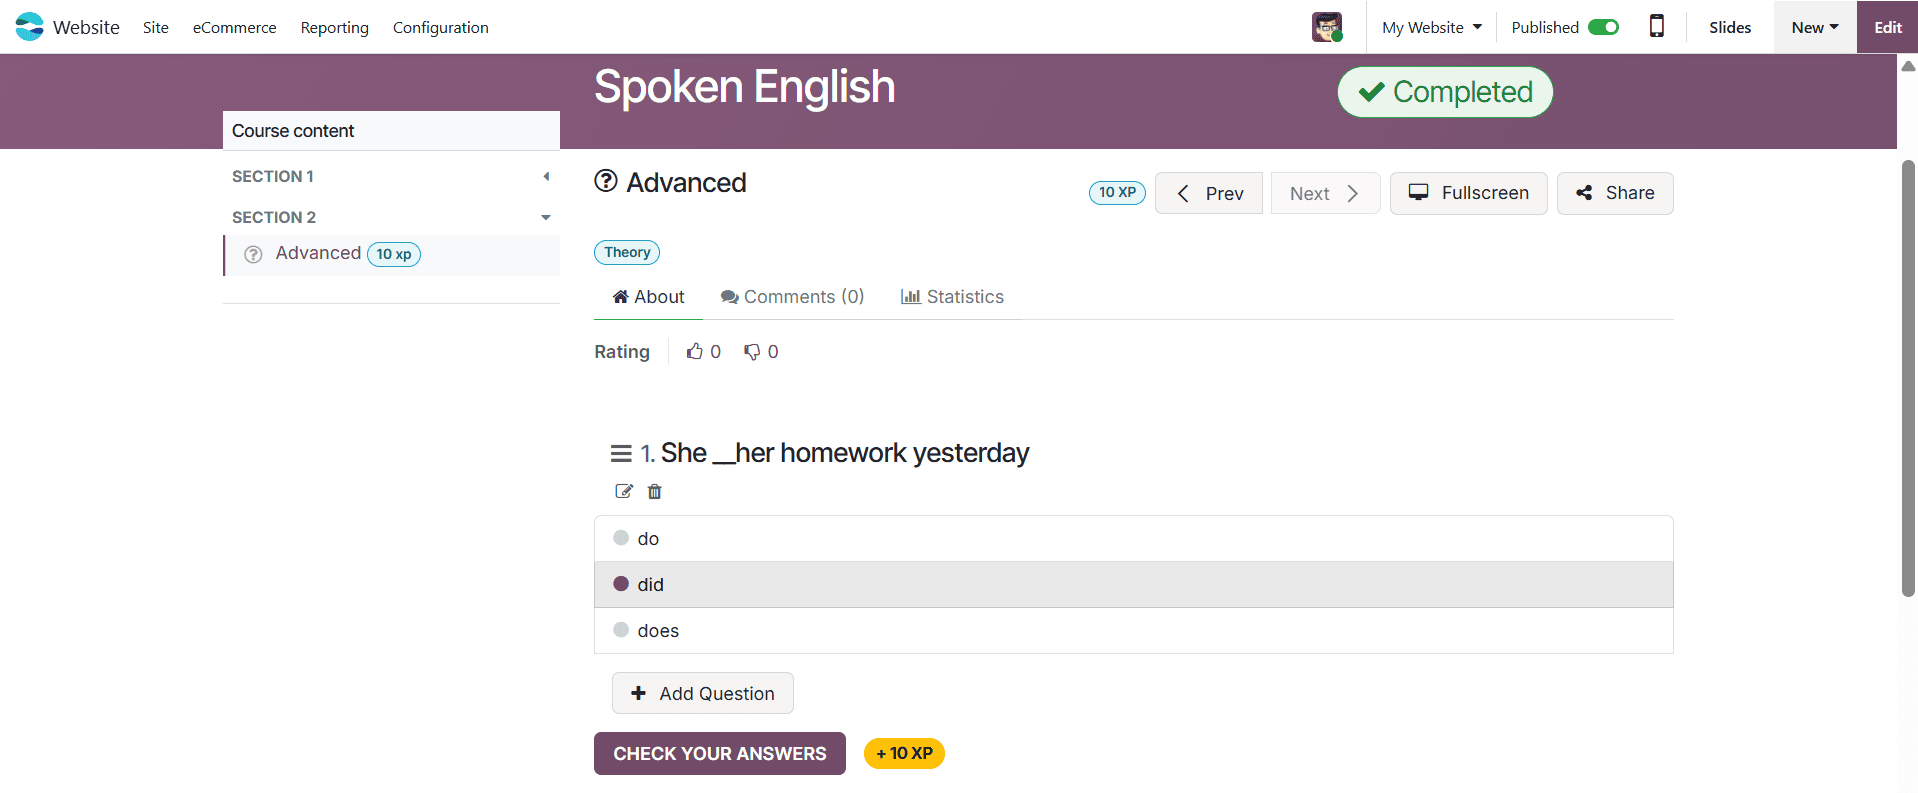
A new window will appear where you can add questions, include possible answers, and mark the correct one. After that, click Save.
To finish the course, answer all questions and select Check Your Answers.
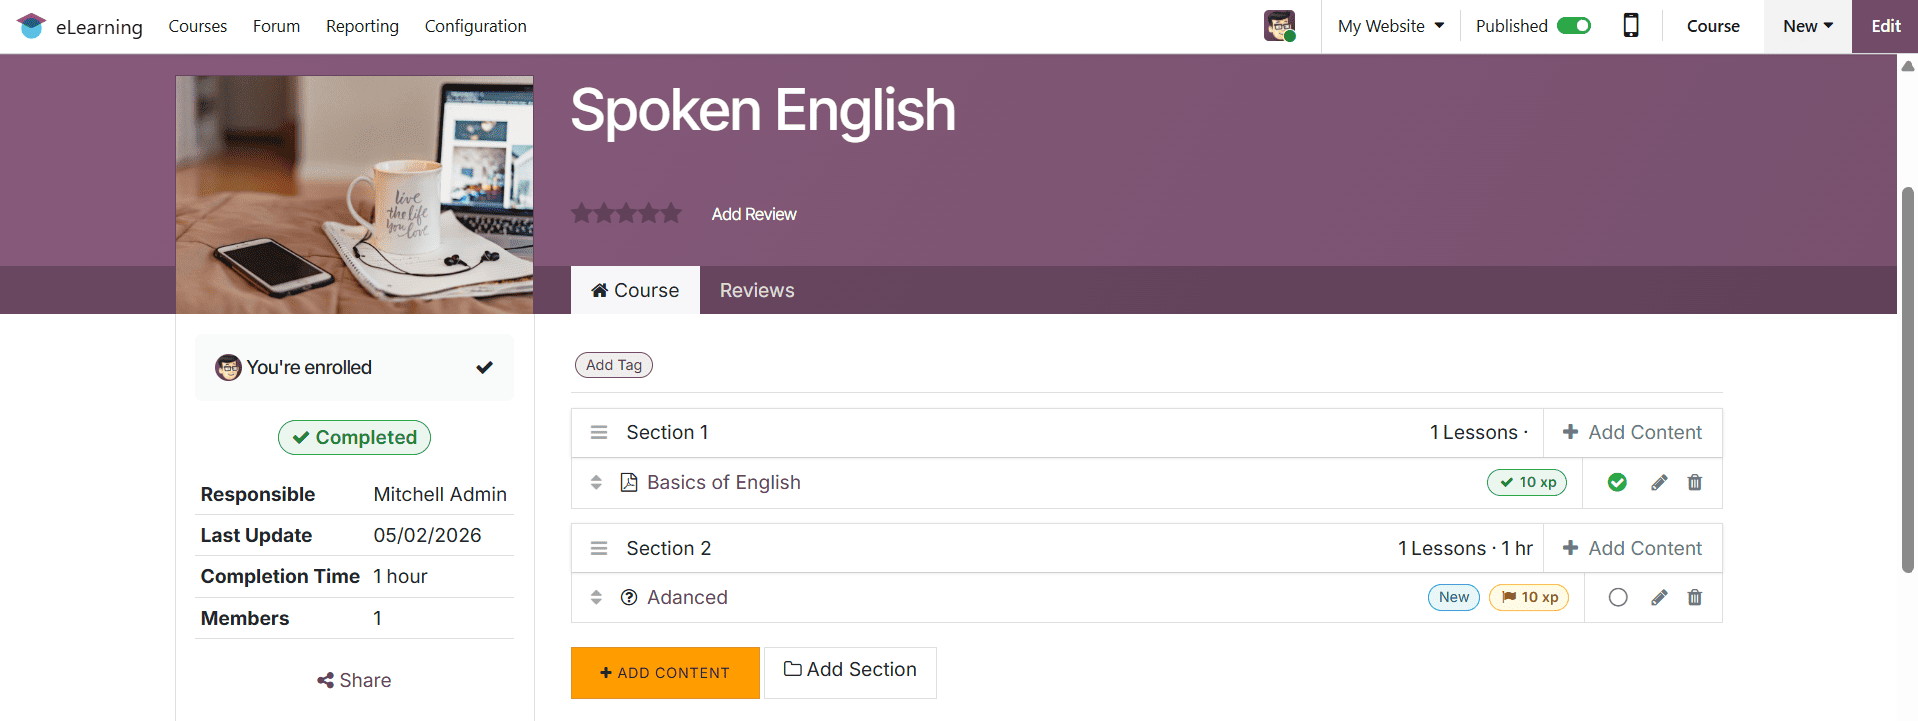
Here, you can see that the course has been successfully completed.
To access the newly created course by Marc Demo, log in as Marc Demo. Then, open the Website module and select the Courses option, where you can view the newly created course.
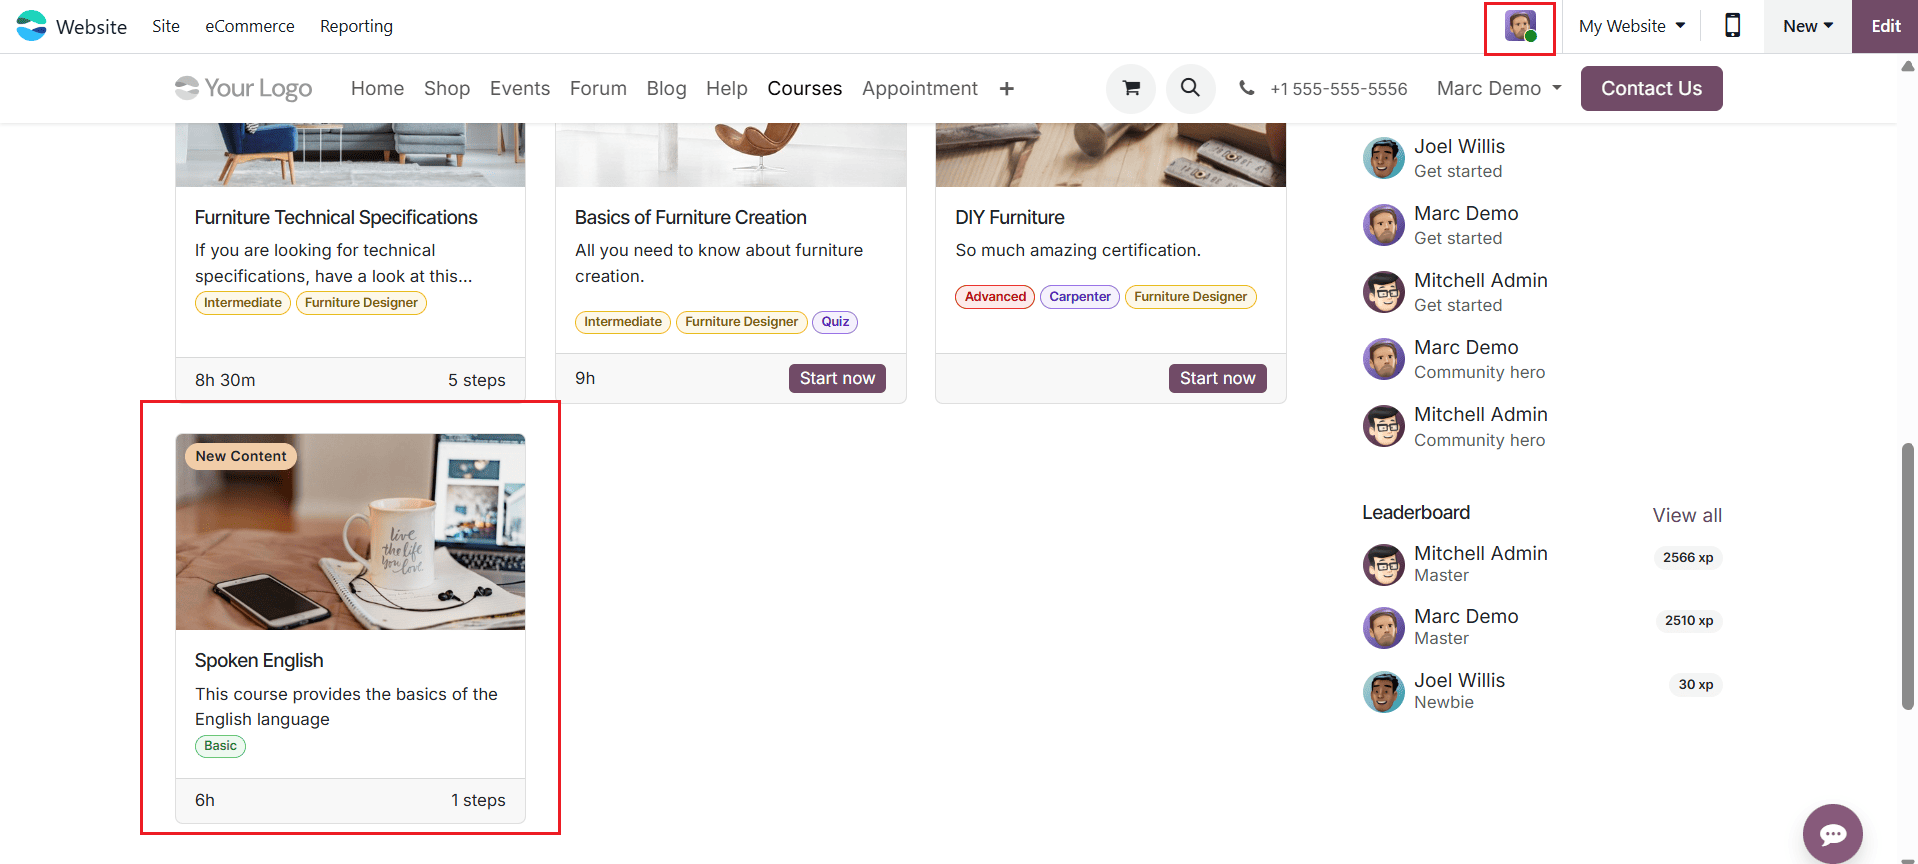
Here, you can see the details of the newly created course. To start attending it, click the Join This Course button. Then, move through the section and answer the questions that are already mentioned above.

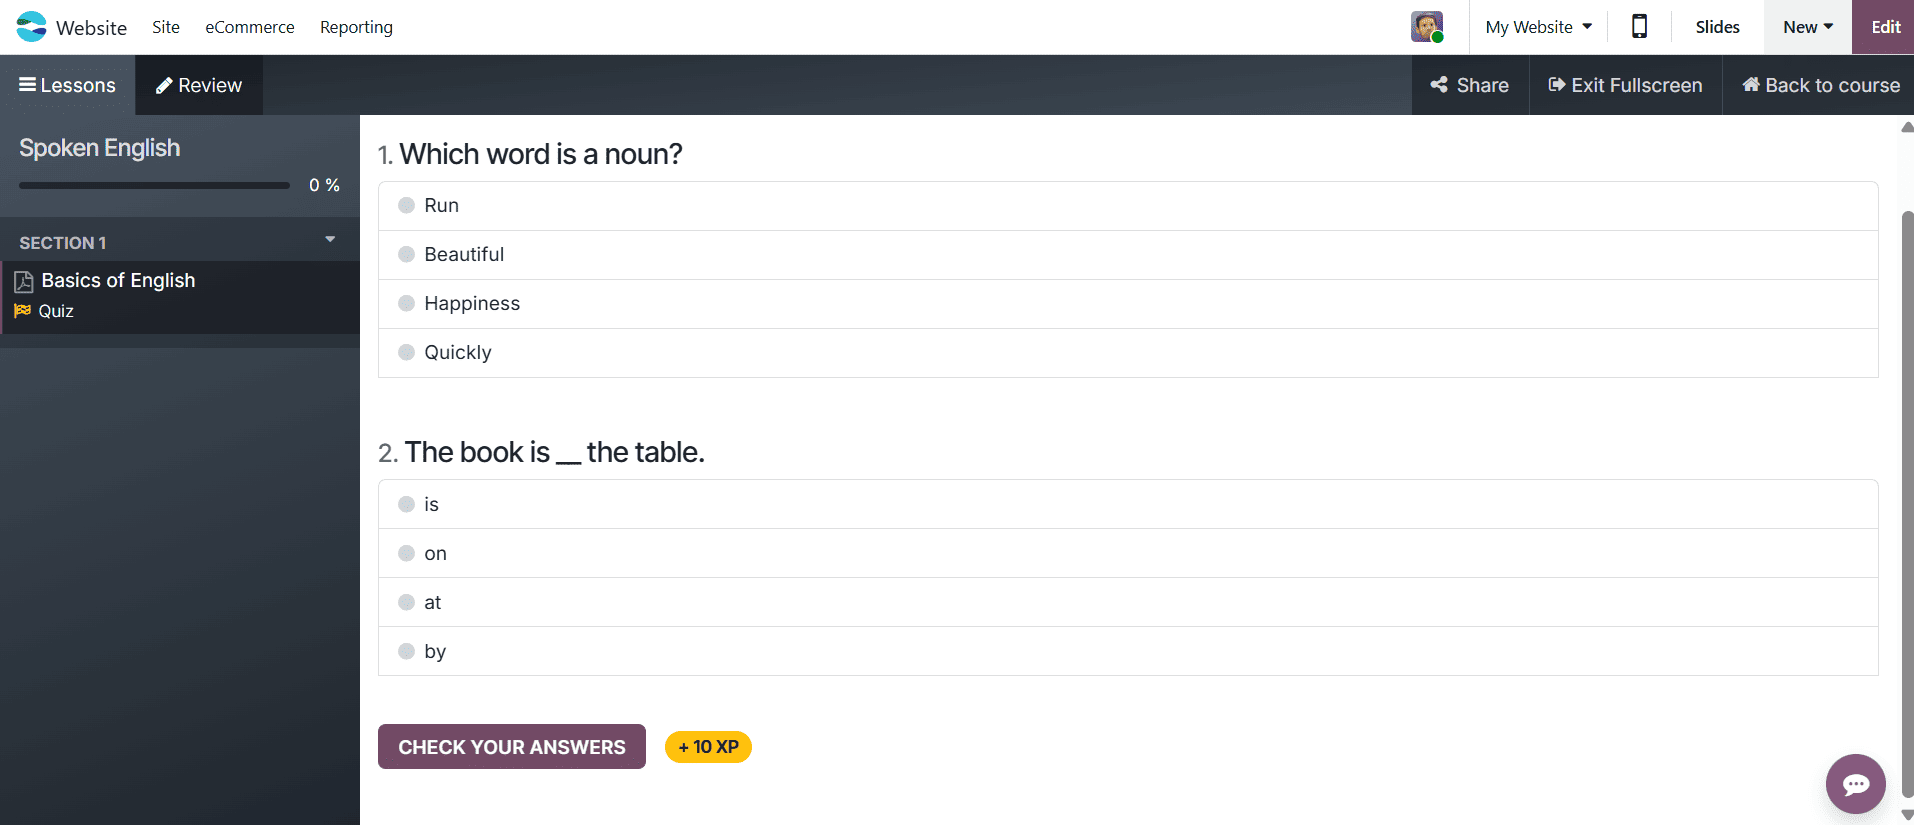
A new window will open where you can mark the correct answer for all the questions and click on the Check Your Answer button.
Here, you can see the Marc Demo has successfully completed the course.
How to Enroll in a Course by Making a Payment?
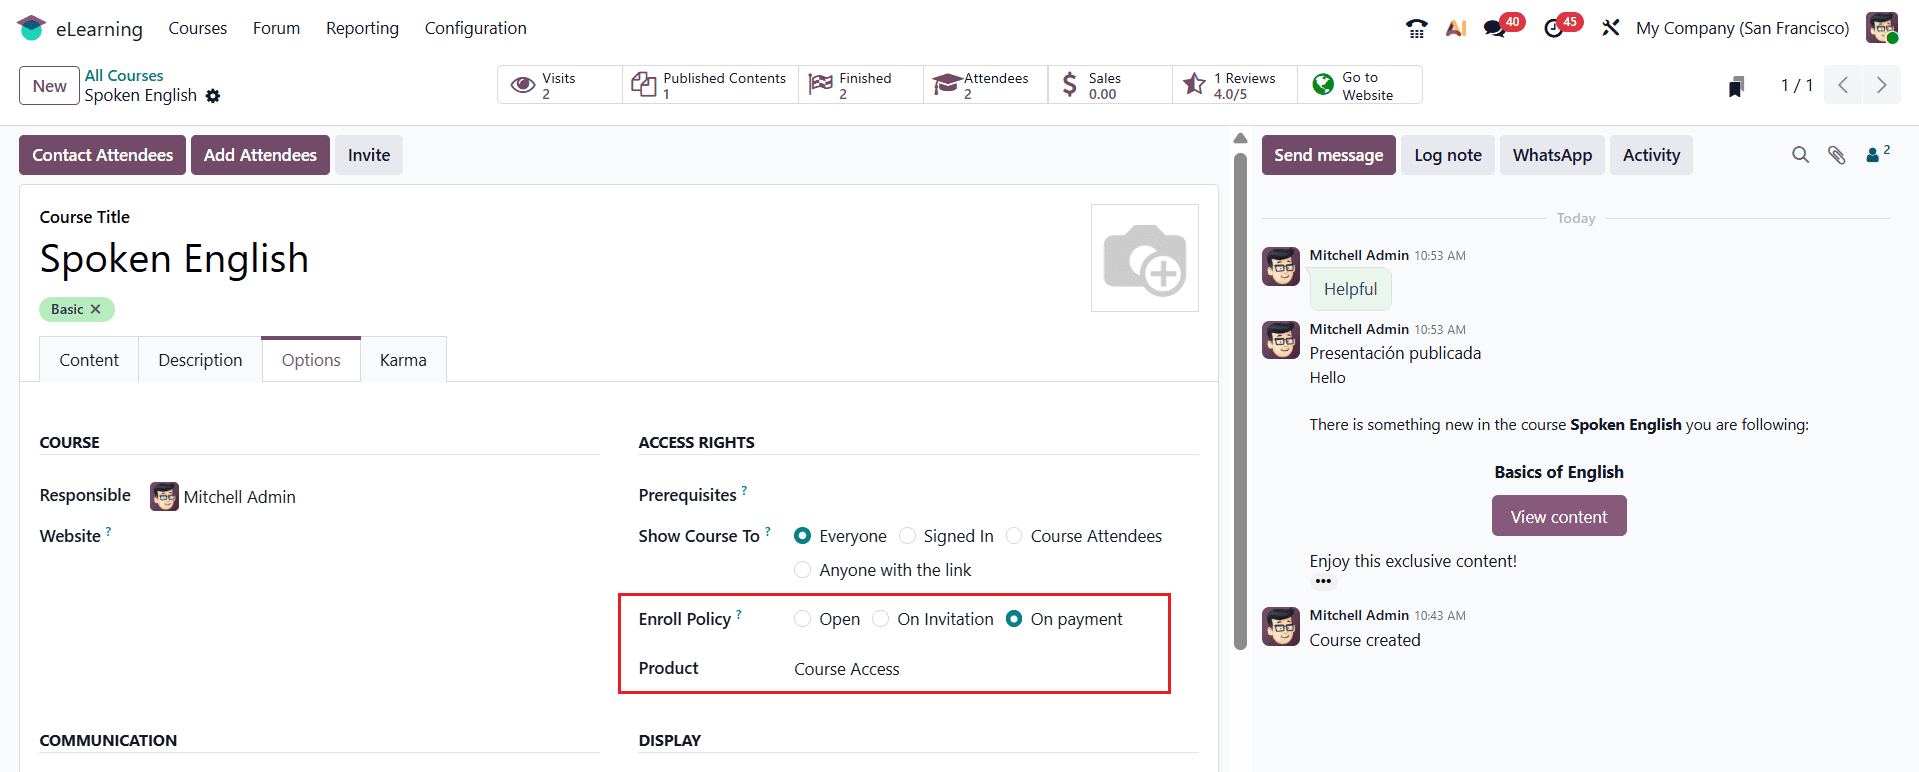
You can add flexible payment options to enroll in an online course. Firstly, open the course page and change the Enroll Policy to 'On Payment' as shown below:
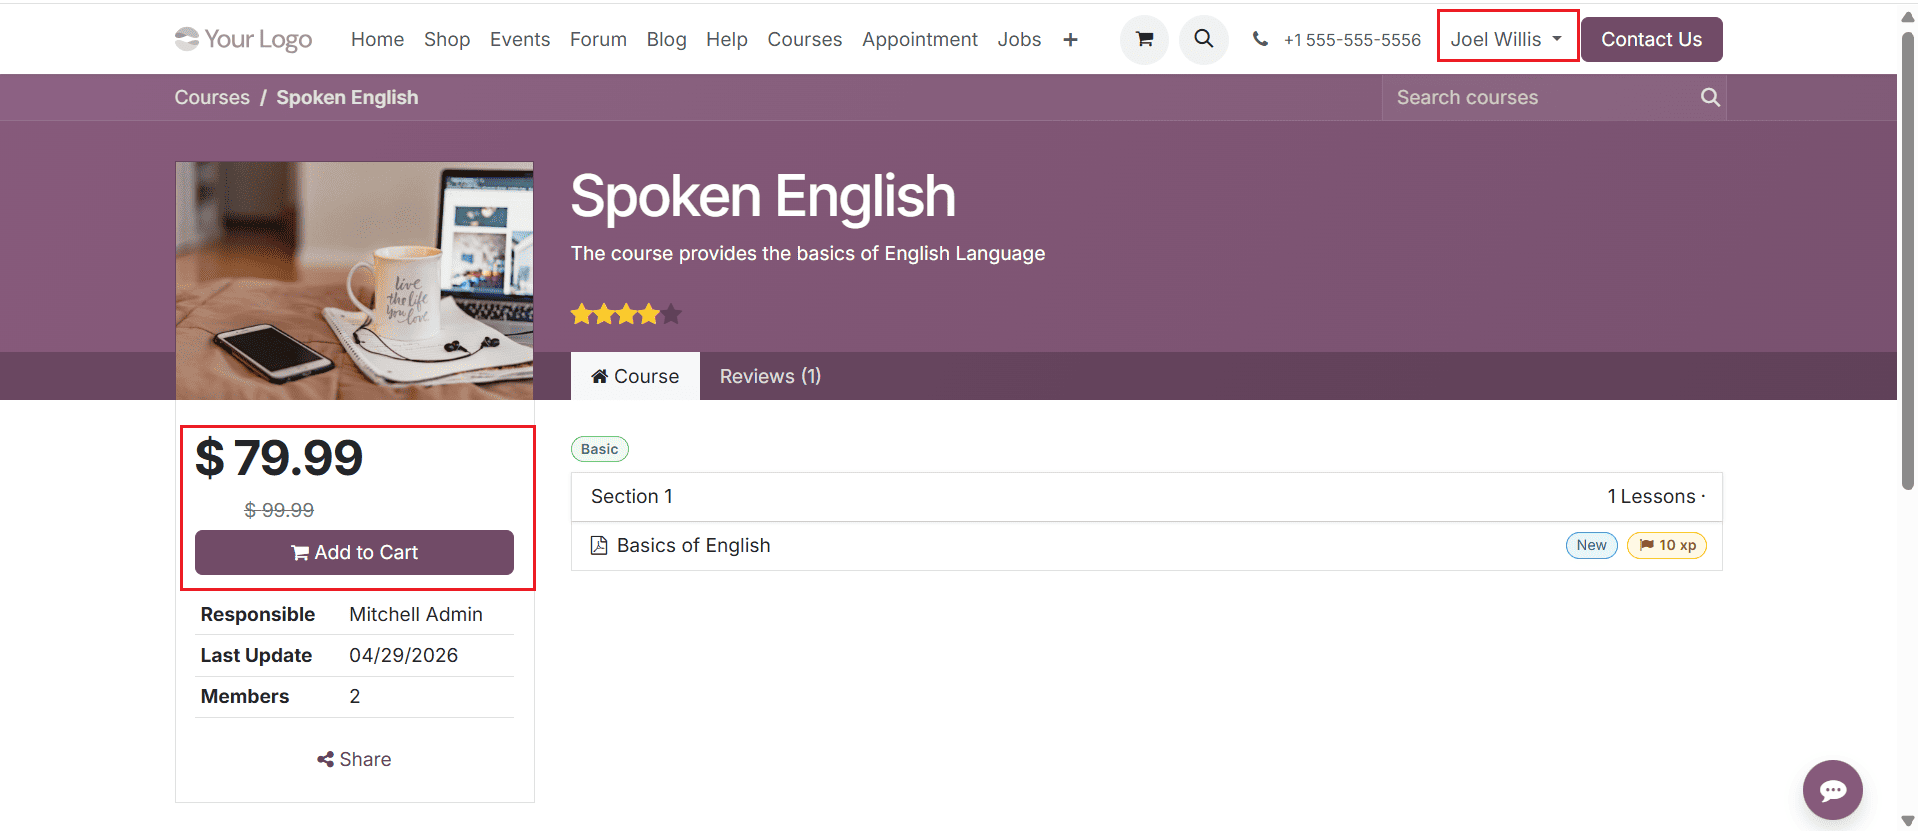
To purchase the course by a user, log in as Joel Willis and open the newly created course through the website. On the left side of the window, you can view the total course price. Click Add to Cart to proceed with the purchase.
Open the cart where you can review the payment details along with the order overview. To proceed with purchasing the course, choose a payment gateway. Click the Pay with Demo button, as shown below.

A pop-up window will appear displaying the payment details for you to review. After checking the information, click Pay to confirm, as shown below.

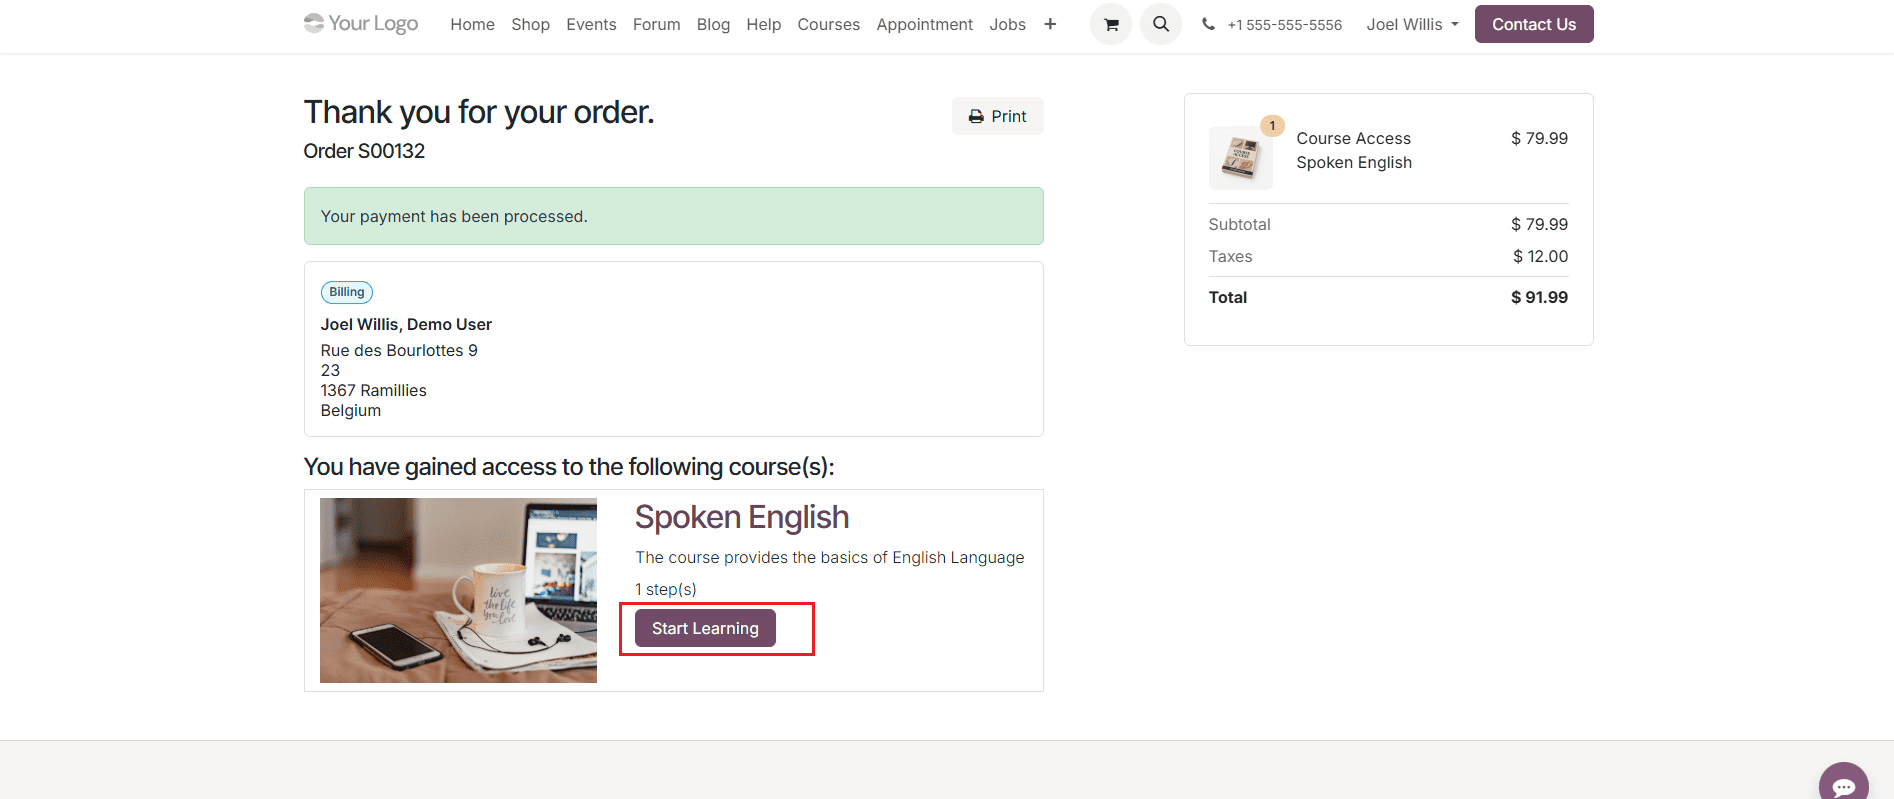
Here, you will find the order confirmation and related details. Click the Start Learning button to begin your learning journey, as shown below.
A course is marked as complete once the user has attempted all the provided questions.
In conclusion, configuring an eLearning course in Odoo 19 is a streamlined process that empowers organizations to create impactful digital learning environments. From course setup to content management and learner engagement, the platform provides all essential tools within a unified system. Its flexibility allows instructors to design courses tailored to specific audiences, while features like quizzes, certifications, and discussion forums enhance knowledge retention and interaction. Additionally, analytics and reporting capabilities enable administrators to evaluate course effectiveness and continuously improve training strategies. By adopting Odoo 19’s eLearning module, organizations can reduce training costs, improve accessibility, and ensure consistent knowledge delivery across teams or learners. Whether for employee onboarding, professional development, or academic purposes, Odoo offers a scalable and user-friendly solution that meets modern eLearning demands while supporting long-term growth and learning excellence.
To read more about How to Configure an e-Learning Course in Odoo 18, refer to our blog How to Configure an e-Learning Course in Odoo 18.