Email marketing is one of the most effective ways to attract customers, promote products, and build strong relationships. However, manually exporting data from your Odoo system and importing it into your email marketing platform can be very time-consuming and difficult.
The Mailchimp Marketing Connector for Odoo 18 solves this problem by integrating Odoo with Mailchimp marketing. It allows businesses to synchronize their information between both platforms. With this integration, you can manage your Odoo Email marketing while using Mailchimp's powerful email marketing tools to create campaigns, automate emails, import and monitor marketing performance.
In this blog, we will discuss what Mailchimp is, key Mailchimp concepts, and how to connect Mailchimp to the Mailchimp marketing connector.
What is Mailchimp?
Mailchimp is a cloud-based platform designed to help businesses manage email marketing campaigns and engage with their customers. It is used to create professional email campaigns, templates, manage customer contacts, automate marketing workflows, and analyze campaign performance through detailed reports for business organizations.
Instead of sending promotional emails manually, businesses can use Mailchimp to improve productivity, save time, track email performance with analytics, and improve customer relationships.
If you're running an online store, a service-based business, or a growing enterprise, Mailchimp provides the best tools to deliver targeted marketing campaigns efficiently.
What is the Mailchimp Marketing Connector for Odoo 18?
The Mailchimp Marketing Connector is an Odoo ERP software. The Mailchimp Marketing Connector for Odoo 18 integrates your Odoo database with your Mailchimp account; it provides seamless synchronization of customer information.
With the connector, customer data can be synchronized directly between Odoo and Mailchimp, reducing the manual work and ensuring both platforms remain up to date.
Key benefits:
- Synchronize contacts effortlessly between Odoo and Mailchimp.
- Reduce manual data entry
- Keep informations consistent
- Improve marketing efficiency
- Save time
Understanding Mailchimp basic concepts
- Audience - Audience is the main contact database in Mailchimp. It stores all subscriber/customers information, including email addresses, names, phone numbers, and marketing preferences.
- Campaign - A campaign is an email sent to selected contacts. Campaigns include promotions, seasonal offers, event announcements, and discount promotions.
- Email Templates - Templates are reusable email layouts that help maintain consistent branding across campaigns.
- Automation - Mailchimp allows emails to be sent automatically when predefined events occur.
How to Connect?
Before connecting, ensure that the Mailchimp Marketing Connector is installed.
After that, go to Mailchimp.com. Then, create an account; if you already have an account, then log in.
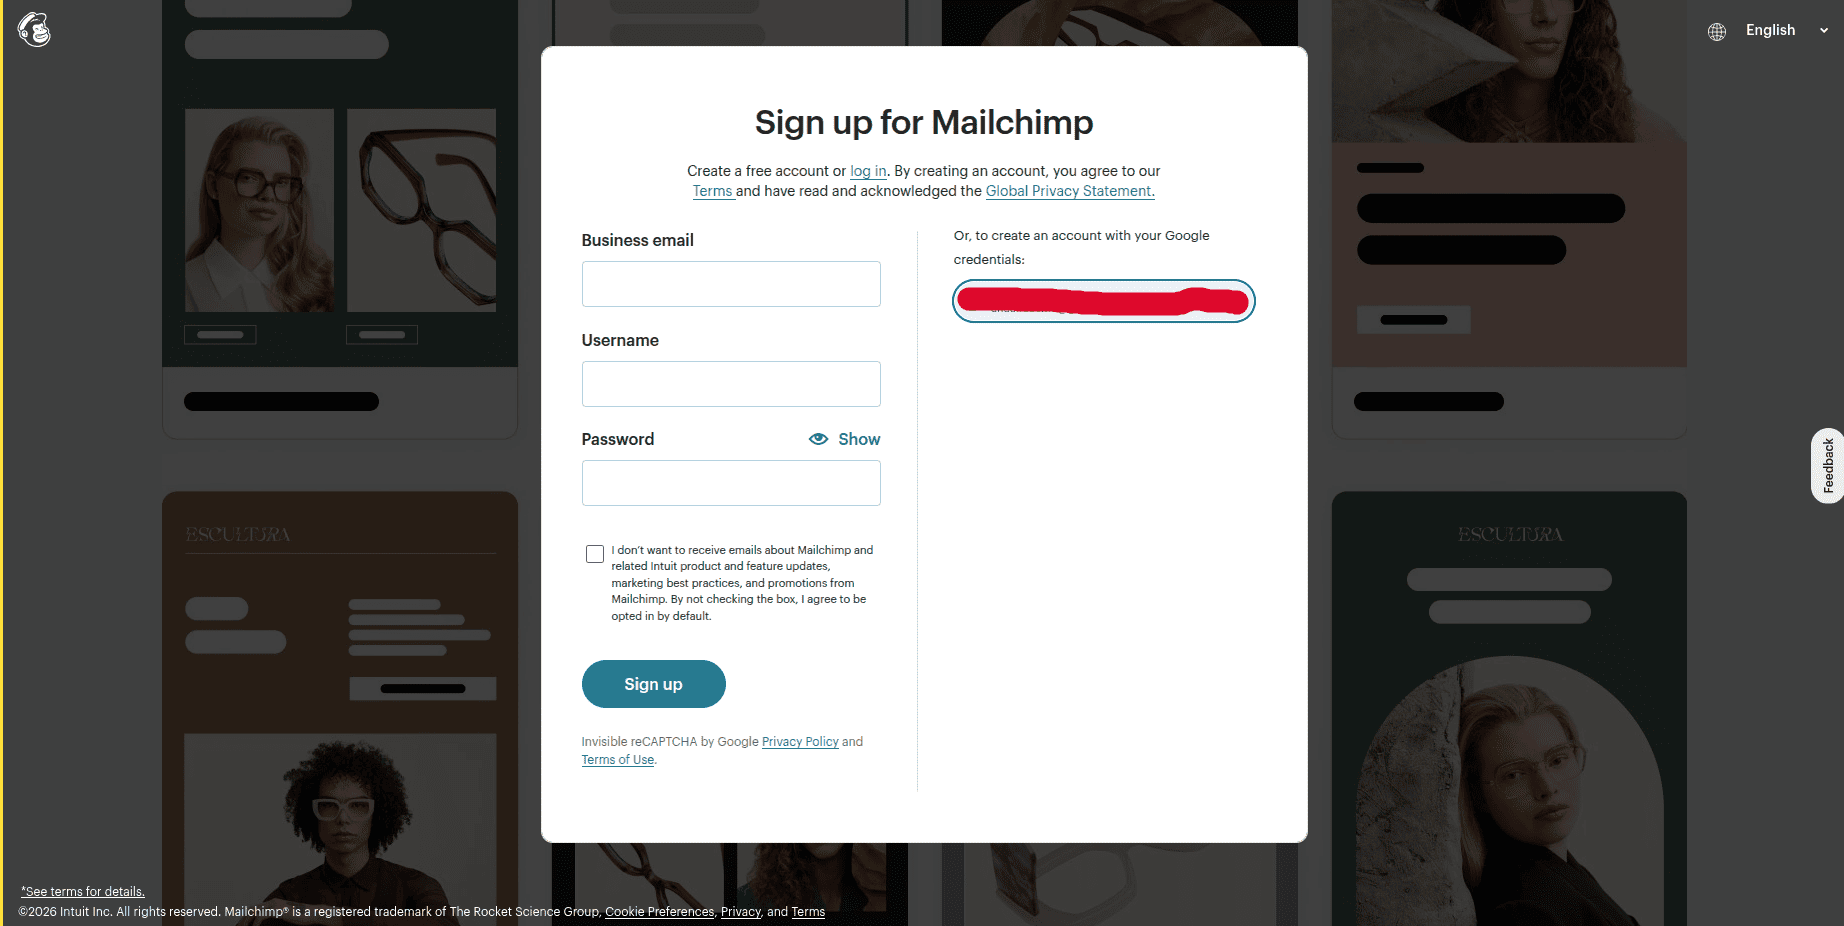
After that, it moves to the next page.
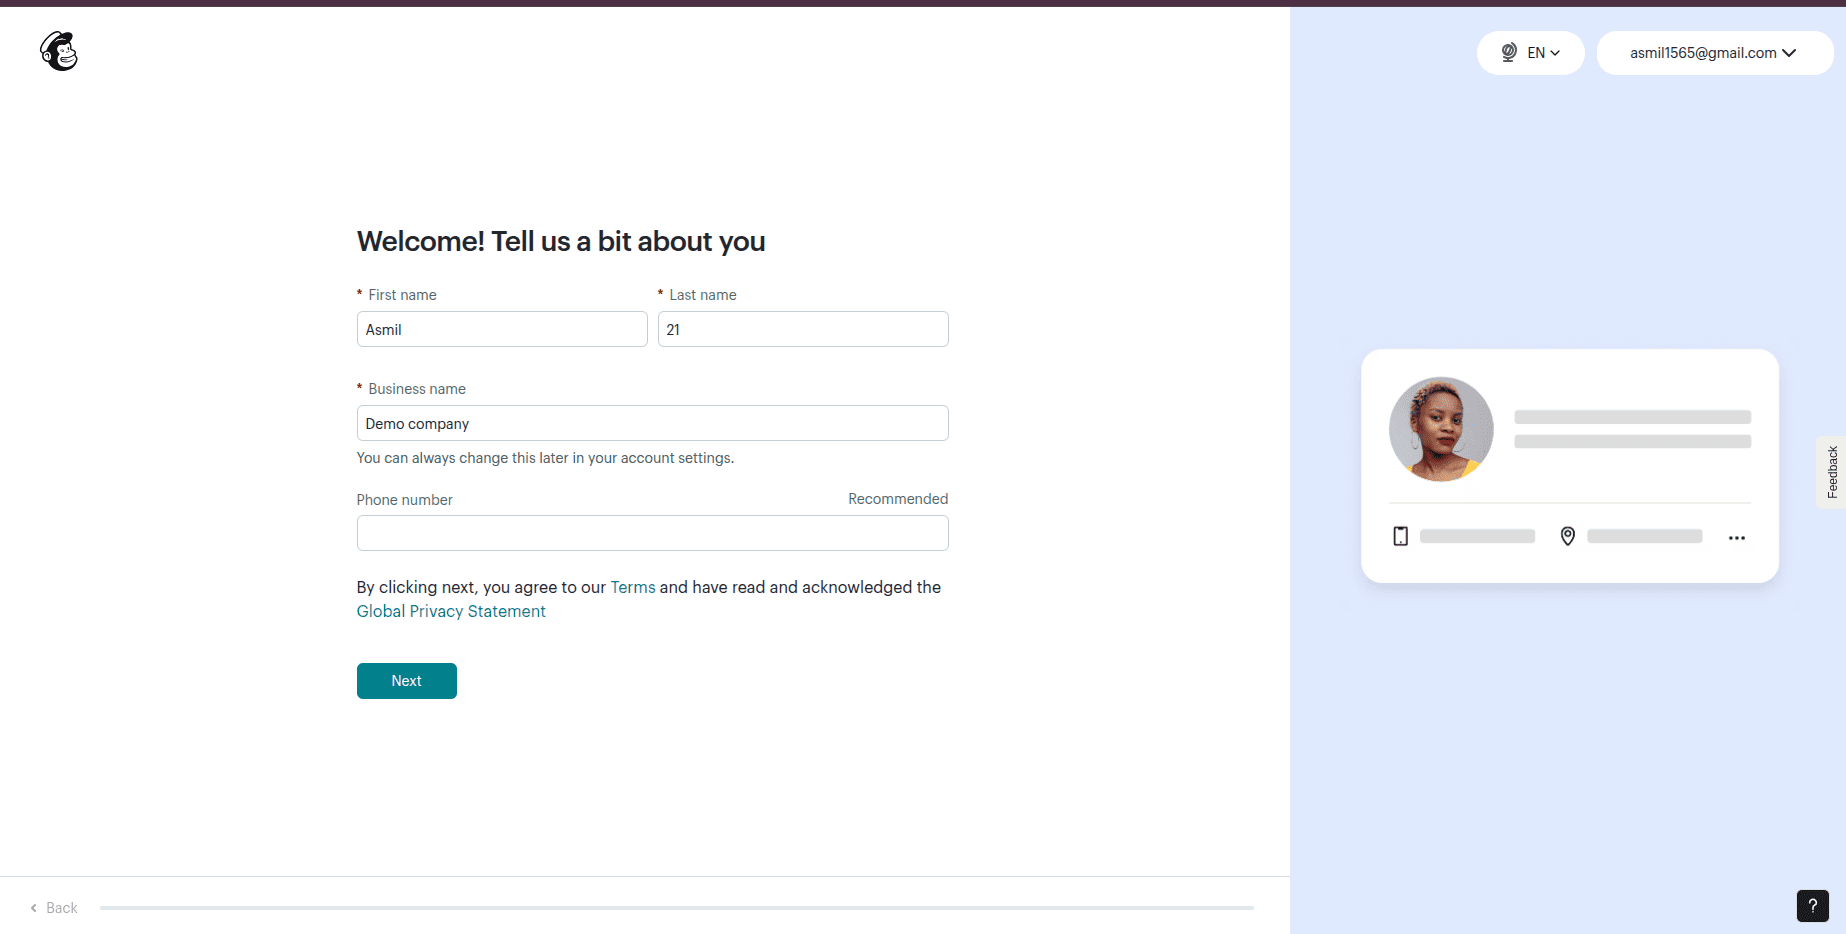
This page collects basic information about you and your business organization before you can start using Mailchimp's marketing features.
Then, click the Next button to move to another page.
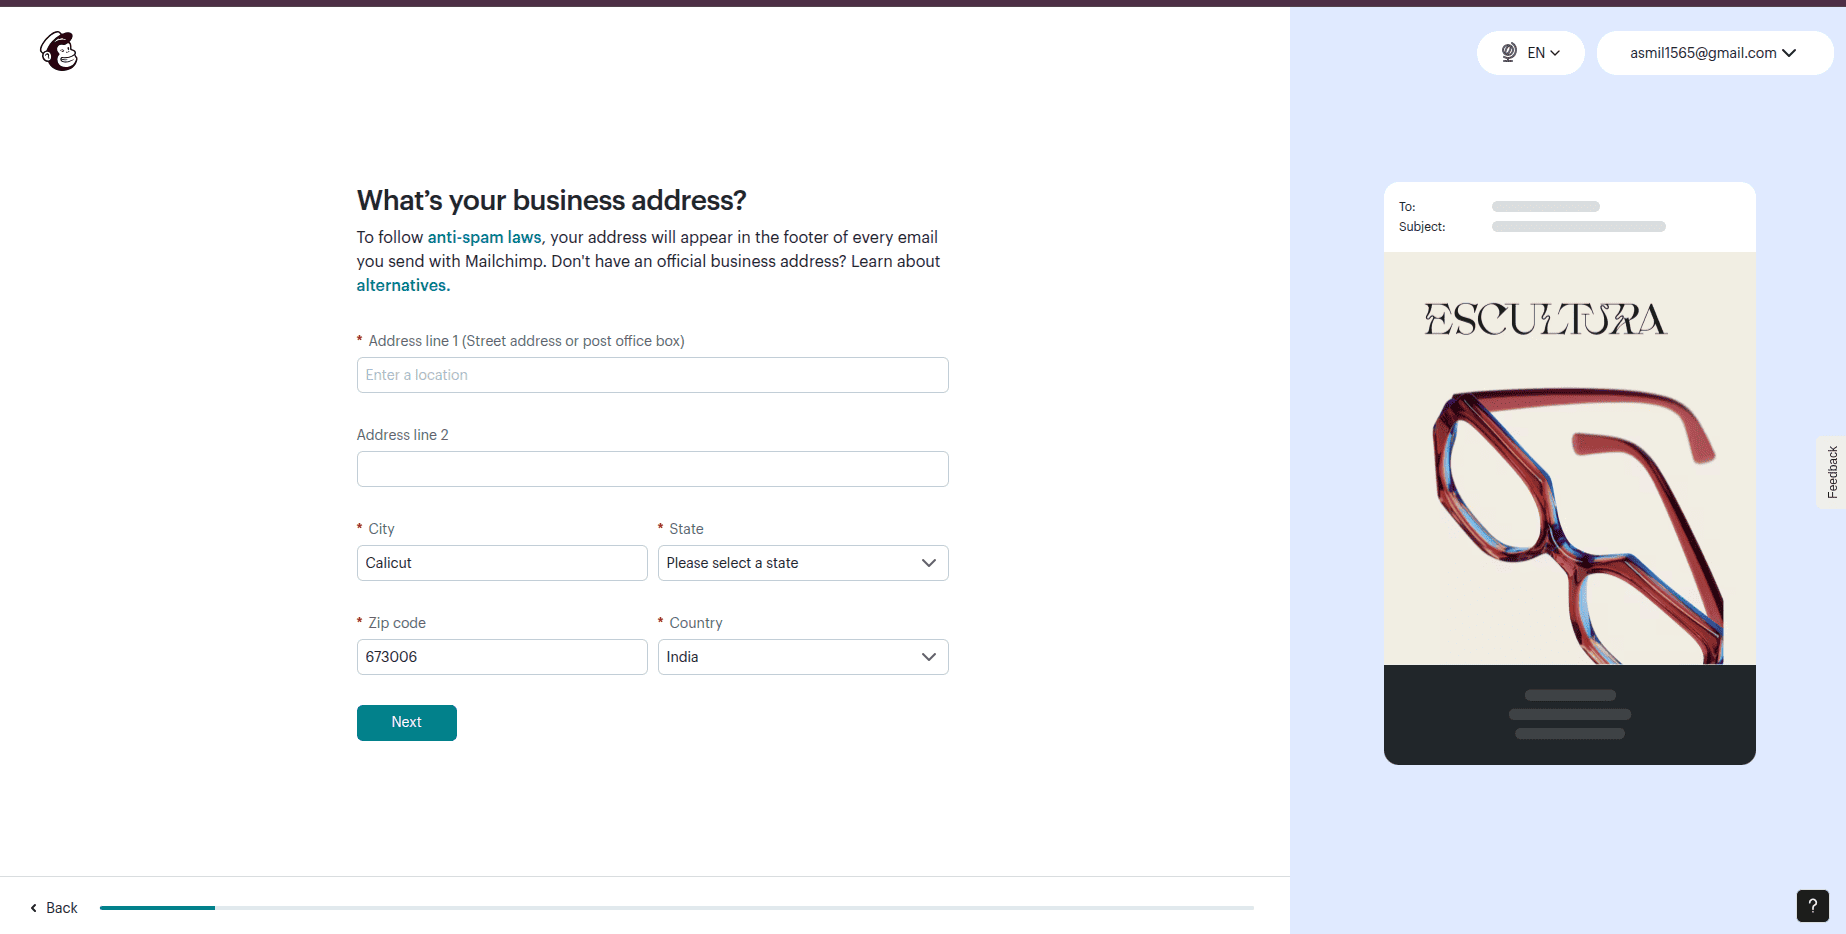
After providing the basic information, Mailchimp asks for your business address.
After filling the field, click Next to move to the next page.
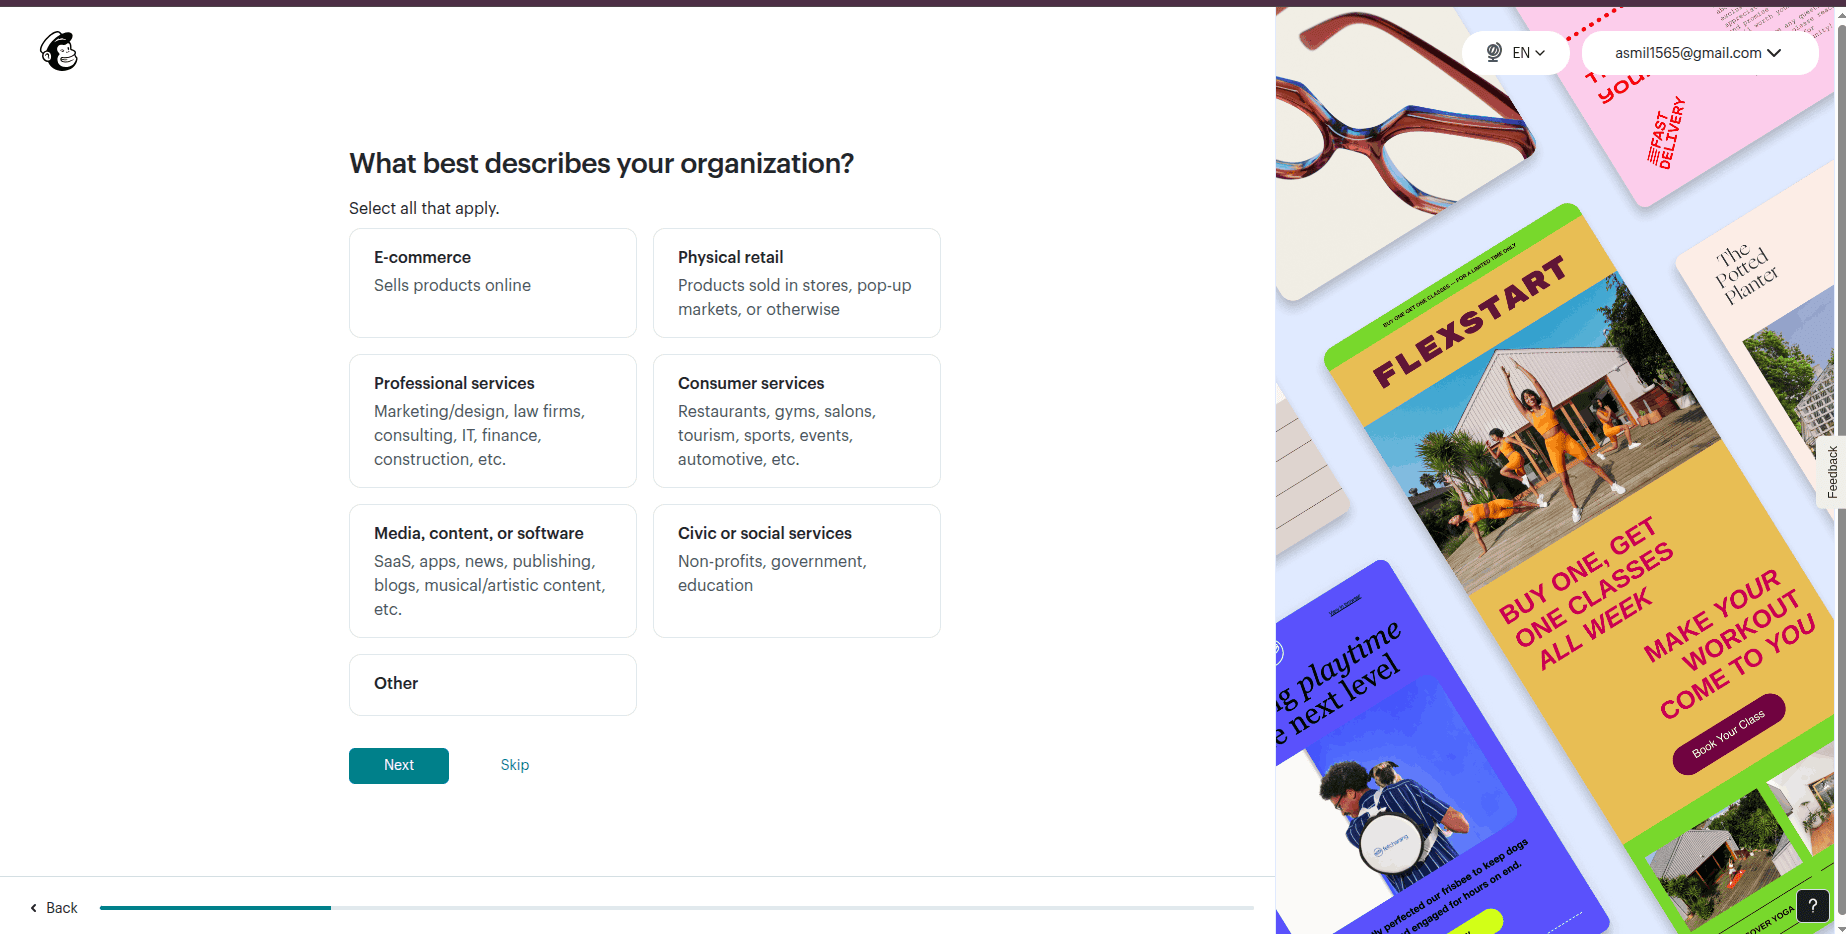
After entering your business address, Mailchimp asks you to describe your organization. This helps Mailchimp understand your business and personalize the features, recommendations, and email marketing tools.
You can select one or more categories that best match your business. If none of the options apply, you can choose Other or skip the options.
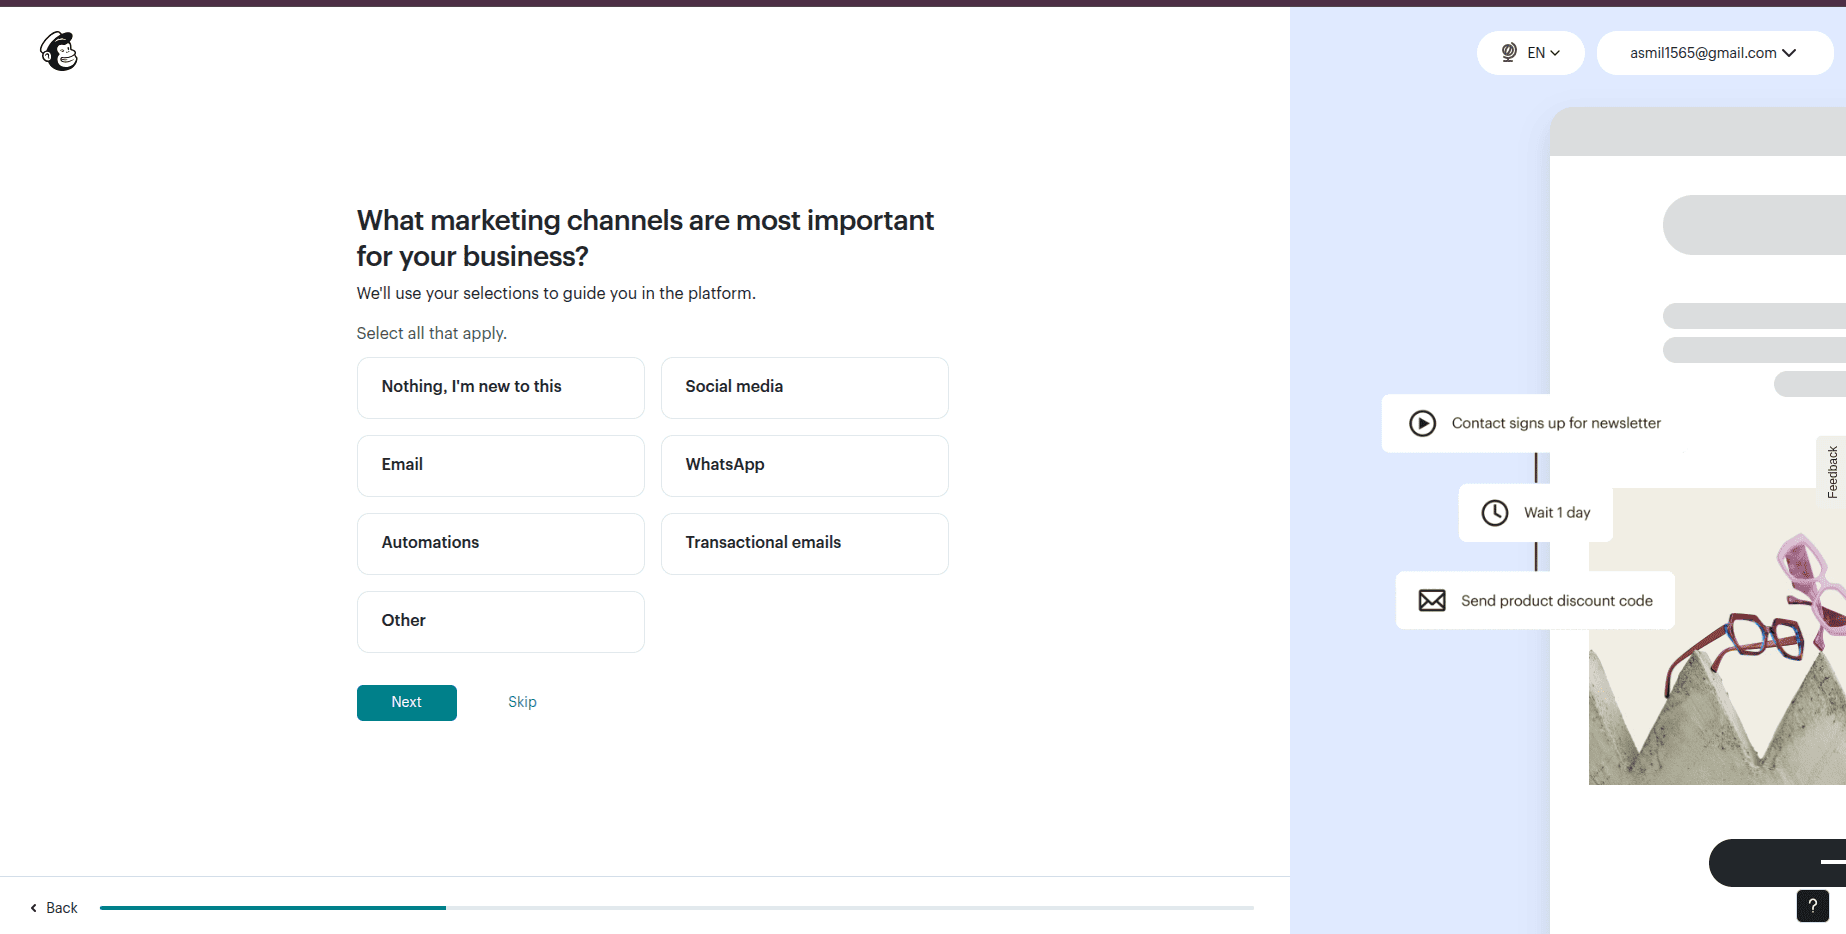
In this step, Mailchimp asks which marketing channels are most important for your business. You can select the options. It helps Mailchimp personalize your dashboard and recommend relevant features.
Then, click Next to go to the next page.
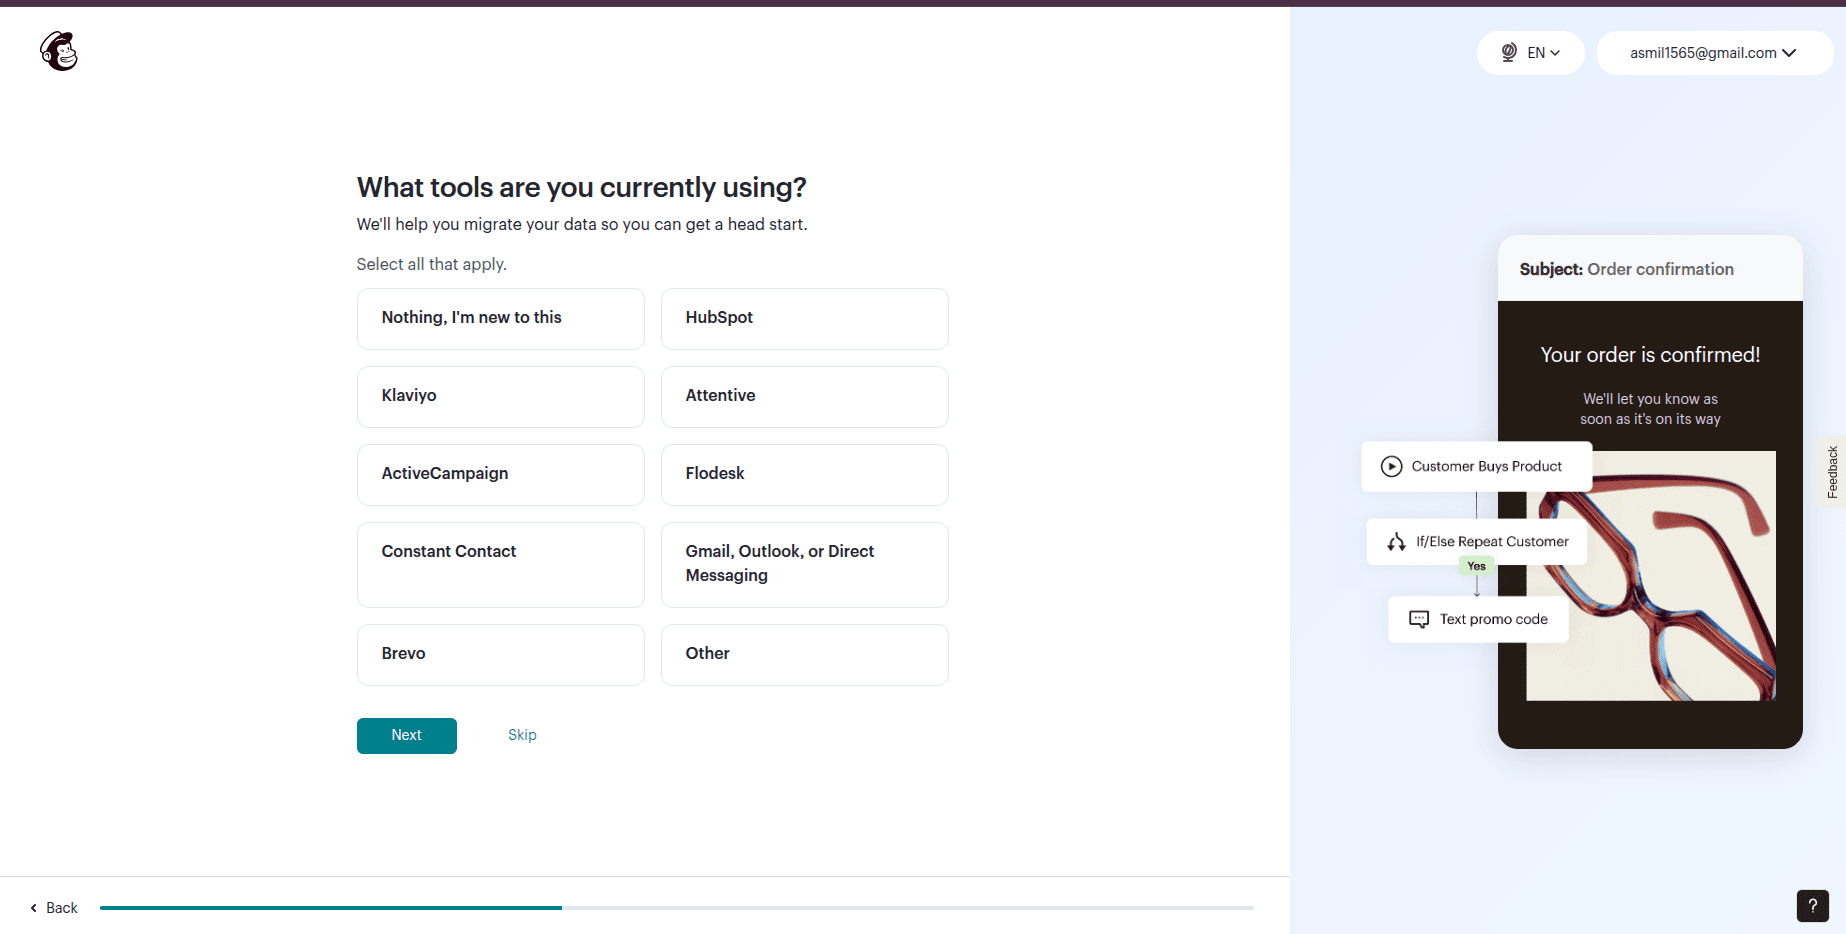
At this step, Mailchimp asks whether you are currently using any marketing or customer relationship management (CRM) tools. If you're using any tools, then select that, then click Next.
Mailchimp offers to import your brand information from your website. Enter all the required details and click Next to continue.
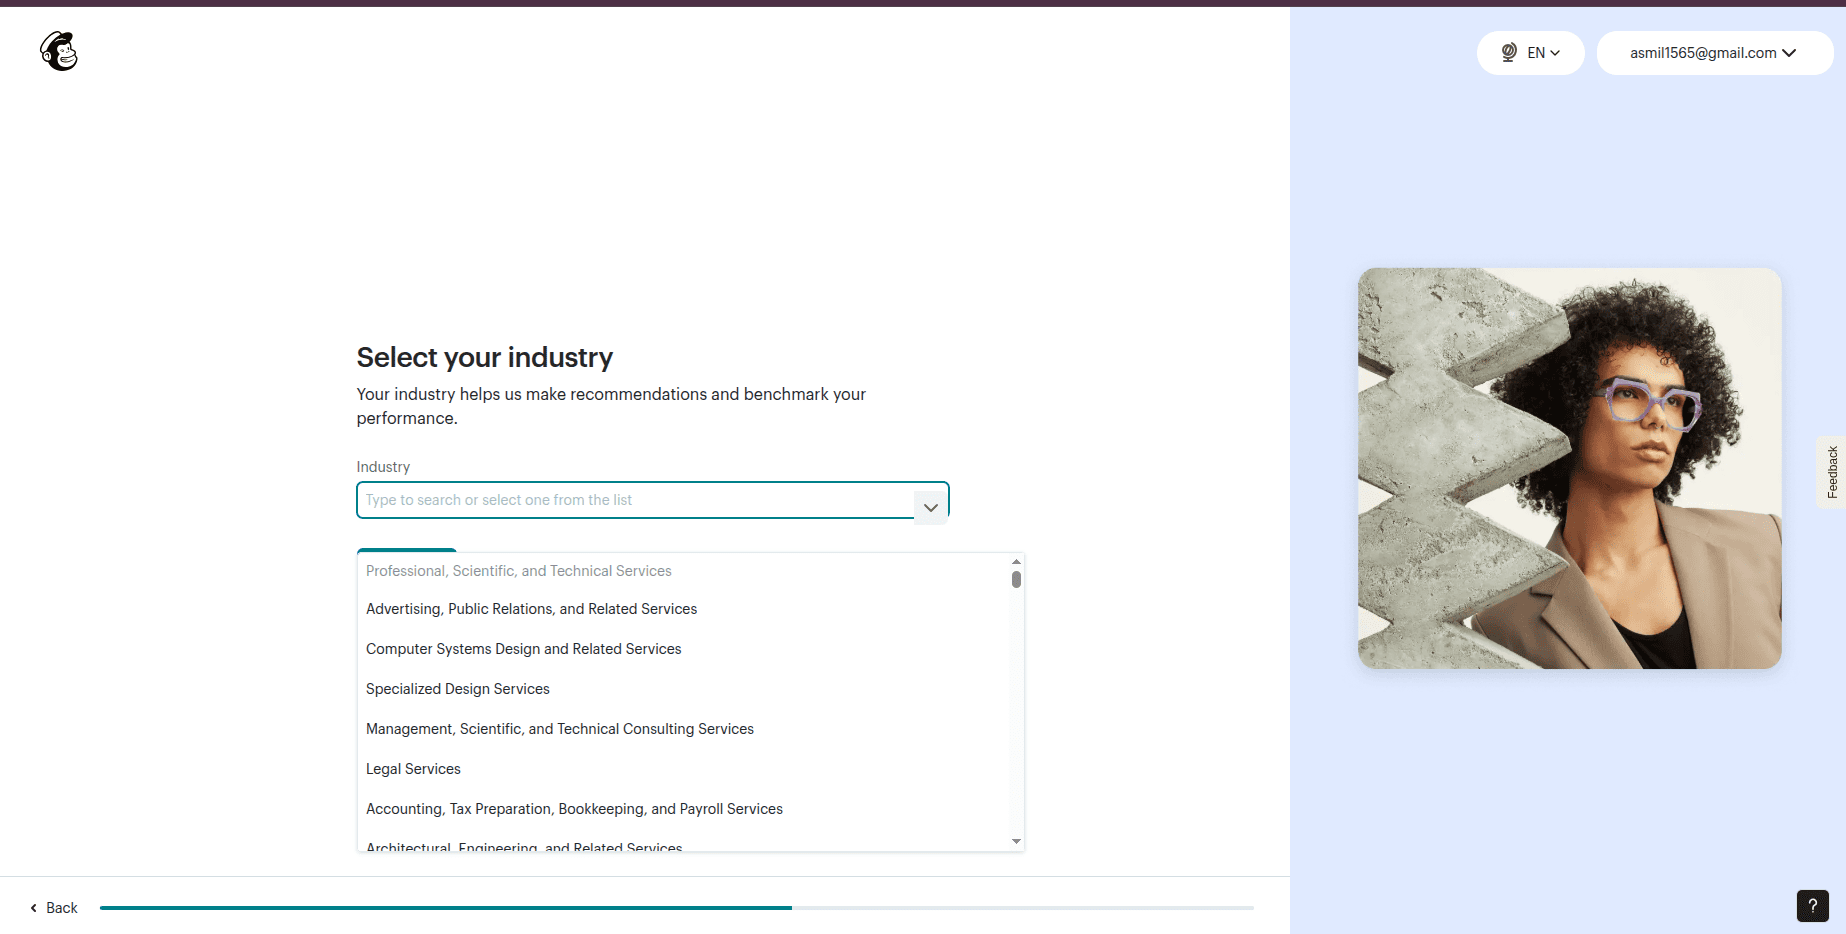
Mailchimp asks you to select the industry that describes your business. You can fill that field or leave it. After that, move to the next step.
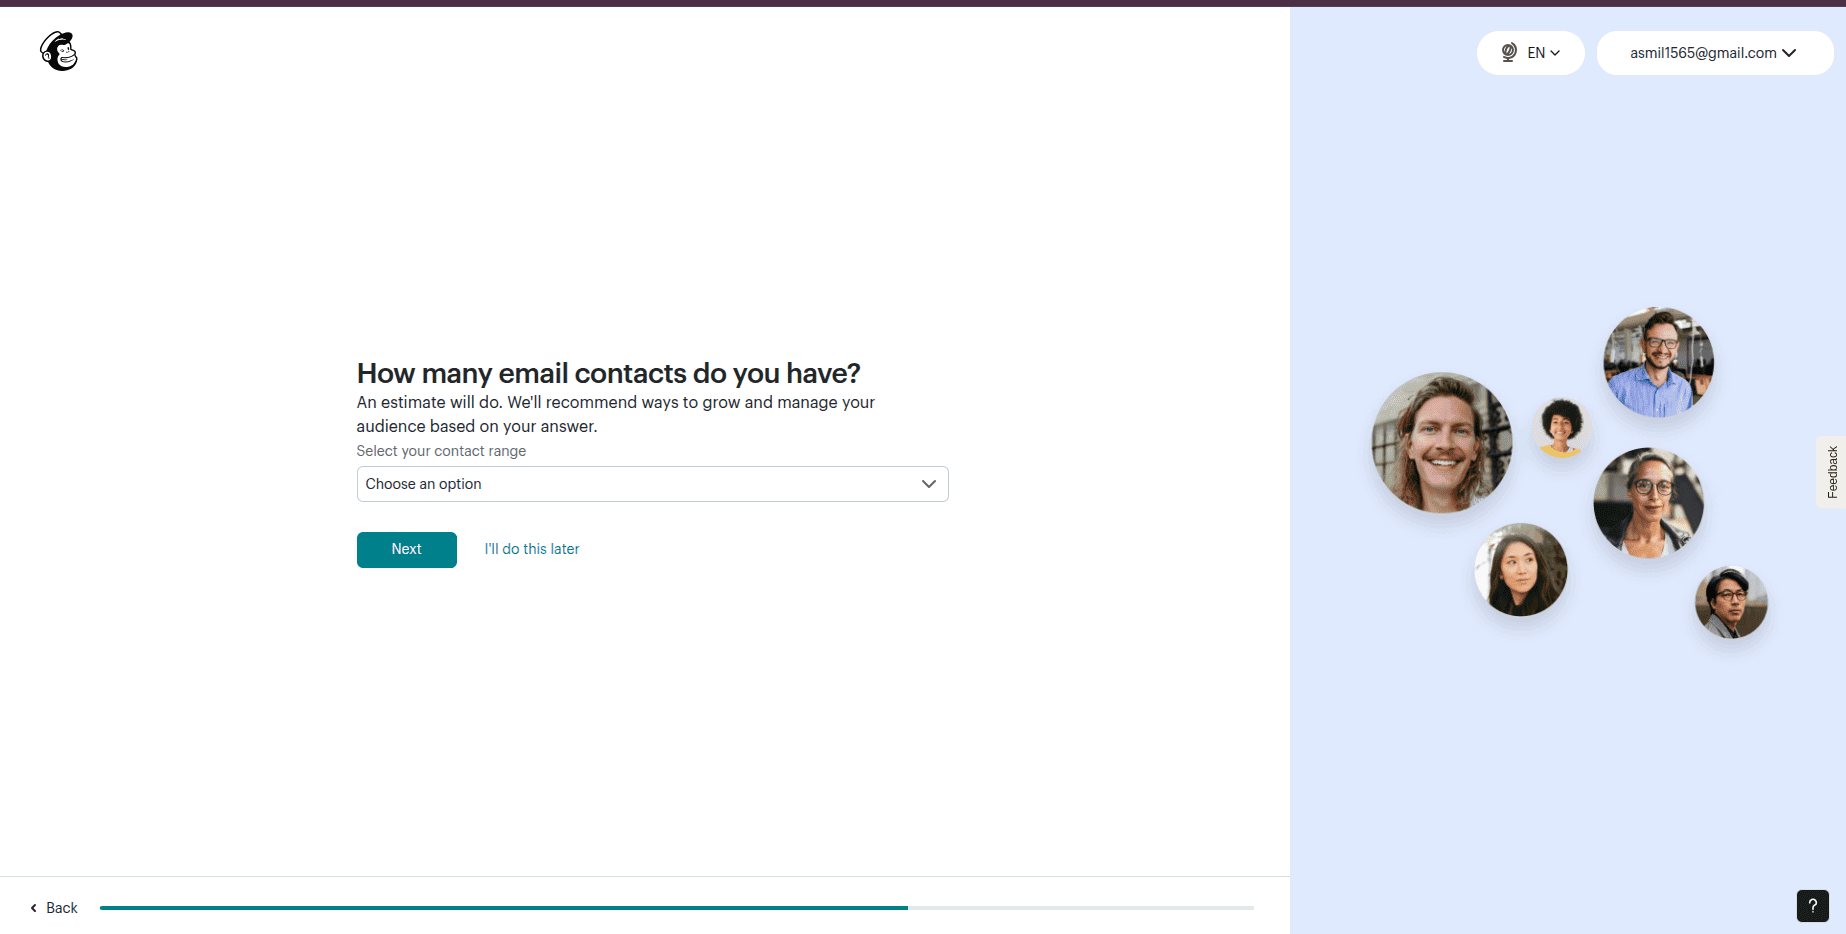
At this step, Mailchimp asks you how many email contacts you have. This helps Mailchimp recommend the appropriate tools, pricing plans, and audience management features.
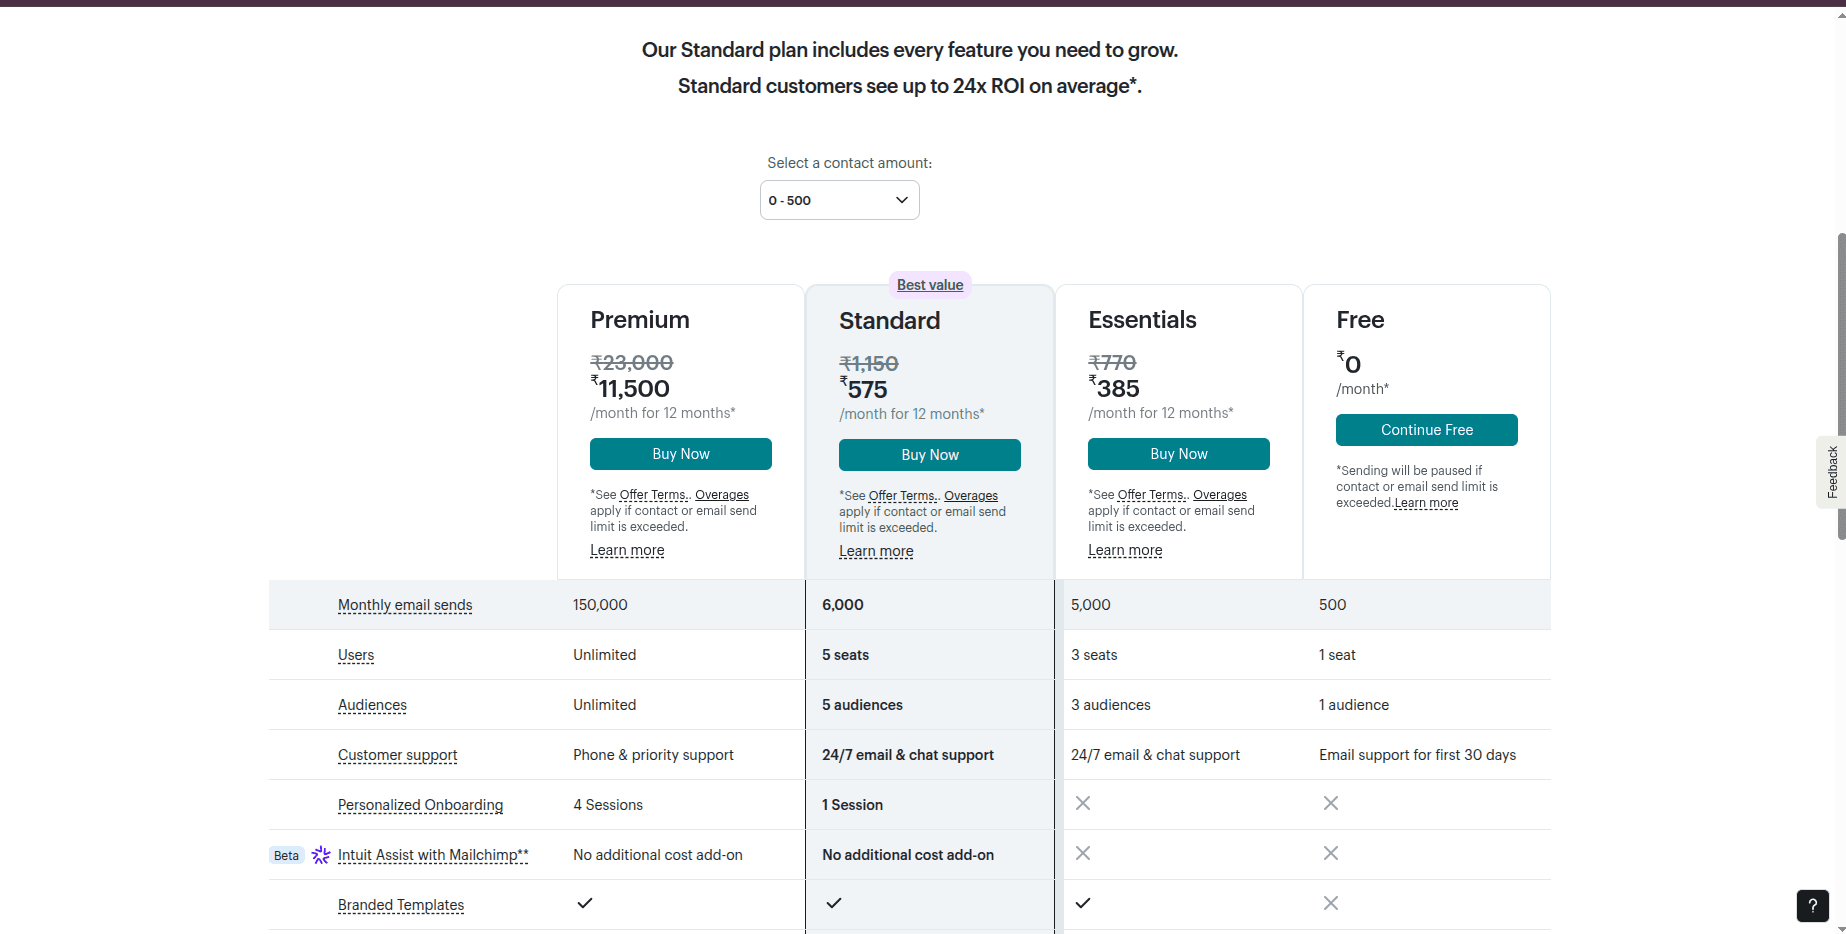
After filling in the details, click the Next button to move to the next page. Here you can select your plan according to your needs.
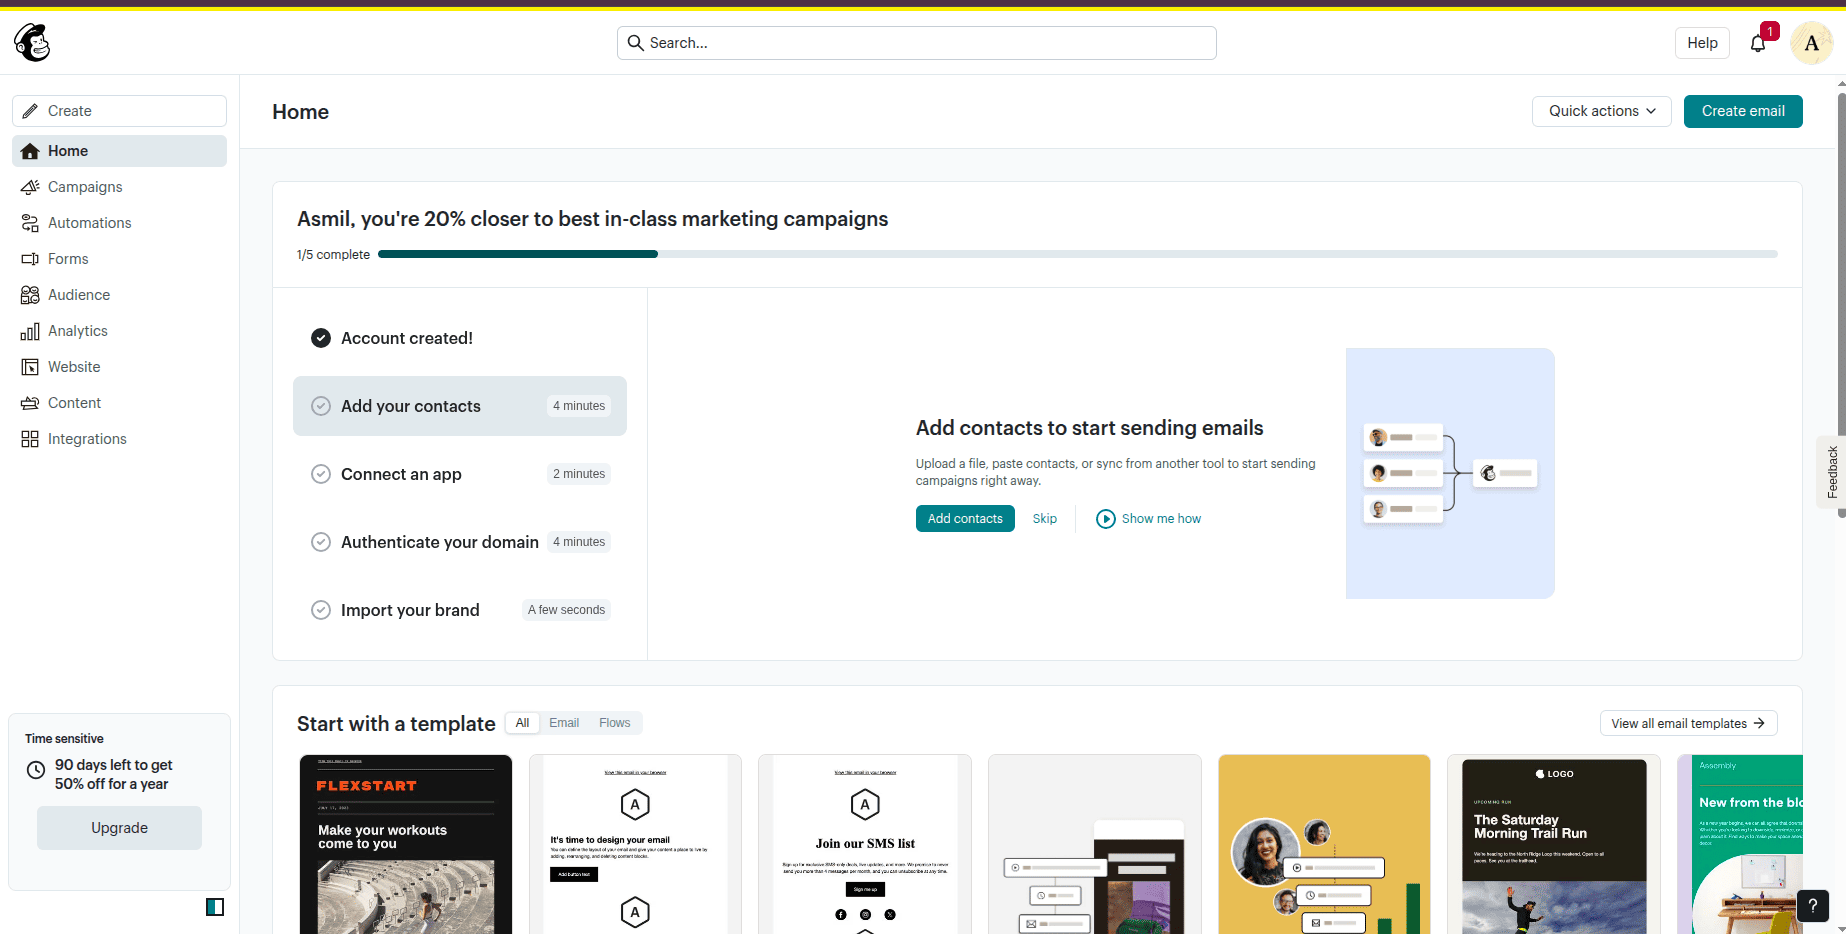
After completing this step, you’ll be redirected to the Mailchimp home page.
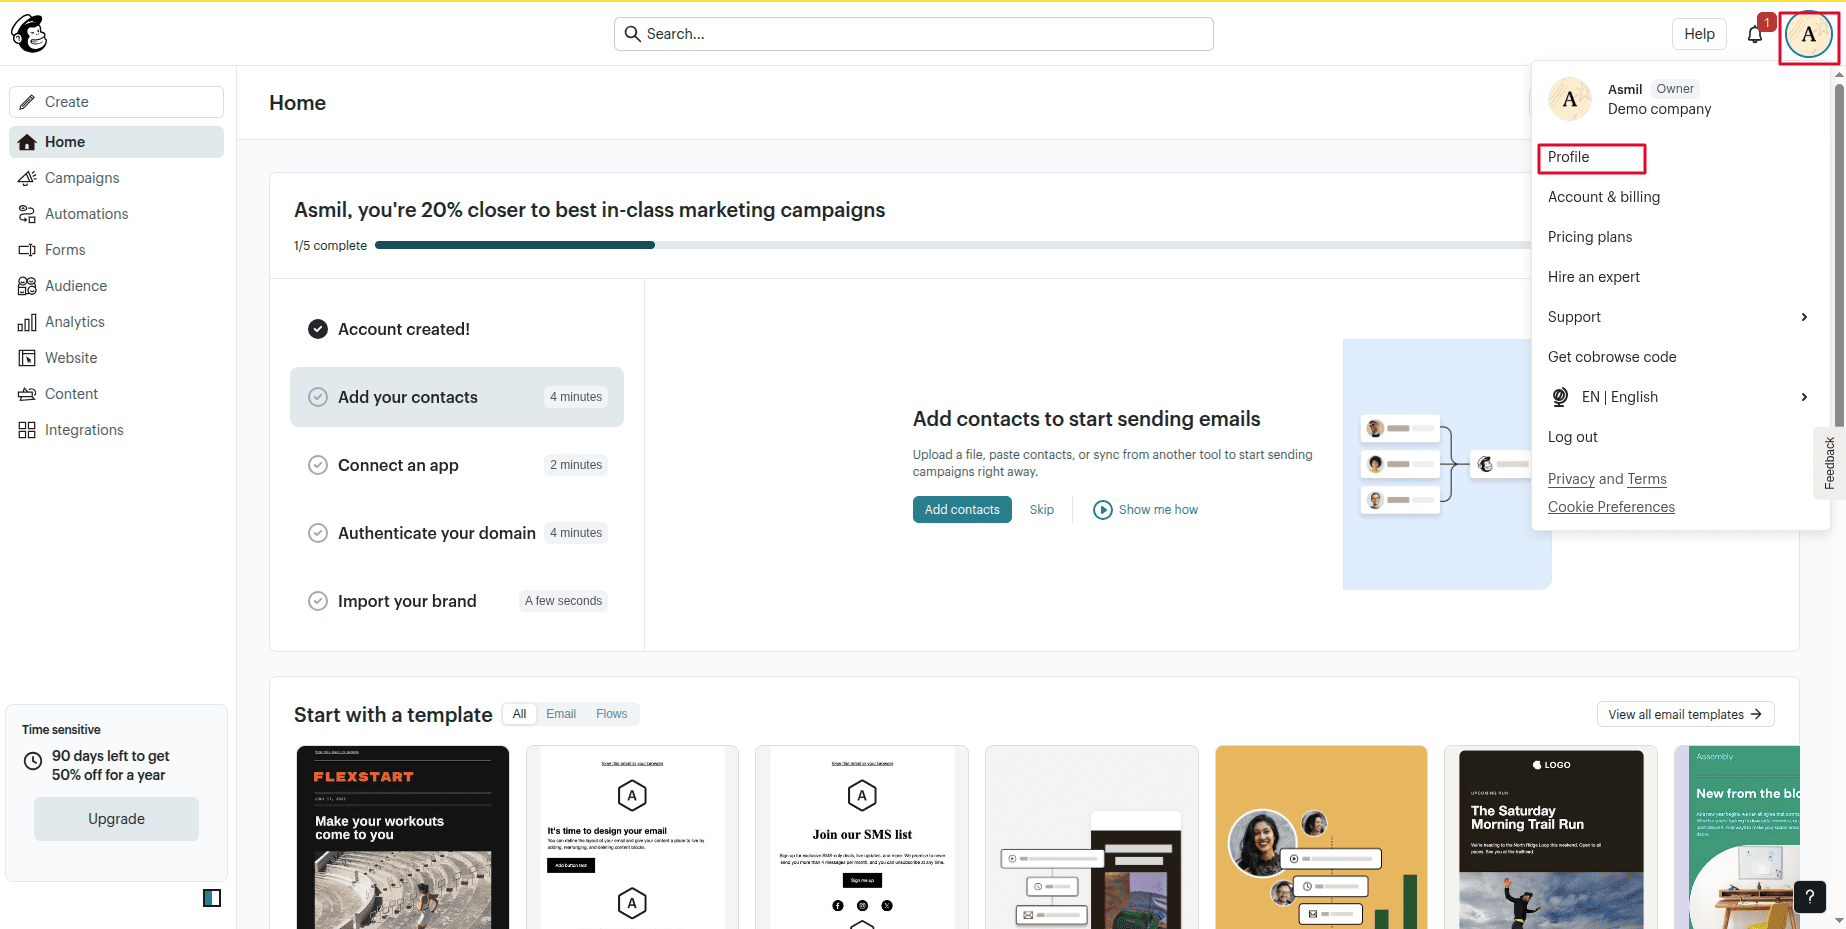
Then, click the Profile button. It will redirect you to the profile page.
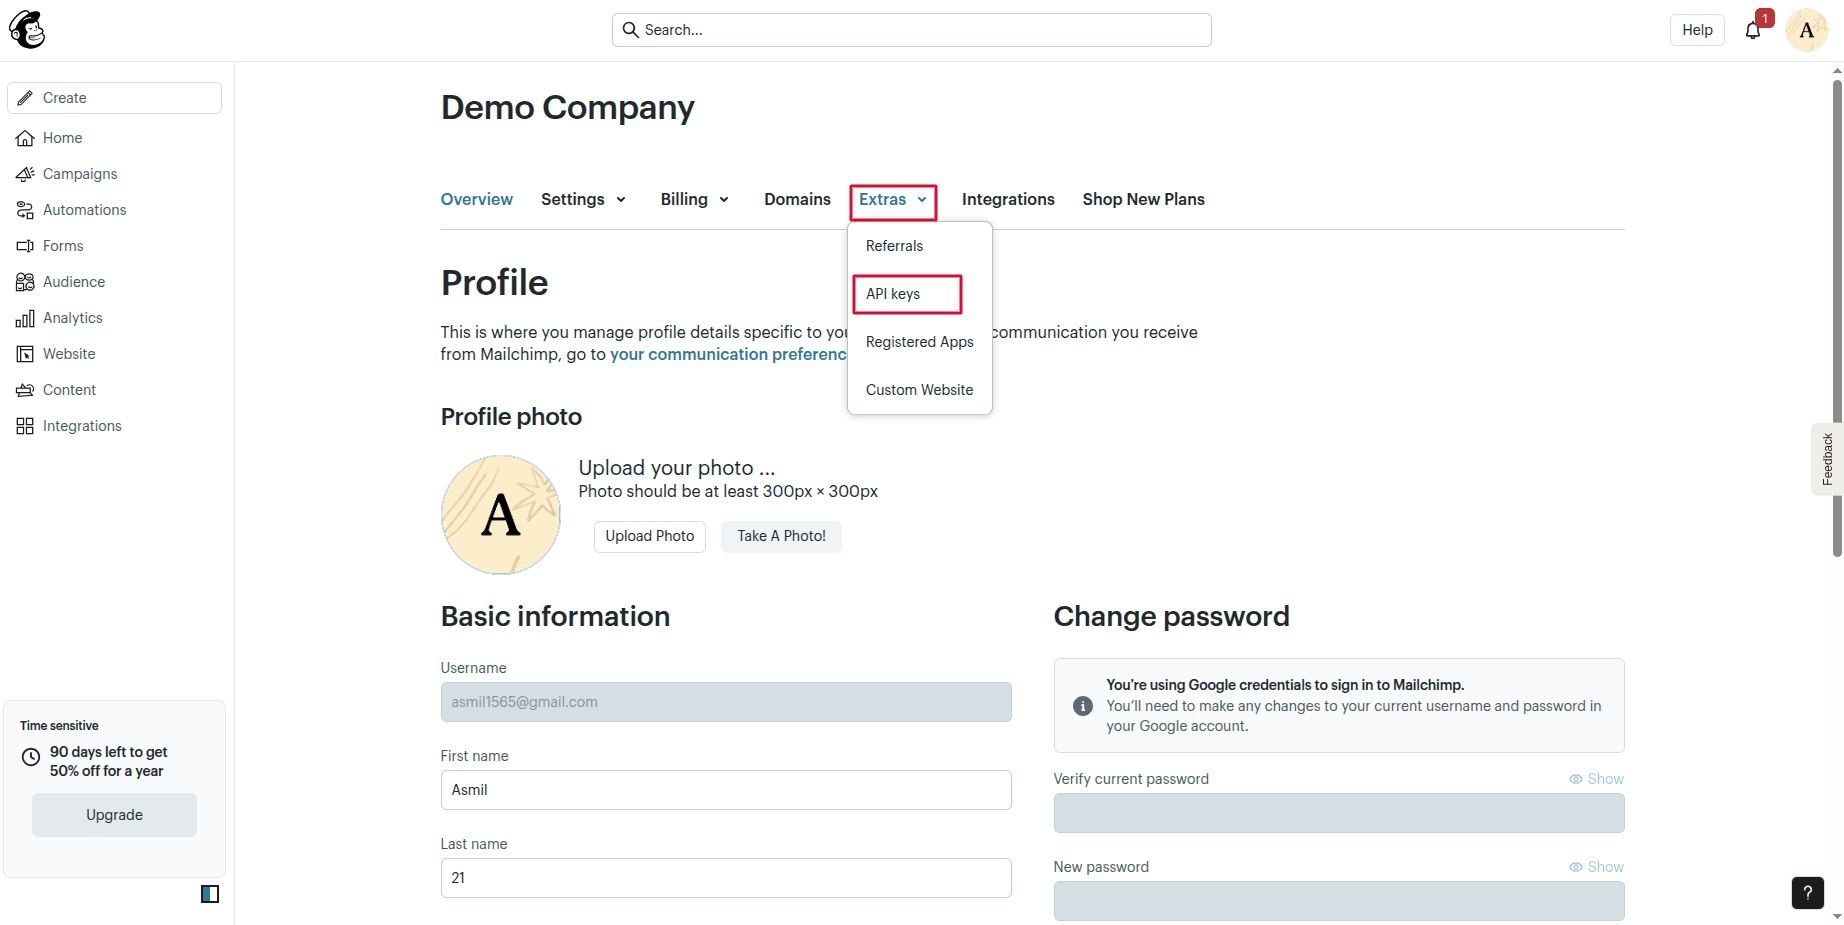
Here, click the Extras menu and click the API keys menu.
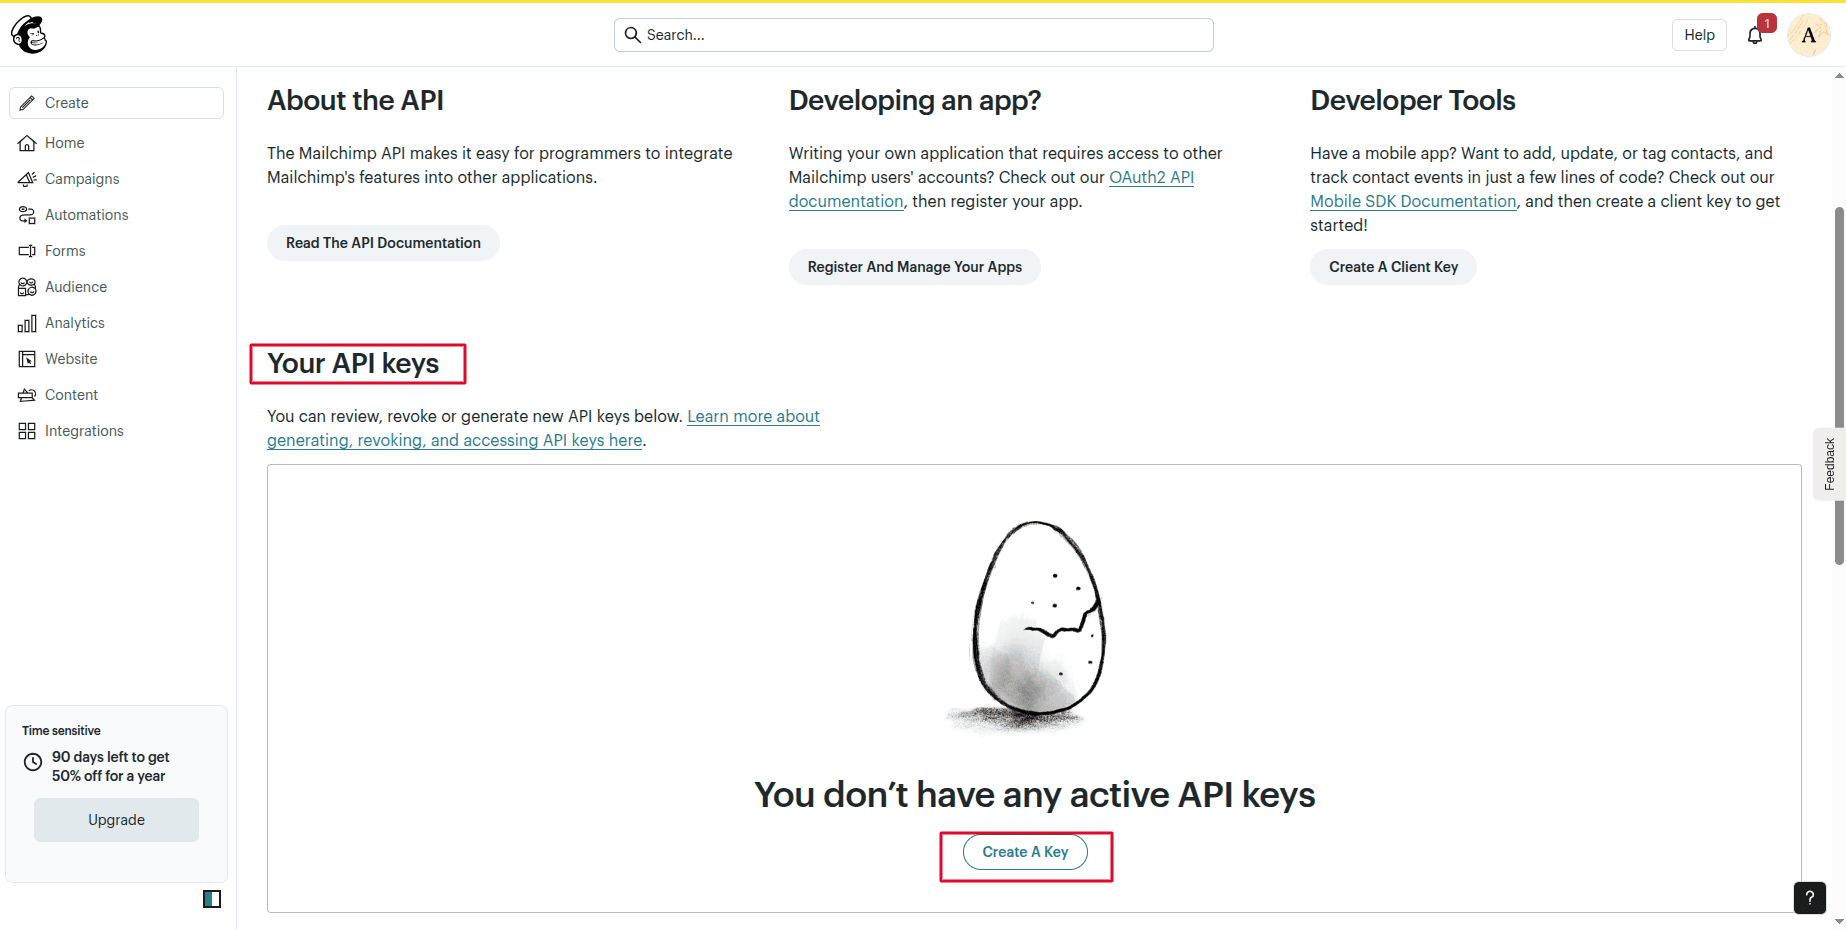
Click the Create API key button to create API key.
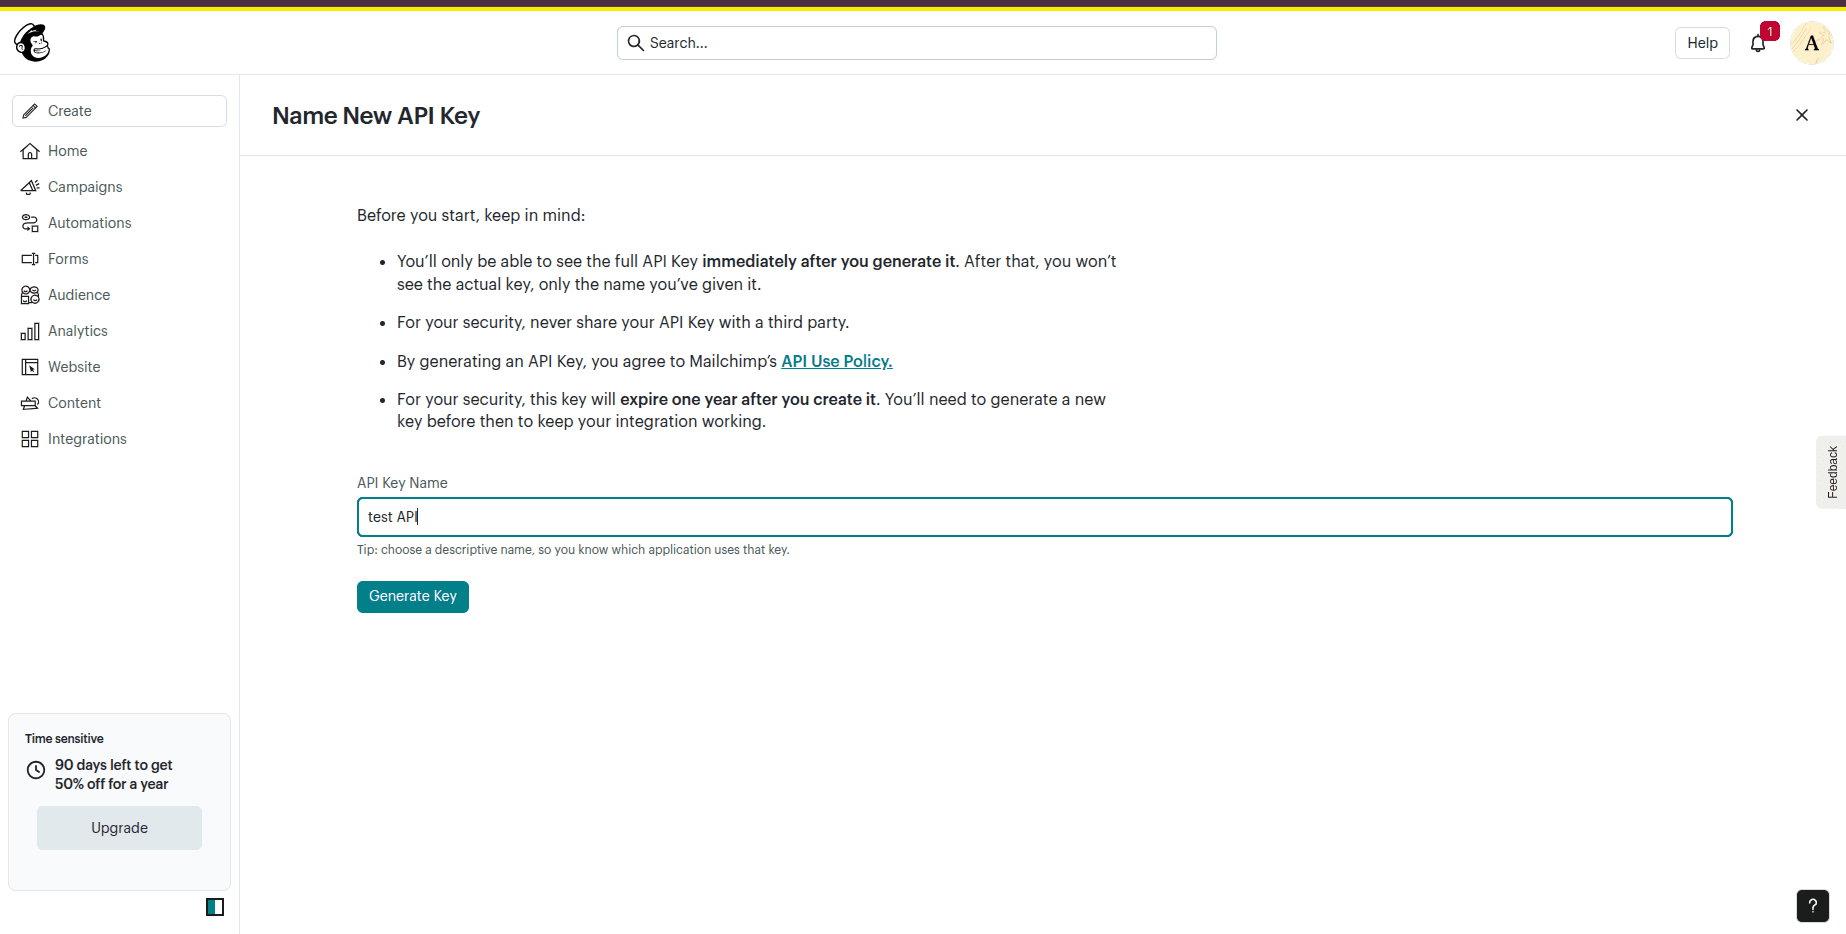
Assign a name to the API key and select Generate API Key to generate it.
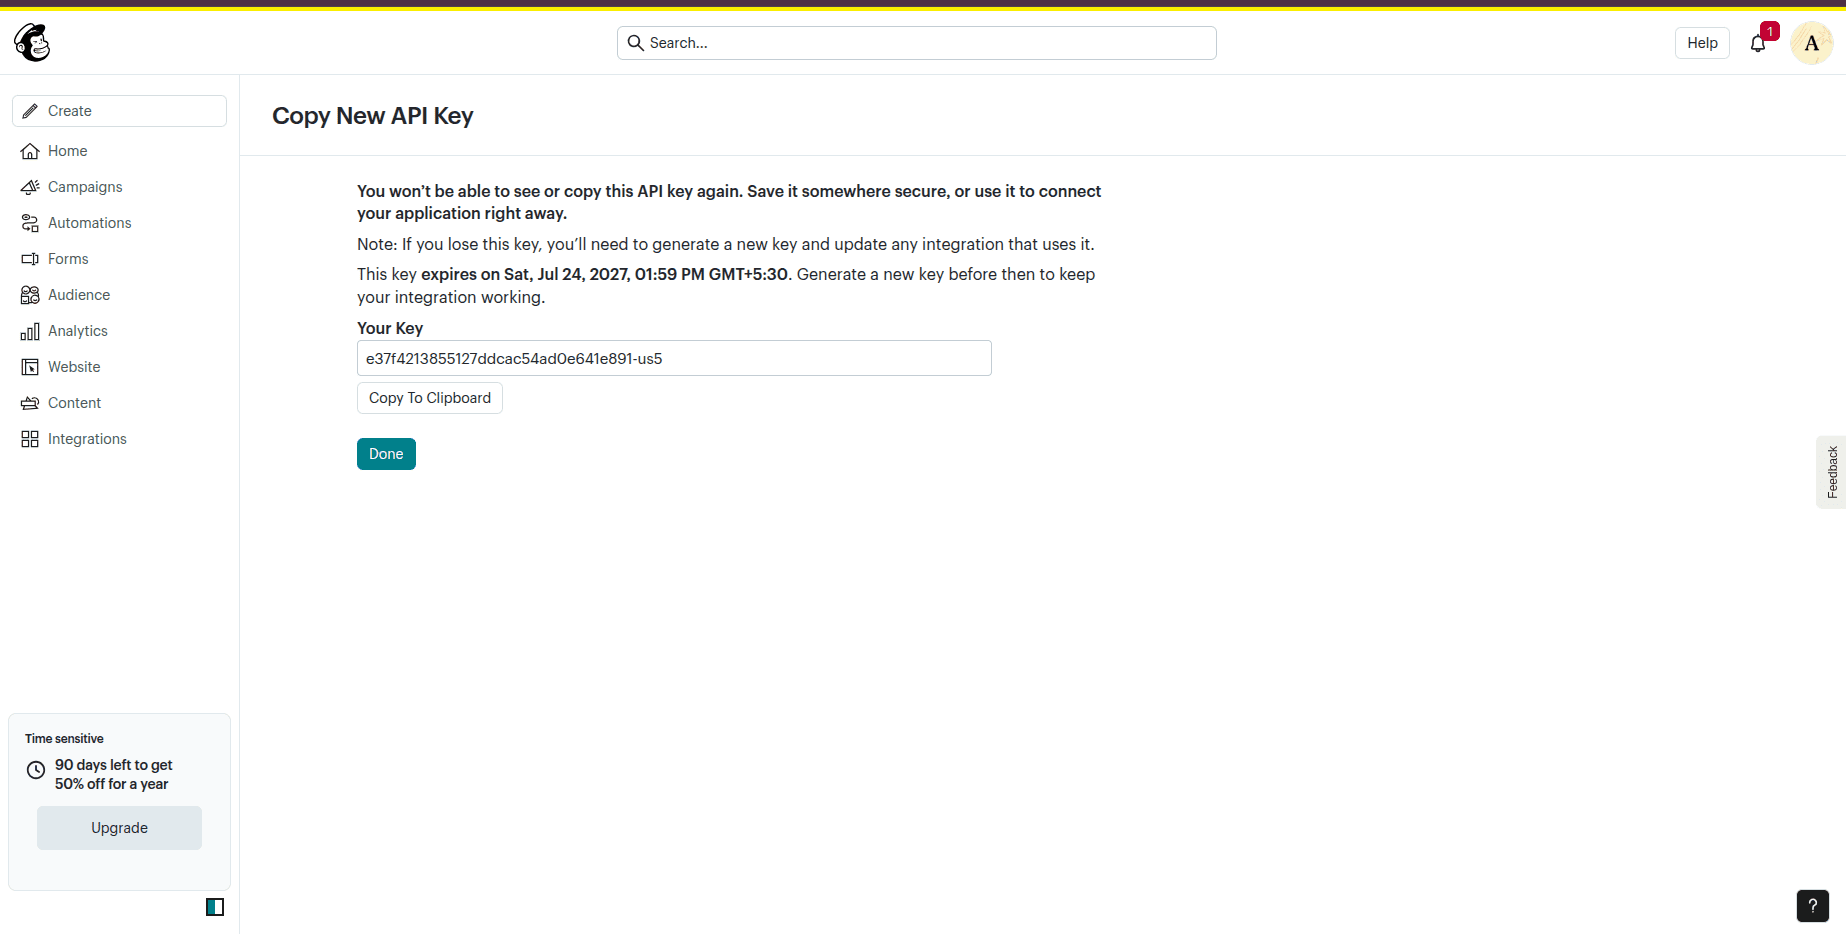
After that, copy the API key, then go to Email Marketing, click the Mailchimp menu, and click the Mailchimp Accounts menu.
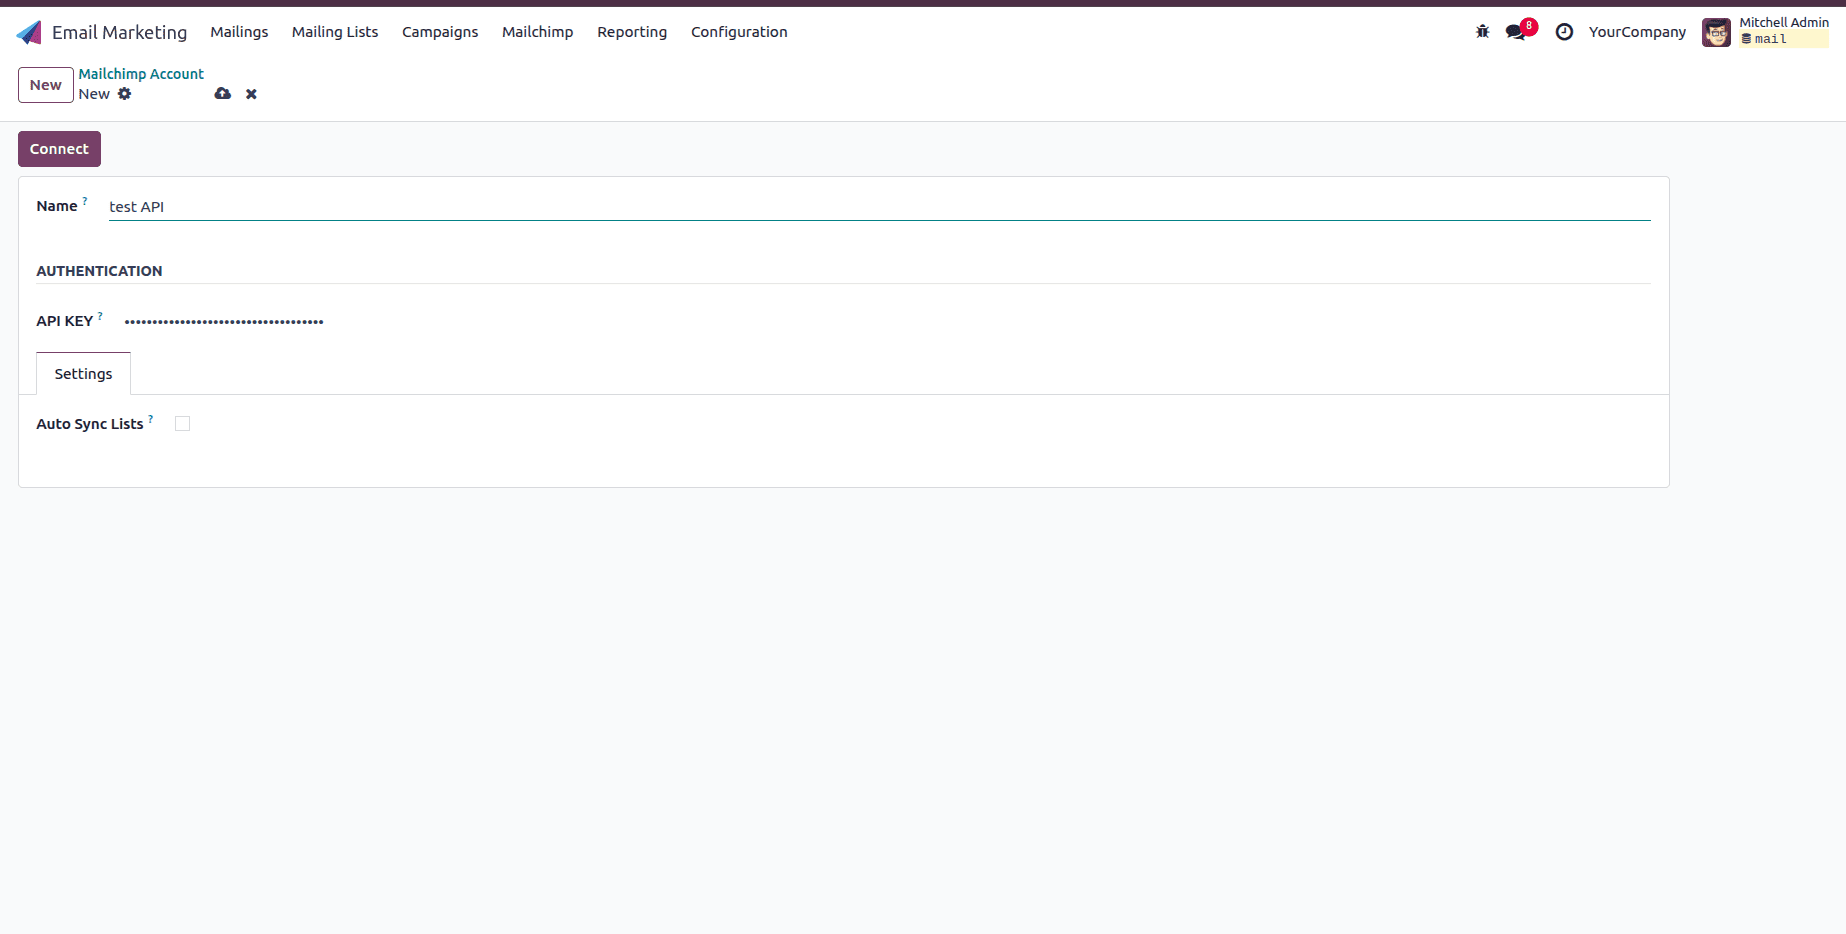
Fill in the name field and paste the API key into the API key field. Then, click the Connect button. Now the connection is completed.
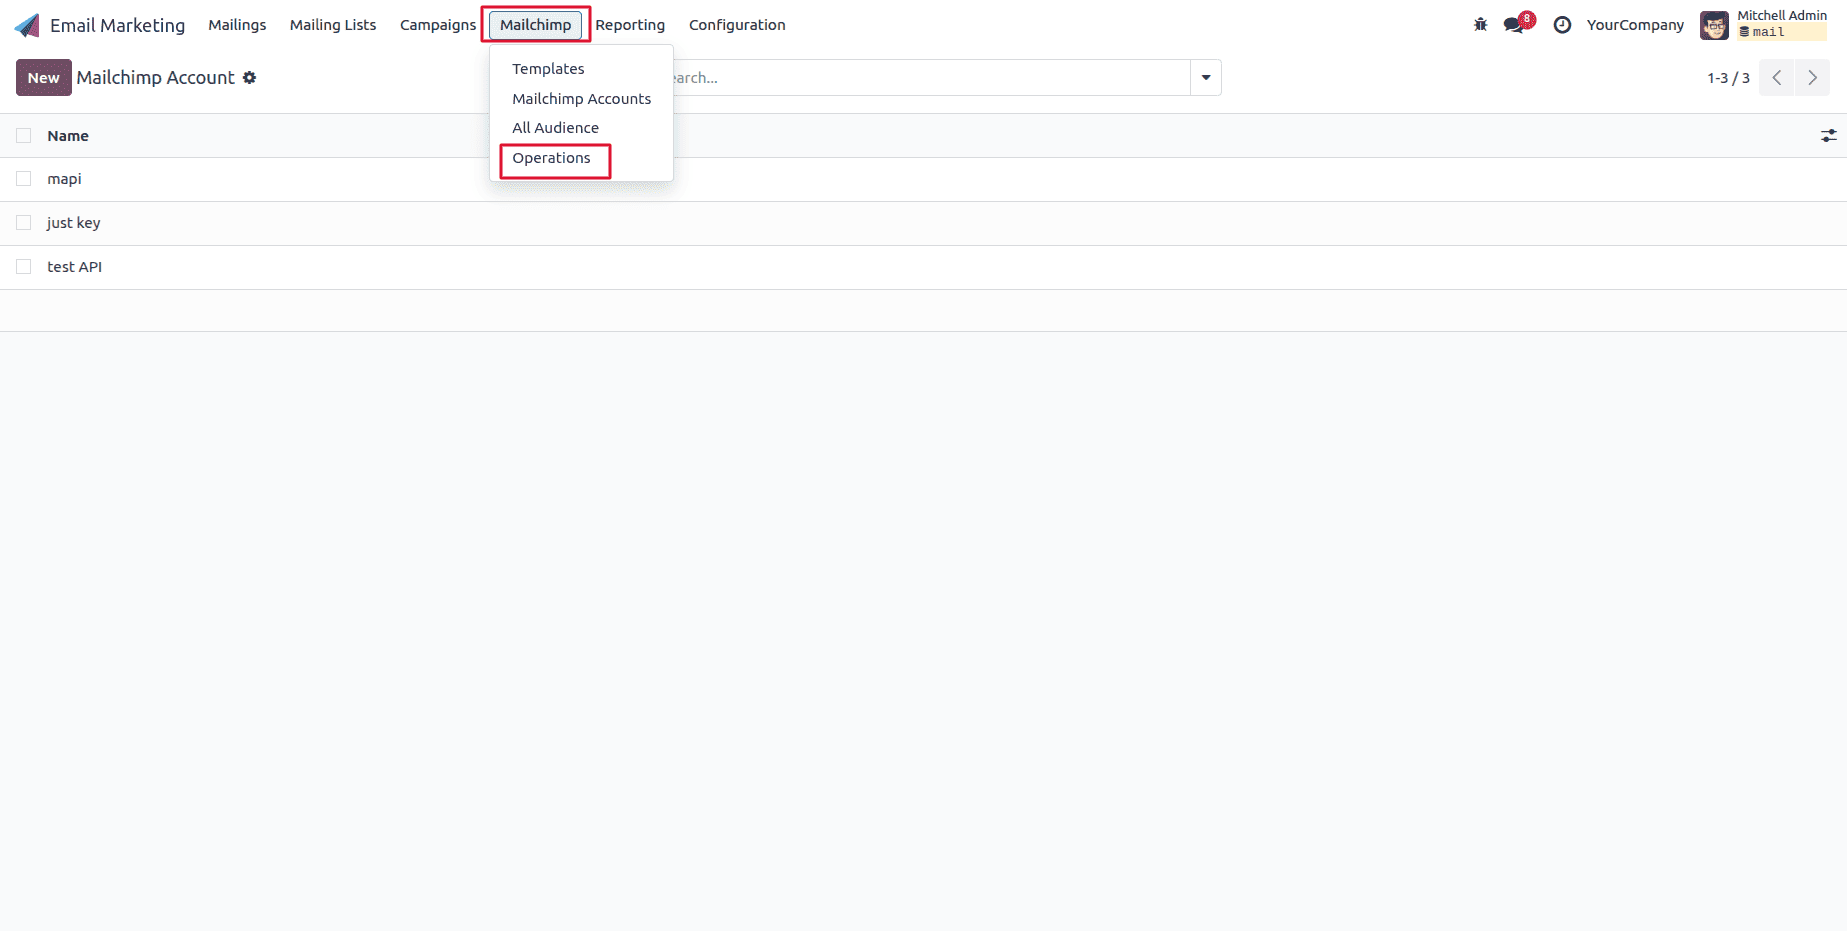
Then, click the Mailchimp menu and click the Operations menu. A wizard will appear.
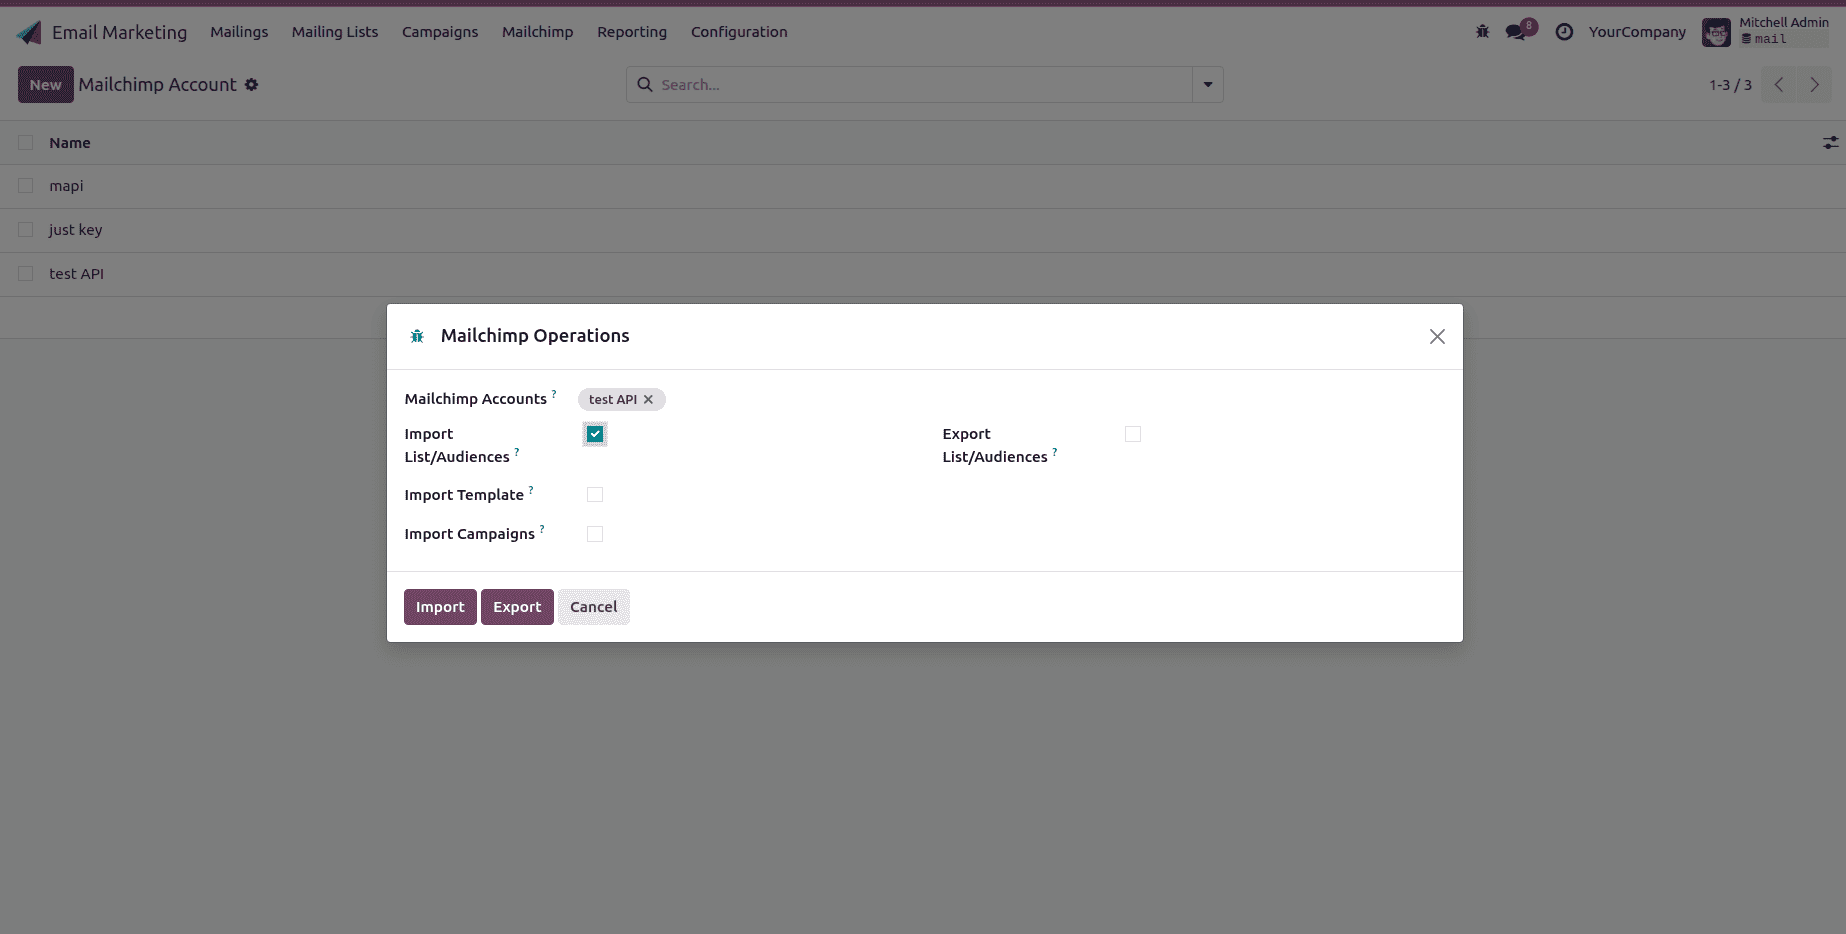
It allows you to choose which Mailchimp data you want to import into Odoo or export from Odoo.
Import List/Audiences
- Mailchimp Accounts: select your configured Mailchimp account.
- Import template: Choose the appropriate import template.
Click the Import button. Then, it will import the email templates from Mailchimp into Odoo.
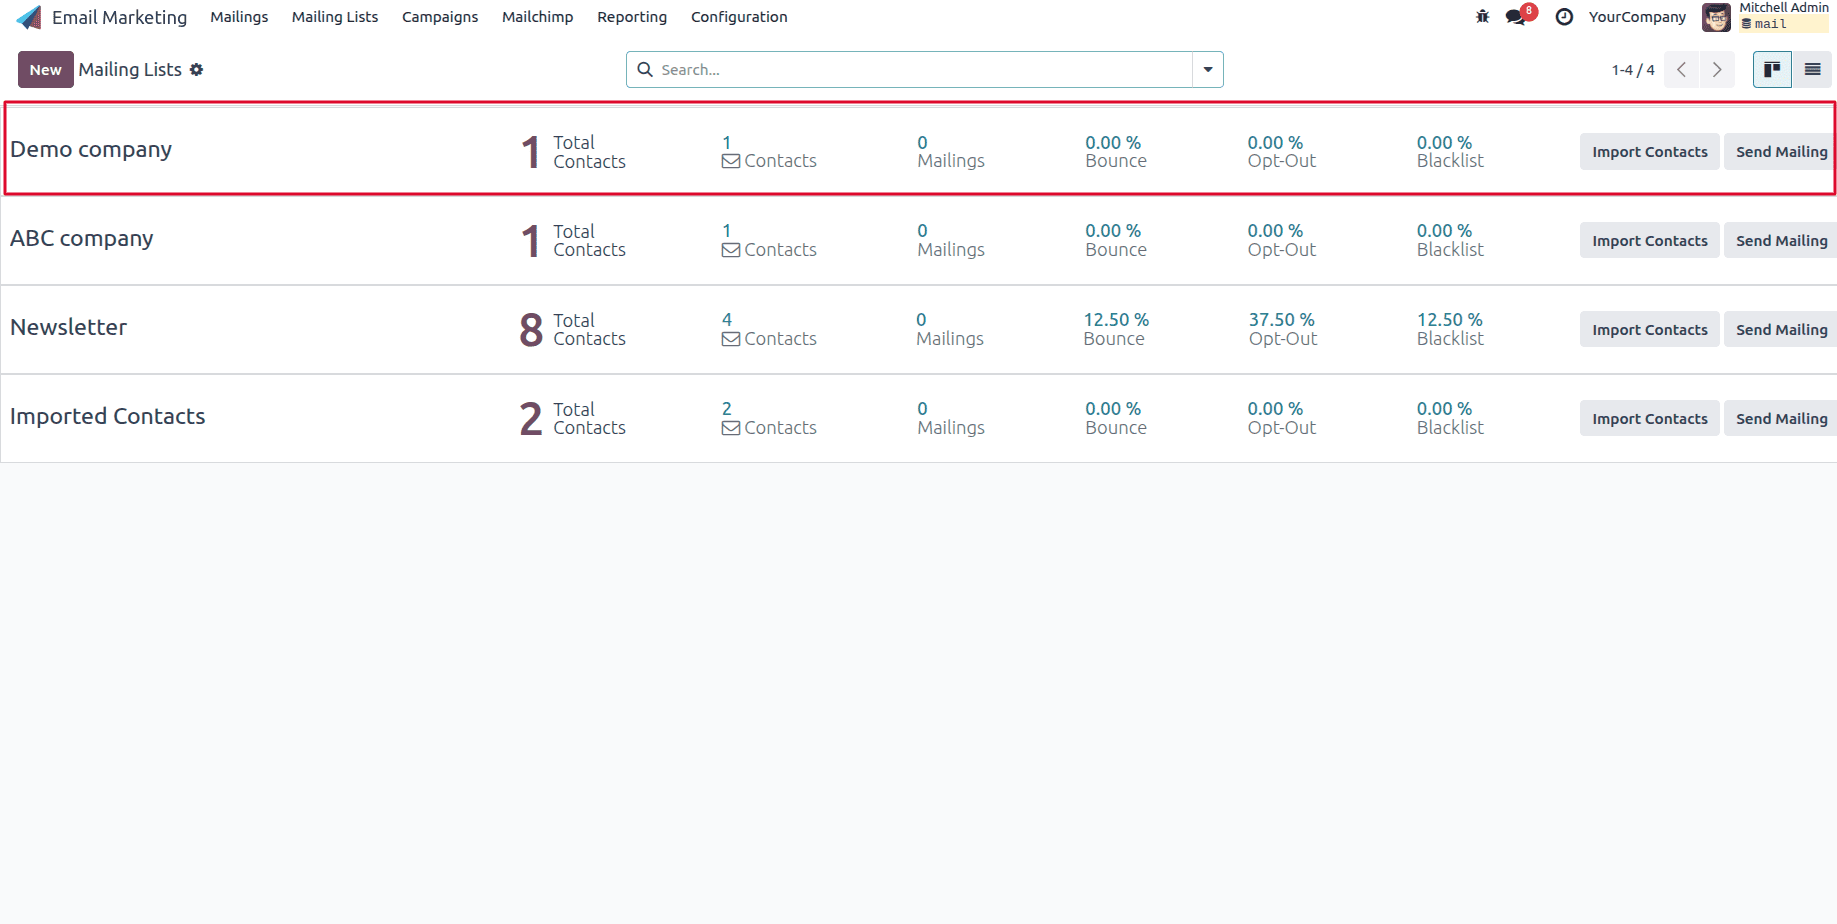
After clicking the Import button in the Mailchimp Operations window, Odoo imports the selected List/Audiences from your Mailchimp account into Odoo.
Import Templates
- Mailchimp Accounts: select your configured Mailchimp account.
- Import template: Choose the appropriate import template.
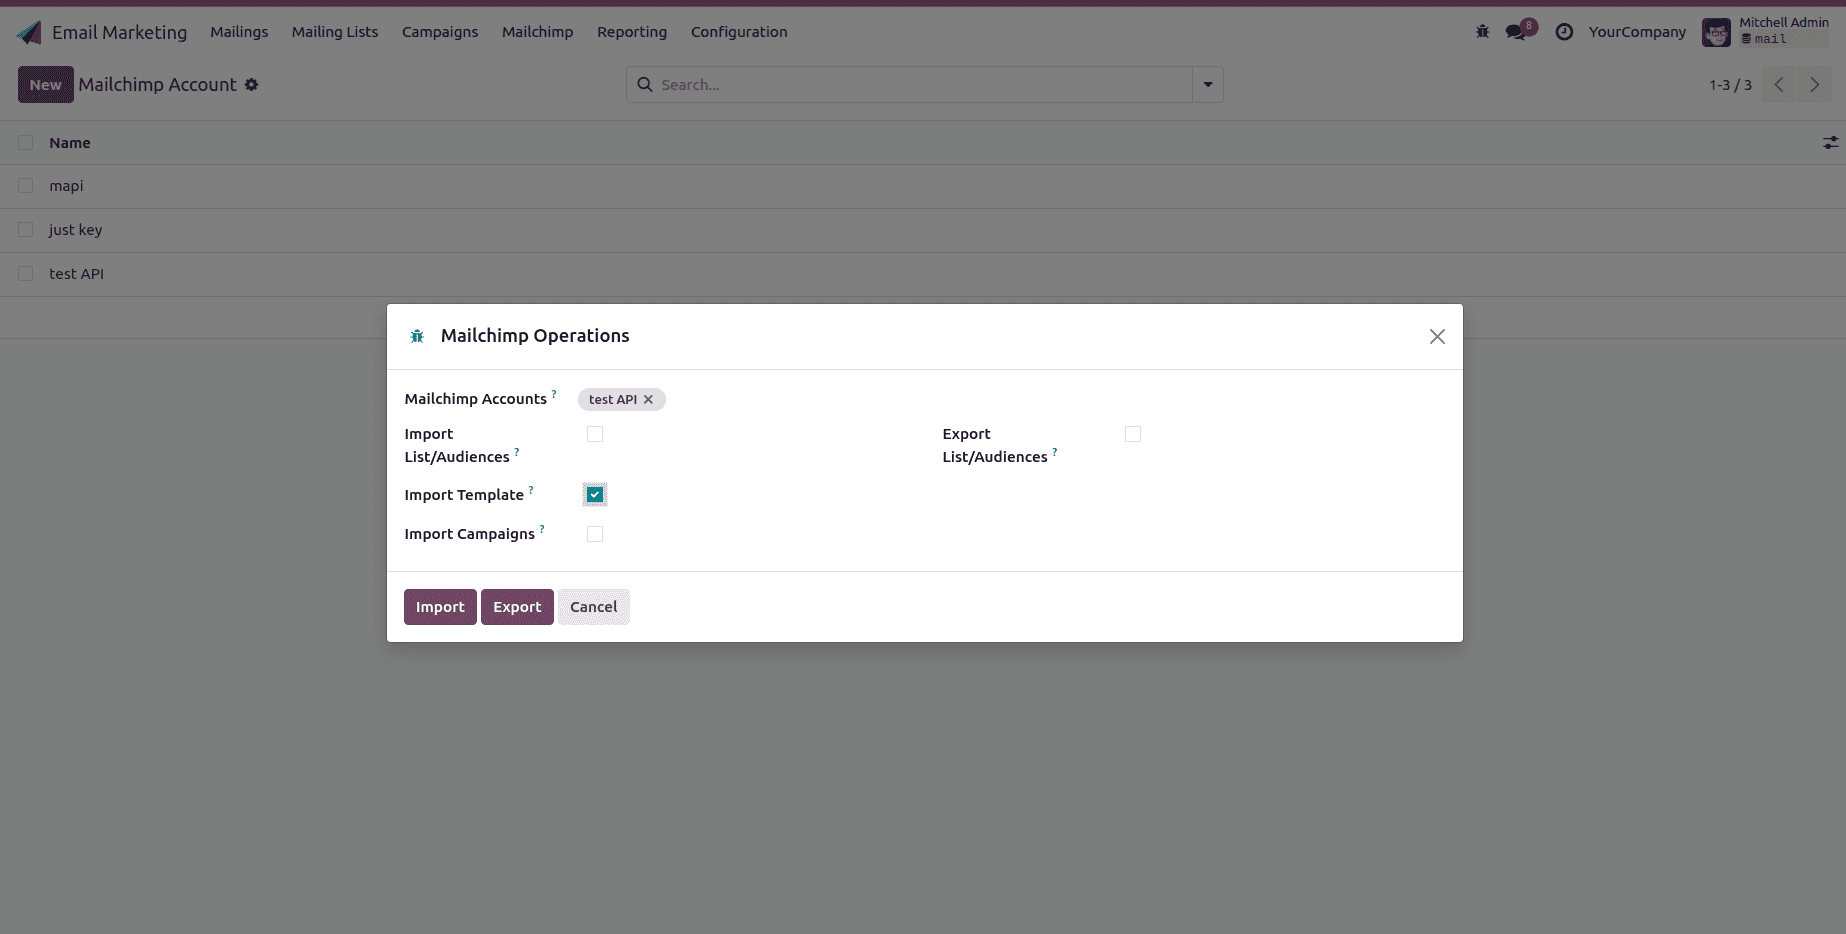
Click the Mailchimp menu, then click Templates. You will find all the templates imported from Mailchimp.
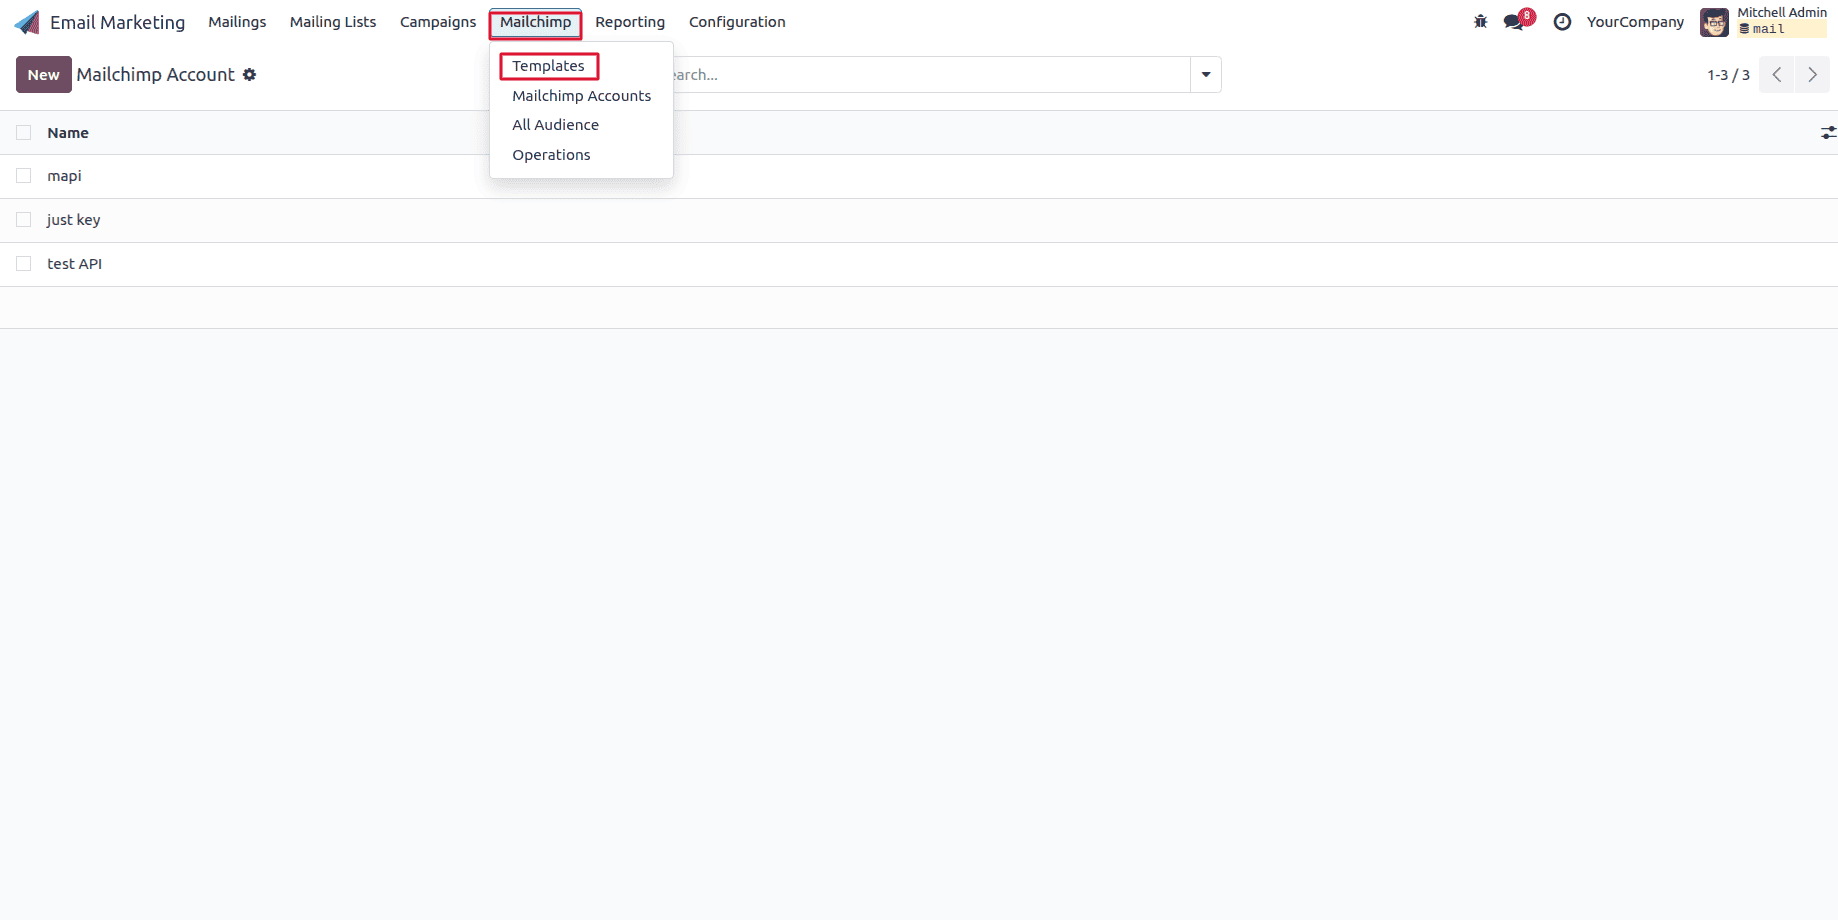
To view the imported templates:
Click the Mailchimp menu, then click Templates. You will find all the templates imported from Mailchimp.
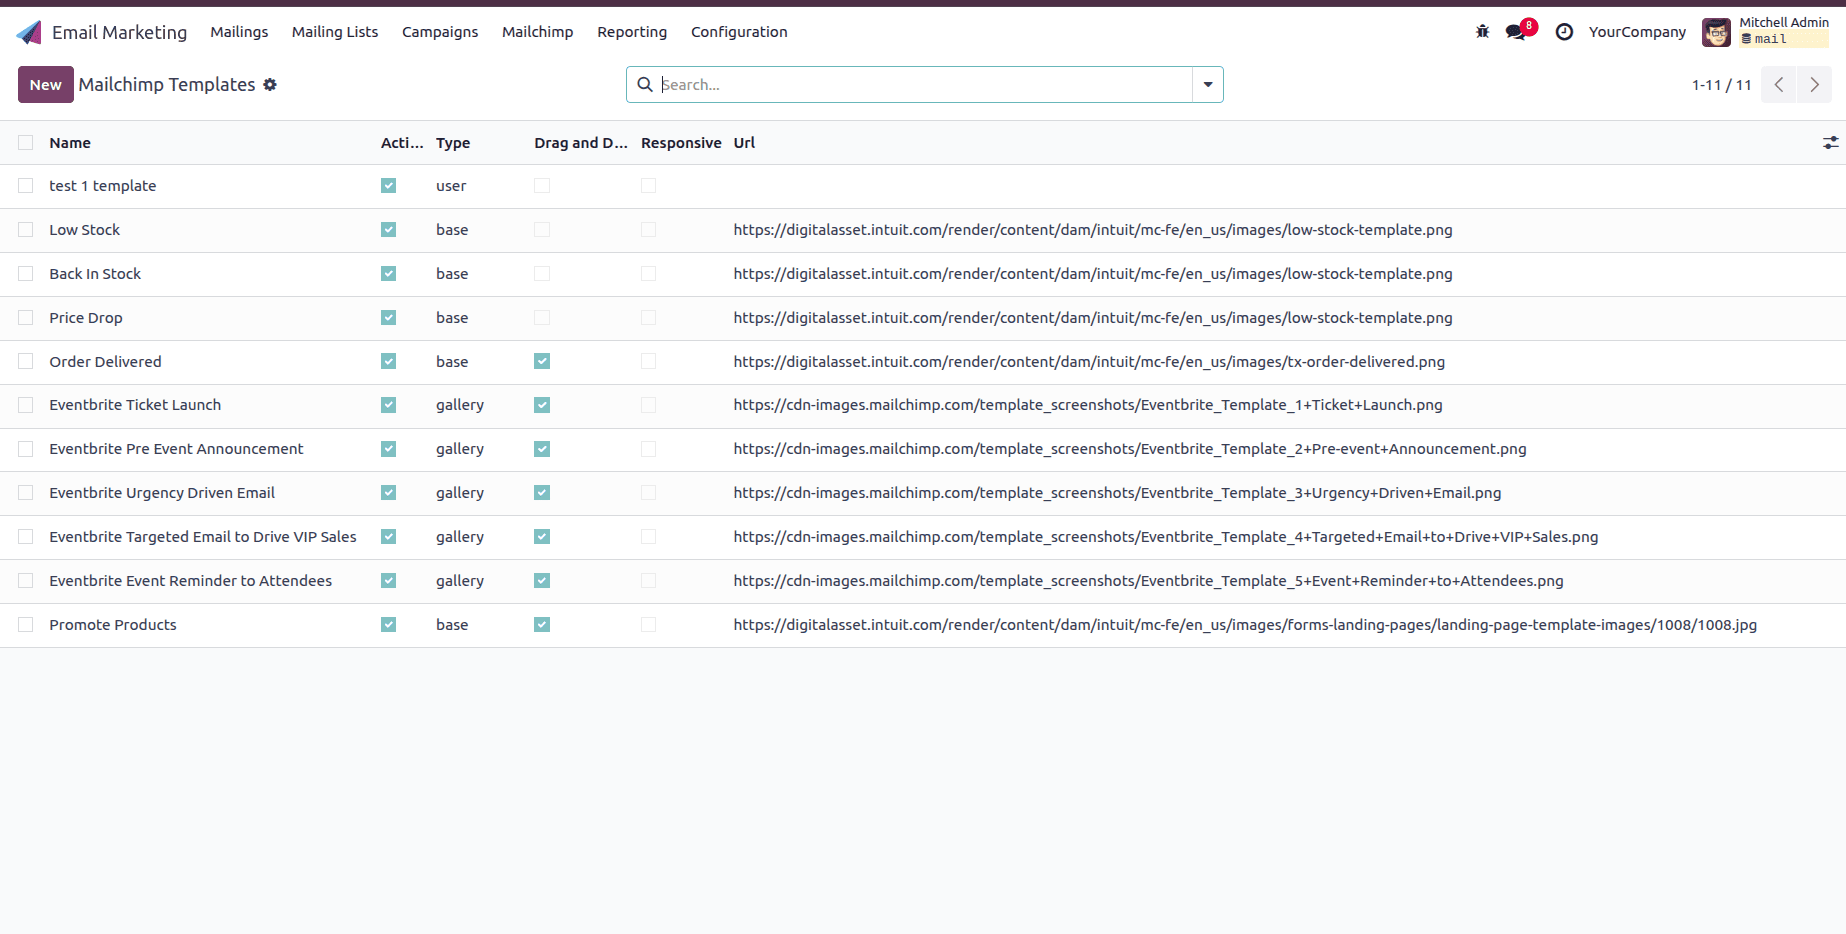
Import Campaigns
- Mailchimp Accounts: select your configured Mailchimp account.
- Import Campaigns: select the Import Campaigns field.
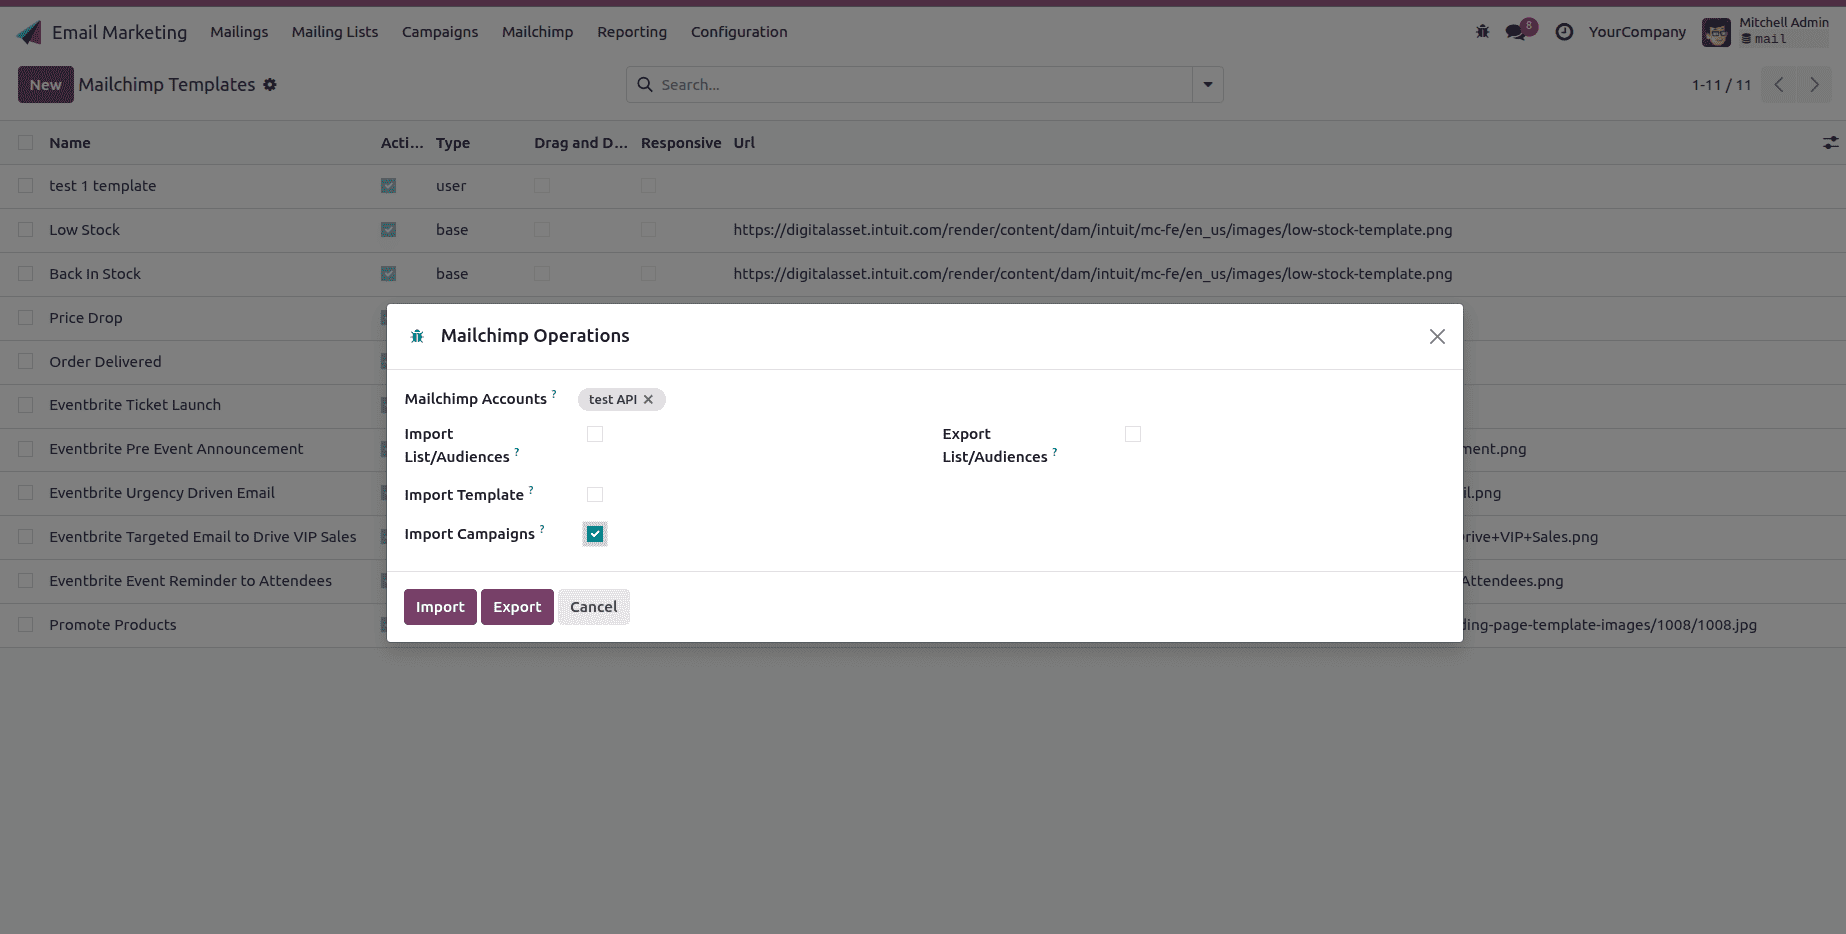
Click the Import button. Then, it will import the campaigns from Mailchimp into Odoo.
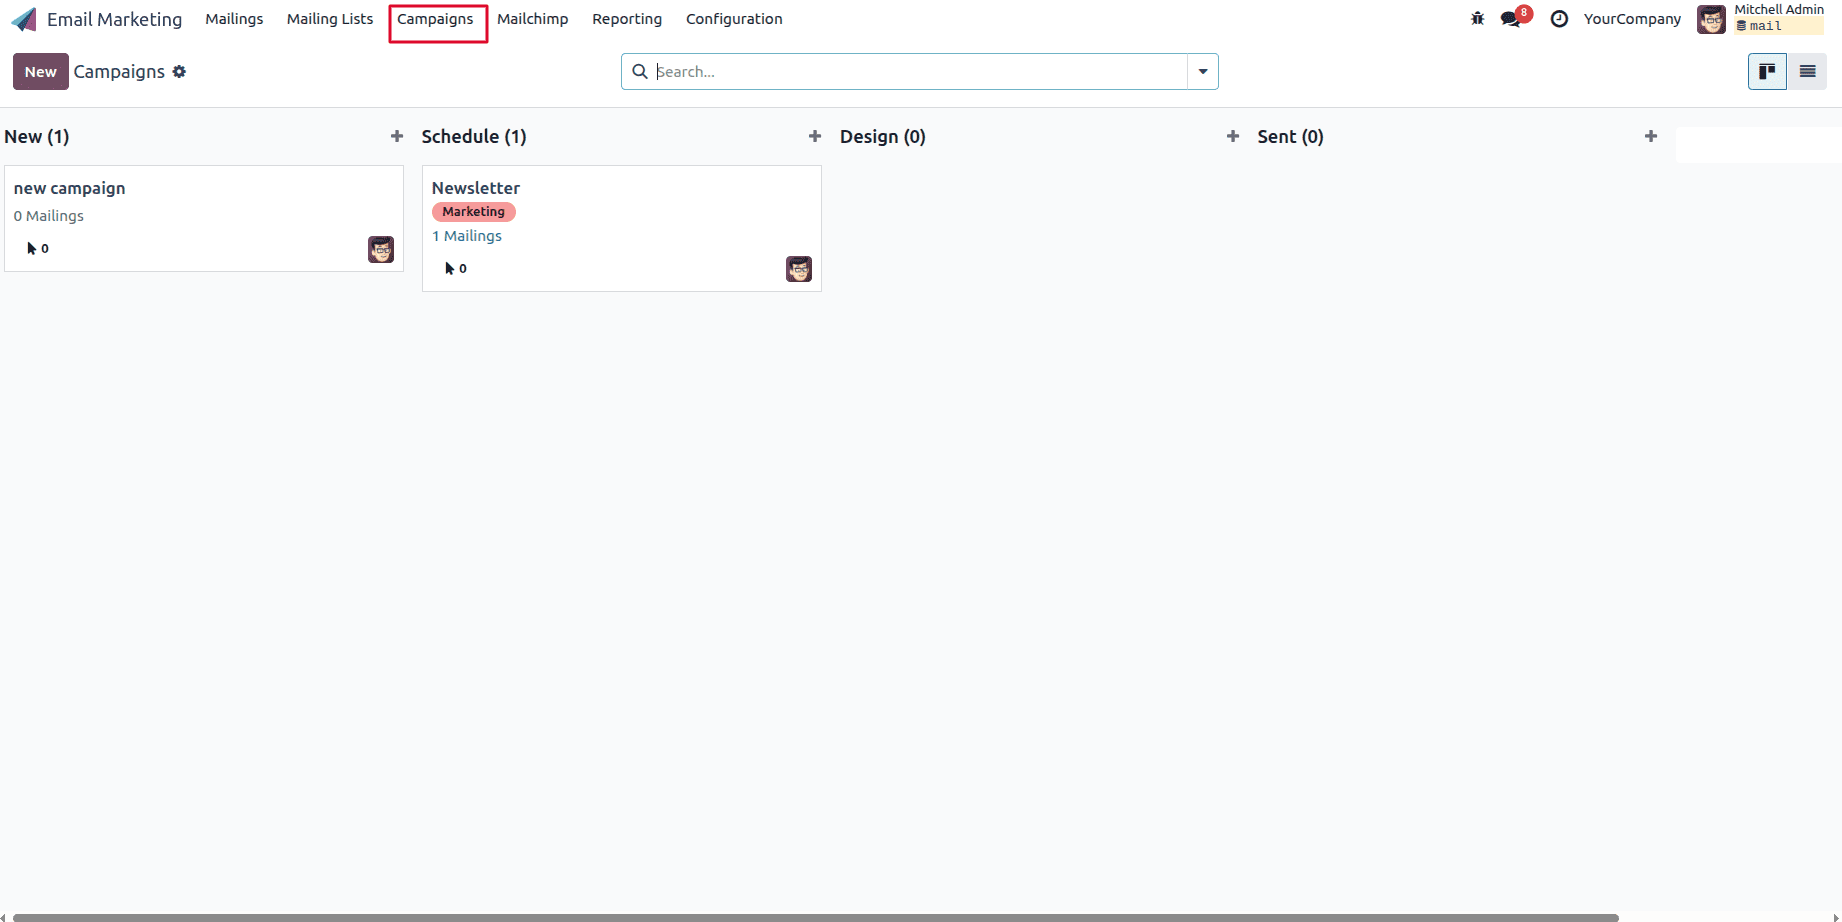
To view the imported campaigns:
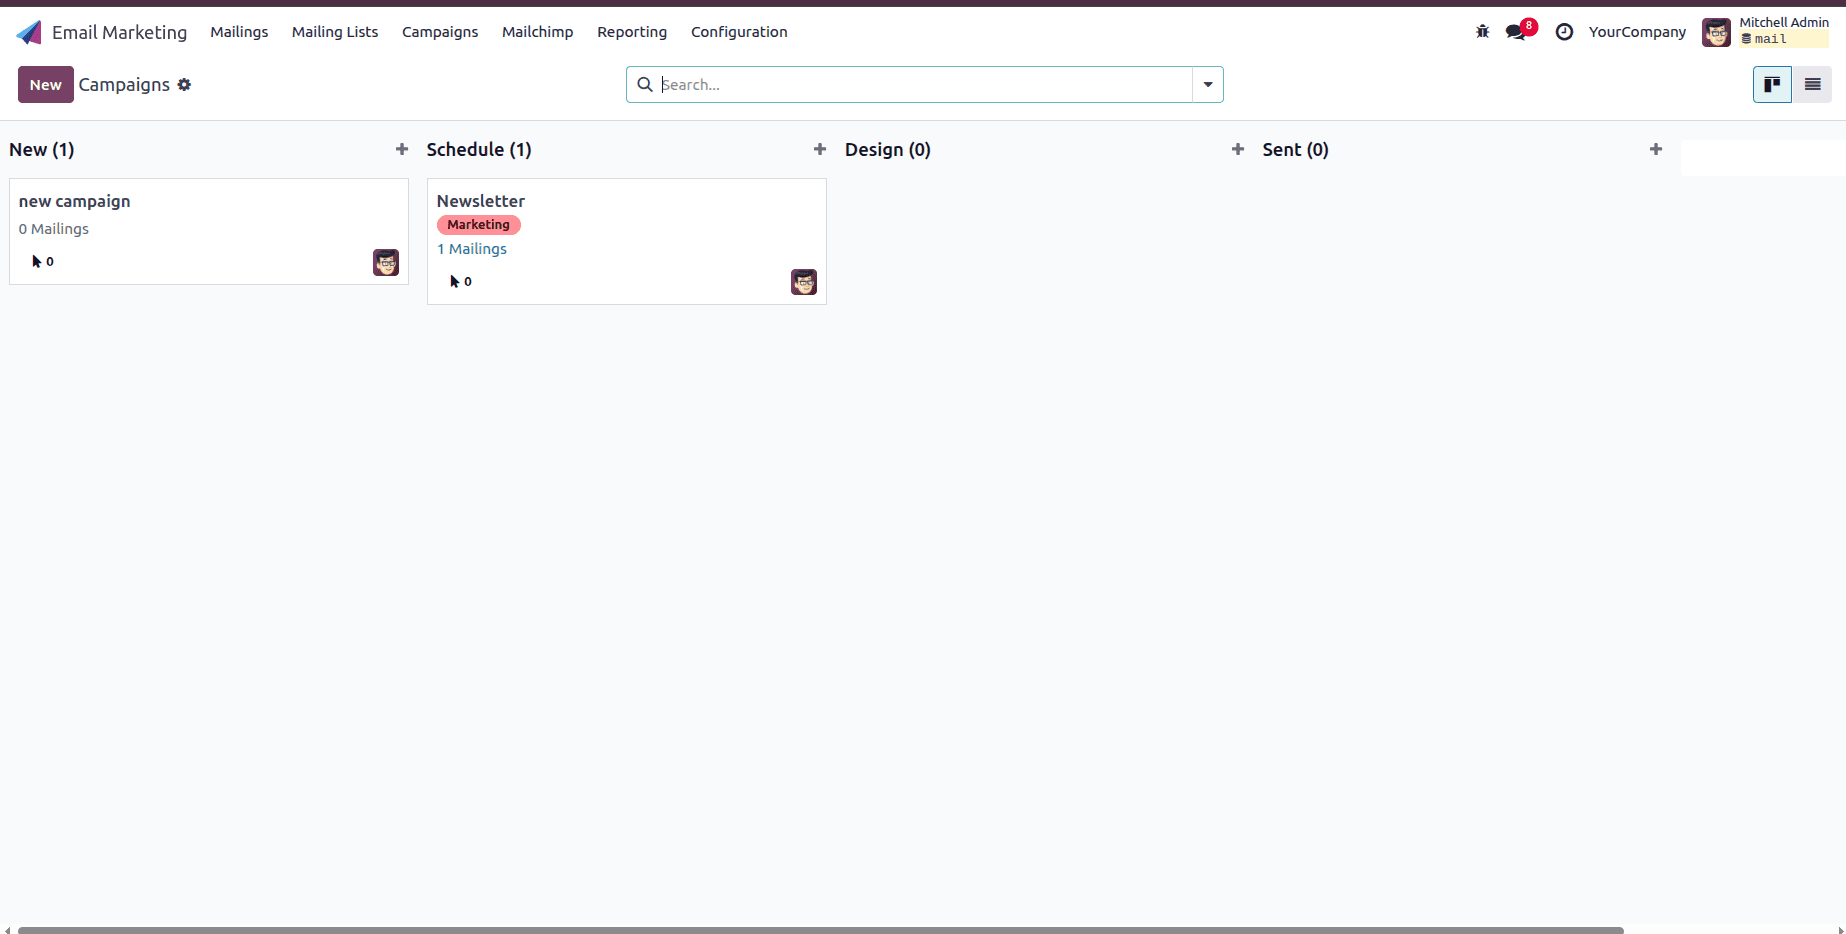
Click the Campaigns menu; you will find all the campaigns imported from Mailchimp.
The Mailchimp Marketing Connector for Odoo 18 simplifies the integration between your Odoo system and your email marketing platform. By synchronizing customer information, reducing manual data entry, and maintaining consistent records across both systems, businesses can focus more on creating impactful marketing campaigns rather than managing spreadsheets.
To read more about How to Configure MyFatoorah Payment Gateway in Odoo 18, refer to our blog How to Configure MyFatoorah Payment Gateway in Odoo 18.