SLAs (Service Level Agreements) are extremely important for any company to be able to provide timely and regular support for its customers. In Odoo 19, the Helpdesk application has an advanced SLA policy system where a company can set deadlines for tickets based on such criteria as priority, tags, or Helpdesk team. Odoo tracks all those deadlines and shows the SLA status in real-time mode, letting users know whether the ticket is still within target deadlines or not. With SLA policies, companies can provide faster responses and better support and thus increase customer satisfaction. In this article, we will discuss how to set up SLA policies in Odoo Helpdesk.
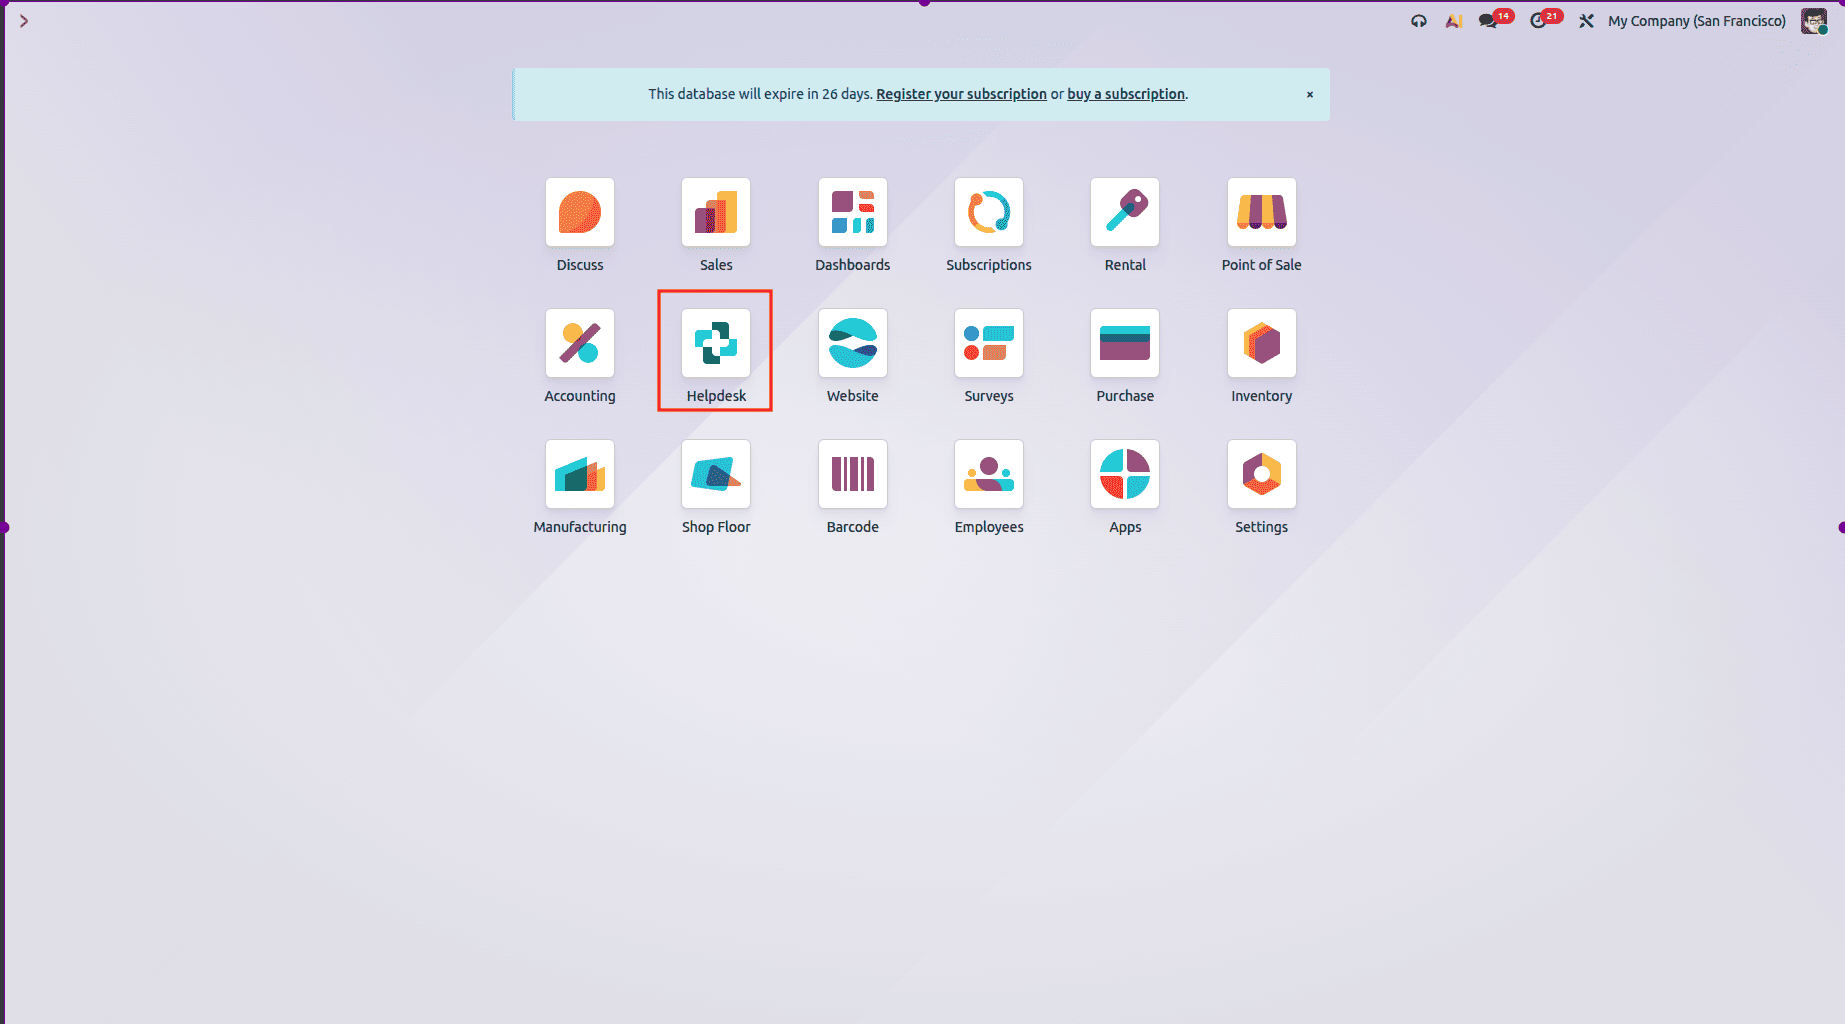
Choose the Helpdesk module from Odoo 19.
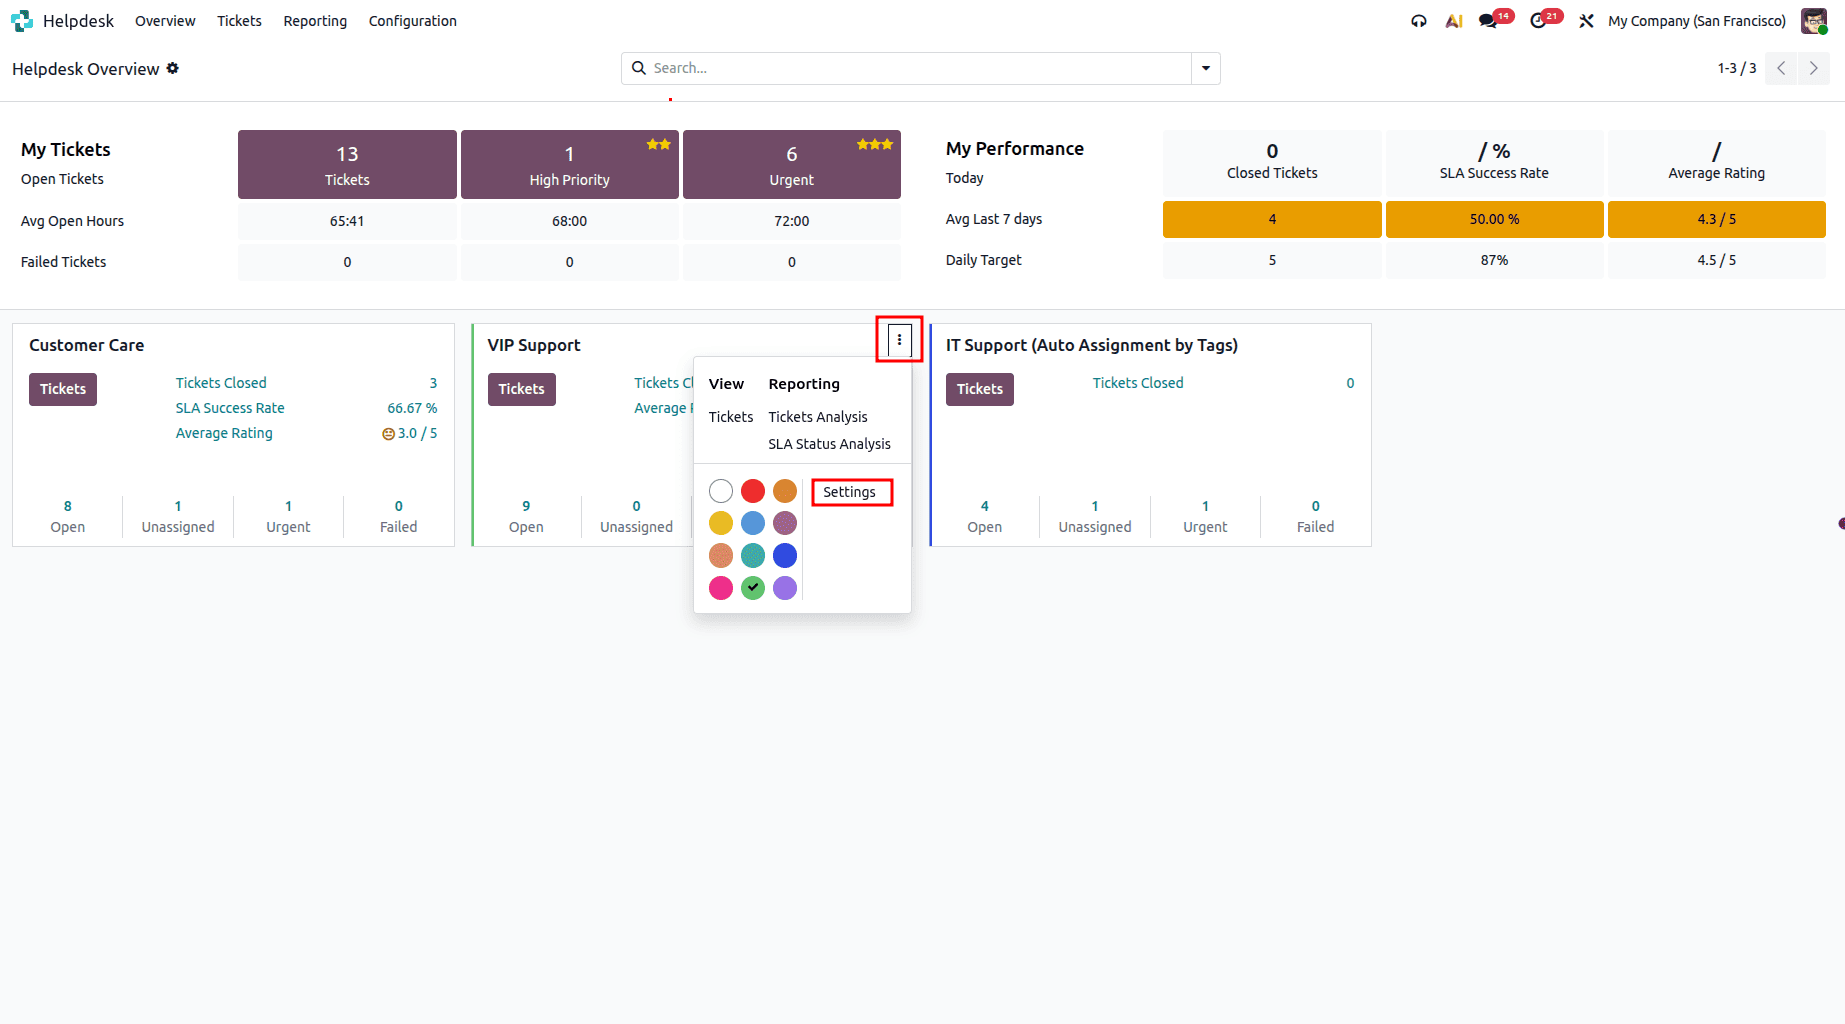
The Teams page displays all the available Helpdesk teams. To enable SLA policies, open the VIP Support team, click the three-dot menu, and select Settings, as shown below.
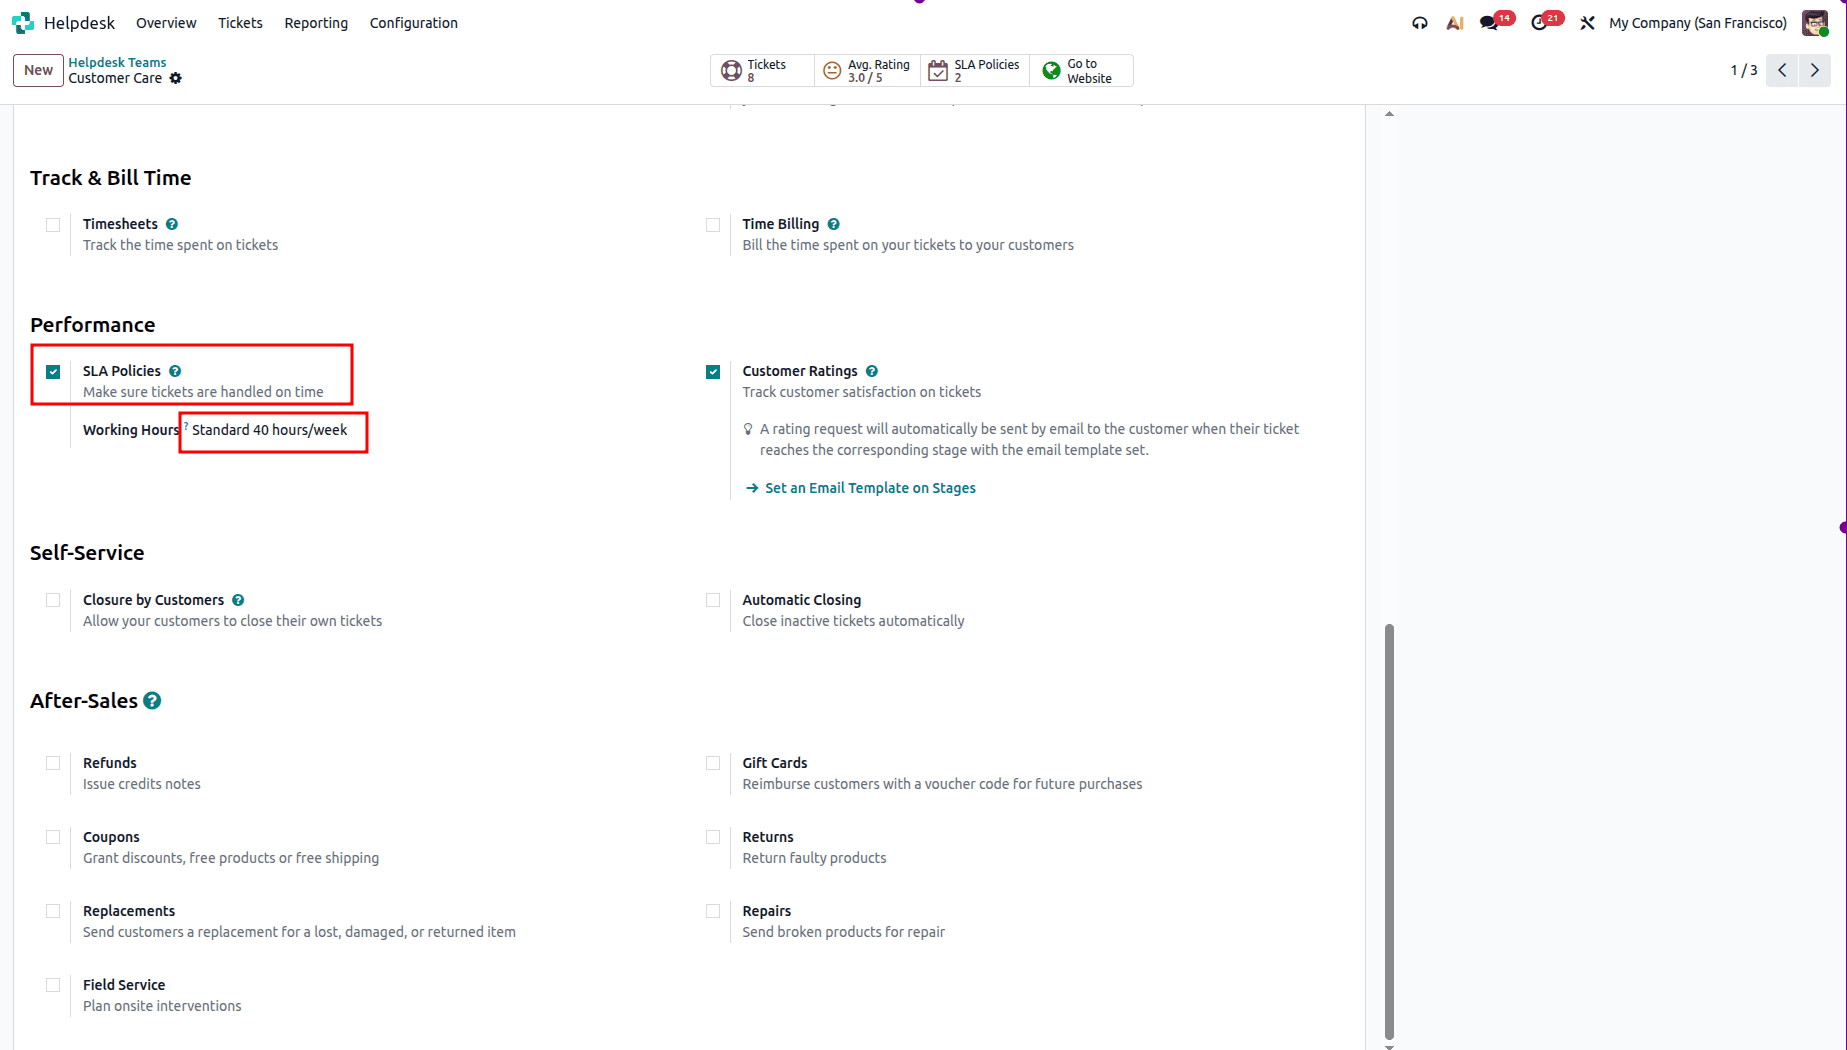
As shown below, SLA Policies are enabled by default. You can also configure the team's Working Hours by clicking the Working Hours option.
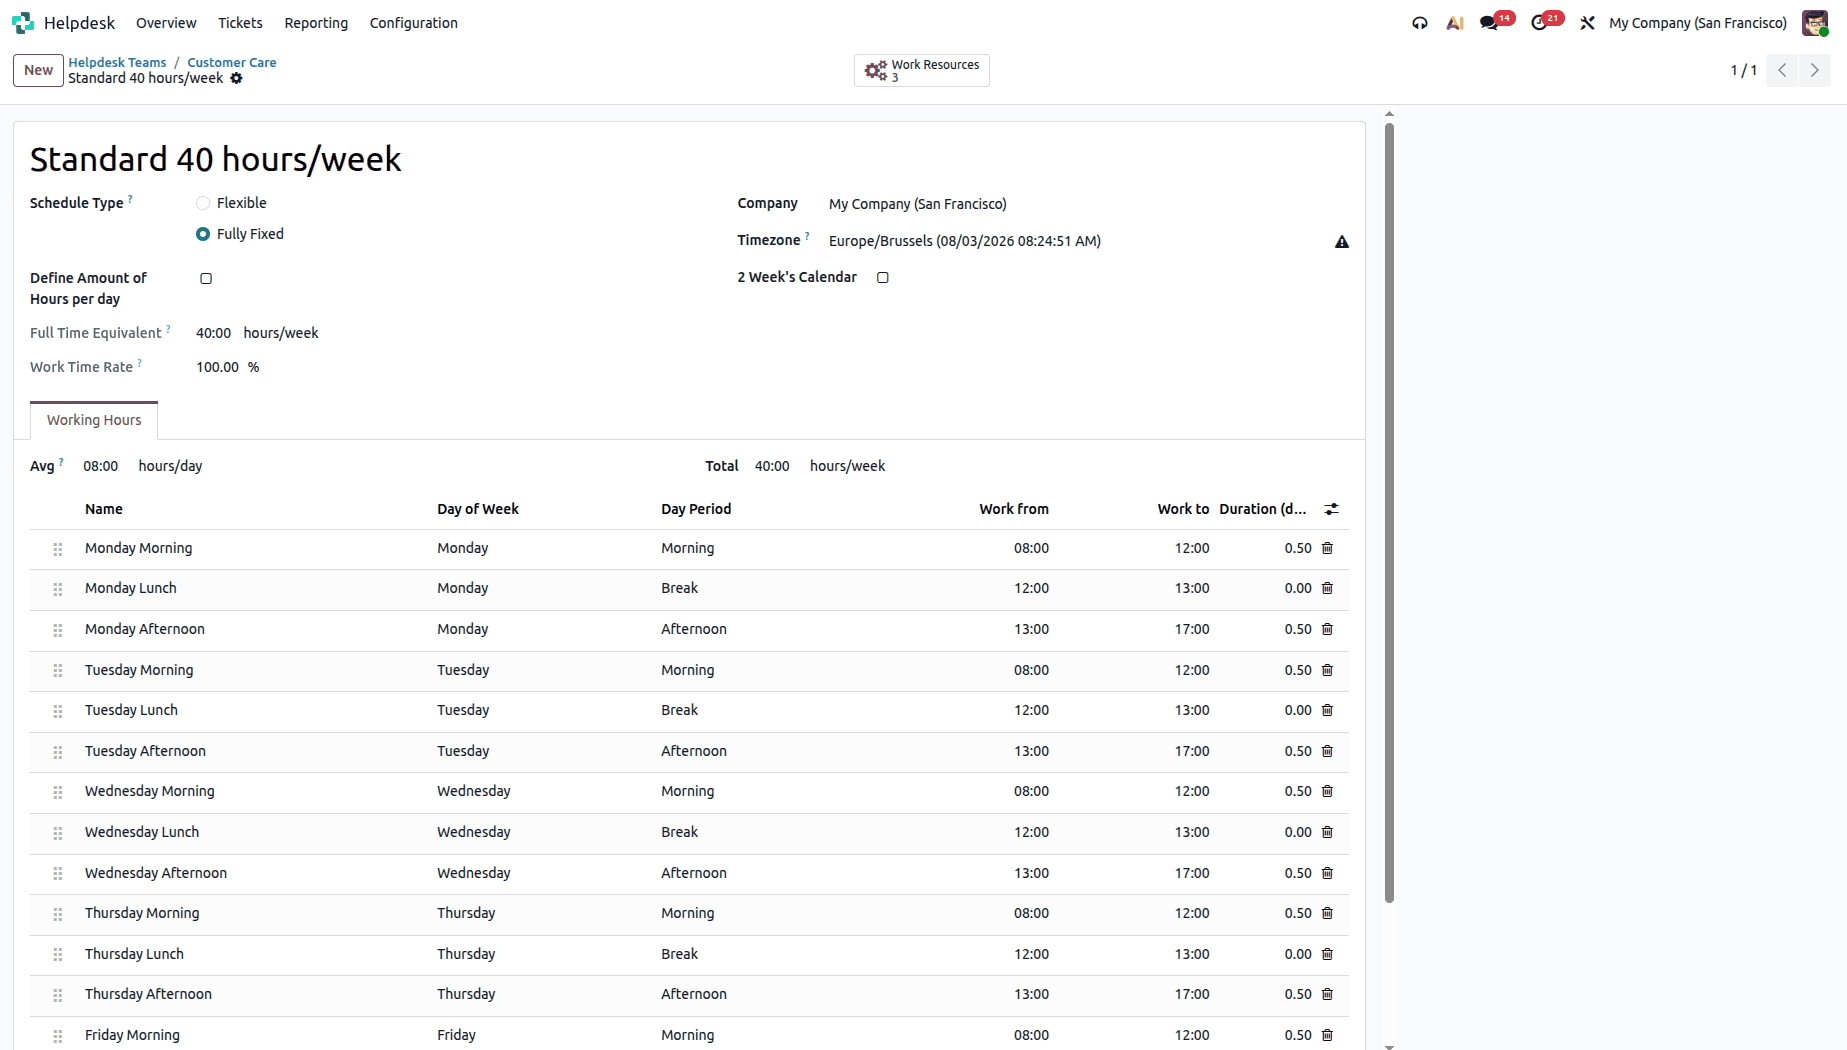
You can configure the working hours by selecting the required working schedule. The company's available working shifts can also be viewed from this screen, as shown below.
To create a new SLA policy, navigate to Helpdesk > Configuration > SLA Policies and click the New button, as shown below.
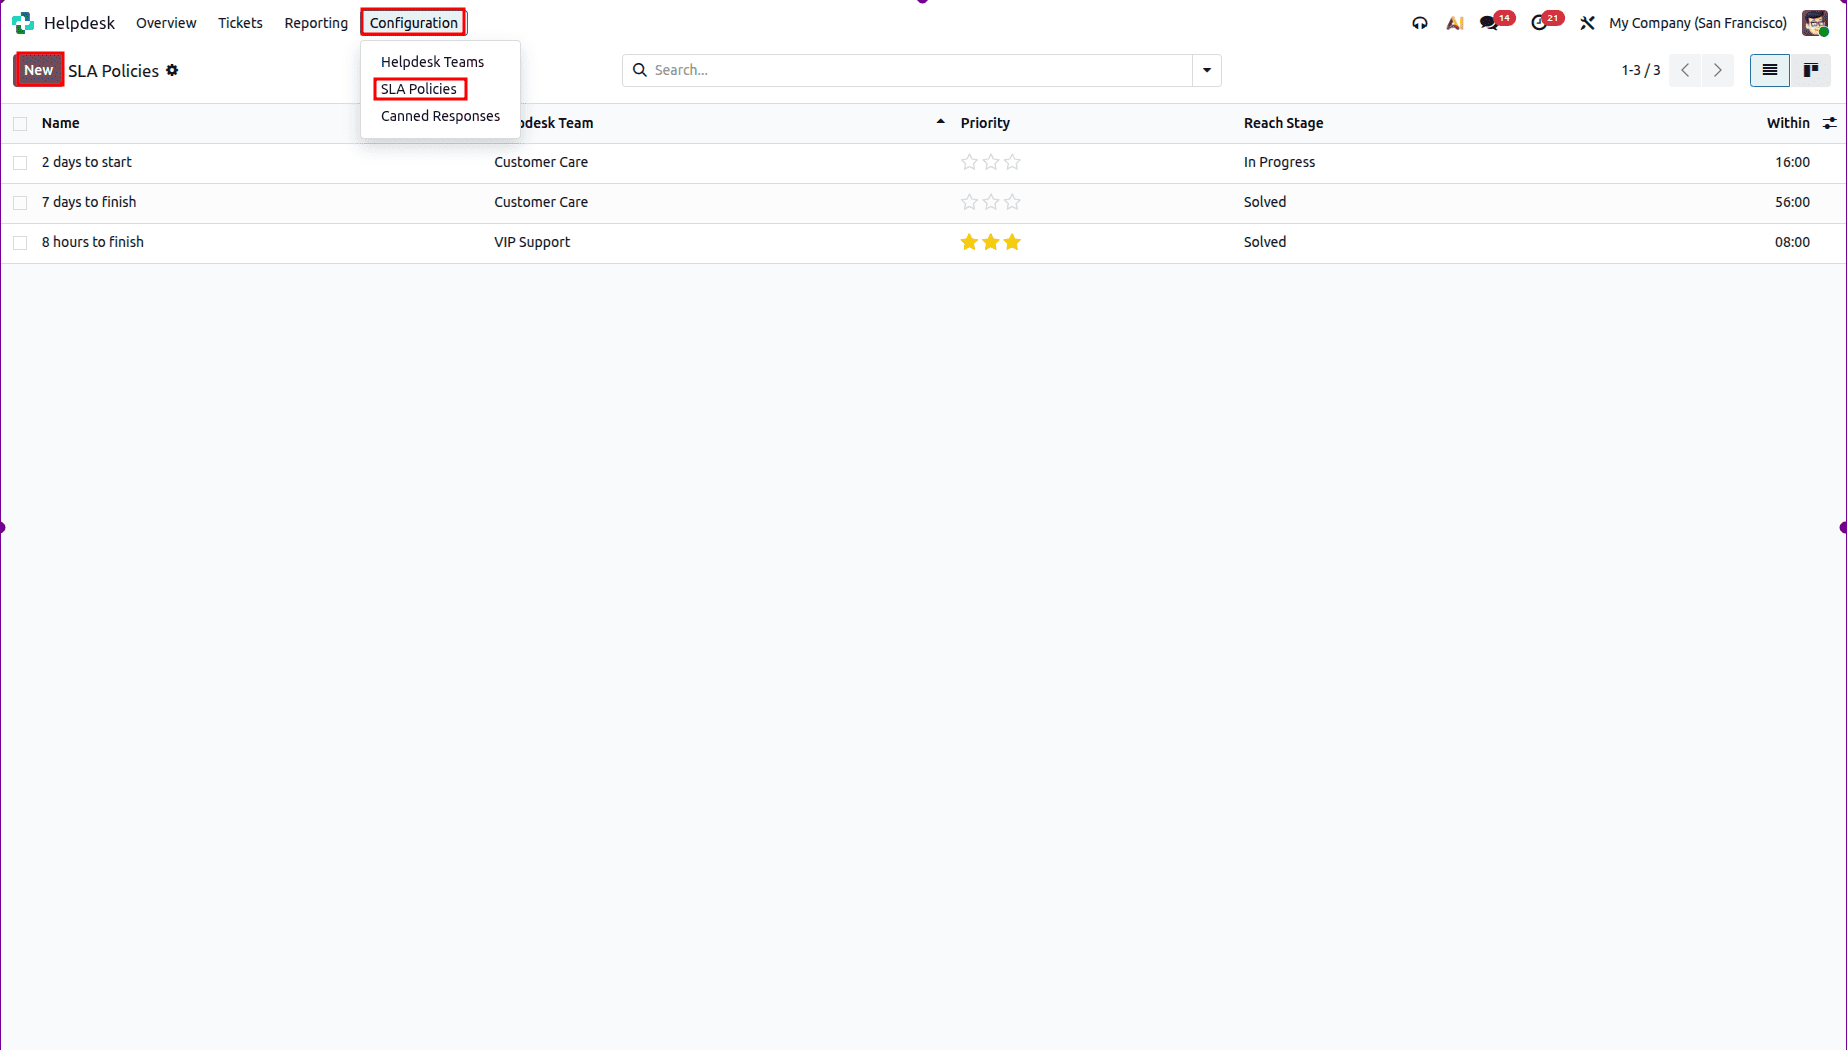
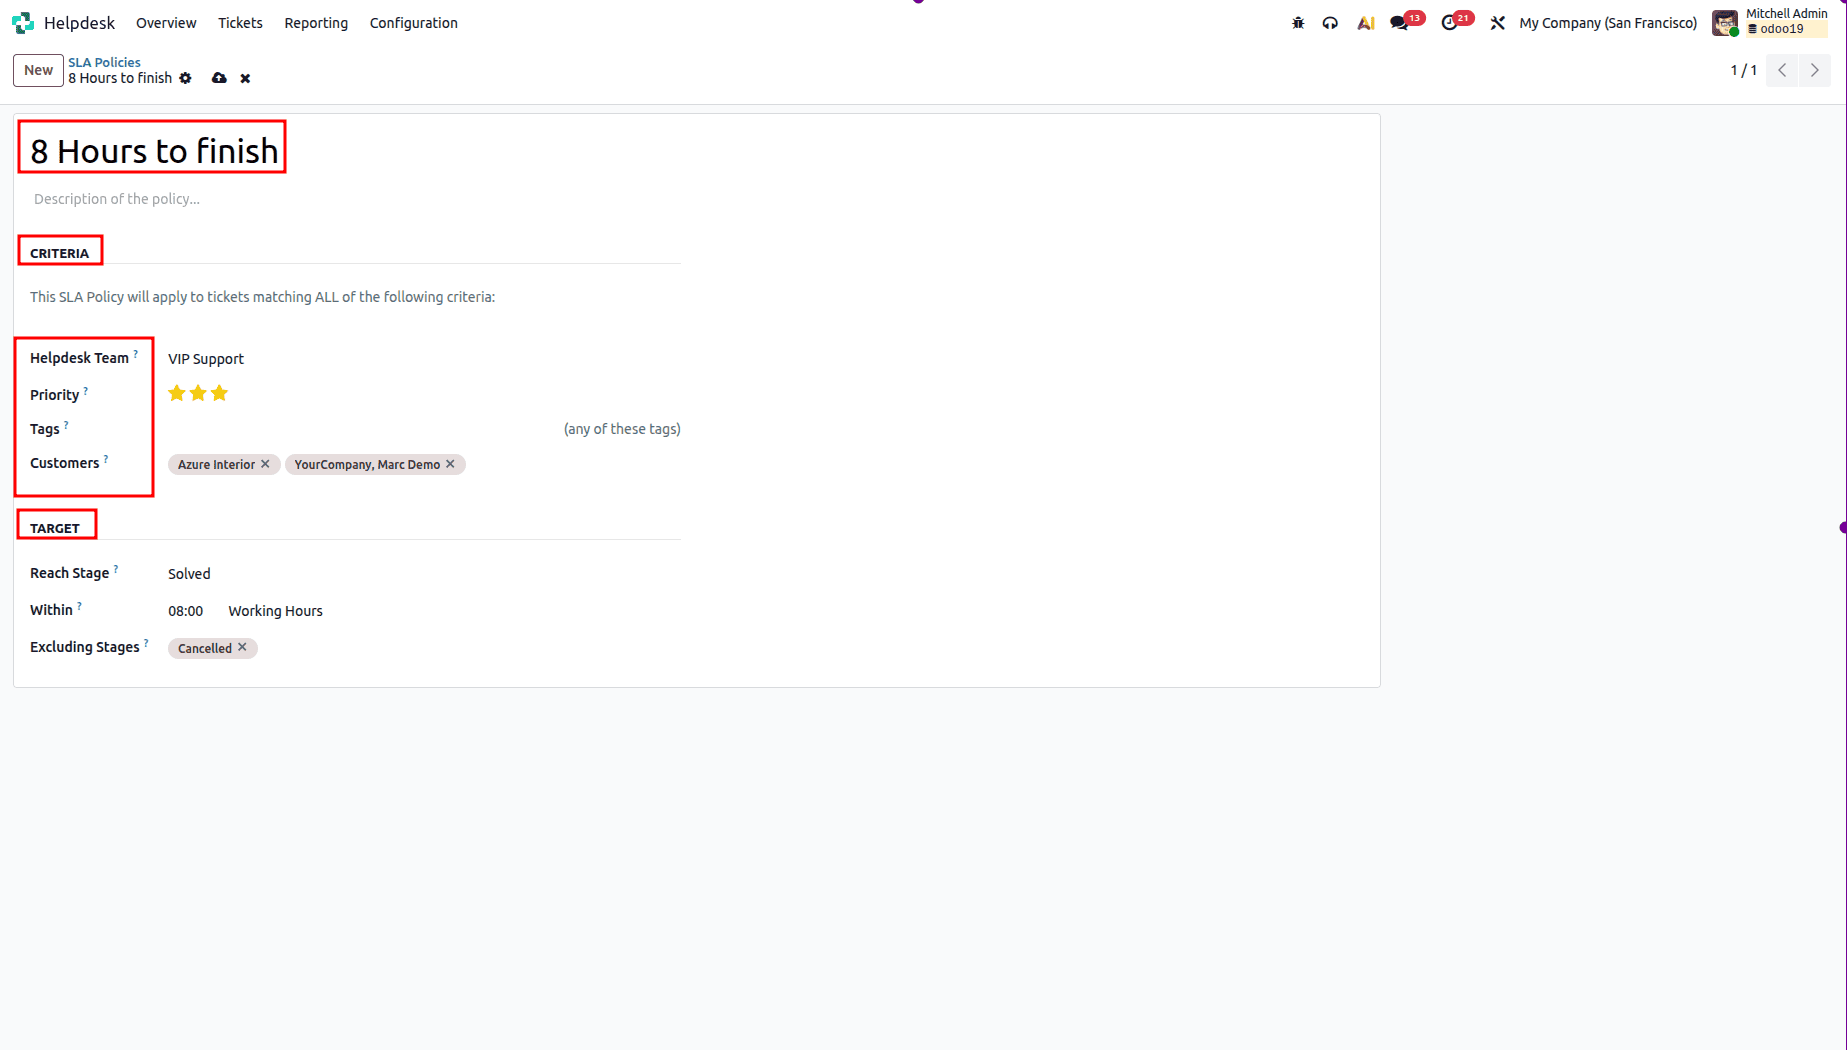
Here, add the following details:
- Title: Provide a name for the SLA policy
- Description: Provide a short description of the policy
- Criteria: Defines the tickets covered by this SLA policy
- Priority: Assign a priority level (one, two, or three stars) to the ticket. The ticket's priority must match the SLA policy criteria for the policy to be applied
- Tags: Assign one or more tags to the SLA policy to identify the tickets it applies to.
- Customers: You can add a customer or a company
- Reach Stage: Select the ticket stages, such as New, In Progress, and Solved, to which the SLA policy should apply
- Within: Add a number of working hours a ticket should take to reach the target stage
- Excluding Stage: Add a stage that is excluded from the calculation of SLA deadlines
Then save it.
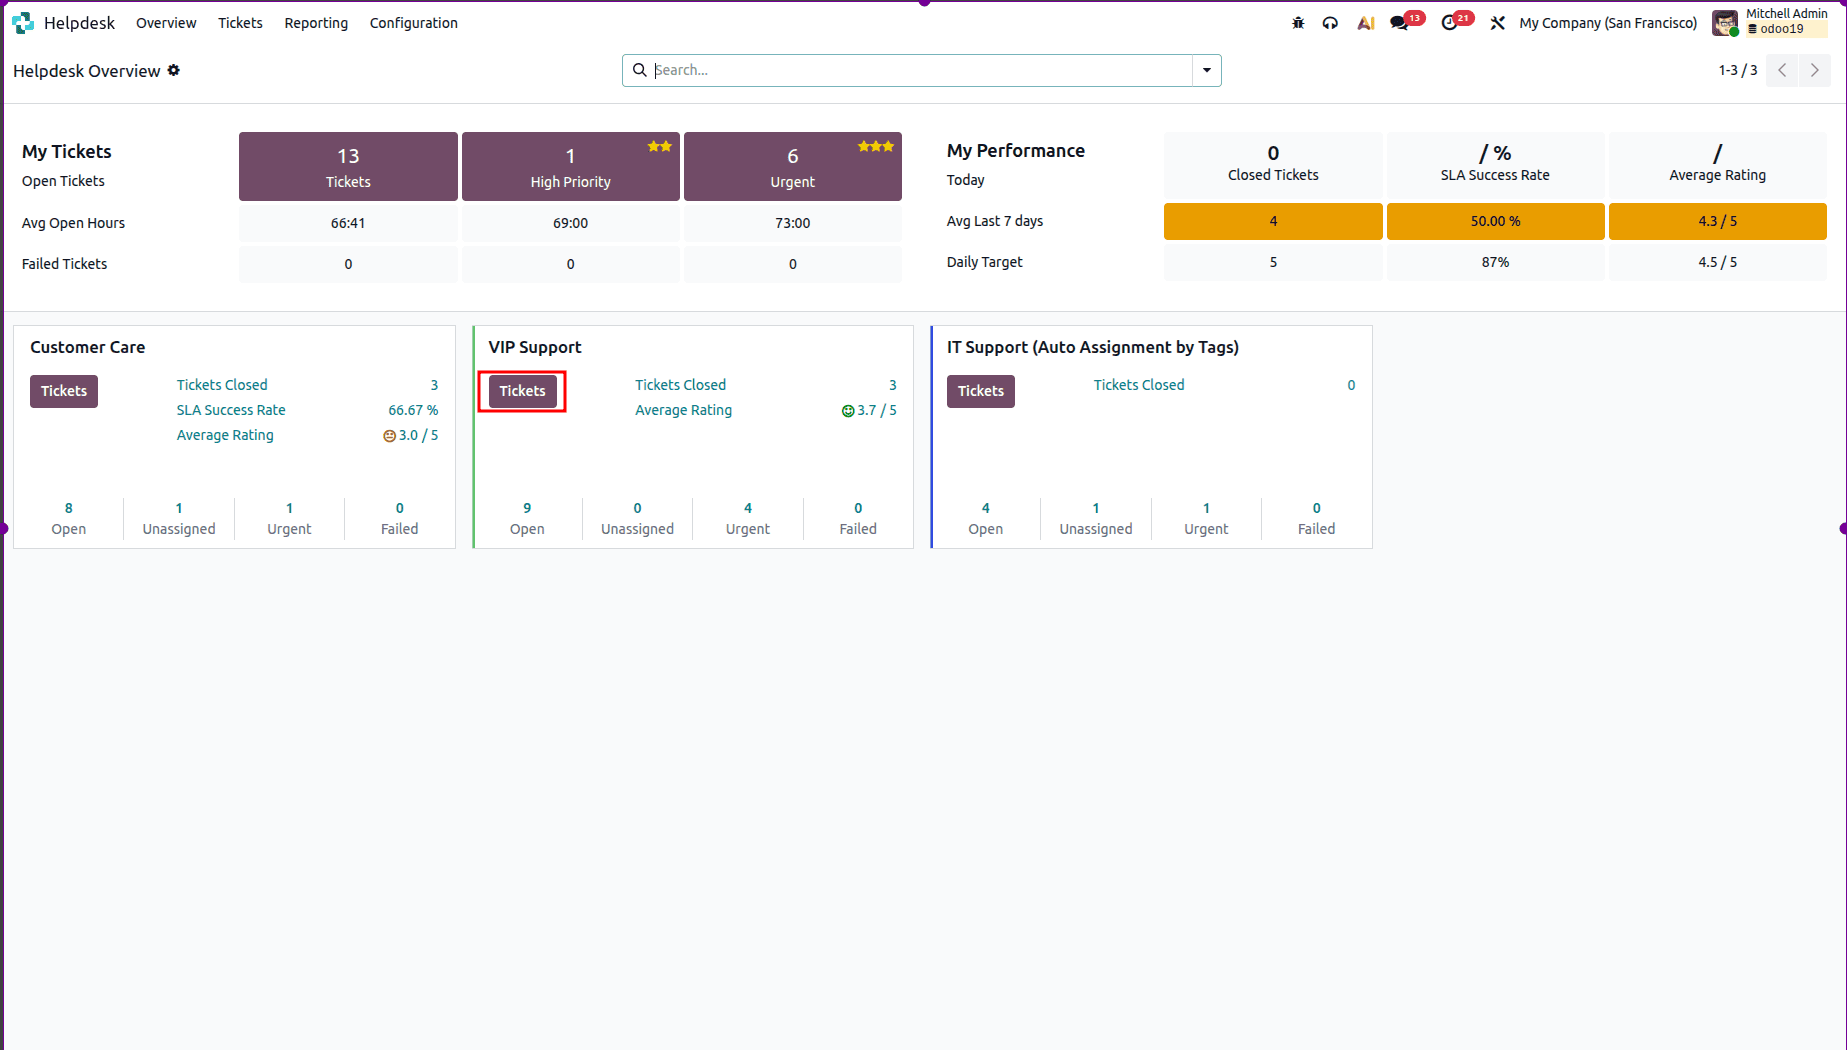
Return to the Helpdesk Overview page. Under the VIP Support team, click Tickets to view the team's support tickets, as shown below.
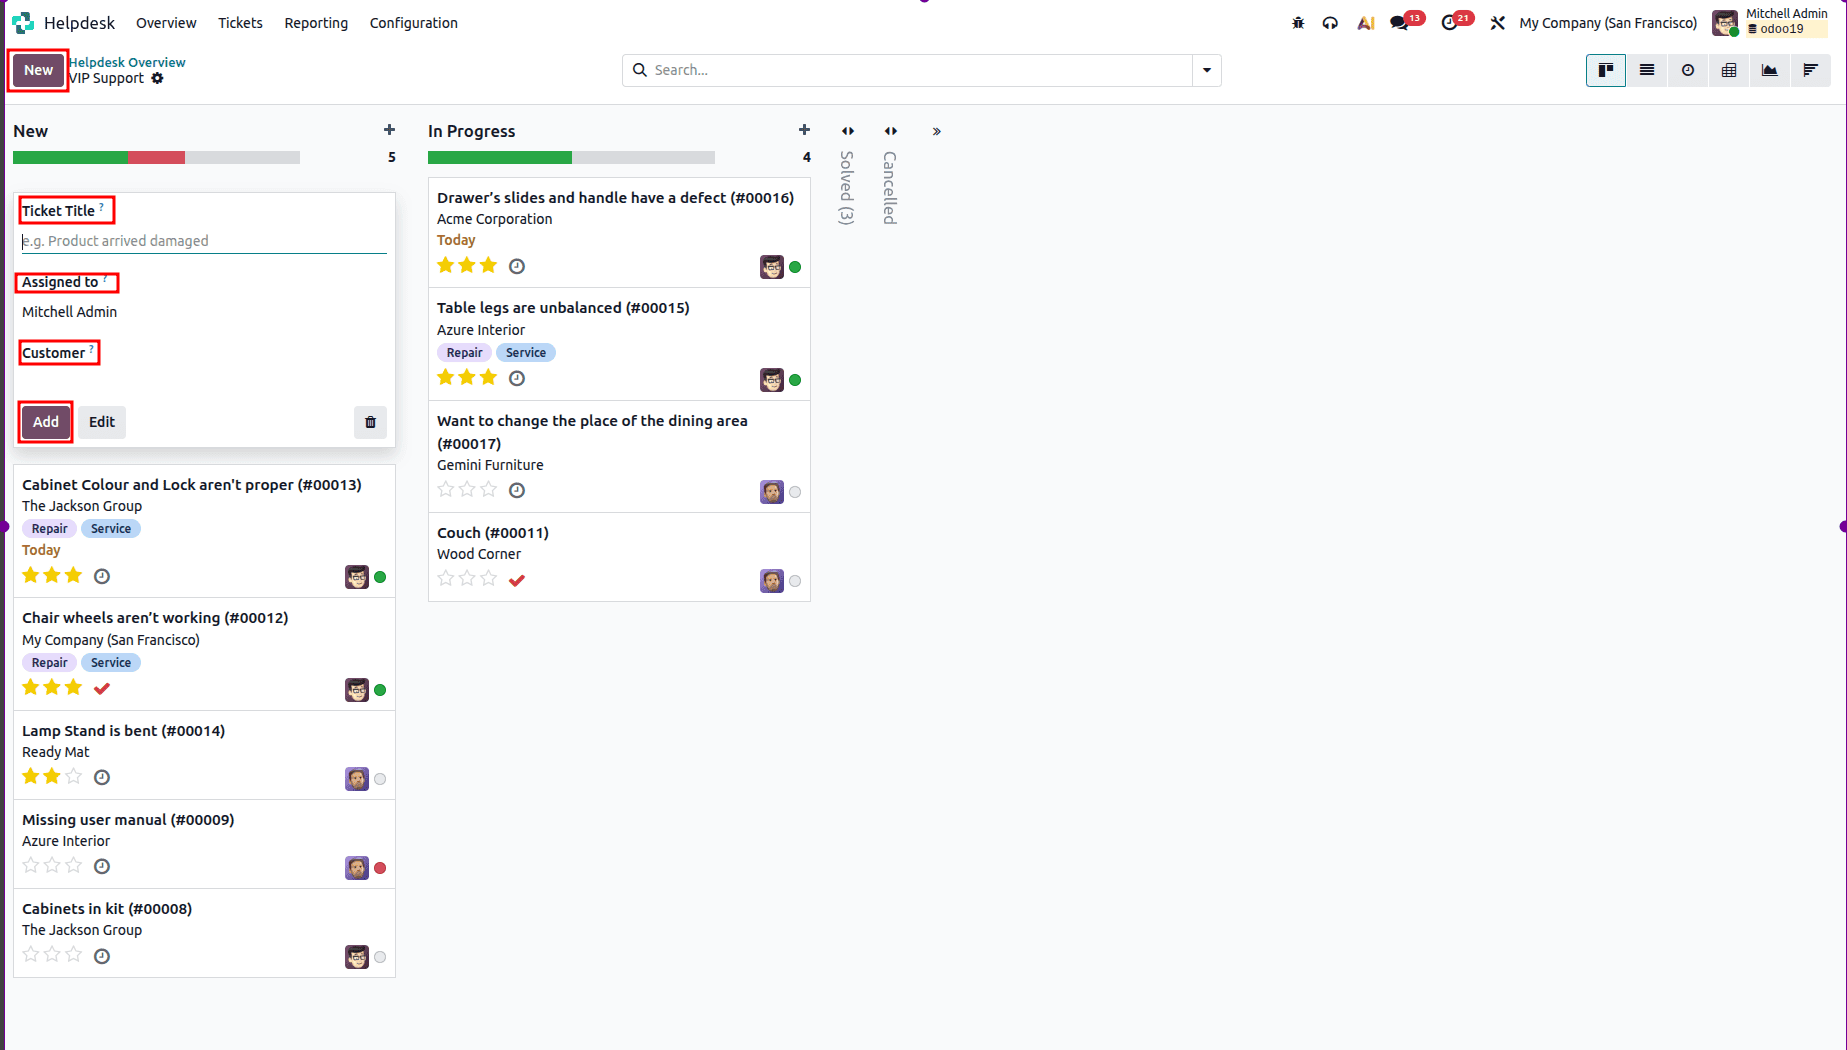
To create a new ticket, click the New button. Enter a title in the Ticket Title field, select the responsible user under Assigned To, choose the customer from the Customer field, and then click Add, as shown below.
The ticket form will show information like the Ticket Title, Helpdesk Team, Assigned To, and Customer. Once you have set the priority of the ticket to High, the SLA policy is automatically applied to it only if the ticket satisfies the SLA policy criteria. Make sure that you have selected the correct customer, as otherwise, changing the customer to an SLA policy mismatch will prevent the SLA policy from being applied to that ticket. Finally, save the ticket once you have filled in all the necessary information in the ticket.
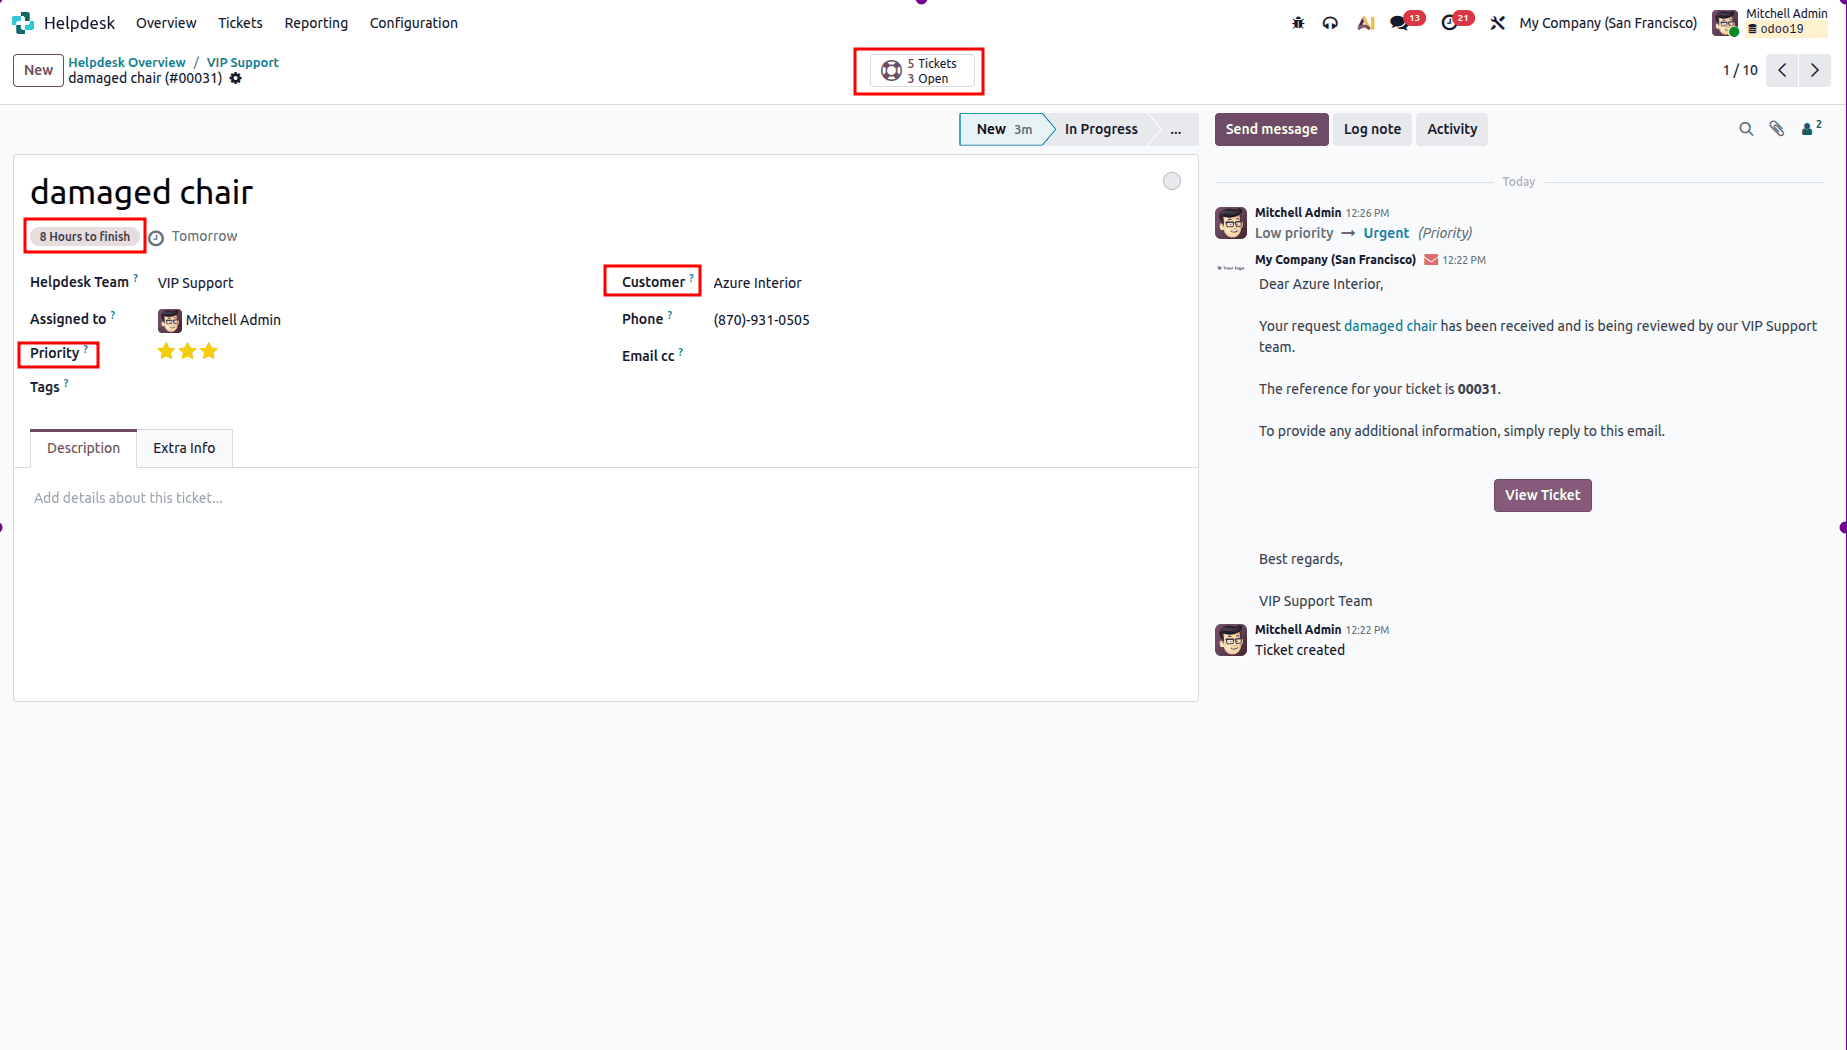
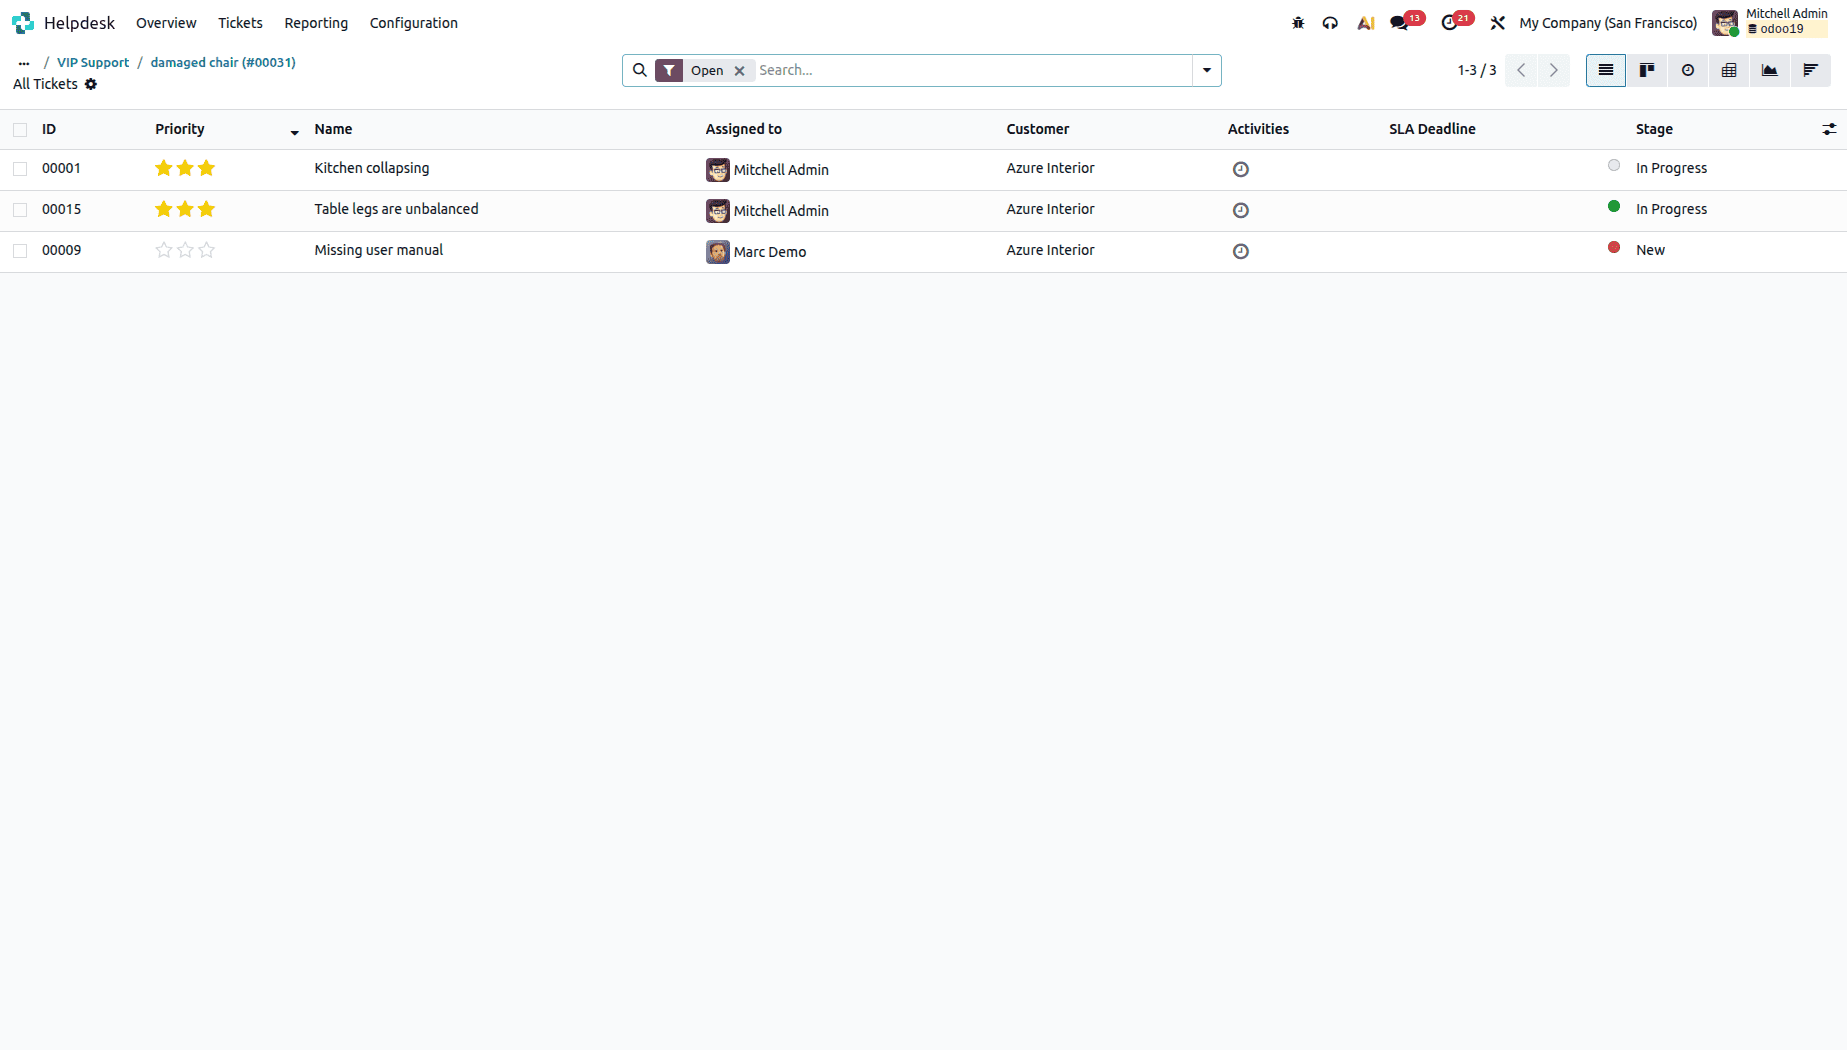
Here, you see the tickets that are Solved, Cancelled, or In Progress.
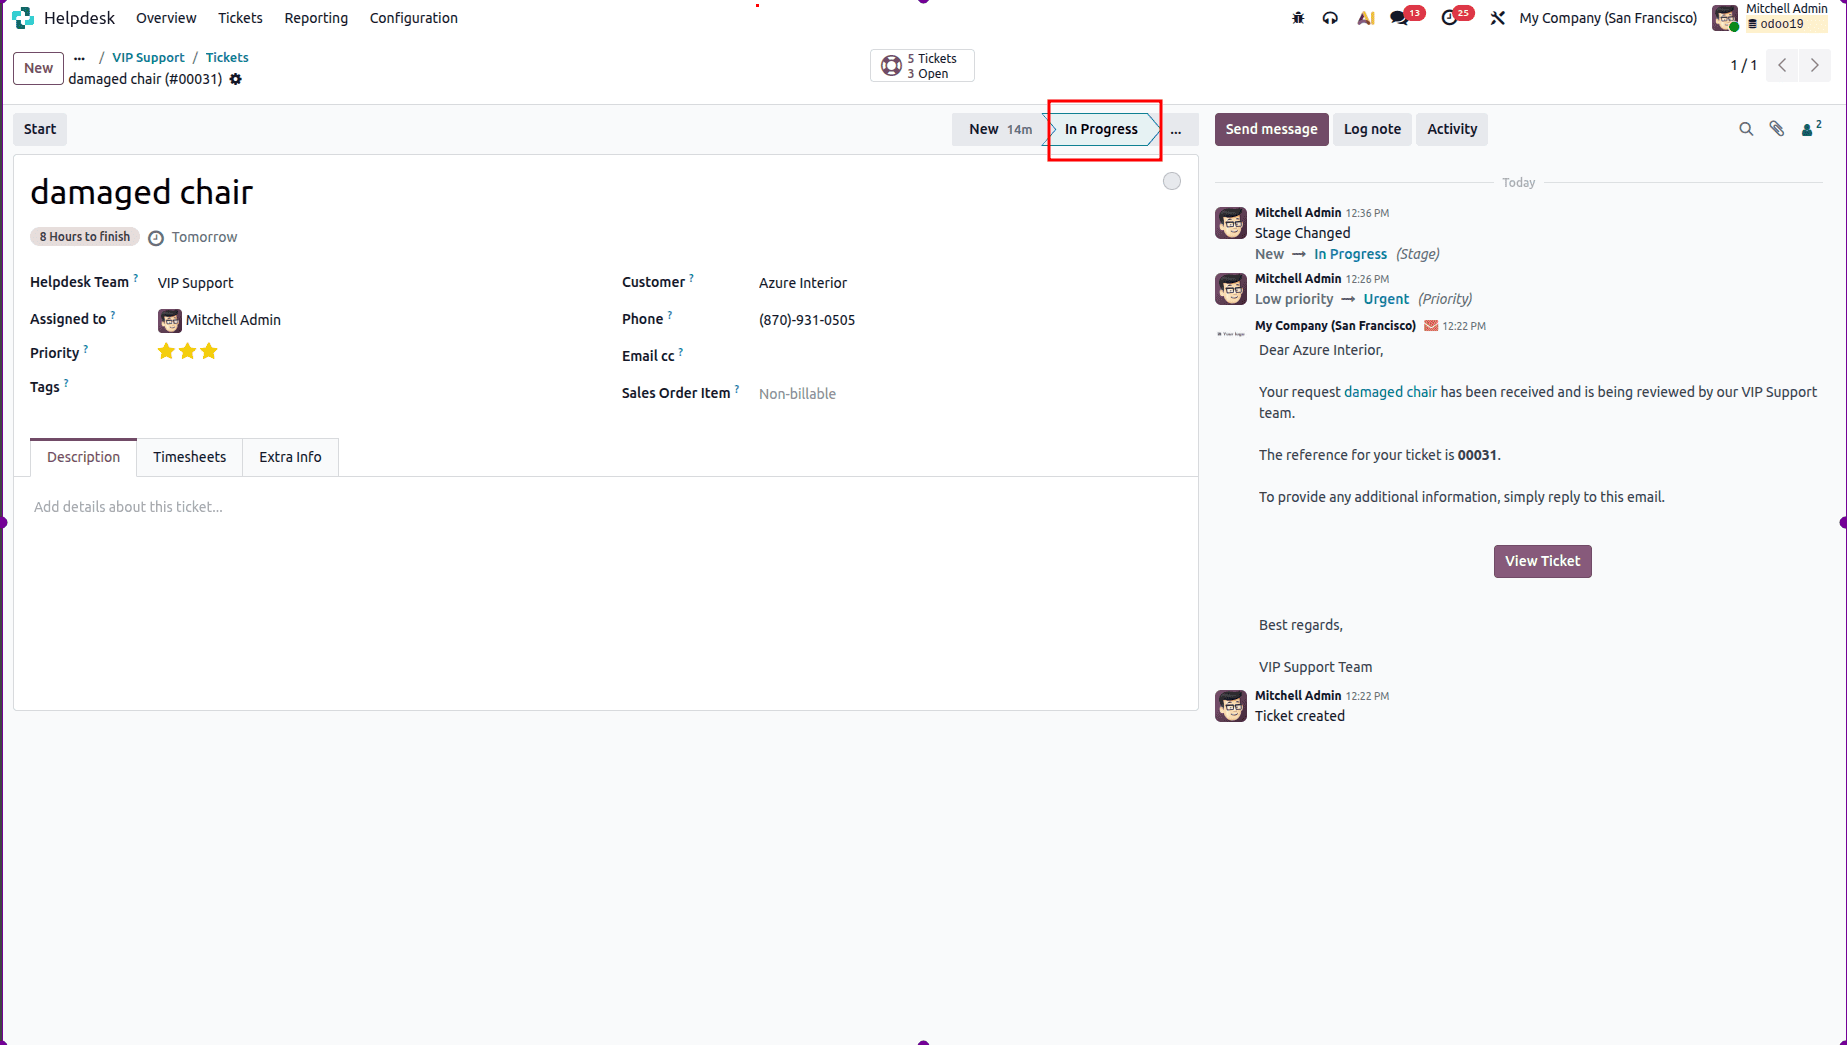
Here, you have added the SLA policy to the ticket. Then move the ticket into the In Progress stage as shown below:
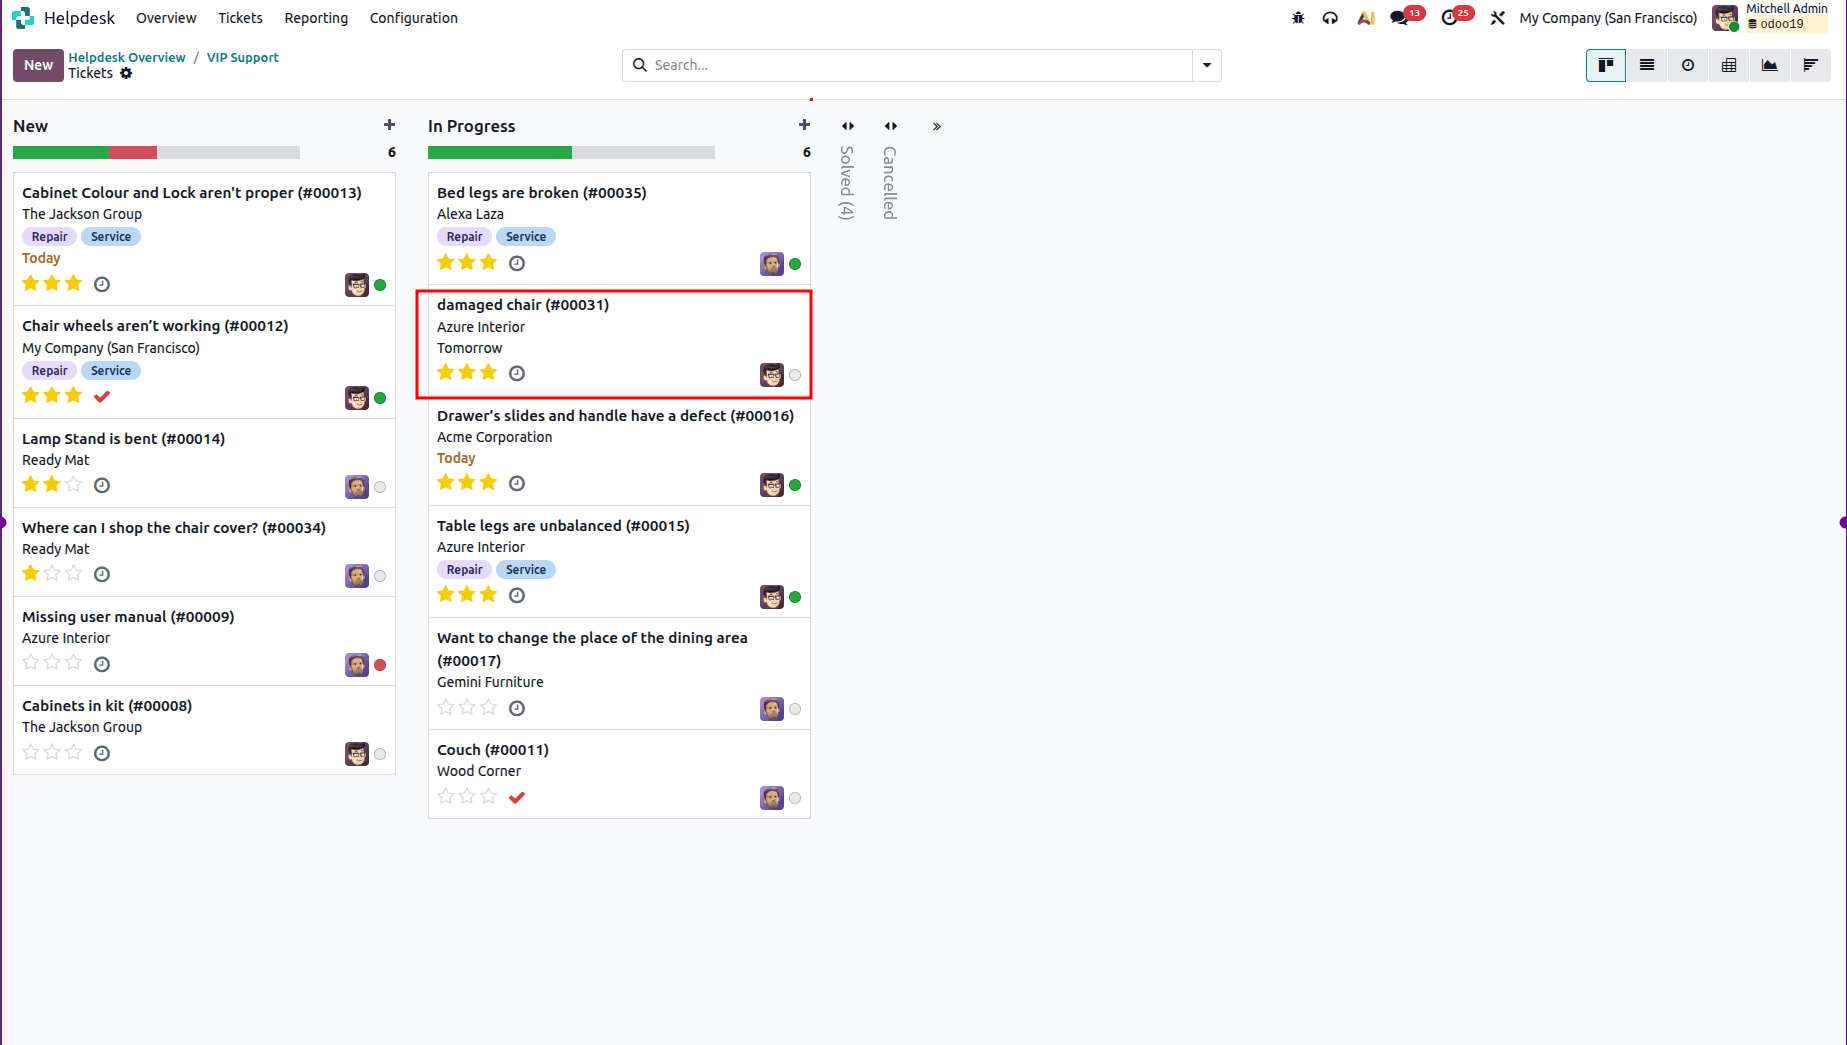
Here, you can see that the newly created ticket is in the In Progress stage.
The implementation of SLA policies in Odoo 19 Helpdesk will ensure that businesses offer faster and more dependable customer support while fulfilling service promises. Through the setting of SLA policies depending on teams, priorities, tags, and other criteria of tickets, businesses will be able to track their deadlines and perform well. The real-time SLA status and reports will increase the visibility of businesses' support process and allow the managers to find out about any delays and increase efficiency.
To read more about How to configure the SLA Policy in Odoo 18 Helpdesk, refer to our blog How to configure the SLA Policy in Odoo 18 Helpdesk.