Tracking and managing loan requests, disbursement, repayments, and amortization operations can be difficult when there are too many records to manage. The Advanced Loan Management module helps streamline and automate the process. You can track the loans given to vendors, employees, and customers. Every accounting entry and invoice for payments is created automatically; this helps to keep accurate records, and every request has to be approved by the manager for extra security.
This blog provides an overview of the module’s key features and workflow, highlighting how it simplifies loan processing and enables businesses to achieve greater accuracy, transparency, and operational efficiency.
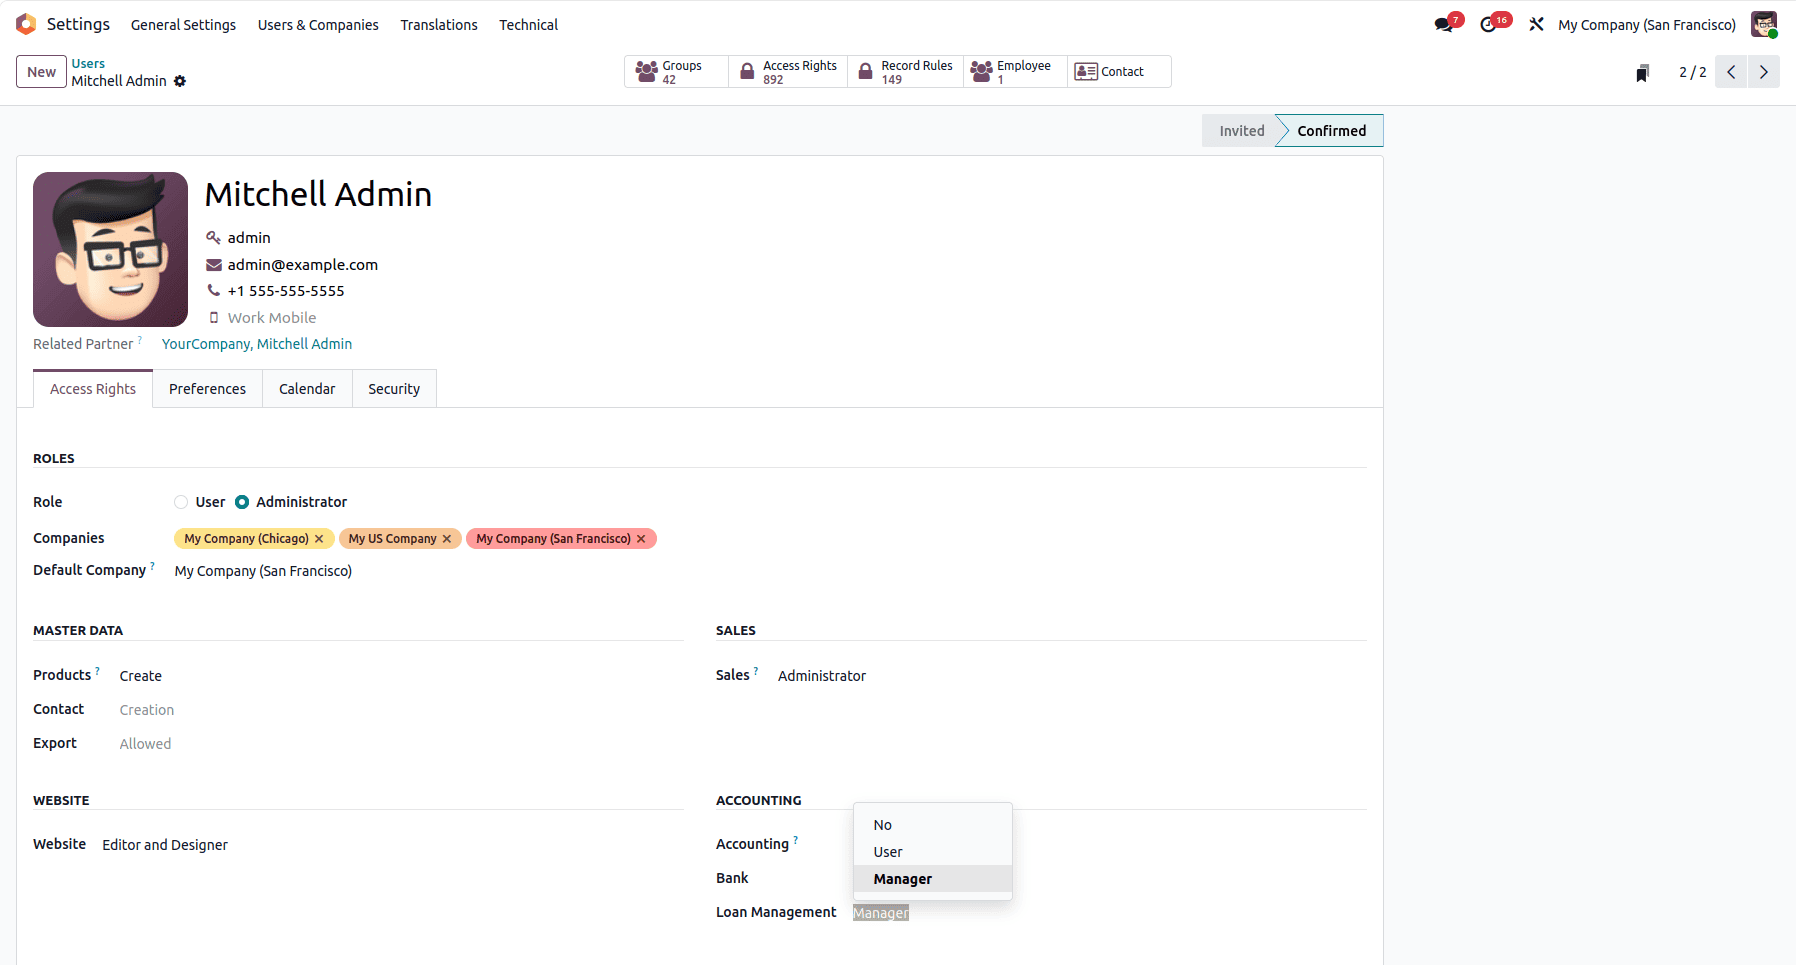
Let's examine how Advanced Loan Management handles loan management. As seen in the screenshot below, you can set the roles for each user in Advanced Loan Management.
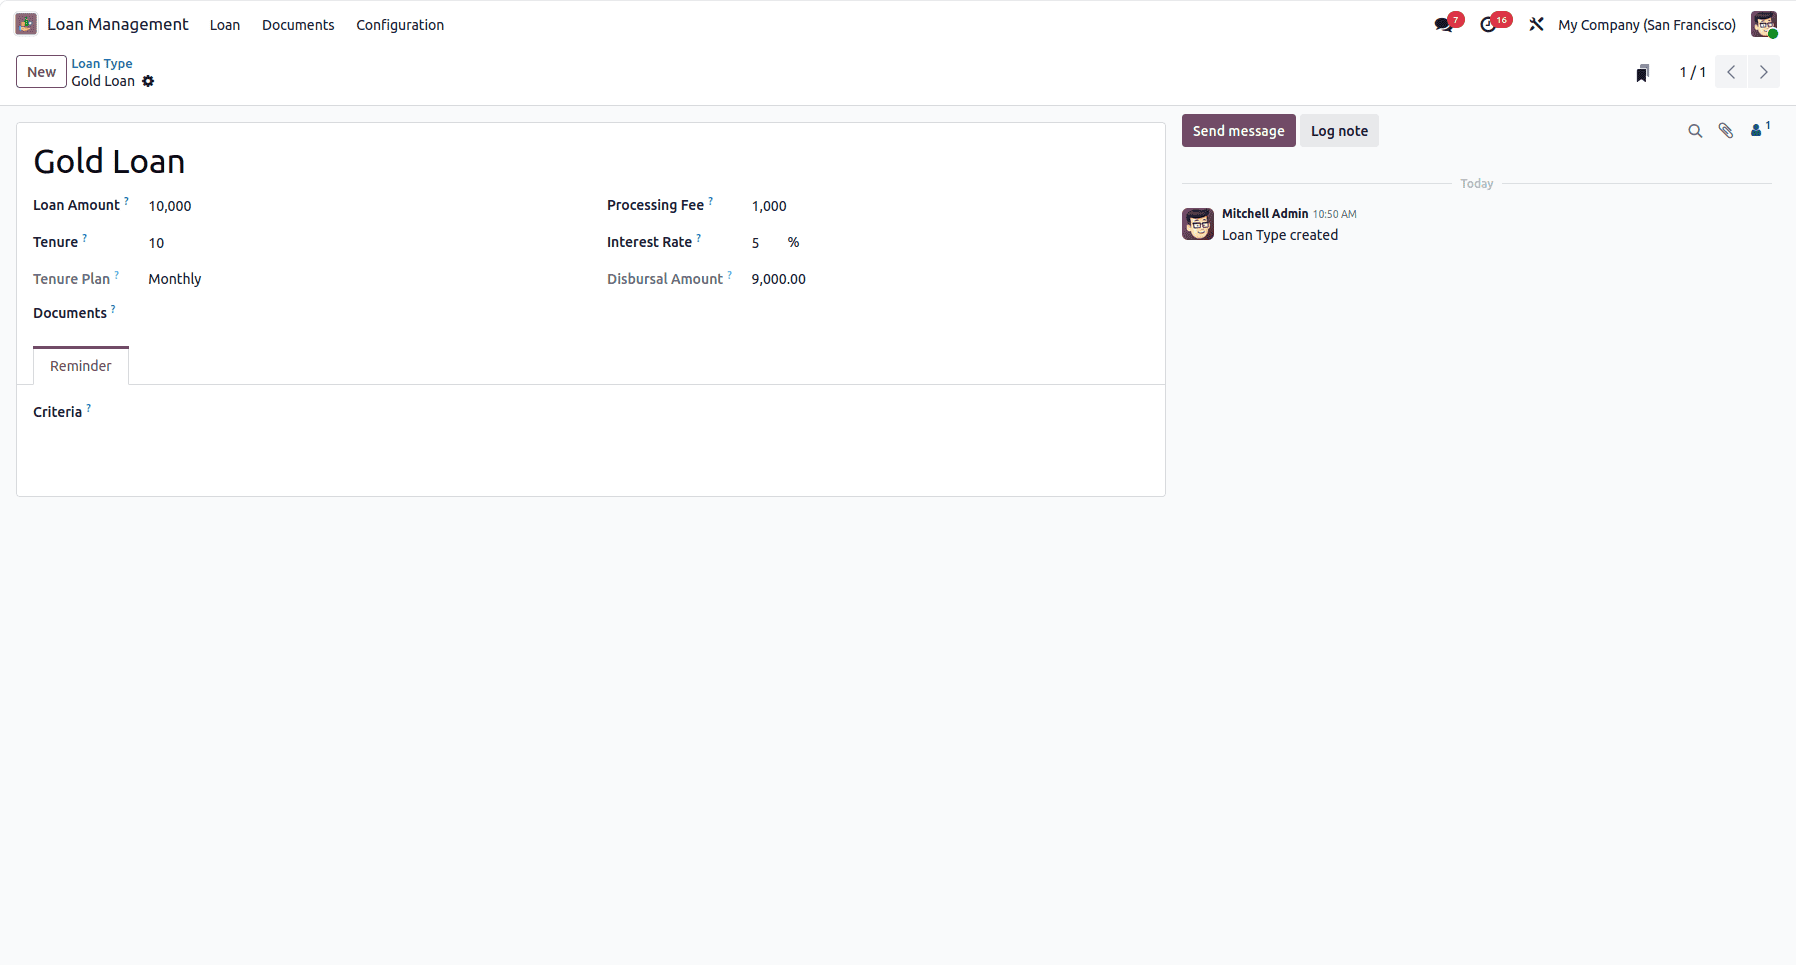
Through this module, you can create different loan types and use them for creating loan requests. The fields in the request are automatically filled using the loan type, which are editable as well.
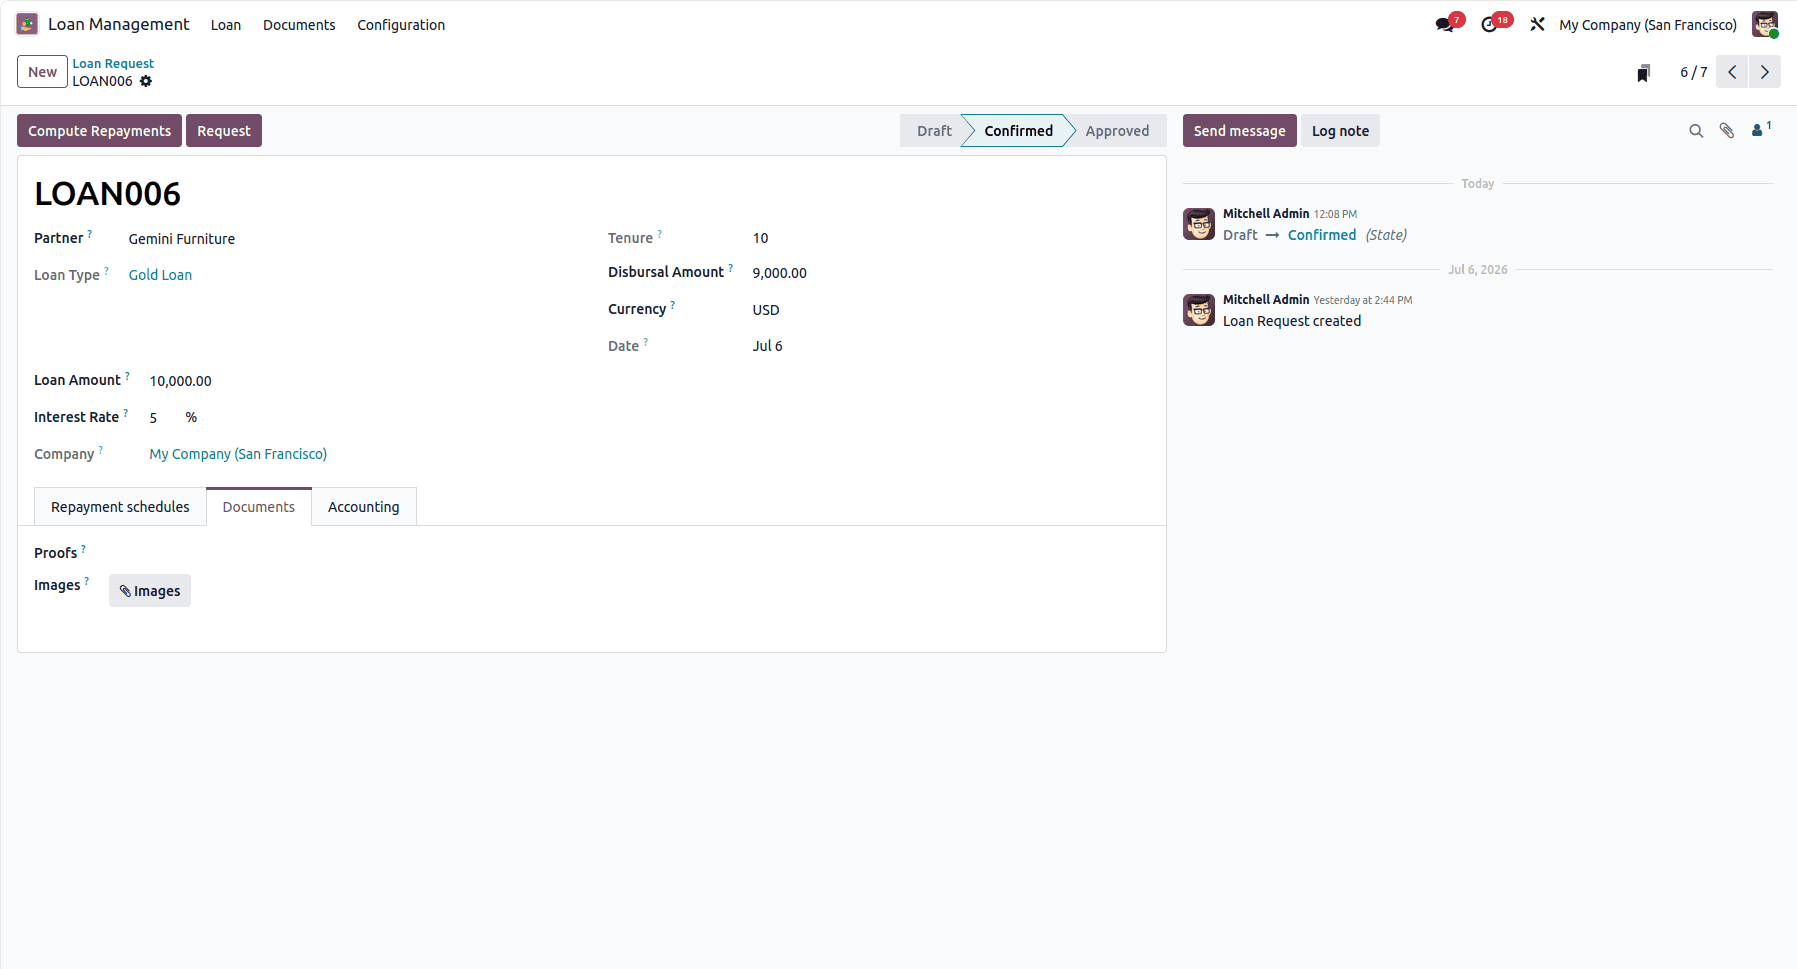
When creating a loan request, the loan type and partner are mandatory. After creating the request, click the Confirm button, which changes the state to ‘confirmed’ and sends a confirmation email to the partner.
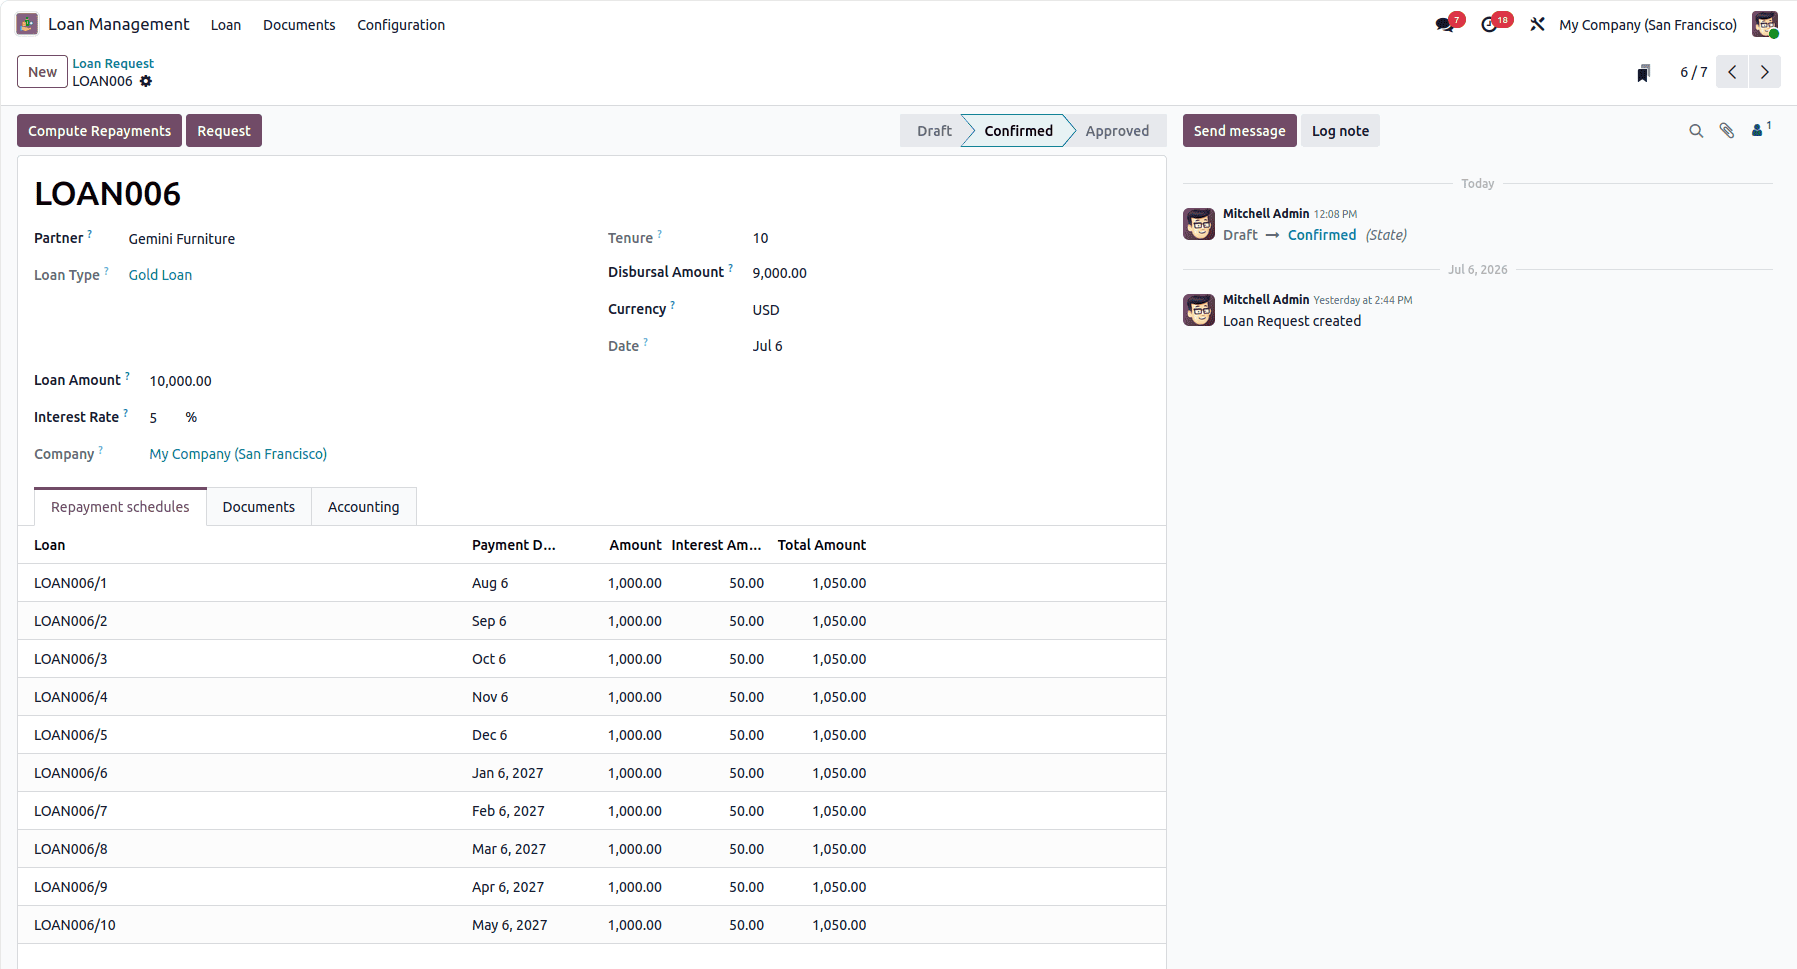
In the confirmed state, we can see a Compute Repayments button; it automatically creates the installment the partner needs to pay to the company based on the payment start date and the number of installments.
After creating installments, the user can request the loan, which will be approved or rejected by the manager. In the Documents tab, you can upload the documents related to this loan, and in the Accounting tab, you can specify the journal, debit account, and credit account.
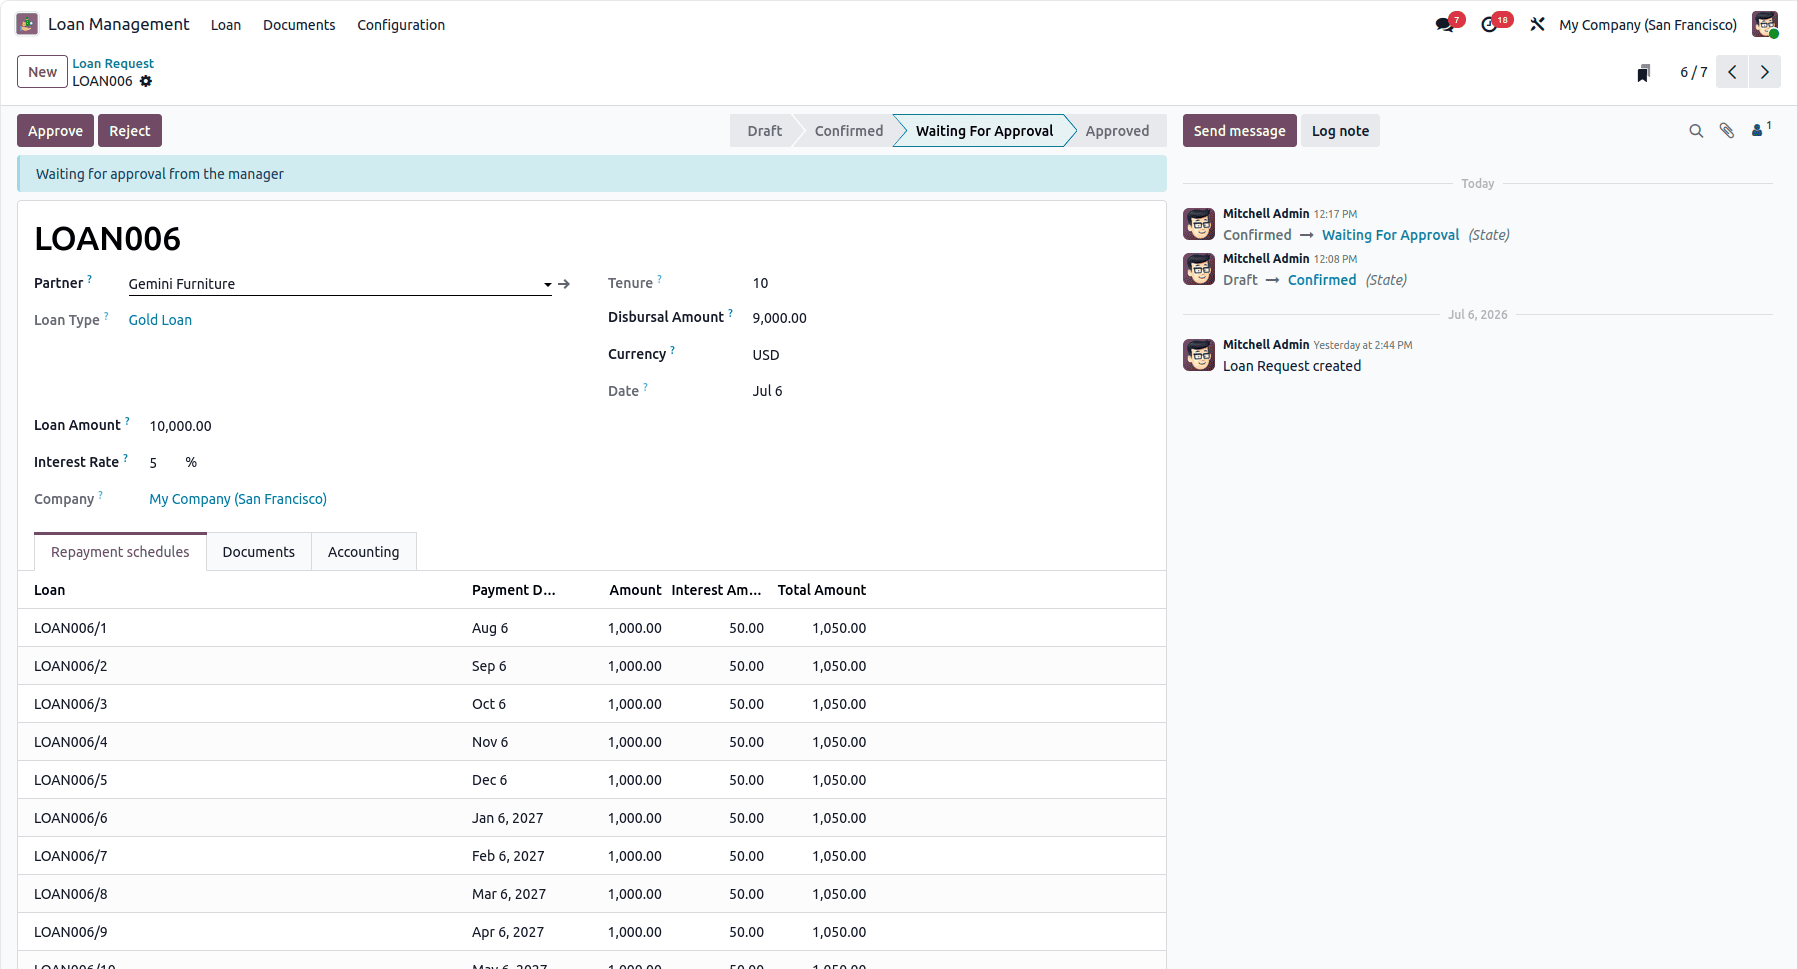
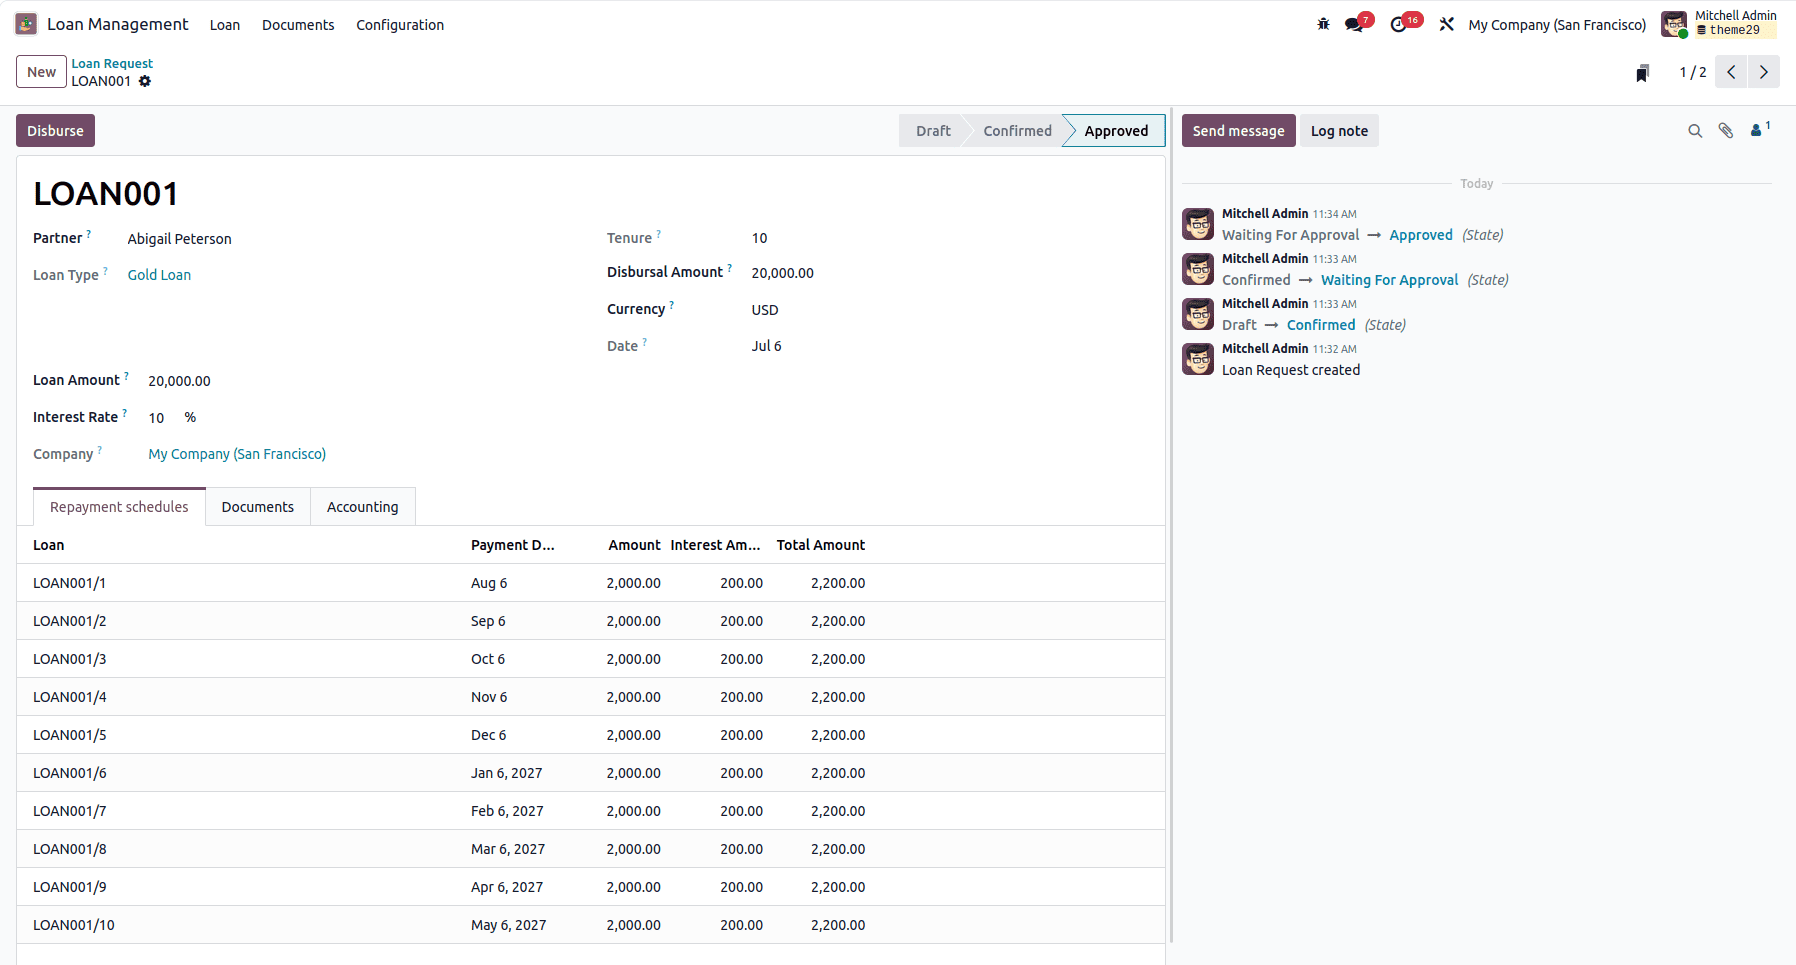
Approved loans are then given to the borrower using the Disburse button.
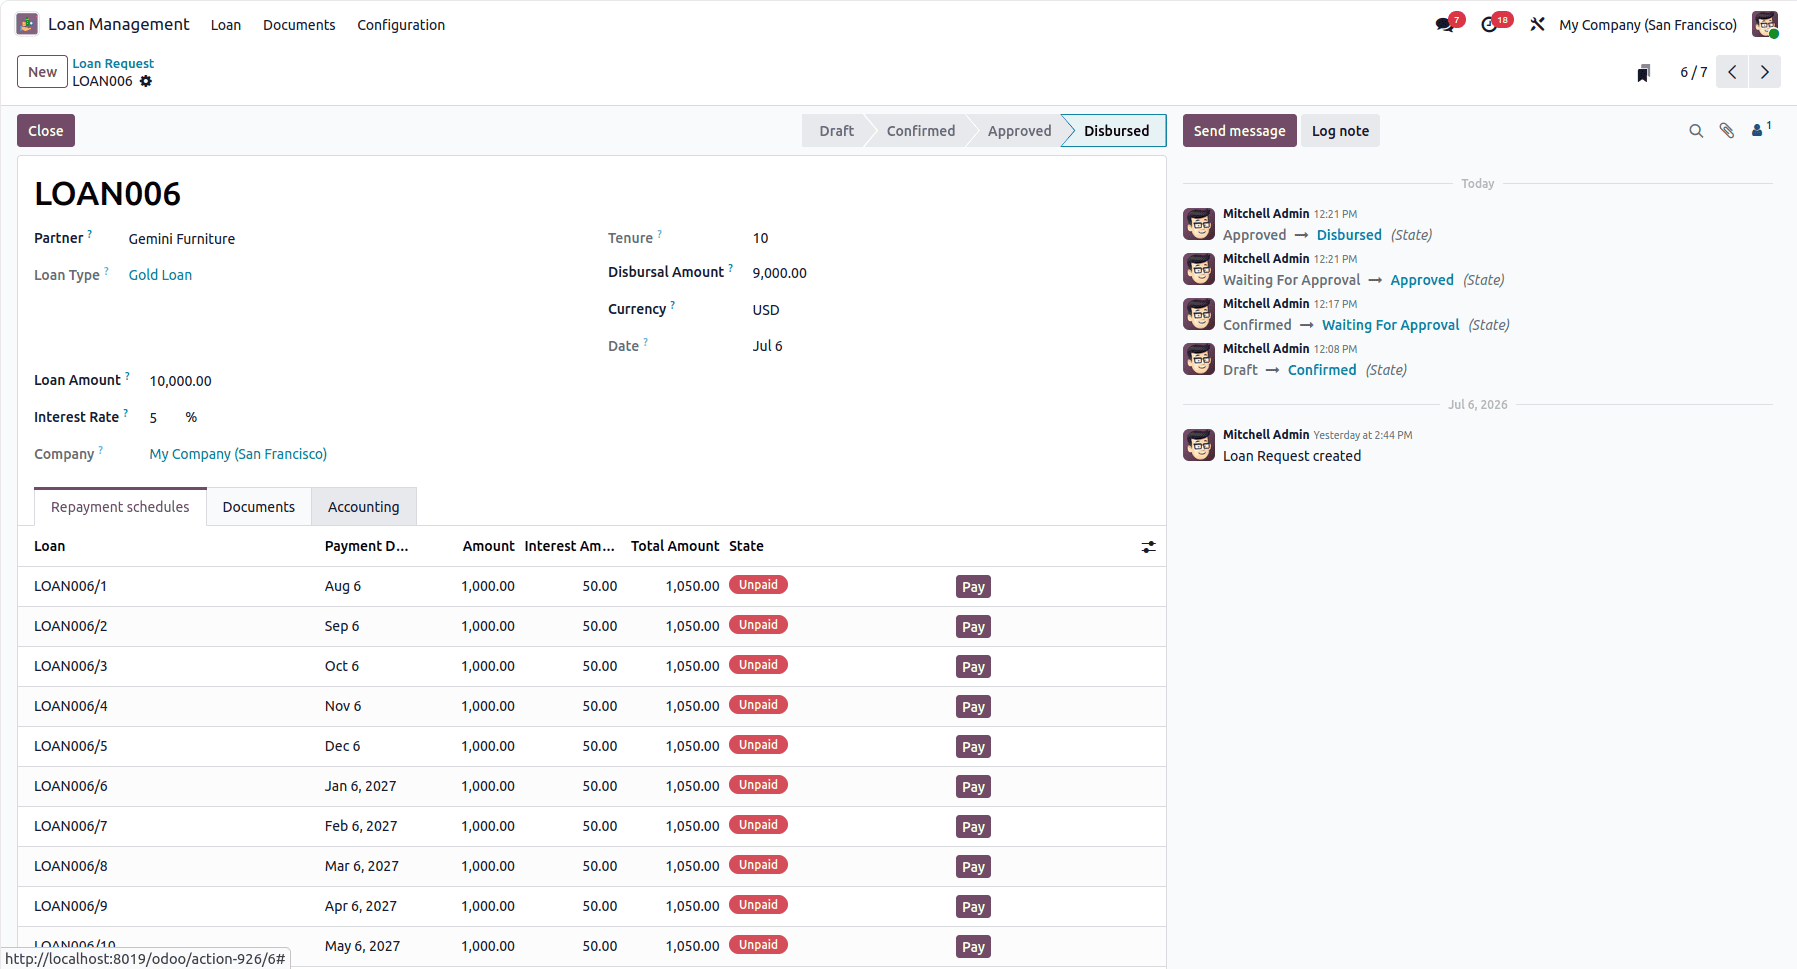
After the loan has been given to the borrower, a Pay button will appear for payments. Only after completing all the payments can the loan be closed.
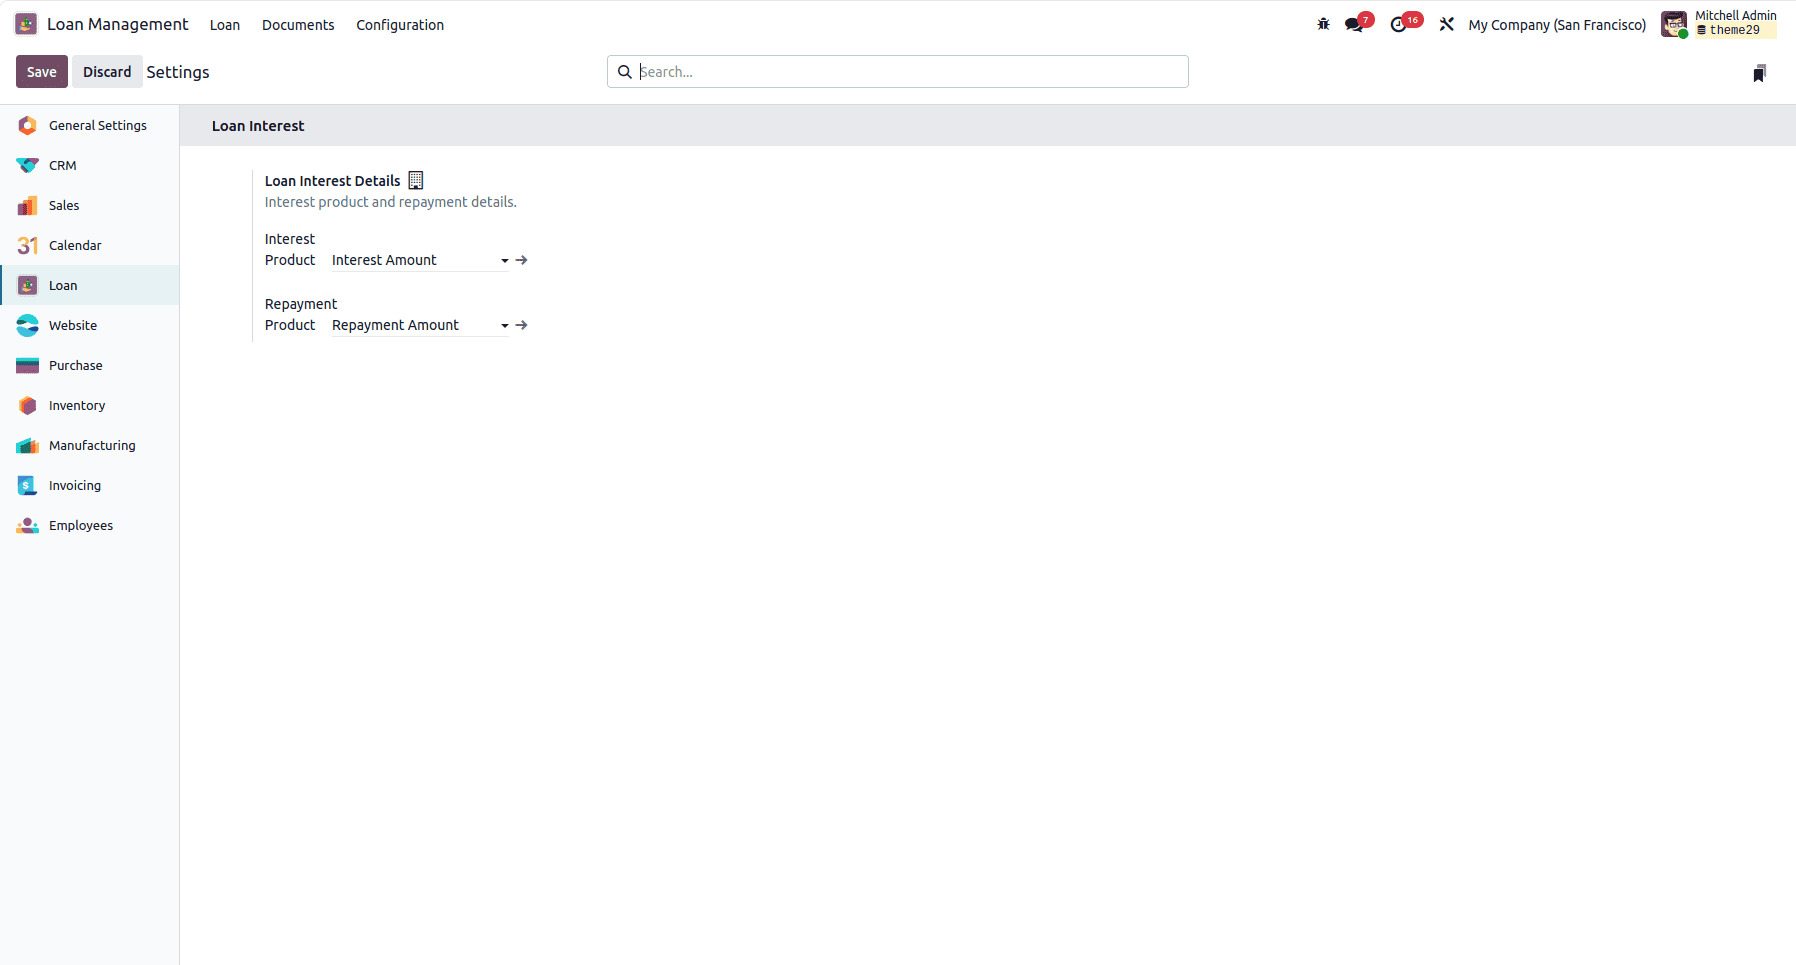
You can set the service product to be used in the invoice for interest and repayment in the settings of the module.
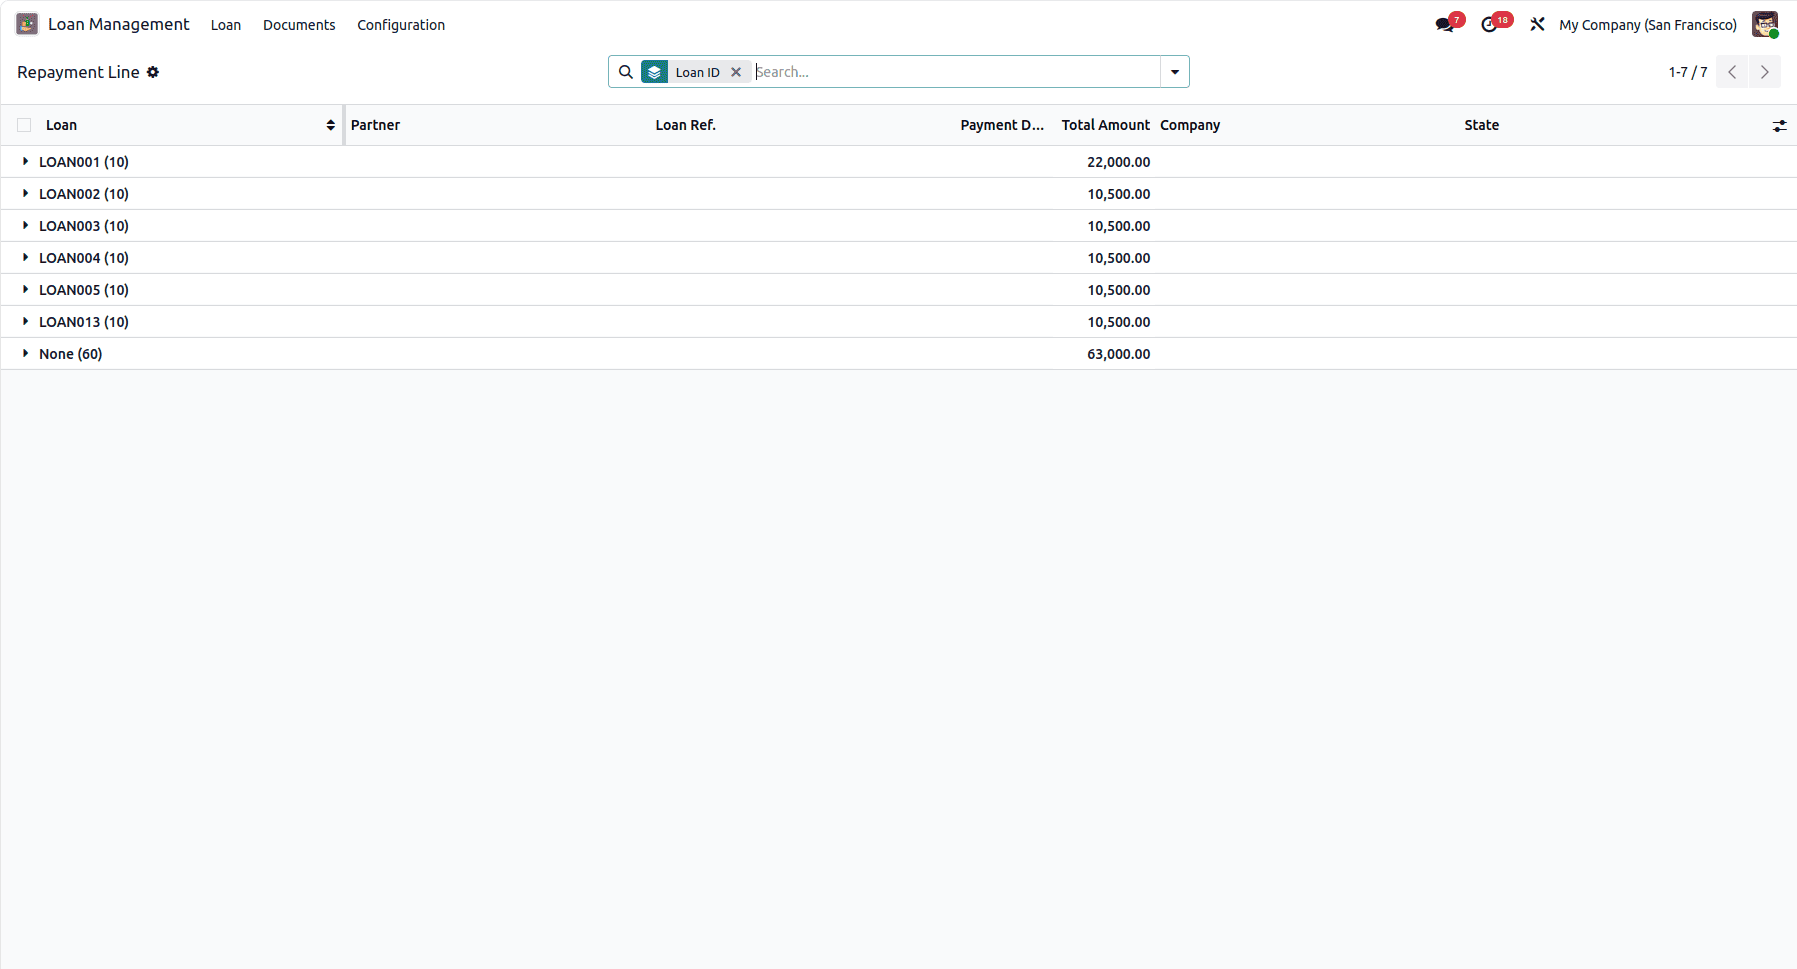
In the Repayment menu, all the repayments created for loans can be seen grouped based on their loans by default.
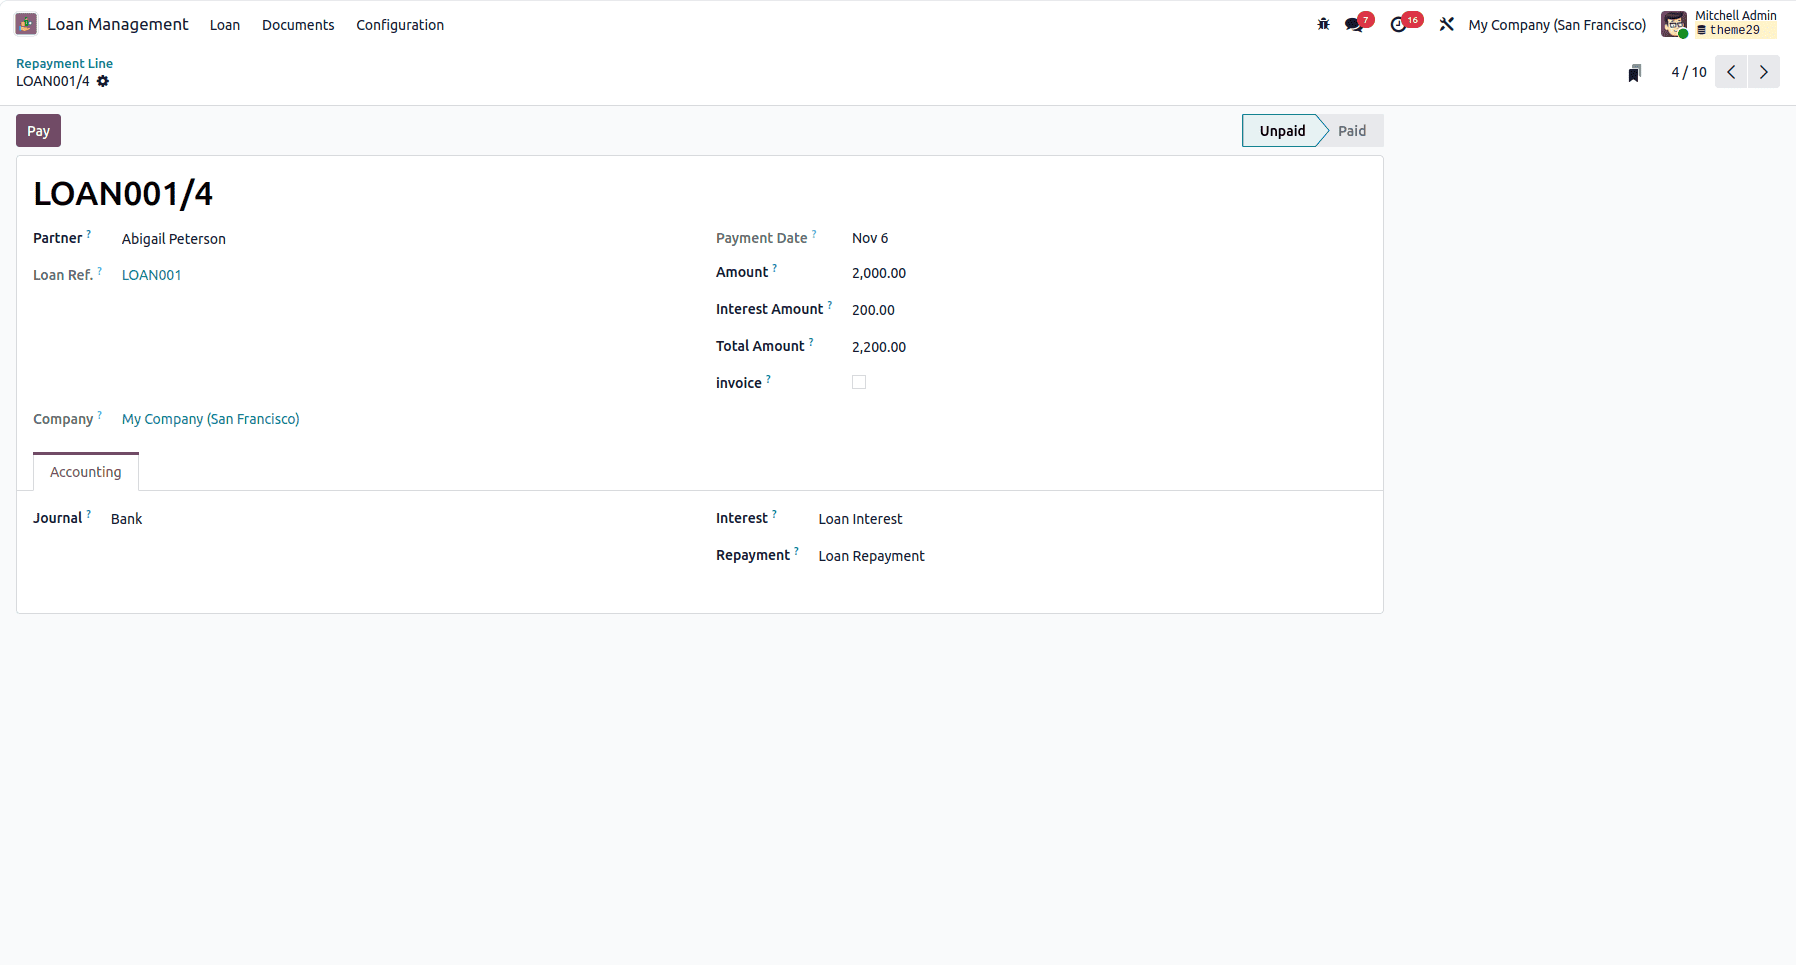
Using the Pay button in the form view will create an invoice for the repayment. Only after the invoice payment is completed will the state pay the repayment.
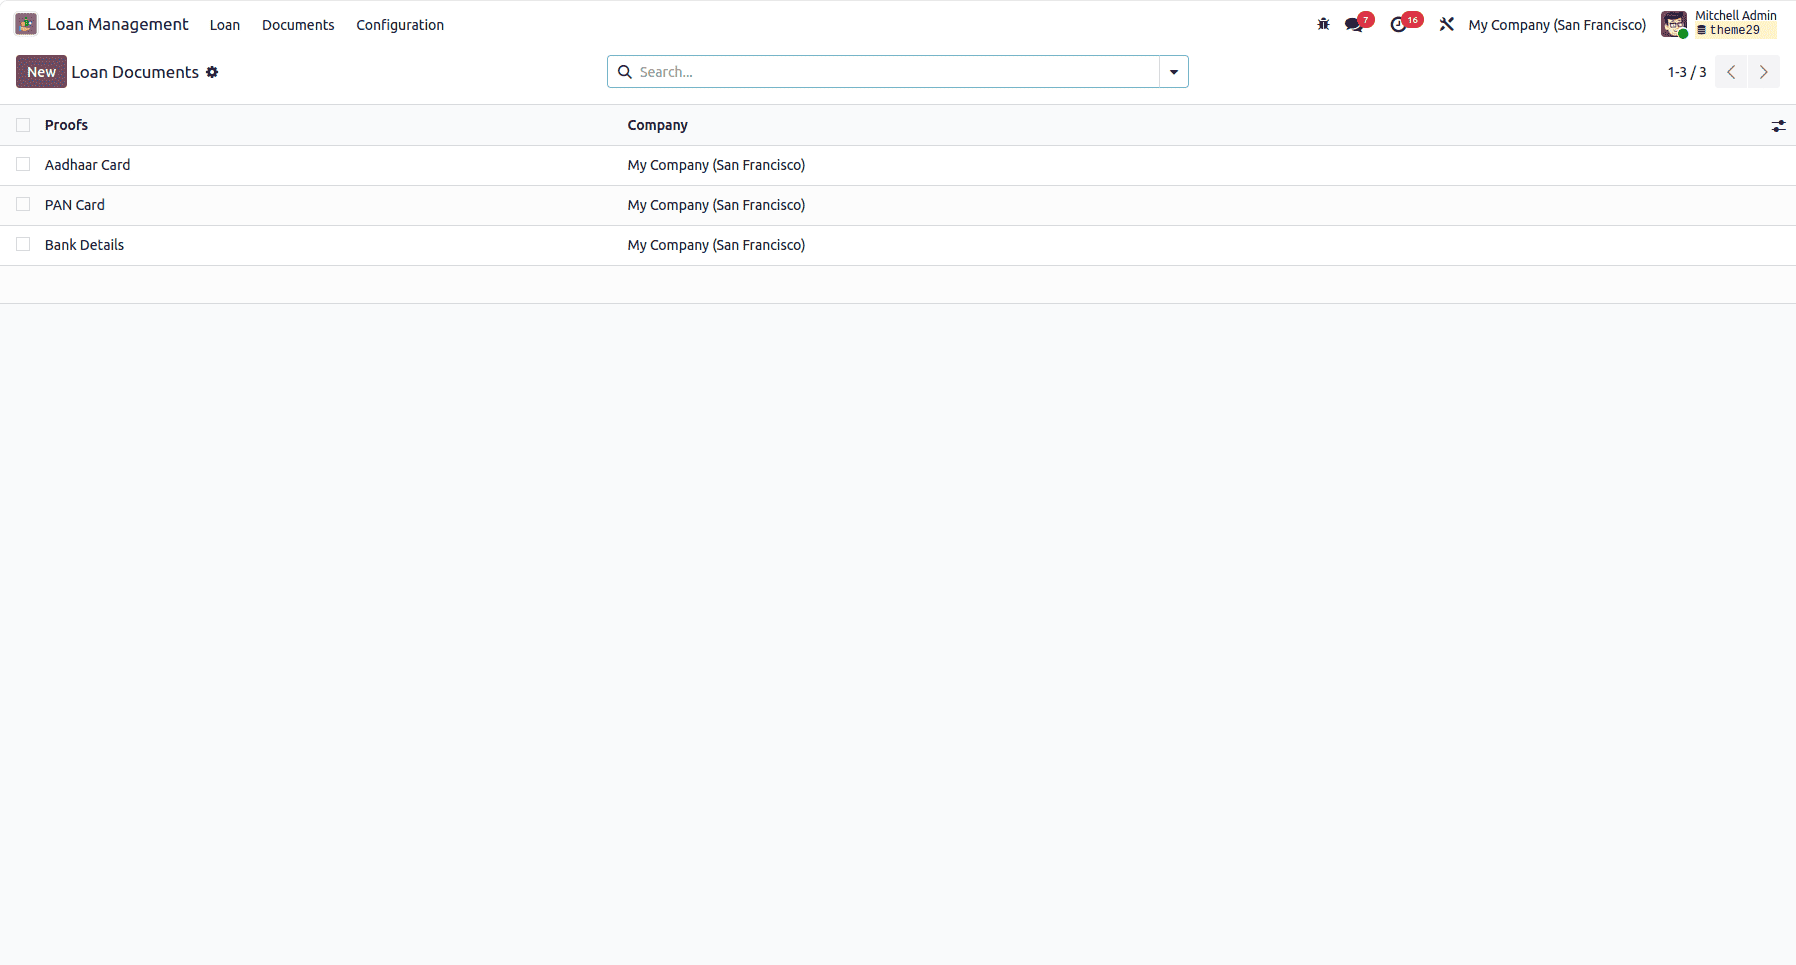
Under the Documents menu, you can also create document types that can be used in the loan request.
Odoo already has a built-in way to track loans, but it's built for loans your company has taken out, like a bank loan, where the focus is on interest, amortization, and liability accounting. It doesn't cover the other side of lending, loans your company gives out to vendors, employees, or customers. That's exactly the gap the Advanced Loan Management module fills. It brings the same level of structure and automation for approvals, installment schedules, accounting entries, and invoicing, but for money going out instead of money coming in. Together, the two give a business a complete picture: what you owe, and what's owed to you, all tracked properly inside Odoo instead of scattered across spreadsheets and email approvals.
To read more about How to Configure and Use the Odoo Pipedrive Connector in Odoo 19, refer to our blog How to Configure and Use the Odoo Pipedrive Connector in Odoo 19.