Odoo 18 makes it easy for users to customize their business apps to meet their specific requirements.
This blog post explains how to add a custom button next to the Create button to personalize the form and tree view header.
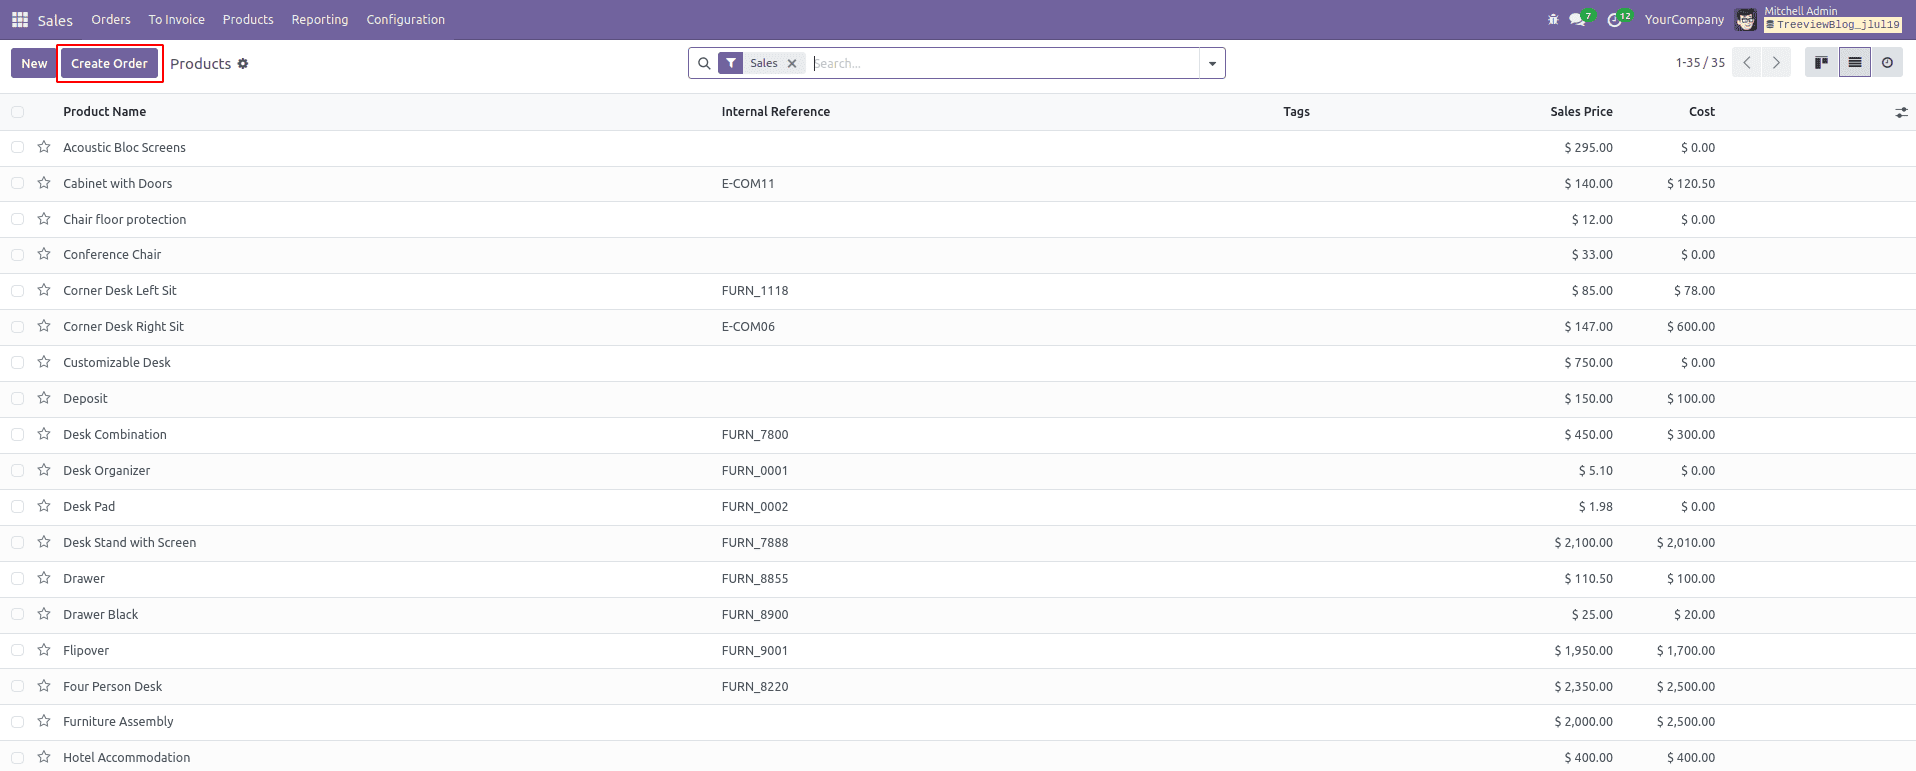
For example, let's examine the product's form and tree view. By selecting the 'Create Order' button next to the 'Create' button in both the form and tree views, I intend to launch a wizard.
We may start by examining how to include a button next to the create button in the tree view header.
Custom Button in Tree View:
A custom button could occasionally need to be added to a particular tree view, such as the header of the sales order or product tree view.
In the product tree view of the screenshot below, the 'Create Order' button is located next to the 'New' button.In the product tree view of the screenshot below, the 'Create Order' button is located next to the 'New' button.
To obtain this, we can do the following:
Create the templates file inside the static/src/xml directory
The 'web.ListView.Buttons' template, which defines the list view buttons, must be inherited to add a button to the list view. The 'Create Order' button and associated 't-on-click' functionality will be included in this template.
<?xml version="1.0" encoding="UTF-8"?>
<templates id="template" xml:space="preserve">
 <t t-name="button_on_tree_view.ListView.Buttons" t-inherit="web.ListView">
      <xpath expr="//Layout/t[@t-set-slot='control-panel-create-button']" position="inside">
         <button type="button" class="btn btn-primary" style="margin-right: 10px;" t-on-click="OnClickOrder">
             Create Order
         </button>
     </xpath>
 </t>
</templates>
Create a JS file inside the static/src/js directory
We can add functionality to our template and the default ListController component. A new 'button_in_tree' item can then be added to the view register accordingly.
The "t-on-click" function of the button can be defined in the JavaScript file. This is where we may use the "doAction" method to launch a sale order wizard. There is no need to import the action from the hook again because it has already been added to the default ListController.
/** @odoo-module */
import { ListController } from "@web/views/list/list_controller";
import { registry } from '@web/core/registry';
import { listView } from '@web/views/list/list_view';
export class ProductController extends ListController {
  setup() {
      super.setup();
  }
  OnClickOrder() {
      this.actionService.doAction({
         type: 'ir.actions.act_window',
         res_model: 'sale.order',
         name:'Sale Order',
         view_mode: 'form',
         view_type: 'form',
         views: [[false, 'form']],
         target: 'new',
         res_id: false,
     });
  }
}
ProductController.template = "button_on_tree_view.ListView.Buttons";
export const CustomProductController = {
   ...listView,
   Controller: ProductController,
};
registry.category("views").add("button_in_tree", CustomProductController);
Create the view file inside the view directory
This particular JS class should now be included in the Product template's treeview.
<?xml version="1.0" encoding="UTF-8" ?>
<odoo>
   <!-- Inherit product template Tree View and add js_class -->
   <record id="product_template_tree_view" model="ir.ui.view">
       <field name="name">product.template.view.tree.inherit.button.on.tree.view</field>
       <field name="model">product.template</field>
       <field name="inherit_id" ref="product.product_template_tree_view"/>
       <field name="arch" type="xml">
           <xpath expr="//list" position="attributes">
               <attribute name="js_class">button_in_tree</attribute>
           </xpath>
       </field>
   </record>
</odoo>
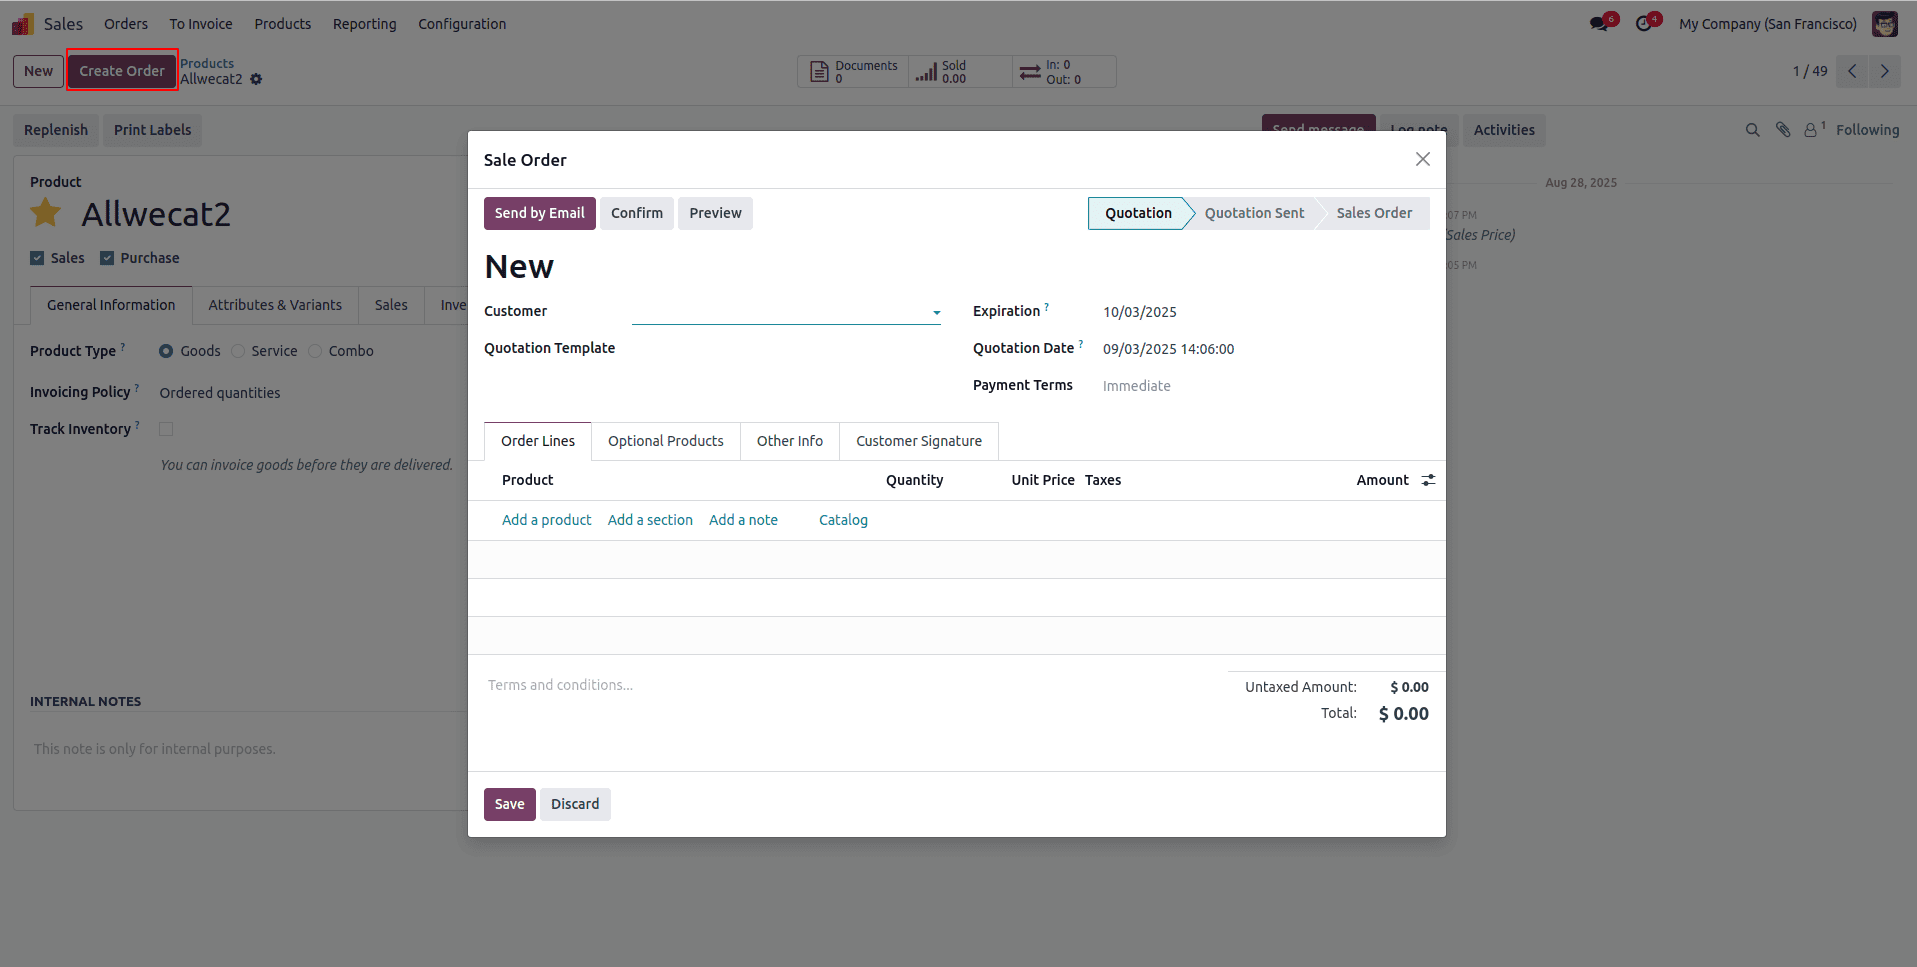
The 'Create Order' button is now visible to users in the product list view, and clicking it will launch our wizard.
Custom Button in Form View:
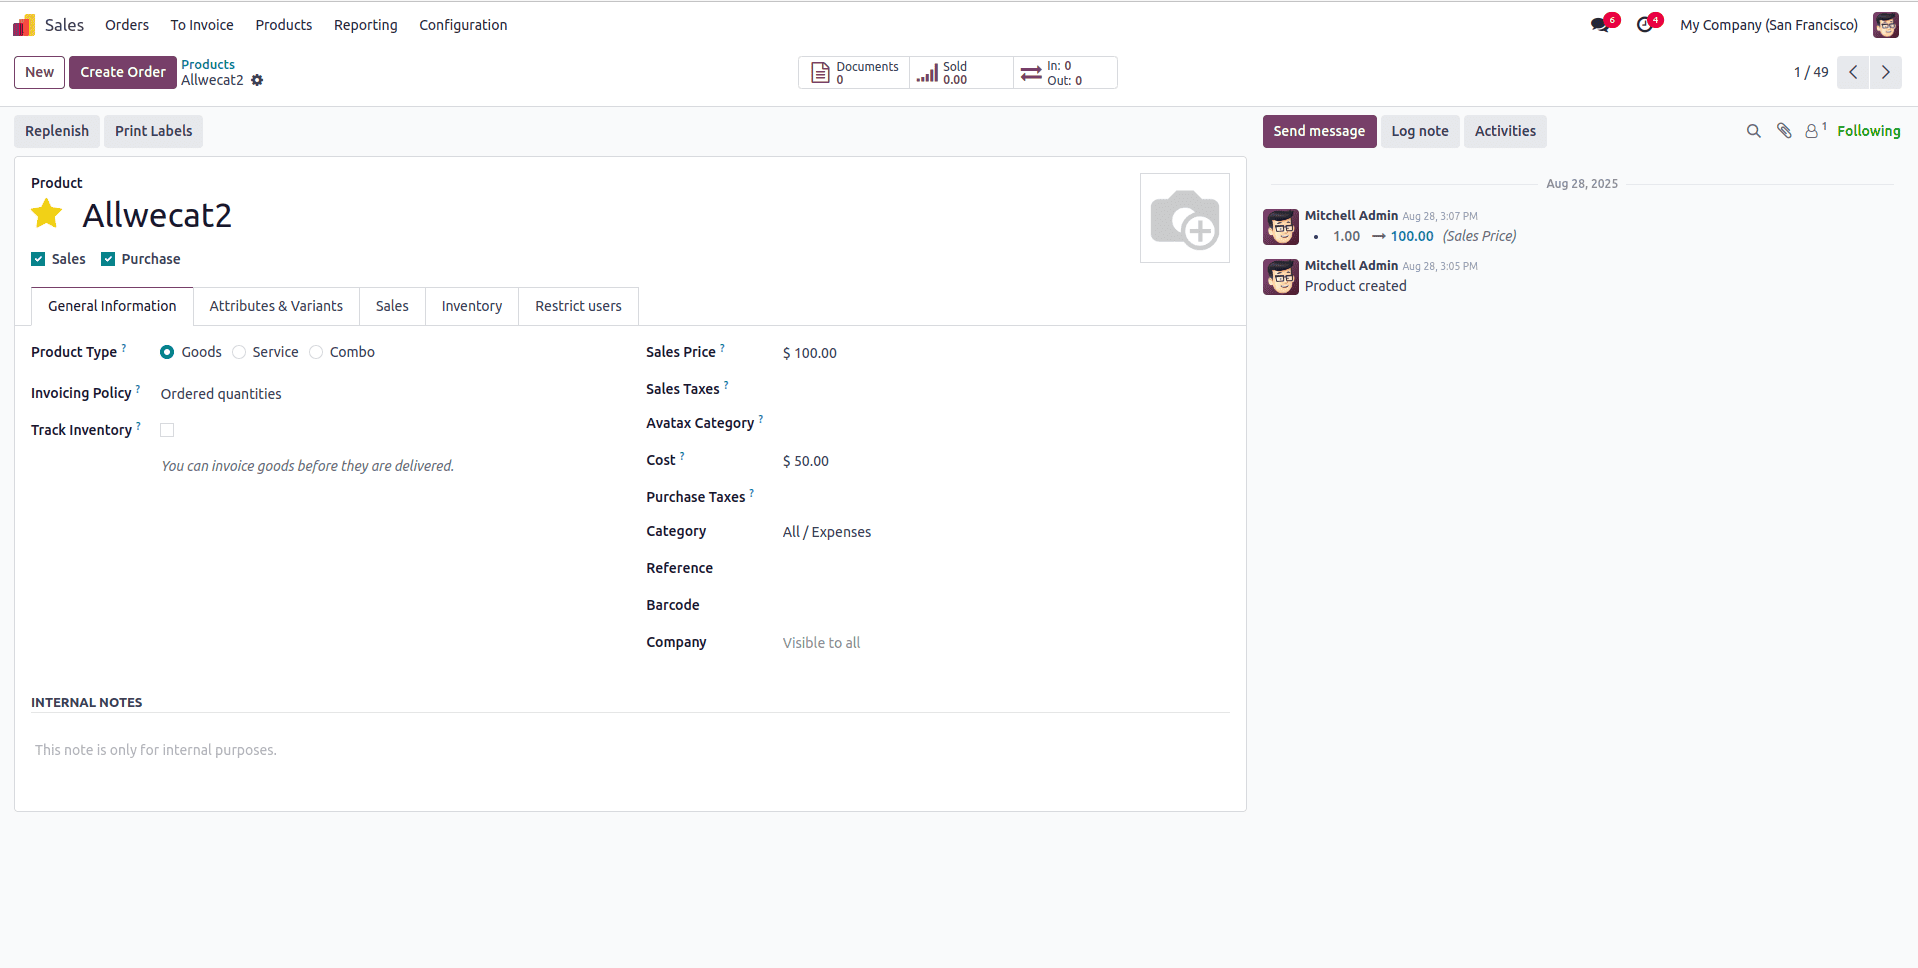
Now, let's look at how to add a custom button to the product form view.
Add form_button.xml file to the static/src/xml directory
In this instance, we use the XPath expression to add our button to the "web.FormView" template, which we extend by inheriting it. The word "Create Order" is contained in an element inside the element and will be seen as the button's label.
<?xml version="1.0" encoding="UTF-8"?>
<templates xml:space="preserve">
   <t t-name="button_on_tree_view.FormView.Buttons" t-inherit="web.FormView">
       <xpath expr="//t[@t-set-slot='layout-buttons']" position="inside">
           <button type="button" class="btn btn-primary"
              t-on-click="OnFormClickOrder">
              <span>Create Order</span>
          </button>
       </xpath>
   </t>
</templates>
Add form_button.js file into the static/src/js directory
In this instance, we can add our template and the default FormController component. After that, we can add a new "button_in_form" item to the view register. Additionally, provide the "Create order" button functionality.
This involves importing an action from the "useService" hook.
/** @odoo-module */
import { FormController } from "@web/views/form/form_controller";
import { useService } from "@web/core/utils/hooks";
import { registry } from '@web/core/registry';
import { formView } from '@web/views/form/form_view';
export class ProductFormController extends FormController {
  setup() {
      super.setup();
      this.actionService = useService("action");
  }
  OnFormClickOrder() {
      this.actionService.doAction({
         type: 'ir.actions.act_window',
         res_model: 'sale.order',
         name:'Sale Order',
         view_mode: 'form',
         view_type: 'form',
         views: [[false, 'form']],
         target: 'new',
         res_id: false,
     });
  }
}
ProductFormController.template = "button_on_tree_view.FormView.Buttons";
export const CustomProductFormController = {
   ...formView,
   Controller: ProductFormController,
};
registry.category("views").add("button_in_form", CustomProductFormController);
Add the form_button.xml file to the views directory.
The new class must now be specified in the particular view in order for this new button to appear in that form view of the product template model. We may do so by using the attribute "js_class" in the view's form tag.
<record id="product_template_only_form_view" model="ir.ui.view">
   <field name="name">product.template.view.form.inherit.button.on.tree.view</field>
   <field name="model">product.template</field>
   <field name="inherit_id" ref="product.product_template_only_form_view"/>
   <field name="arch" type="xml">
       <xpath expr="//form" position="attributes">
           <attribute name="js_class">button_in_form</attribute>
       </xpath>
   </field>
</record>
The "Create Order" button is now shown next to the "Create" button in the product form view.
The do_action method defines a particular wizard that will open when the newly added button is clicked in both the form and tree views. A sale order creation wizard is used in this example.
In both the form and tree views of Odoo, we can add a button next to the Create button by using the js_class feature.
To read more about How to Add a Create Button Near Tree & Kanban View in Odoo 18, refer to our blog How to Add a Create Button Near Tree & Kanban View in Odoo 18.