If you’ve ever wished your Linux box could behave like a cloud drive—mountable from Windows, macOS, and mobile devices—WebDAV is a simple, standards-based way to do it. Below is a clean, reproducible setup using NGINX. I’ll keep the original flow and commands intact, but add depth: what WebDAV actually is, how it works under the hood, where it shines (and where it doesn’t), plus practical notes on security, performance, and troubleshooting.
What is WebDAV Server?
WebDAV (Web Distributed Authoring and Versioning) is an extension to HTTP that turns a plain web server into a remote file store. Instead of only fetching files with GET, clients can create, upload, rename, move, and delete files and folders via additional HTTP methods such as PUT, DELETE, MKCOL (make collection/folder), MOVE, and COPY. Many clients also rely on PROPFIND to list directories and fetch metadata.
Think of it as a network drive that rides on top of HTTPS. Because it uses the same transport as the web, it’s firewall-friendly, works over the public internet, and plugs into countless clients:
- Native file managers (Windows Explorer’s “Map Network Drive”, macOS Finder’s “Connect to Server”).
- Mobile and desktop apps (Solid Explorer, Cyberduck, Mountain Duck, GoodReader, many backup apps).
- Command-line tools (cadaver, curl, and davfs2 to mount as a local filesystem).
Why do people use WebDAV
- Personal or team file sharing without adopting a heavy, database-backed app.
- Roll-your-own cloud with full control and no vendor lock-in.
- App backups and automation—many tools already speak WebDAV.
- Mount remote folders into scripts or workflows via davfs2.
How it compares to alternatives
- SFTP/SSHFS: Great within dev/sysadmin circles, but fewer nontechnical clients support it natively.
- SMB/NFS: Excellent on LANs; tougher to expose securely over the internet.
- FTP: Legacy and lacks modern security out of the box. WebDAV over HTTPS is simpler to harden.
The trade-off is that WebDAV is simple and widely compatible, but not a version-controlled document platform. It’s perfect for straightforward file storage and retrieval with light collaboration.
Set Up a WebDAV Server Using NGINX on Linux
In this guide, we’ll use NGINX with the nginx-dav-ext-module (packaged on many distros as part of nginx-extras) to enable the WebDAV methods. The steps below are intentionally minimal—great for learning and testing. In production, plan to add authentication, TLS, and least-privilege permissions (more on that later).
sudo apt update & upgrade
sudo apt install nginx
sudo apt install nginx-extras
This installs the web server and the extras package that includes DAV capabilities. After installation, NGINX should be running as the www-data user by default on Debian/Ubuntu-based systems.
sudo mkdir -p /var/www/webdav
sudo chown -R www-data:www-data /var/www/webdav
We create a dedicated share directory and hand ownership to the NGINX user so it can write uploaded files and create folders. This avoids write access to your general web root and keeps the DAV data neatly scoped.
sudo nano /etc/nginx/sites-available/webdav
Paste the following configuration.
server {
	listen 80;
	server_name your-domain.com;
	root /var/www/html;
	index index.html;
	location / {
    	    try_files $uri $uri/ =404;
	}
	location = /webdav {
    	    return 301 /webdav/;
	}
	location /webdav/ {
    	    alias /var/www/webdav/;
    	    dav_methods PUT DELETE MKCOL COPY MOVE;
    	    create_full_put_path on;
    	    dav_access group:rw all:r;
    	    autoindex on;
    	    autoindex_exact_size off;
    	    autoindex_localtime on;
	}
}
What these directives do (line-by-line clarity)
- listen 80; and server_name your-domain.com; define where this server block answers.
- The default / location serves your normal website from /var/www/html and returns 404 for missing paths.
- location = /webdav { return 301 /webdav/; } forces a trailing slash—important for directory semantics that many WebDAV clients expect.
- location /webdav/ is the actual share:
- alias /var/www/webdav/; maps the URL path /webdav/ to the filesystem directory.
- dav_methods PUT DELETE MKCOL COPY MOVE; allows core write operations (upload, delete, create folder, move/copy).
- create_full_put_path on; lets NGINX create intermediate directories when uploading nested paths.
- dav_access group:rw all:r; sets default permissions on created files. Here: group gets read/write, everyone else read.
- autoindex on; exposes a directory listing in the browser. It’s handy for testing (and many WebDAV clients rely on listings).
- autoindex_exact_size off; and autoindex_localtime on; present human-friendly sizes and local timestamps.
Now we enable the site.
sudo ln -s /etc/nginx/sites-available/webdav /etc/nginx/sites-enabled/
Test and reload.
sudo nginx -t
sudo systemctl reload nginx
Access Your WebDAV Server
- Windows: Map network drive > https://your-domain.com/webdav/
- macOS: Finder > Go > Connect to Server > https://your-domain.com/webdav/
- Linux: Use davfs2, GNOME/Nautilus, or cadaver.
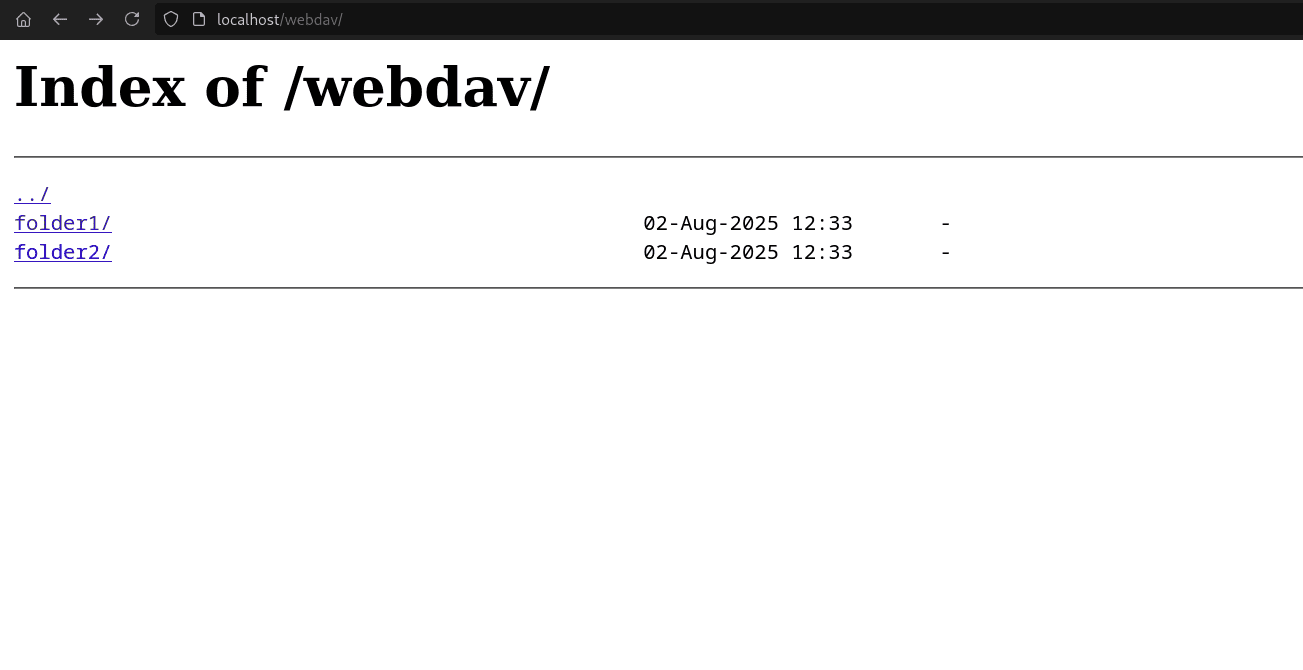
Or you can go to this link https://your-domain.com/webdav/ to view the files inside the folder ‘/var/www/webdav/’ like shown below.
With just a few packages and a simple NGINX configuration, you’ve turned your Linux server into a standards-compliant WebDAV server—instantly usable from Windows, macOS, Linux, and even mobile apps. WebDAV’s biggest strength is its balance of simplicity and compatibility: it runs over plain HTTPS, plays nicely with firewalls, and integrates with countless tools without extra software.
To read more about How to Cache API Responses with Nginx for Faster Performance, refer to our blog How to Cache API Responses with Nginx for Faster Performance